> ## Documentation Index
> Fetch the complete documentation index at: https://help.dingtalk.io/llms.txt
> Use this file to discover all available pages before exploring further.
# Conditional approval
> Learn how to set up conditional approval for DingTalk OA Approval: add conditional branches, configure single or multiple conditions, copy conditions, and adjust priority so that Approval forms are automatically routed to the corresponding approvers based on conditions.
## 1. Overview
Admins can set up conditional approval.
A conditional branch is not a Step in the traditional sense — it is used to split the flow under complex conditions. A conditional branch runs only when its specific rules are met. Based on the process design diagram, conditional branches at the same Tier are evaluated **from left to right by priority.** As soon as one branch's rules pass, the remaining branches are skipped. **Exactly one conditional branch will ultimately pass.**
**Use cases:**
**When an Approval is initiated and different selections lead to different approval Steps, conditional approval is required (**leave requests of 3 days or less go to the manager for approval; requests longer than 3 days require approval from both the manager and the responsible executive**).**
**When the initiator's Department or Role differs and the approval Steps differ accordingly, conditional approval is required (**Approvals initiated by an Employee are approved by the department manager, while Approvals initiated by a department head are approved by the responsible executive**).**
## 2. Prerequisites
* Only an Approval Admin can perform process design, so you must first become an Approval Admin.
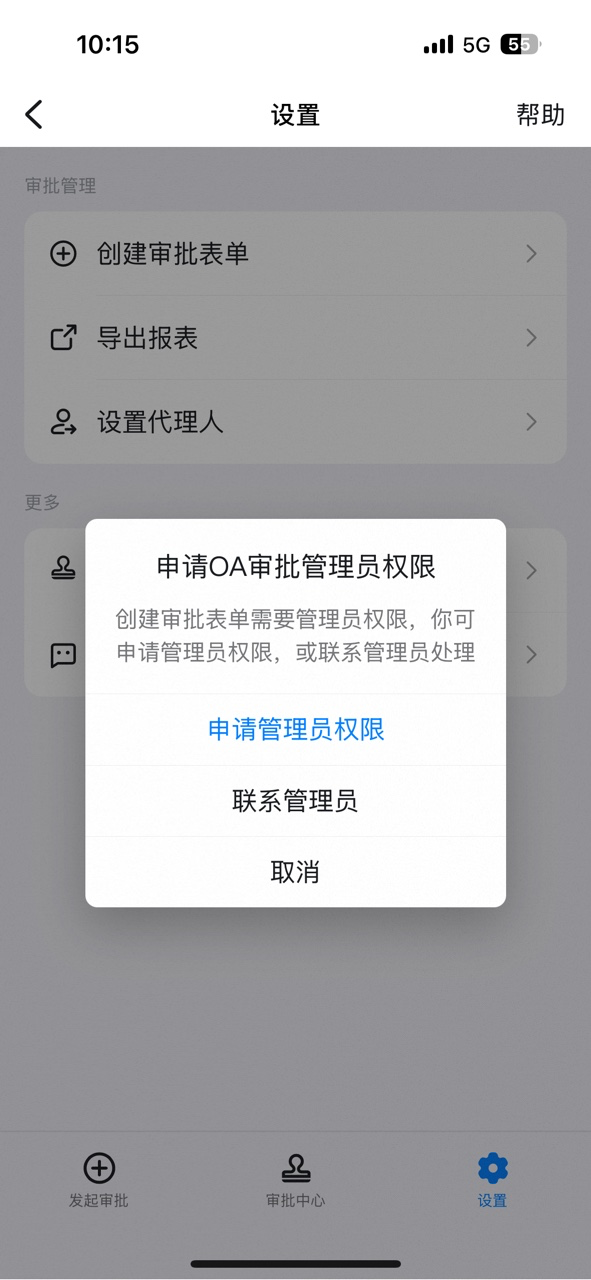
If you are not an Approval Admin, open DingTalk OA Approval, tap \[Settings], tap \[Create Approval form], tap \[Request Admin Permissions], and then tap "Submit".


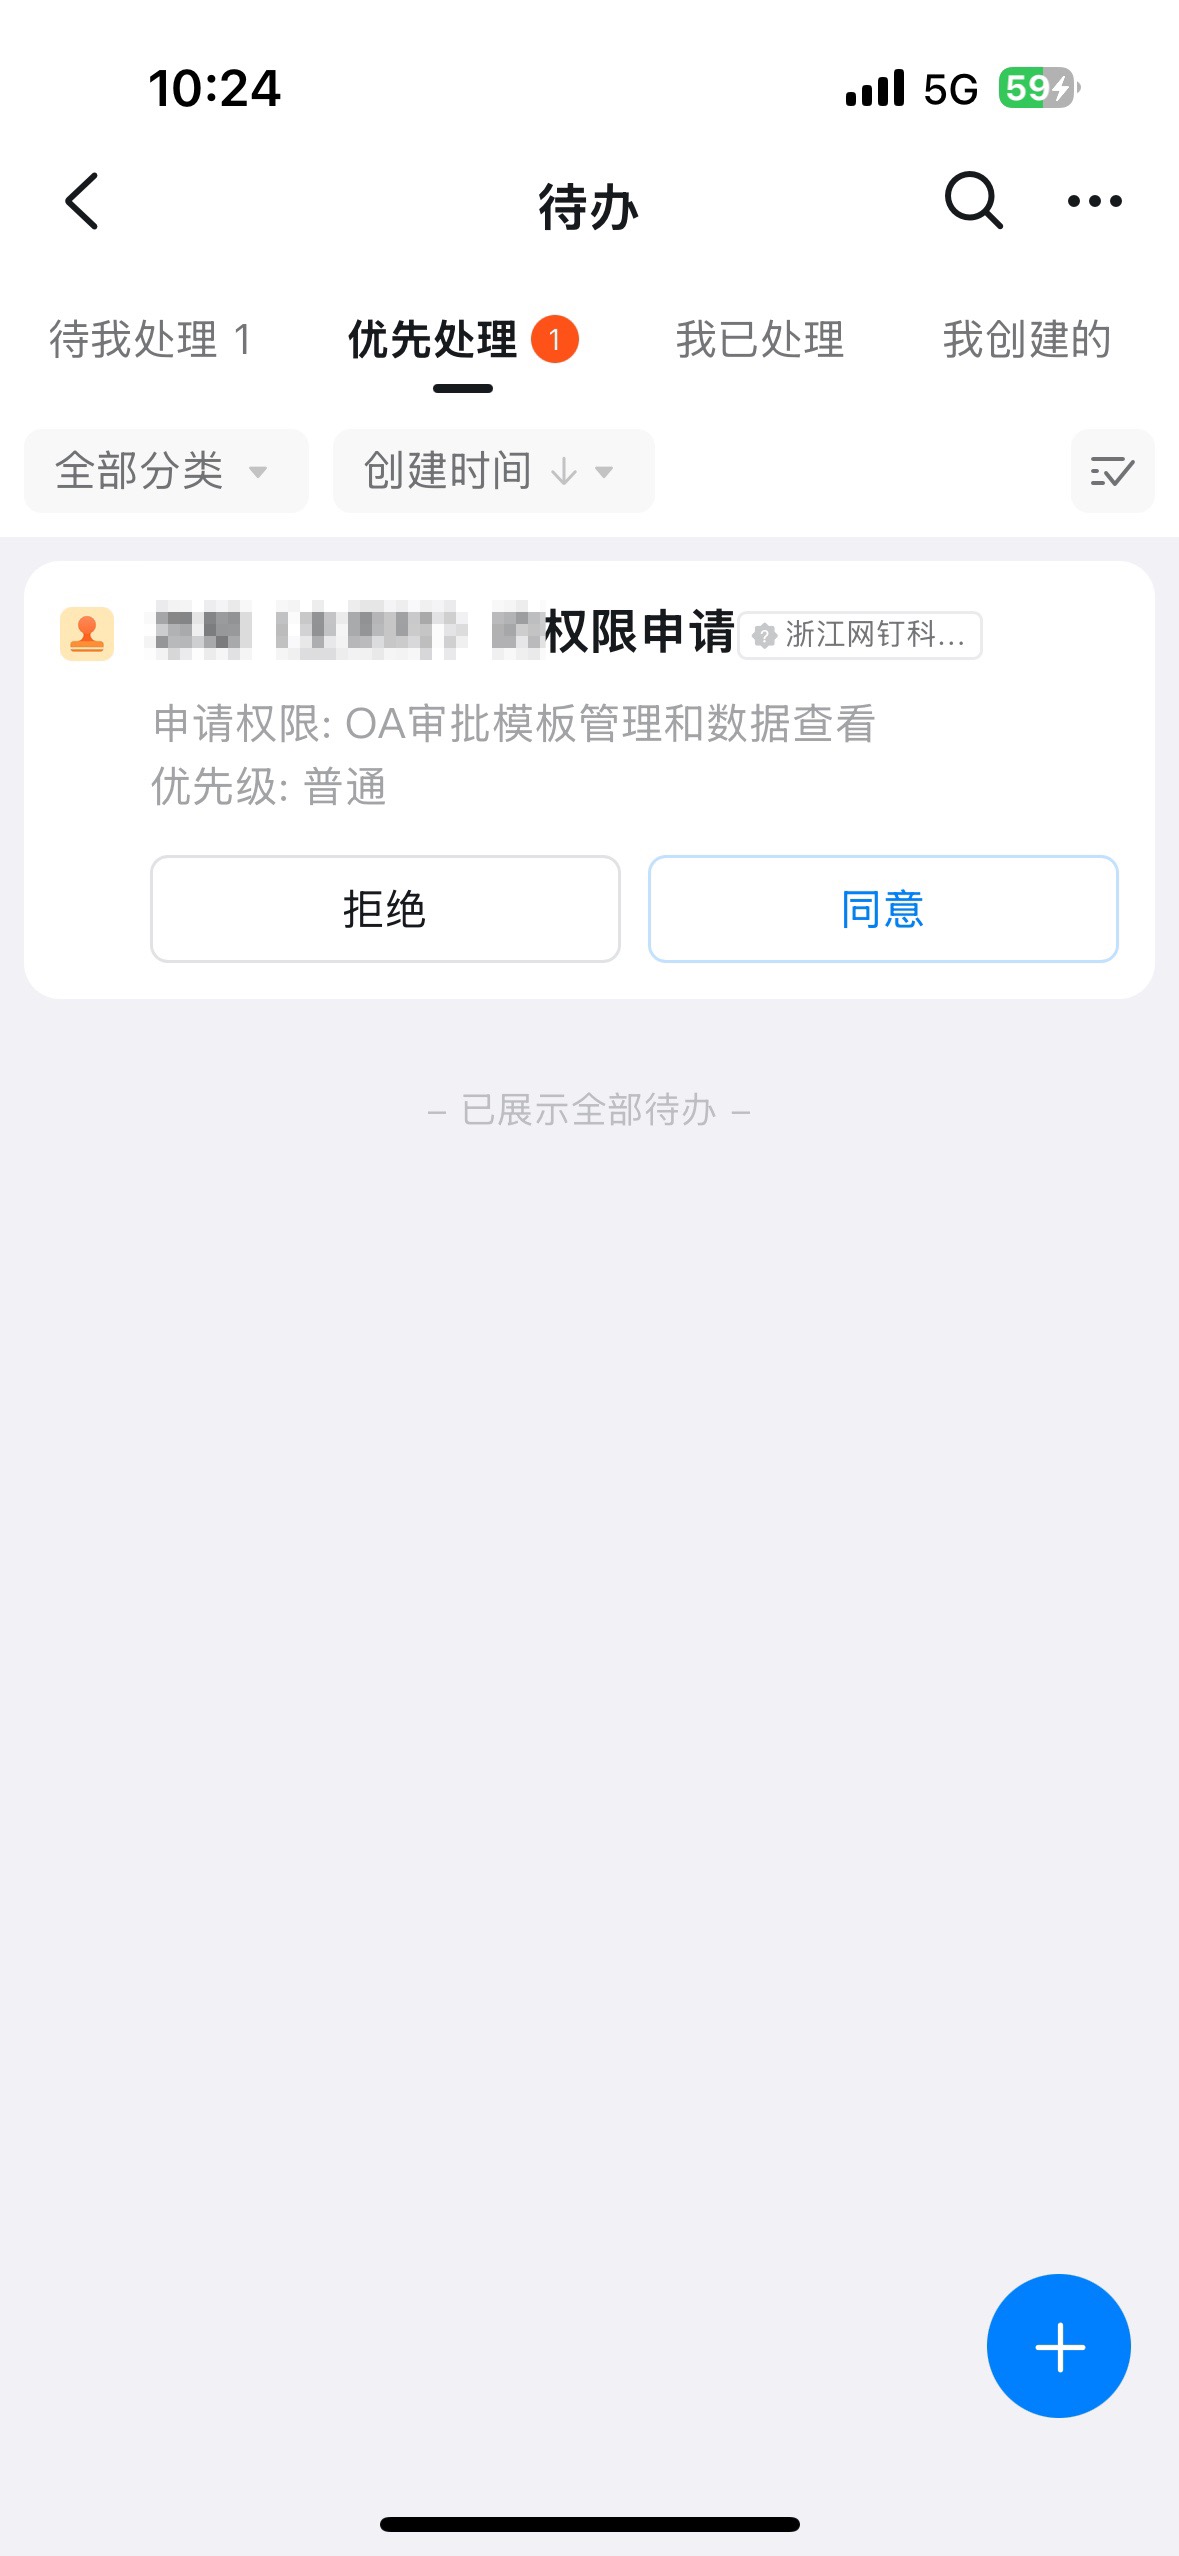
Once the Admin receives the pending approval reminder and approves it, the corresponding Employee is automatically granted Approval Admin Permissions.
## 3. Steps
### 1. Enter Approval settings
On the **Approval Admin Console** — **Form management** page, click \[**Edit**] under Form Actions.
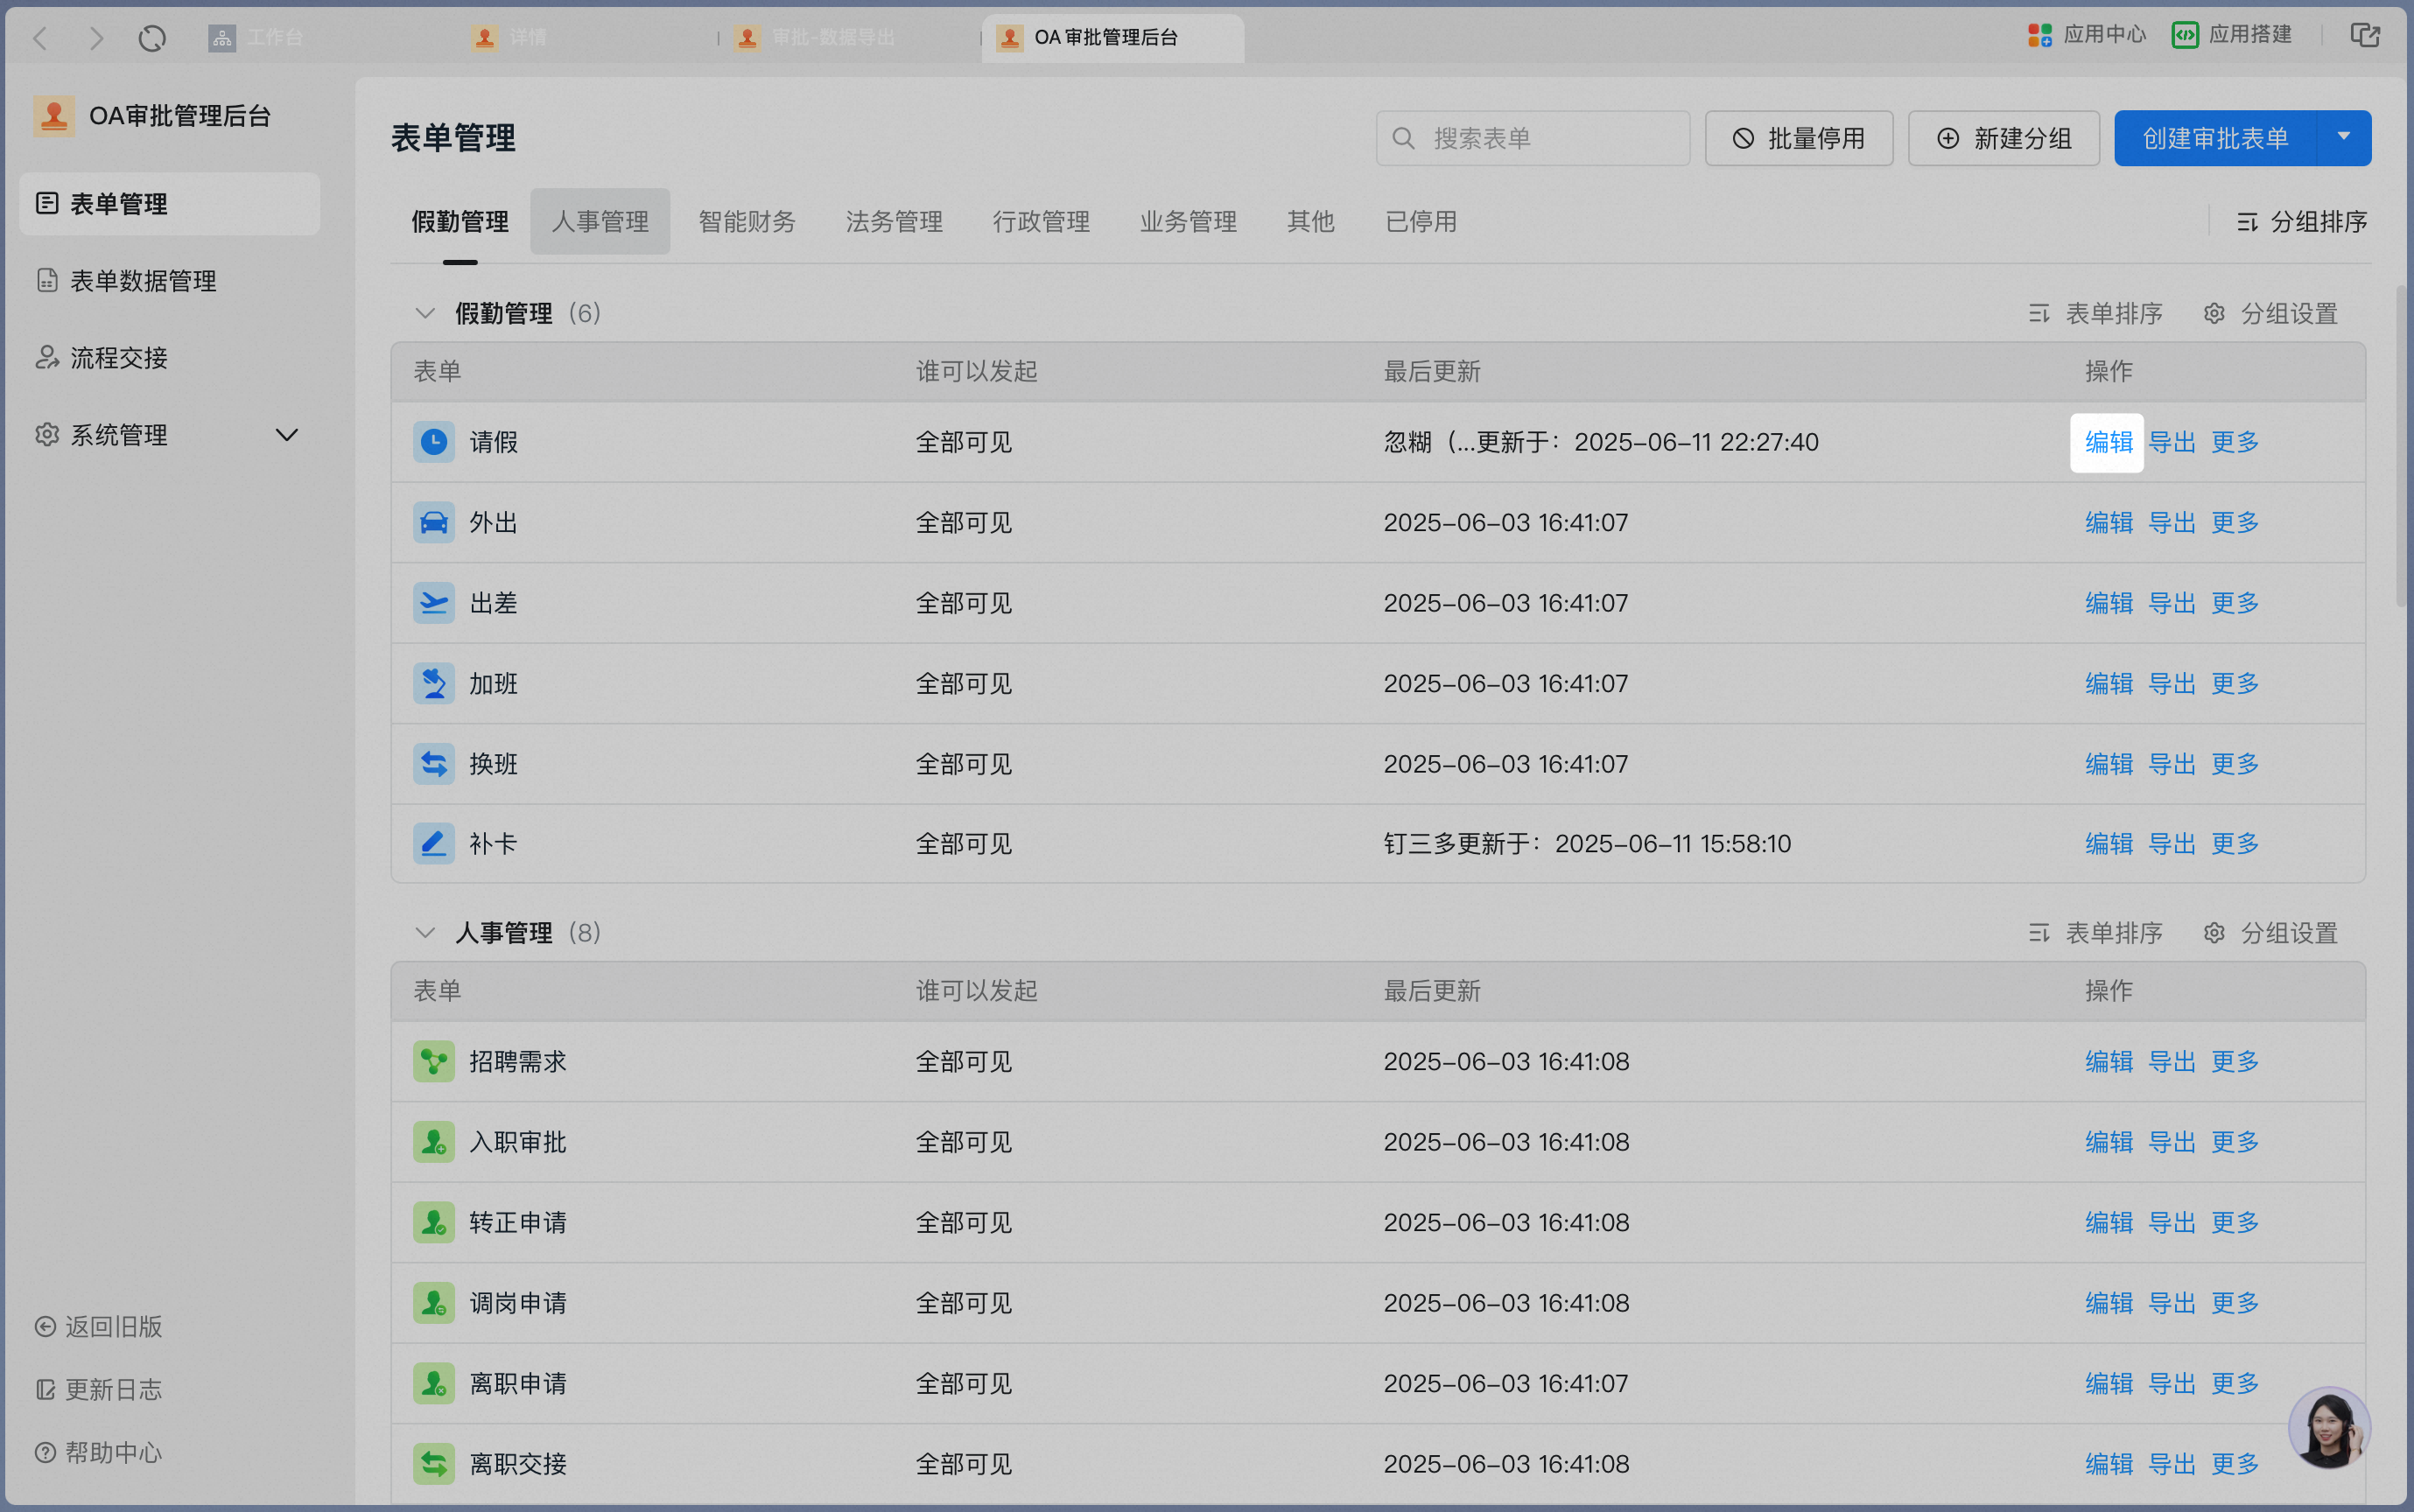
Click \[**process design**] to open the main process design interface.

### 2. Add a conditional branch
Click the "+" icon and select "conditional branch".

### 3. Set a single condition
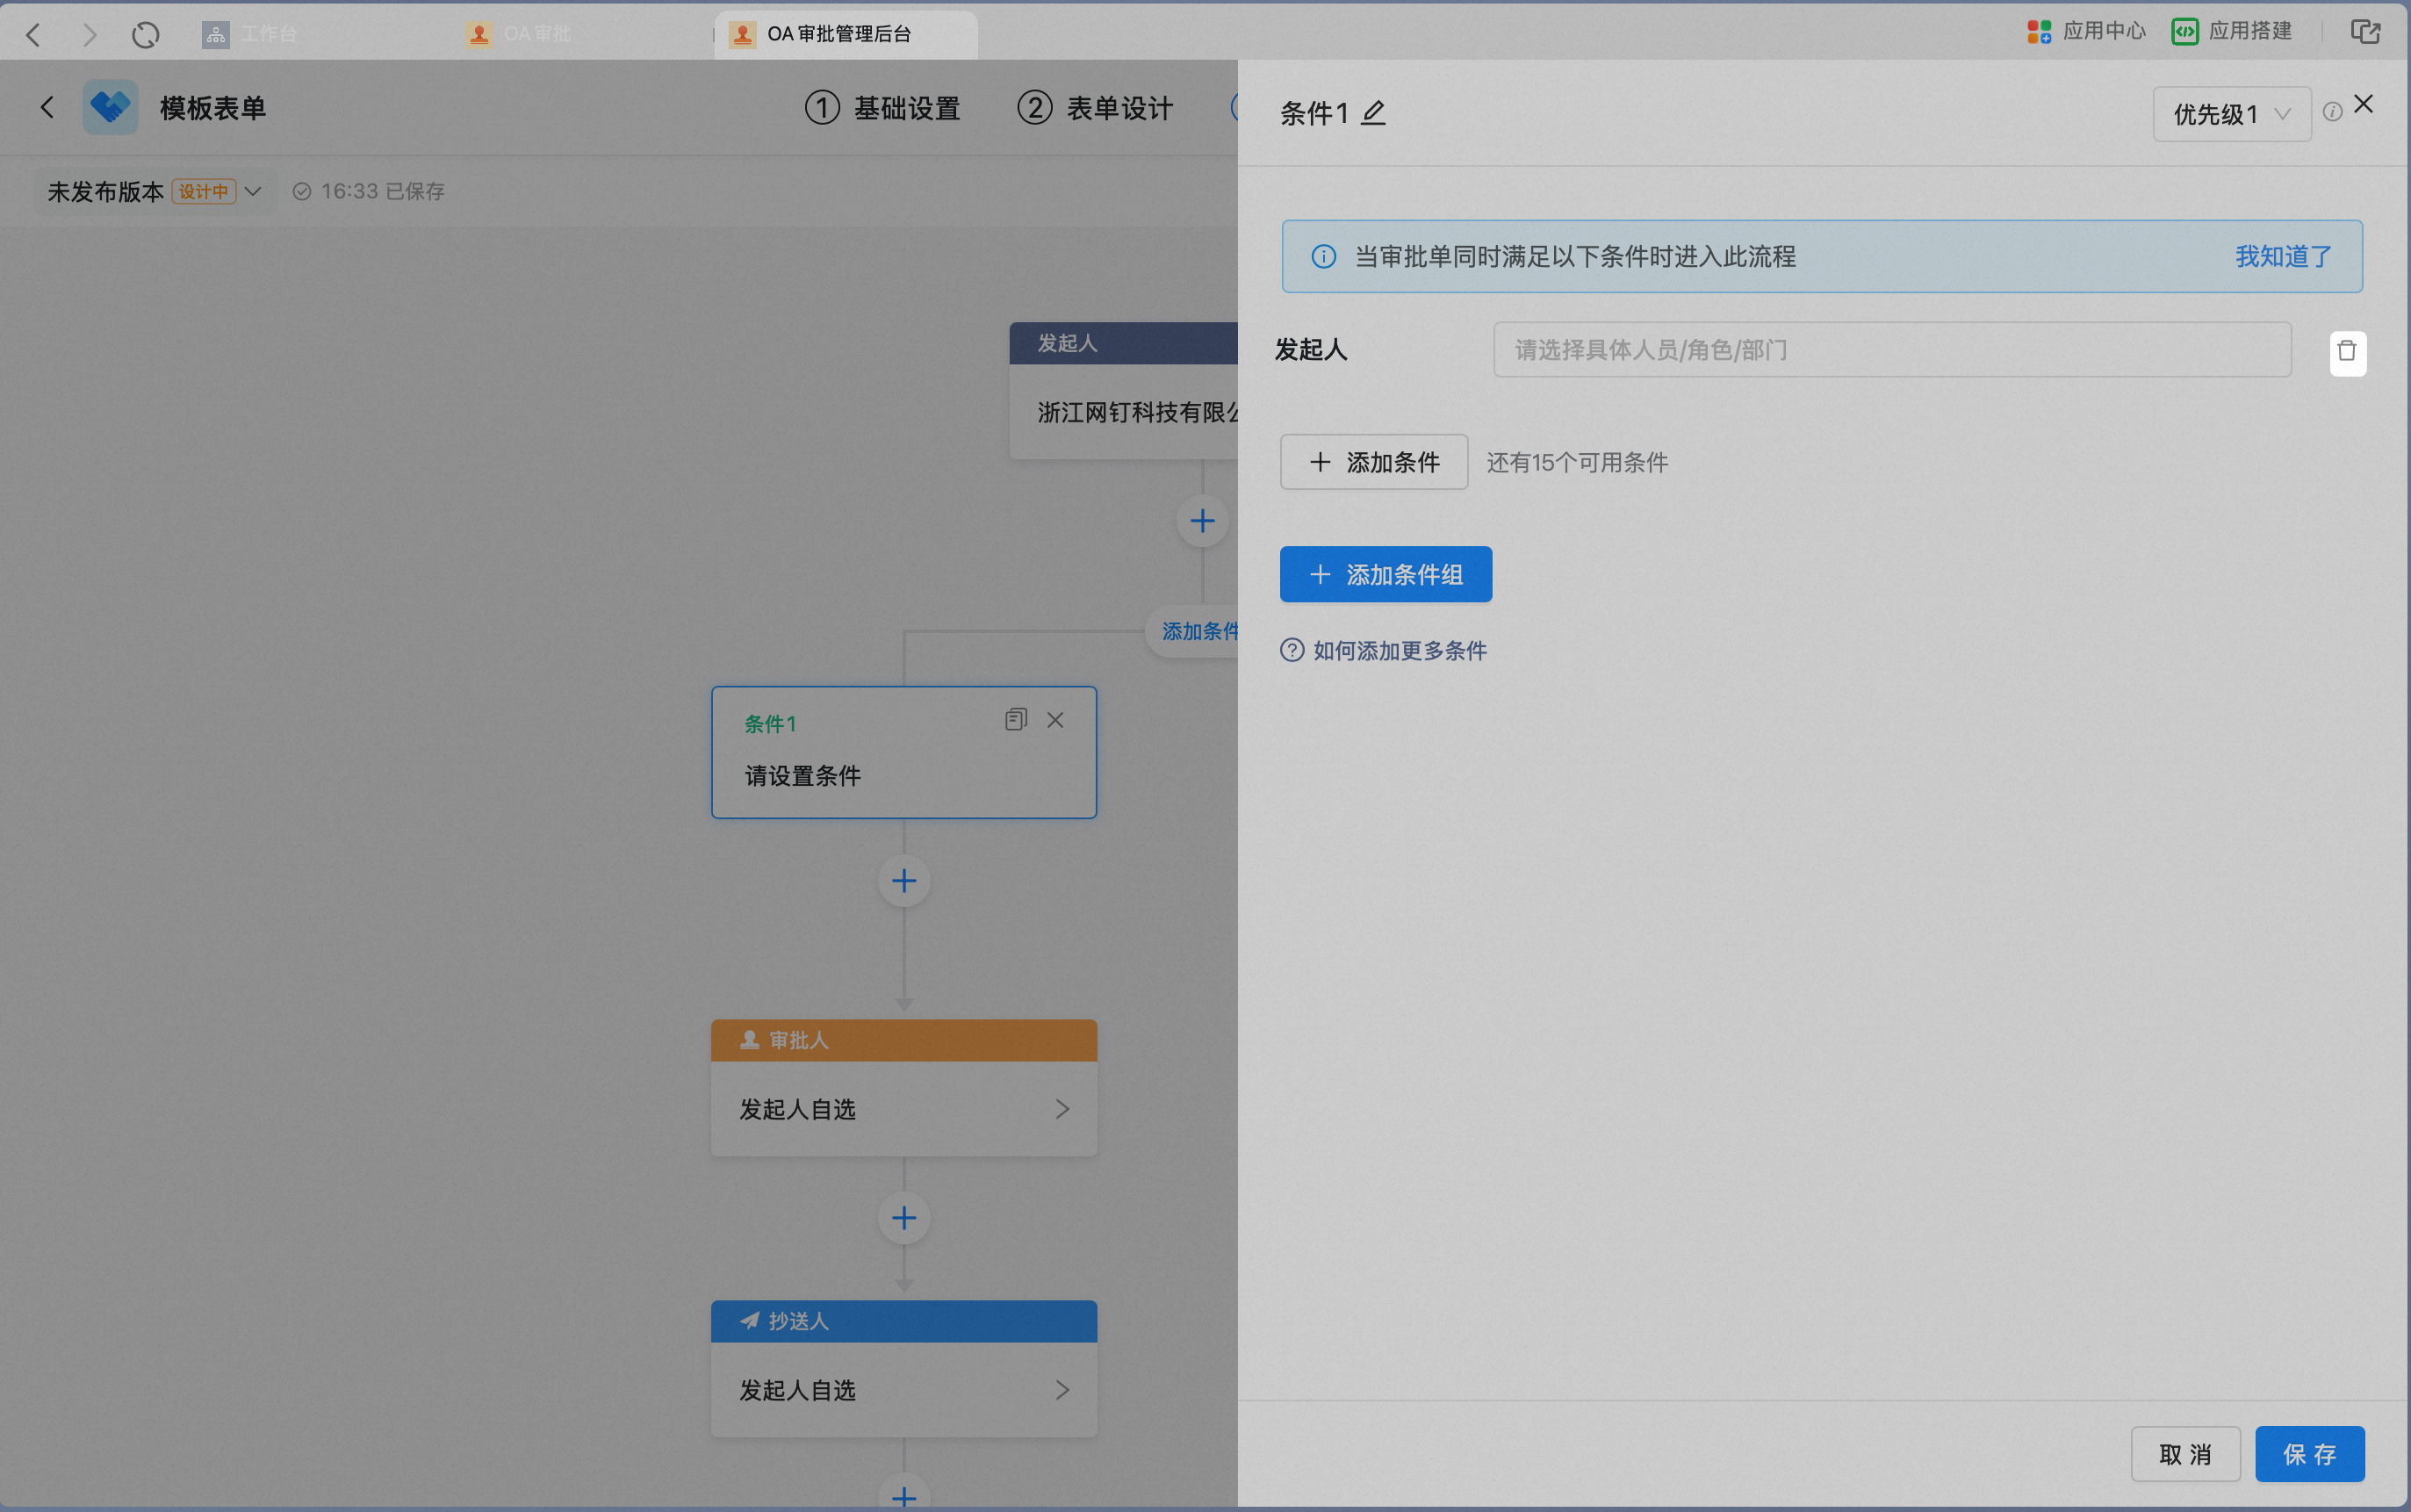
Click the condition Card to open the side panel and start configuring the condition.

The default condition is based on "initiator".

If the default condition is not needed, click the trash-can icon next to the condition to delete it.
### 4. Require multiple conditions to be met simultaneously
Click \[Add condition] to require multiple conditions to be met at the same time. The relationship between conditions is "AND".
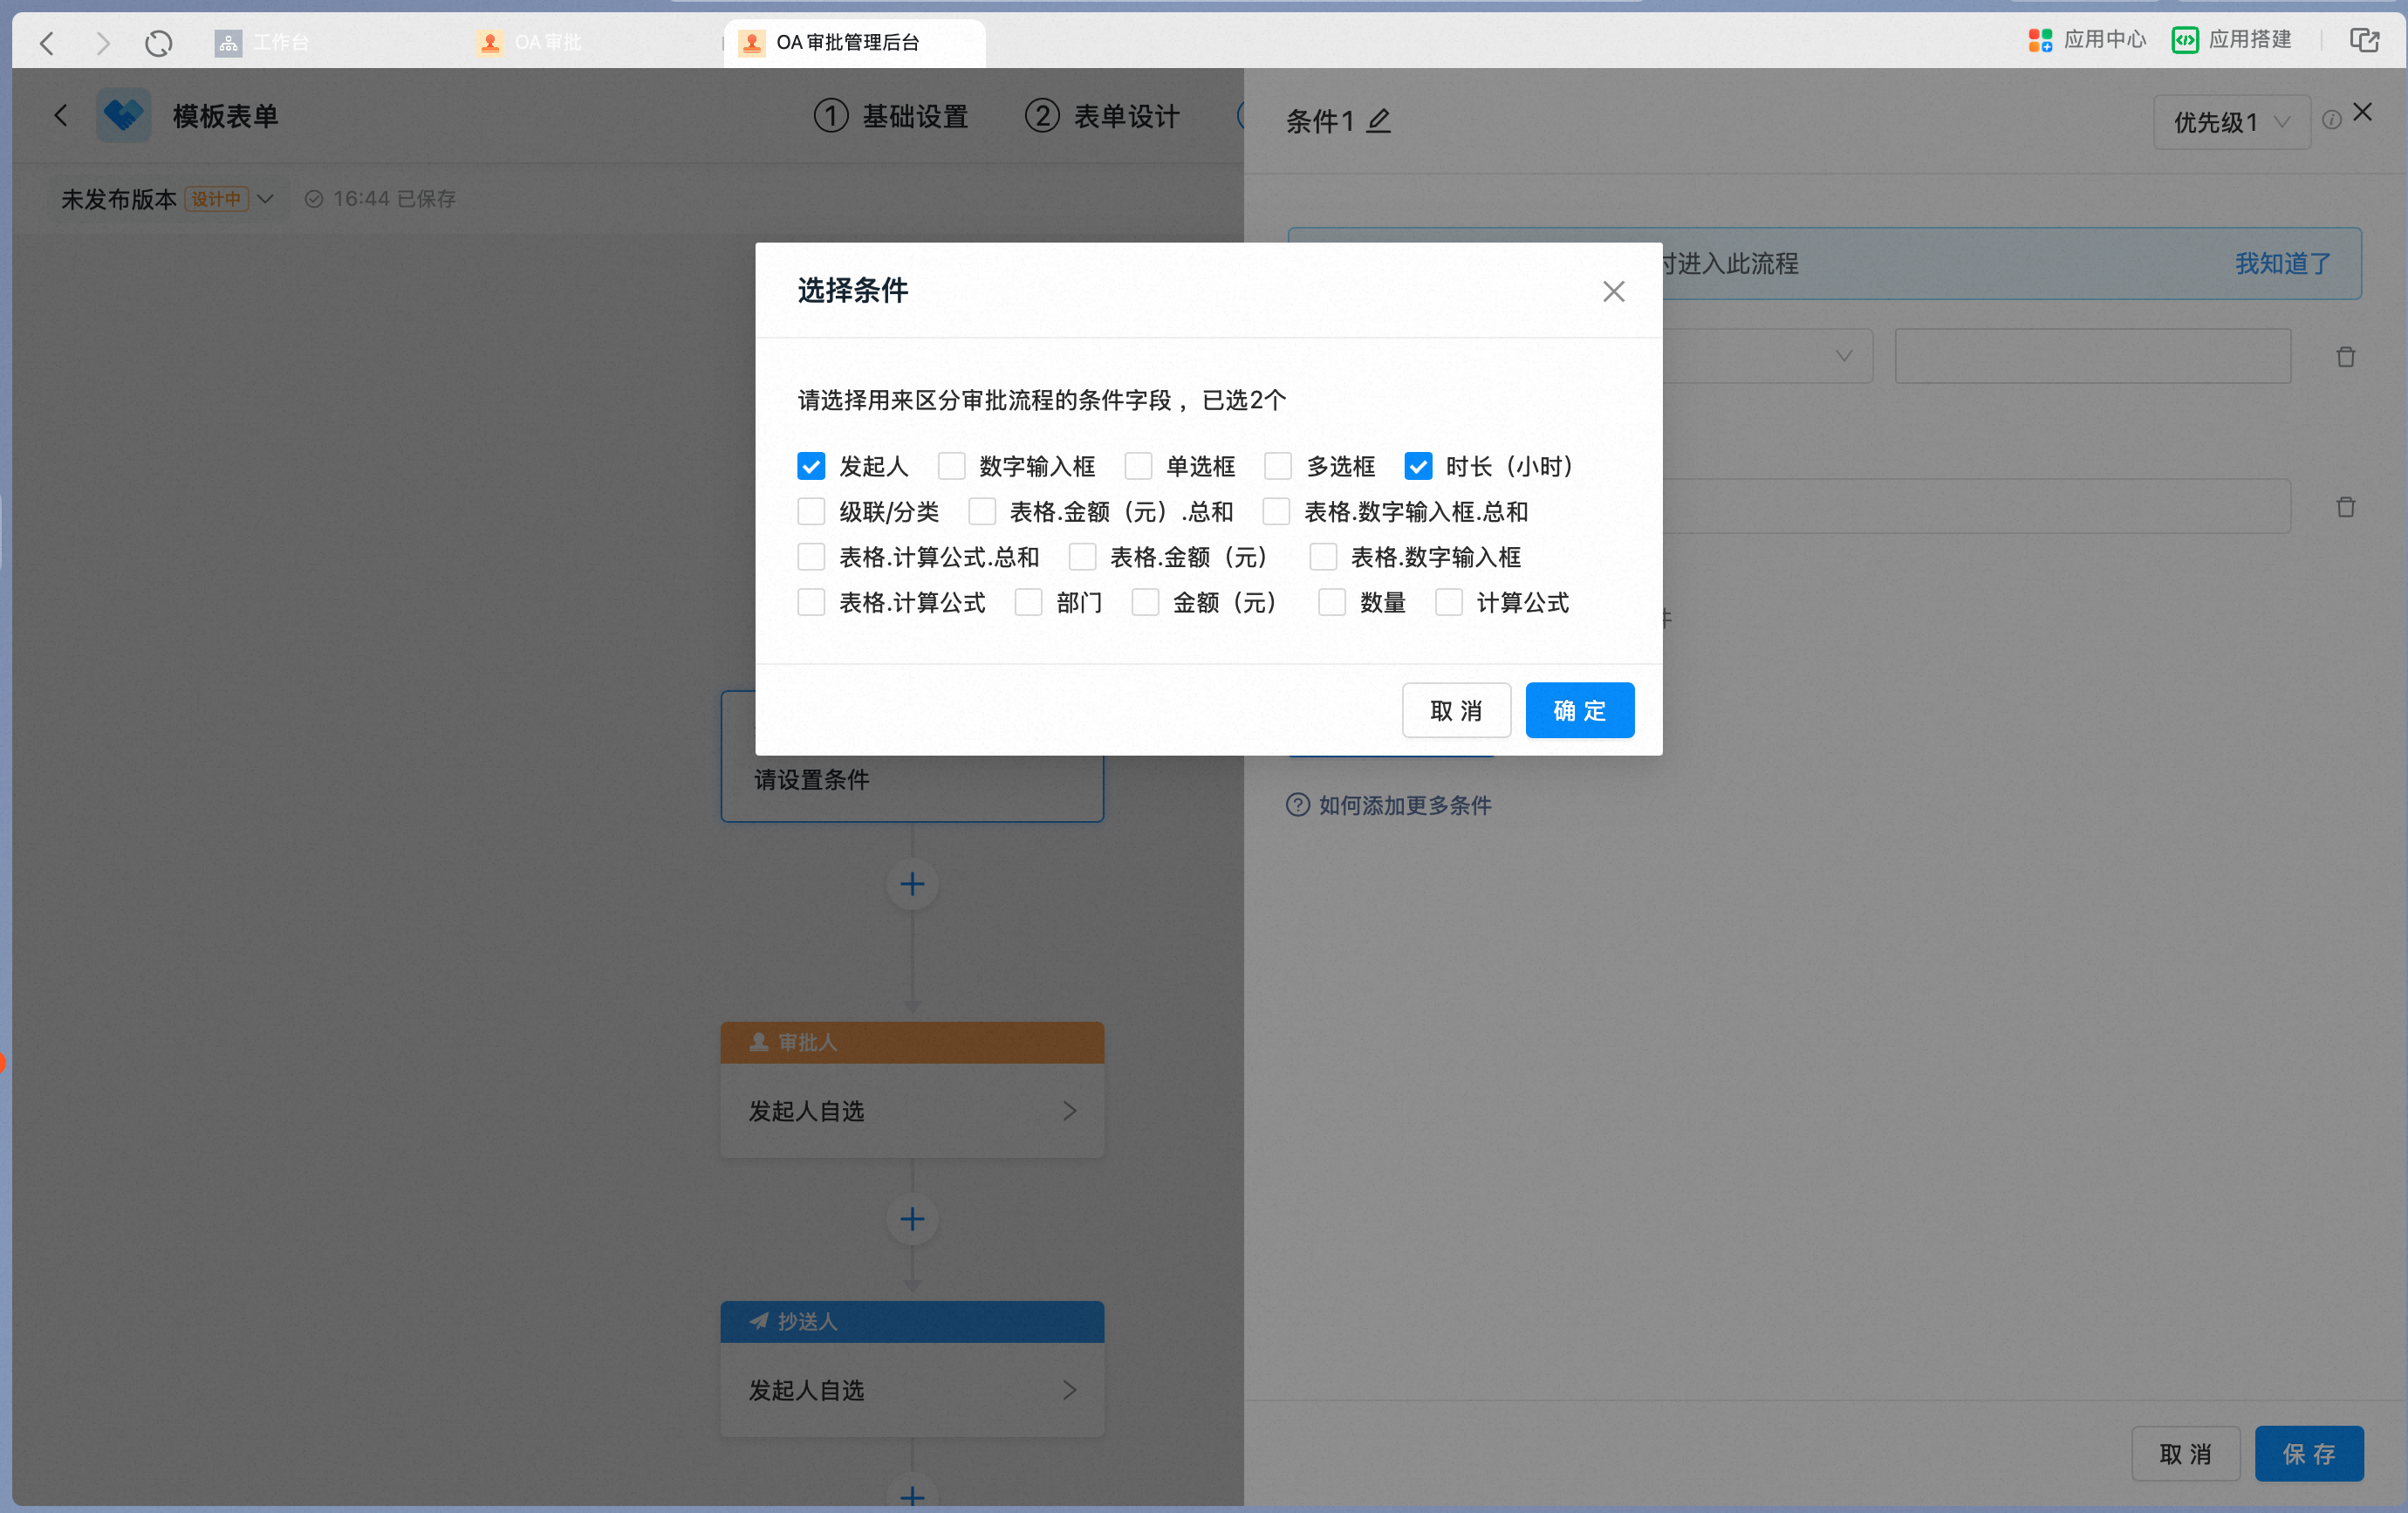
In the condition Settings side panel, click \[Add condition]:

In the condition selection dialog, select the Form Fields used to differentiate the Approval process, then click \[Confirm]:
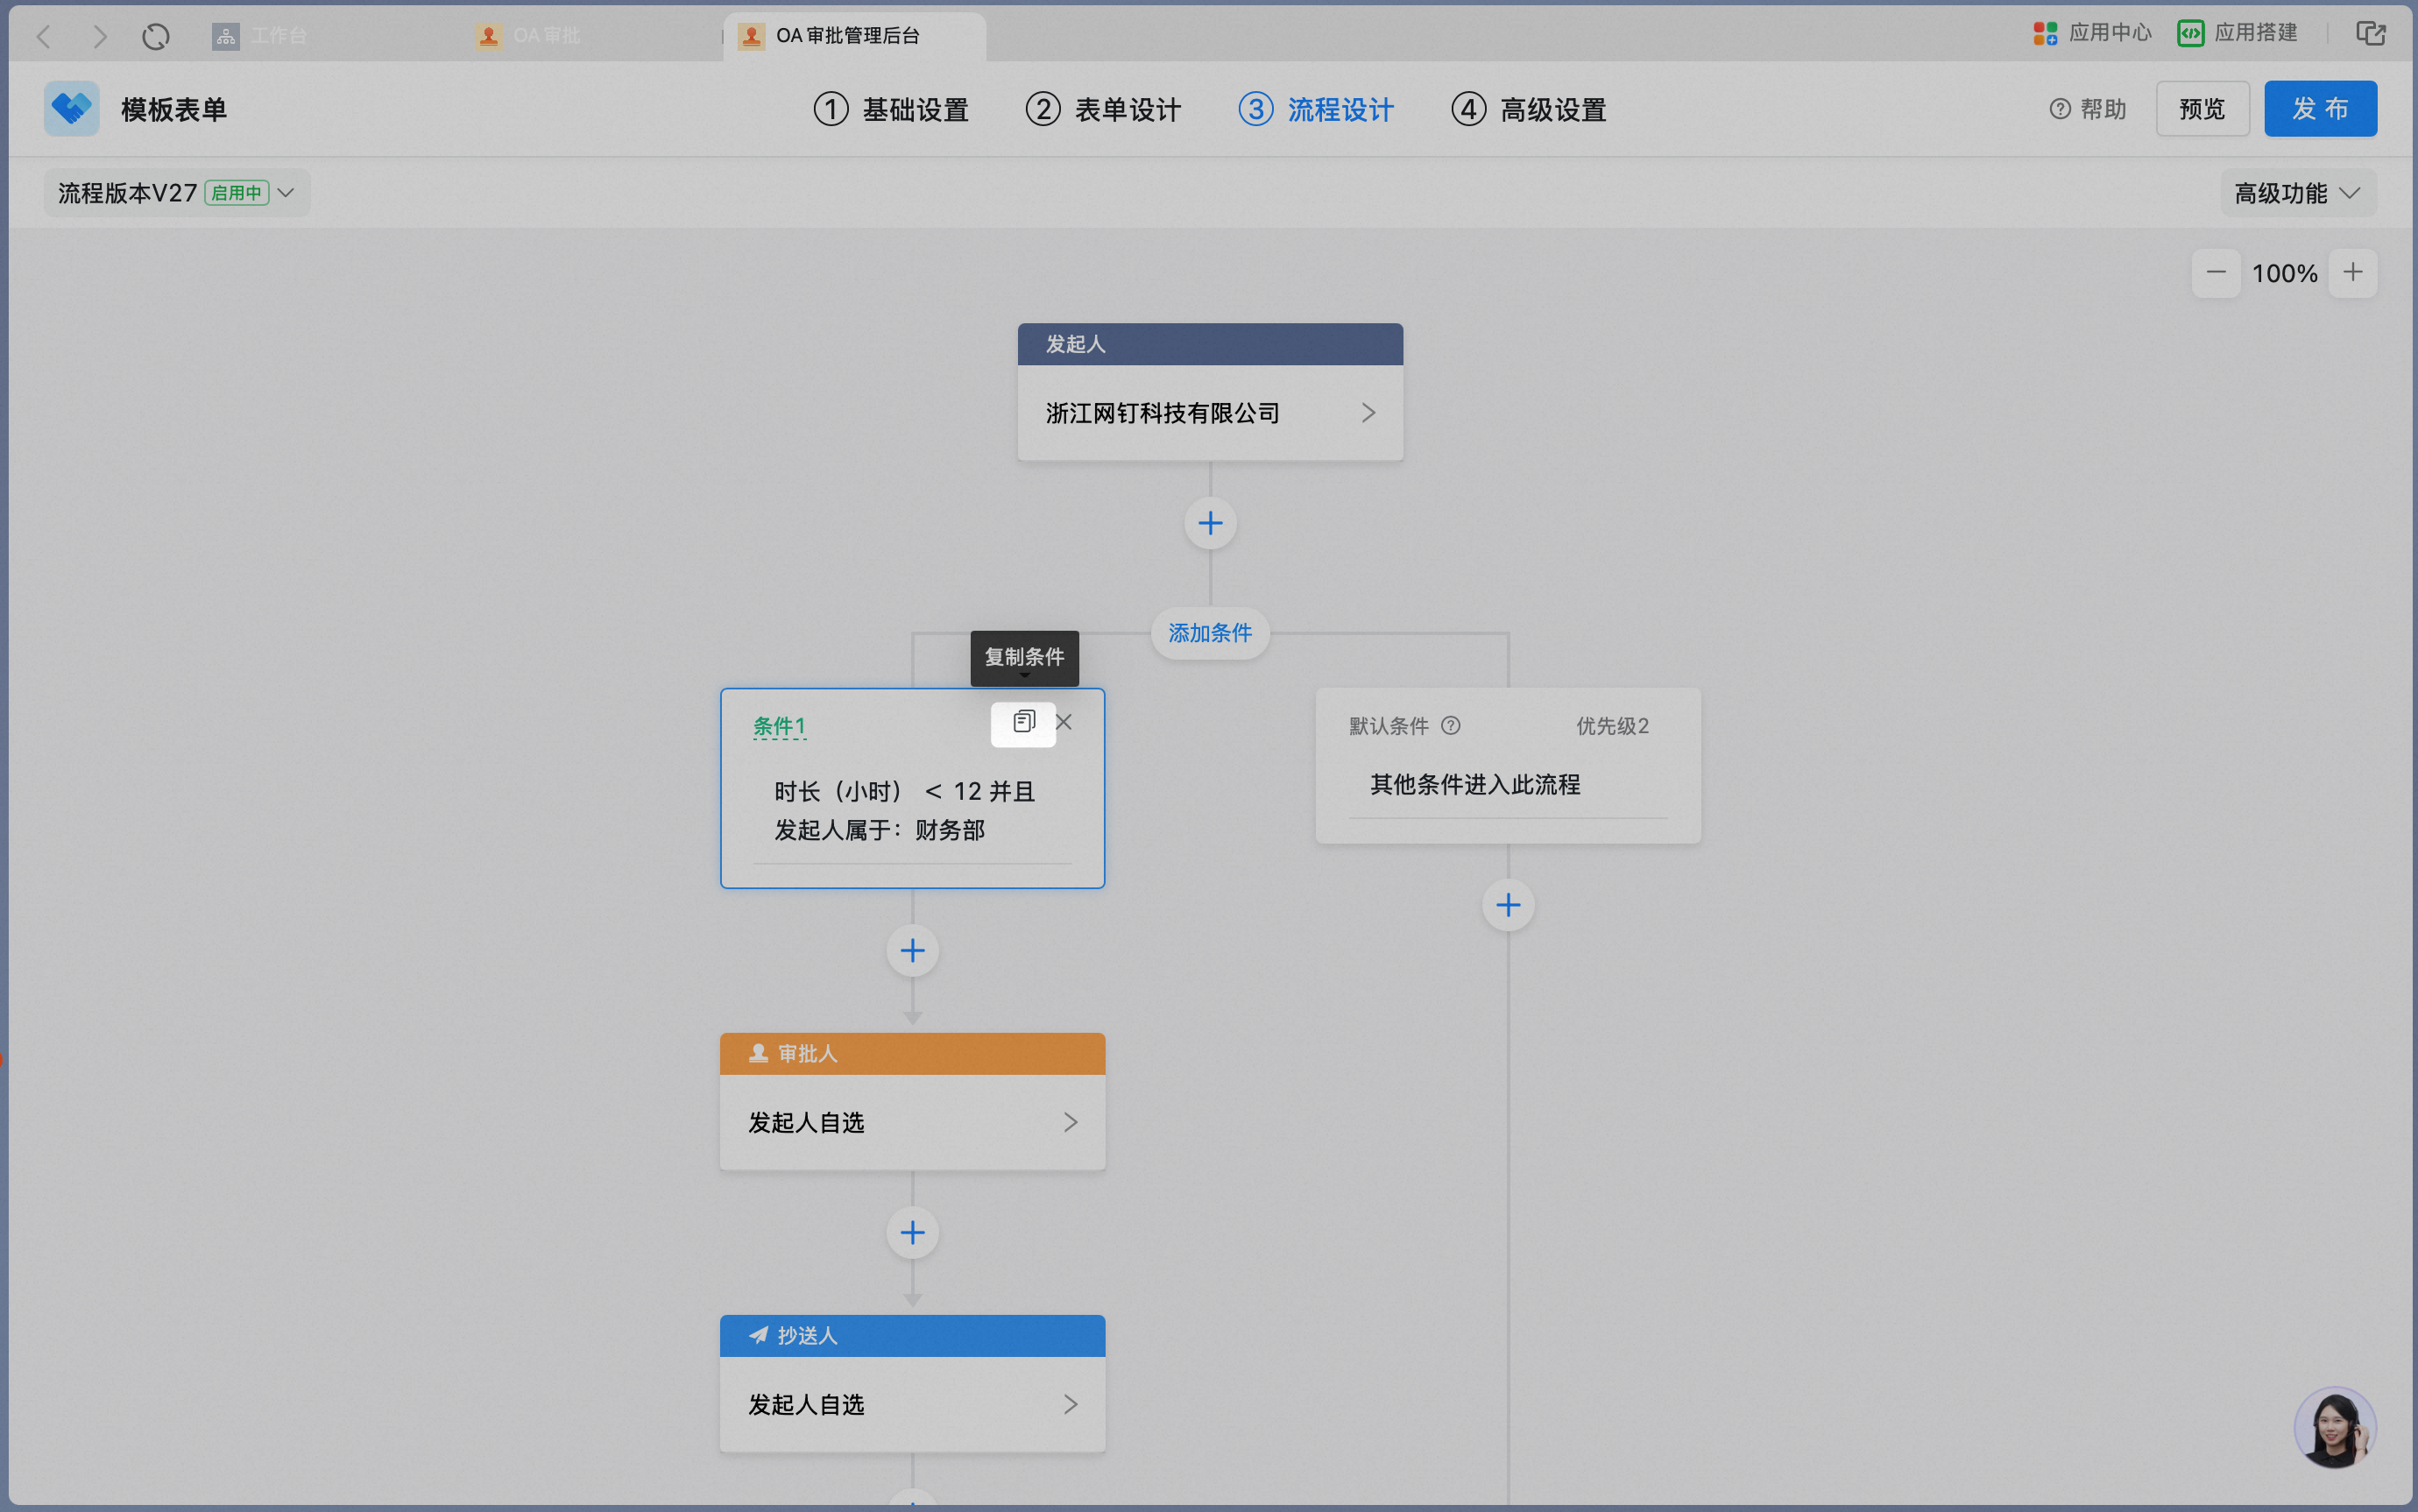
After you set the evaluation rule for each condition and save, the condition Card in the process diagram displays multiple conditions in an "AND" relationship (for example, duration less than 12 hours AND initiator belongs to the Finance Department):

### 5. Require any one of multiple conditions to be met
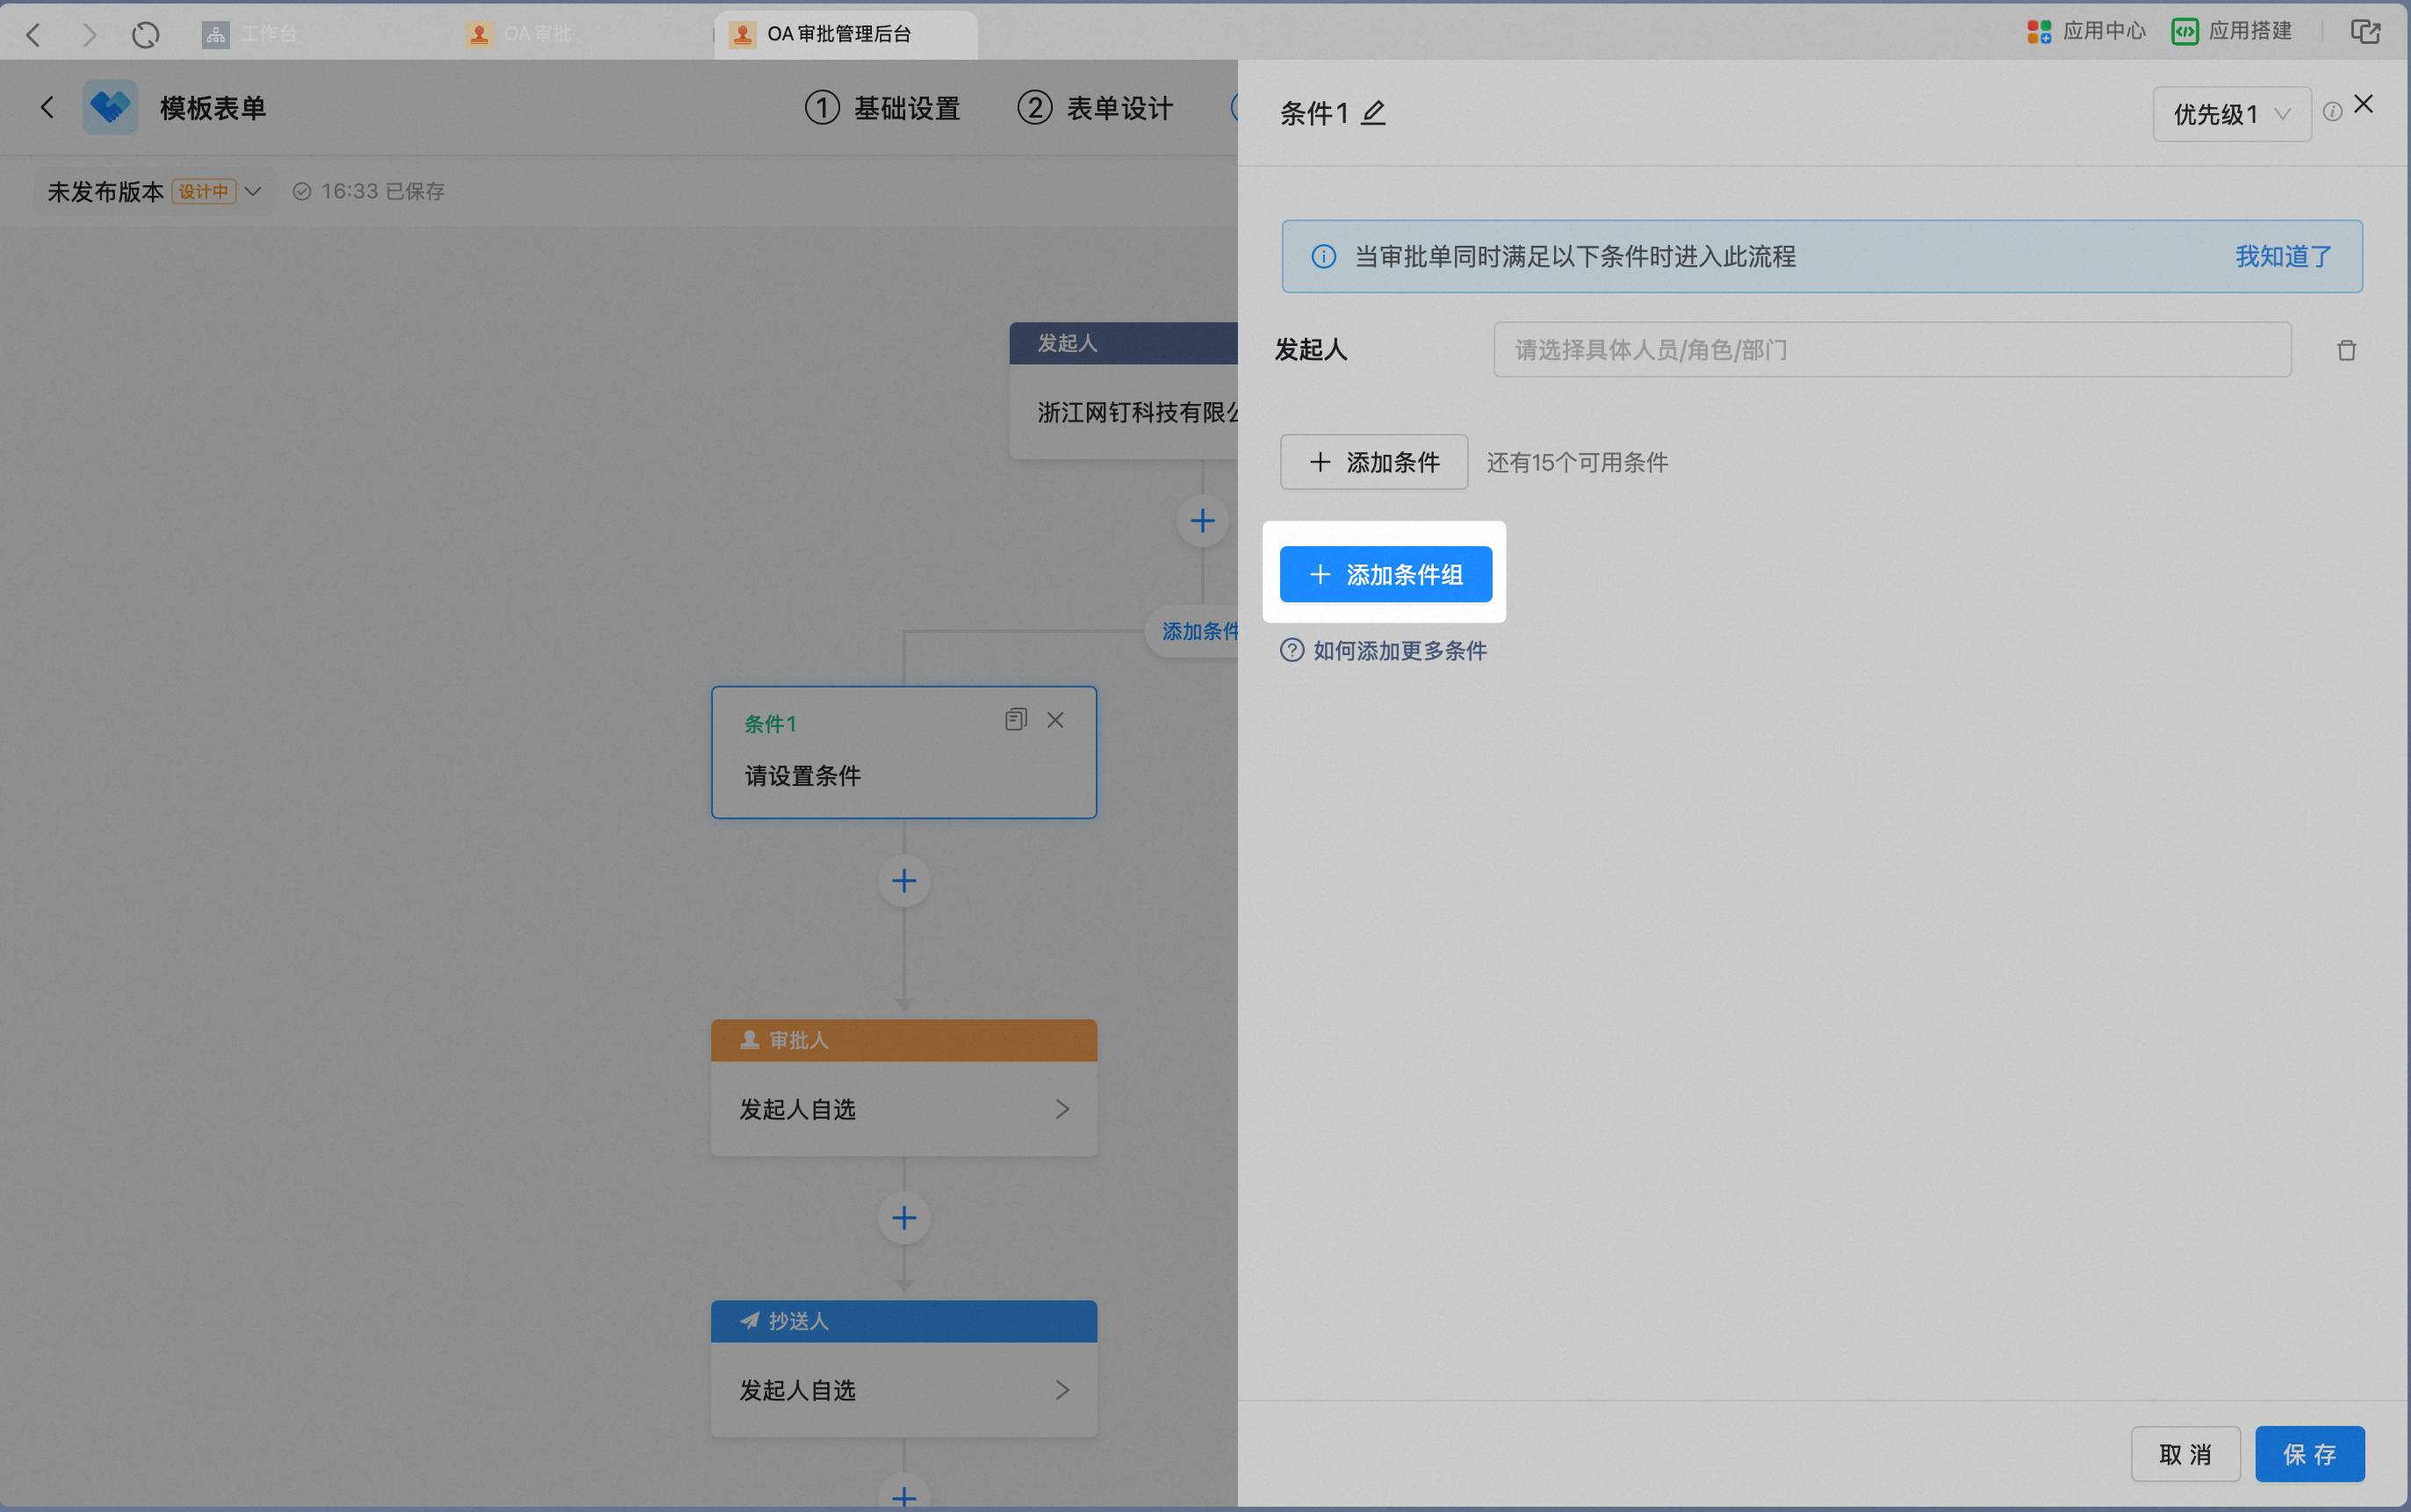
Click \[Add Condition group] to require any one of multiple conditions to be met. The relationship between Condition groups is "OR".
In the condition Settings side panel, click \[Add Condition group]:
Set the conditions within each Condition group separately. Condition groups are connected by an "OR" relationship — the branch is entered as long as any one group is satisfied:

### 6. Copy a condition
Click the Copy icon on the condition Card to copy the condition together with the Steps beneath it.
### 7. Adjust condition priority
Click the Move arrow on the Card to reorder the condition Cards. Because conditions are evaluated from left to right, reordering the condition Cards adjusts the execution priority of the branches.