

 Chats
Chats Calendar
 Meetings
 Contacts
 Mail
Mail Docs
Docs Drive
Drive AI Table
 AI Minutes
 Attendance
 Approval
 YiDA
YiDA Admin Console
1. Form control details
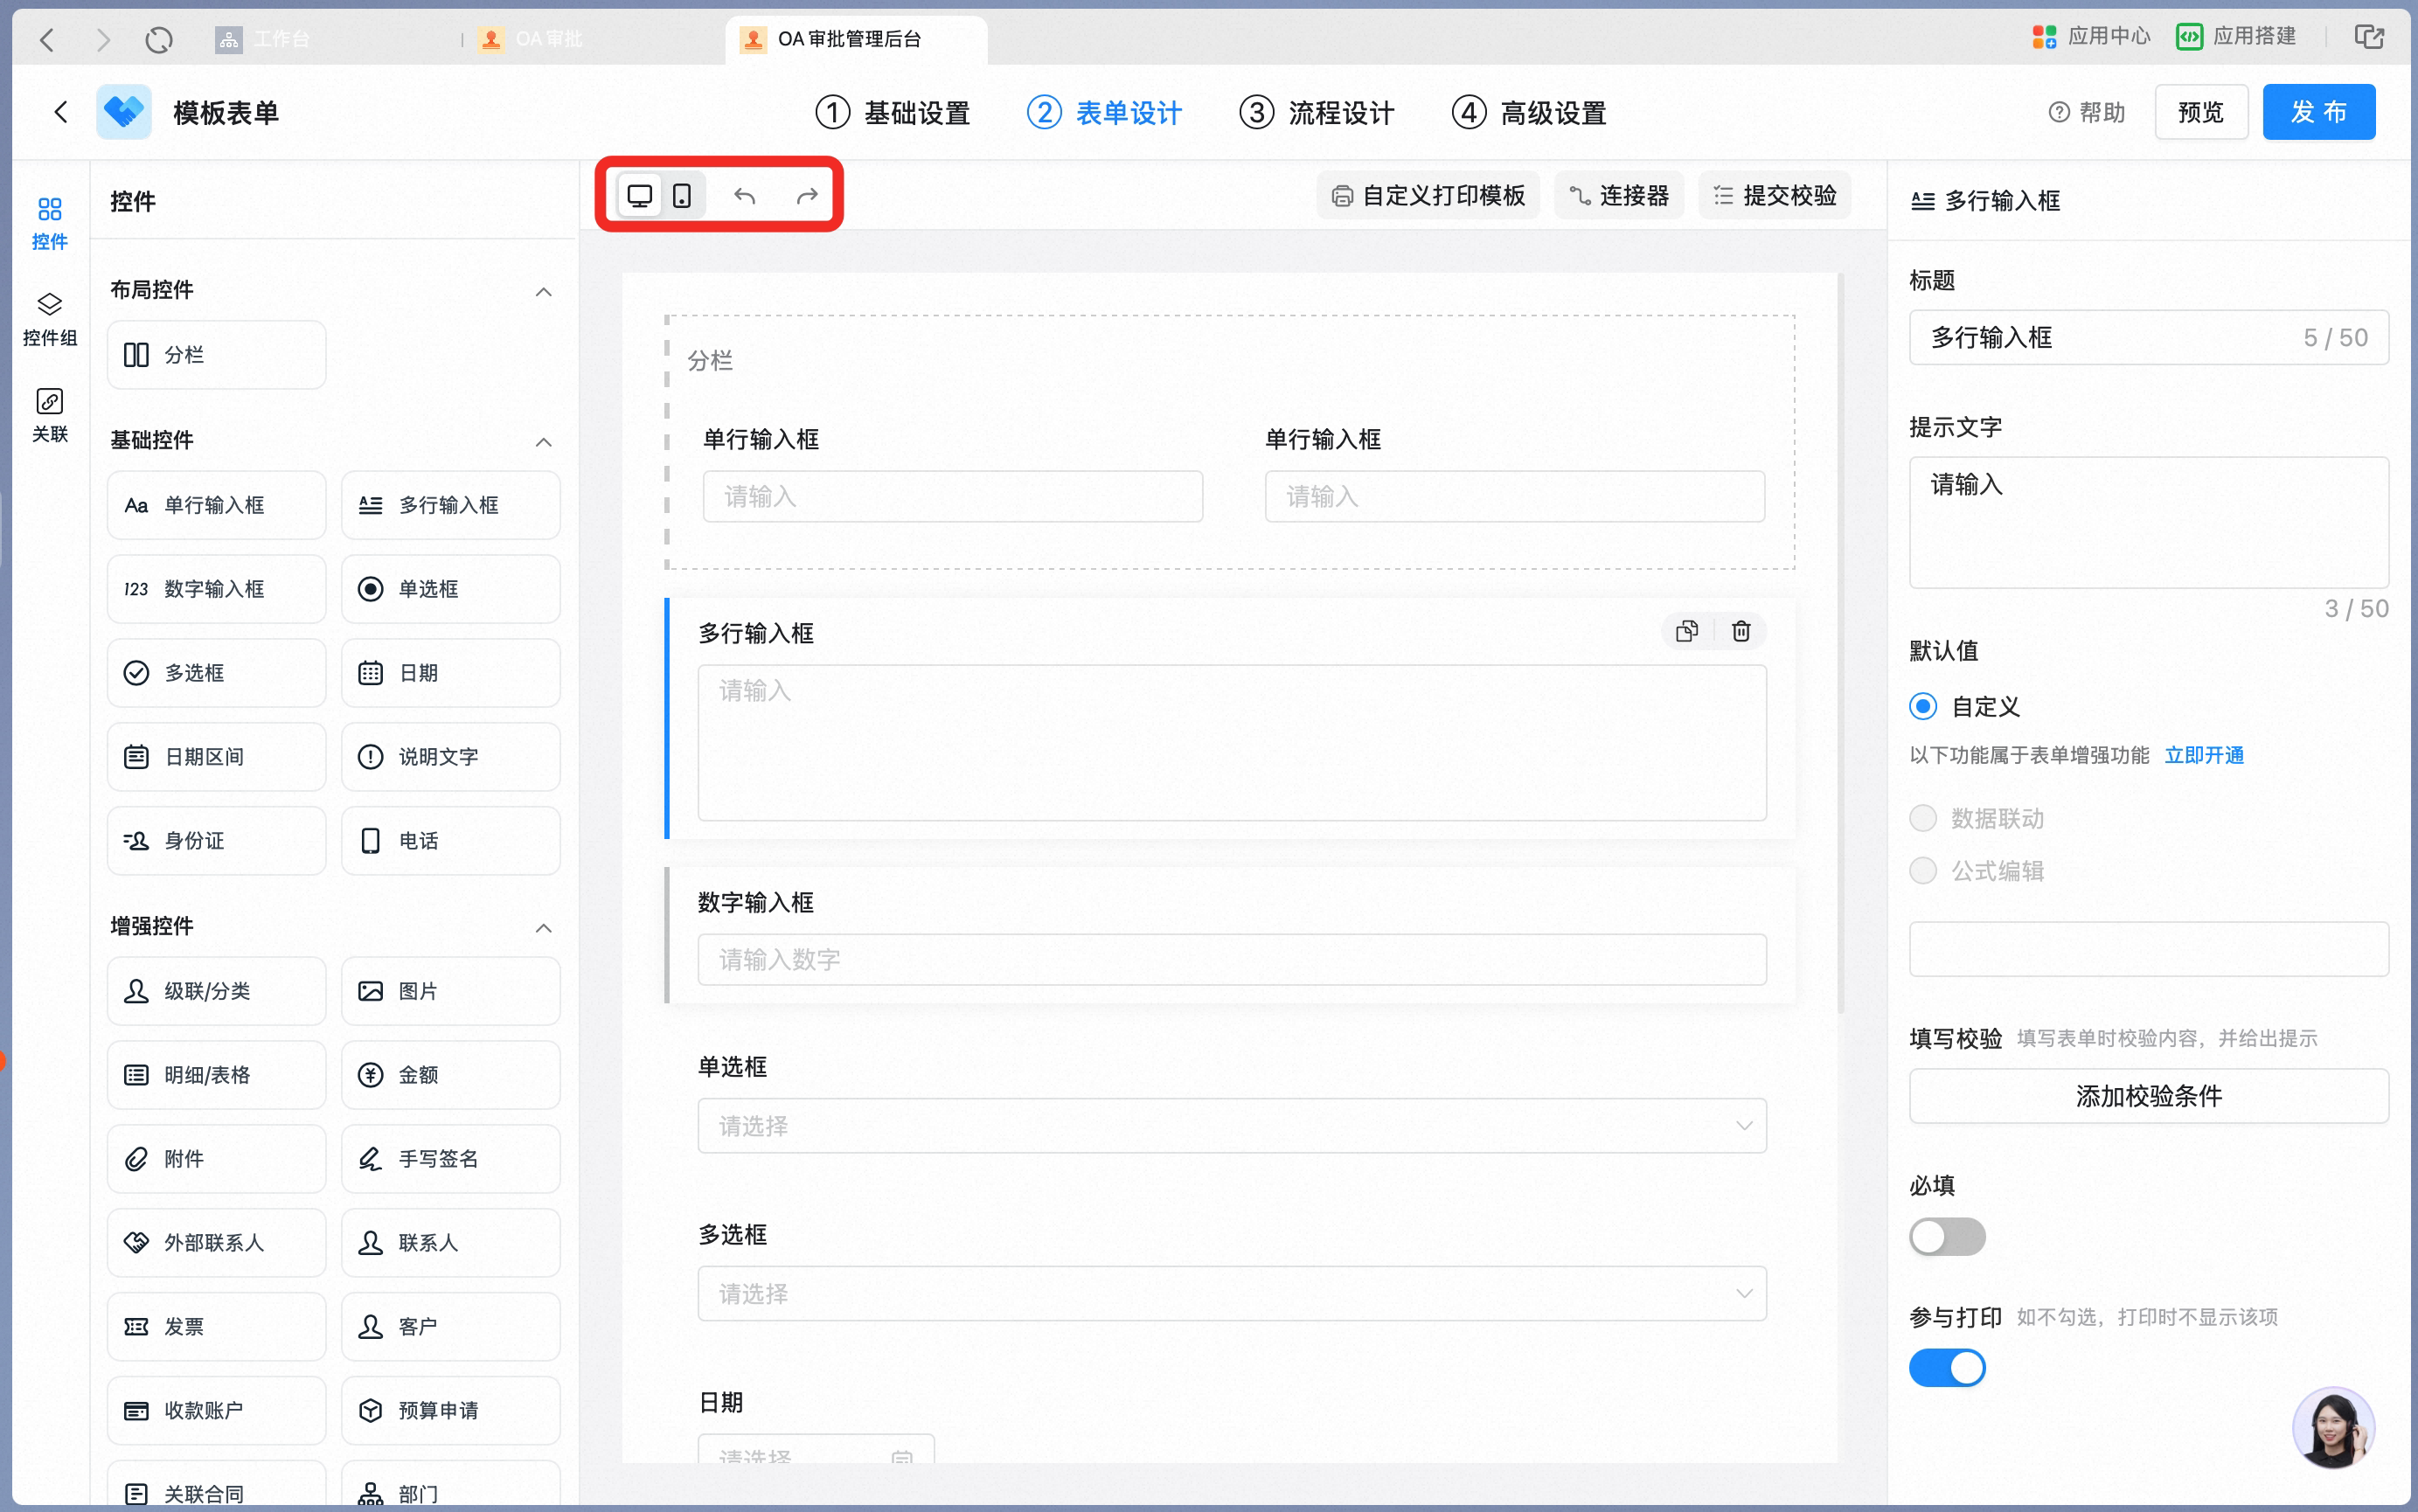
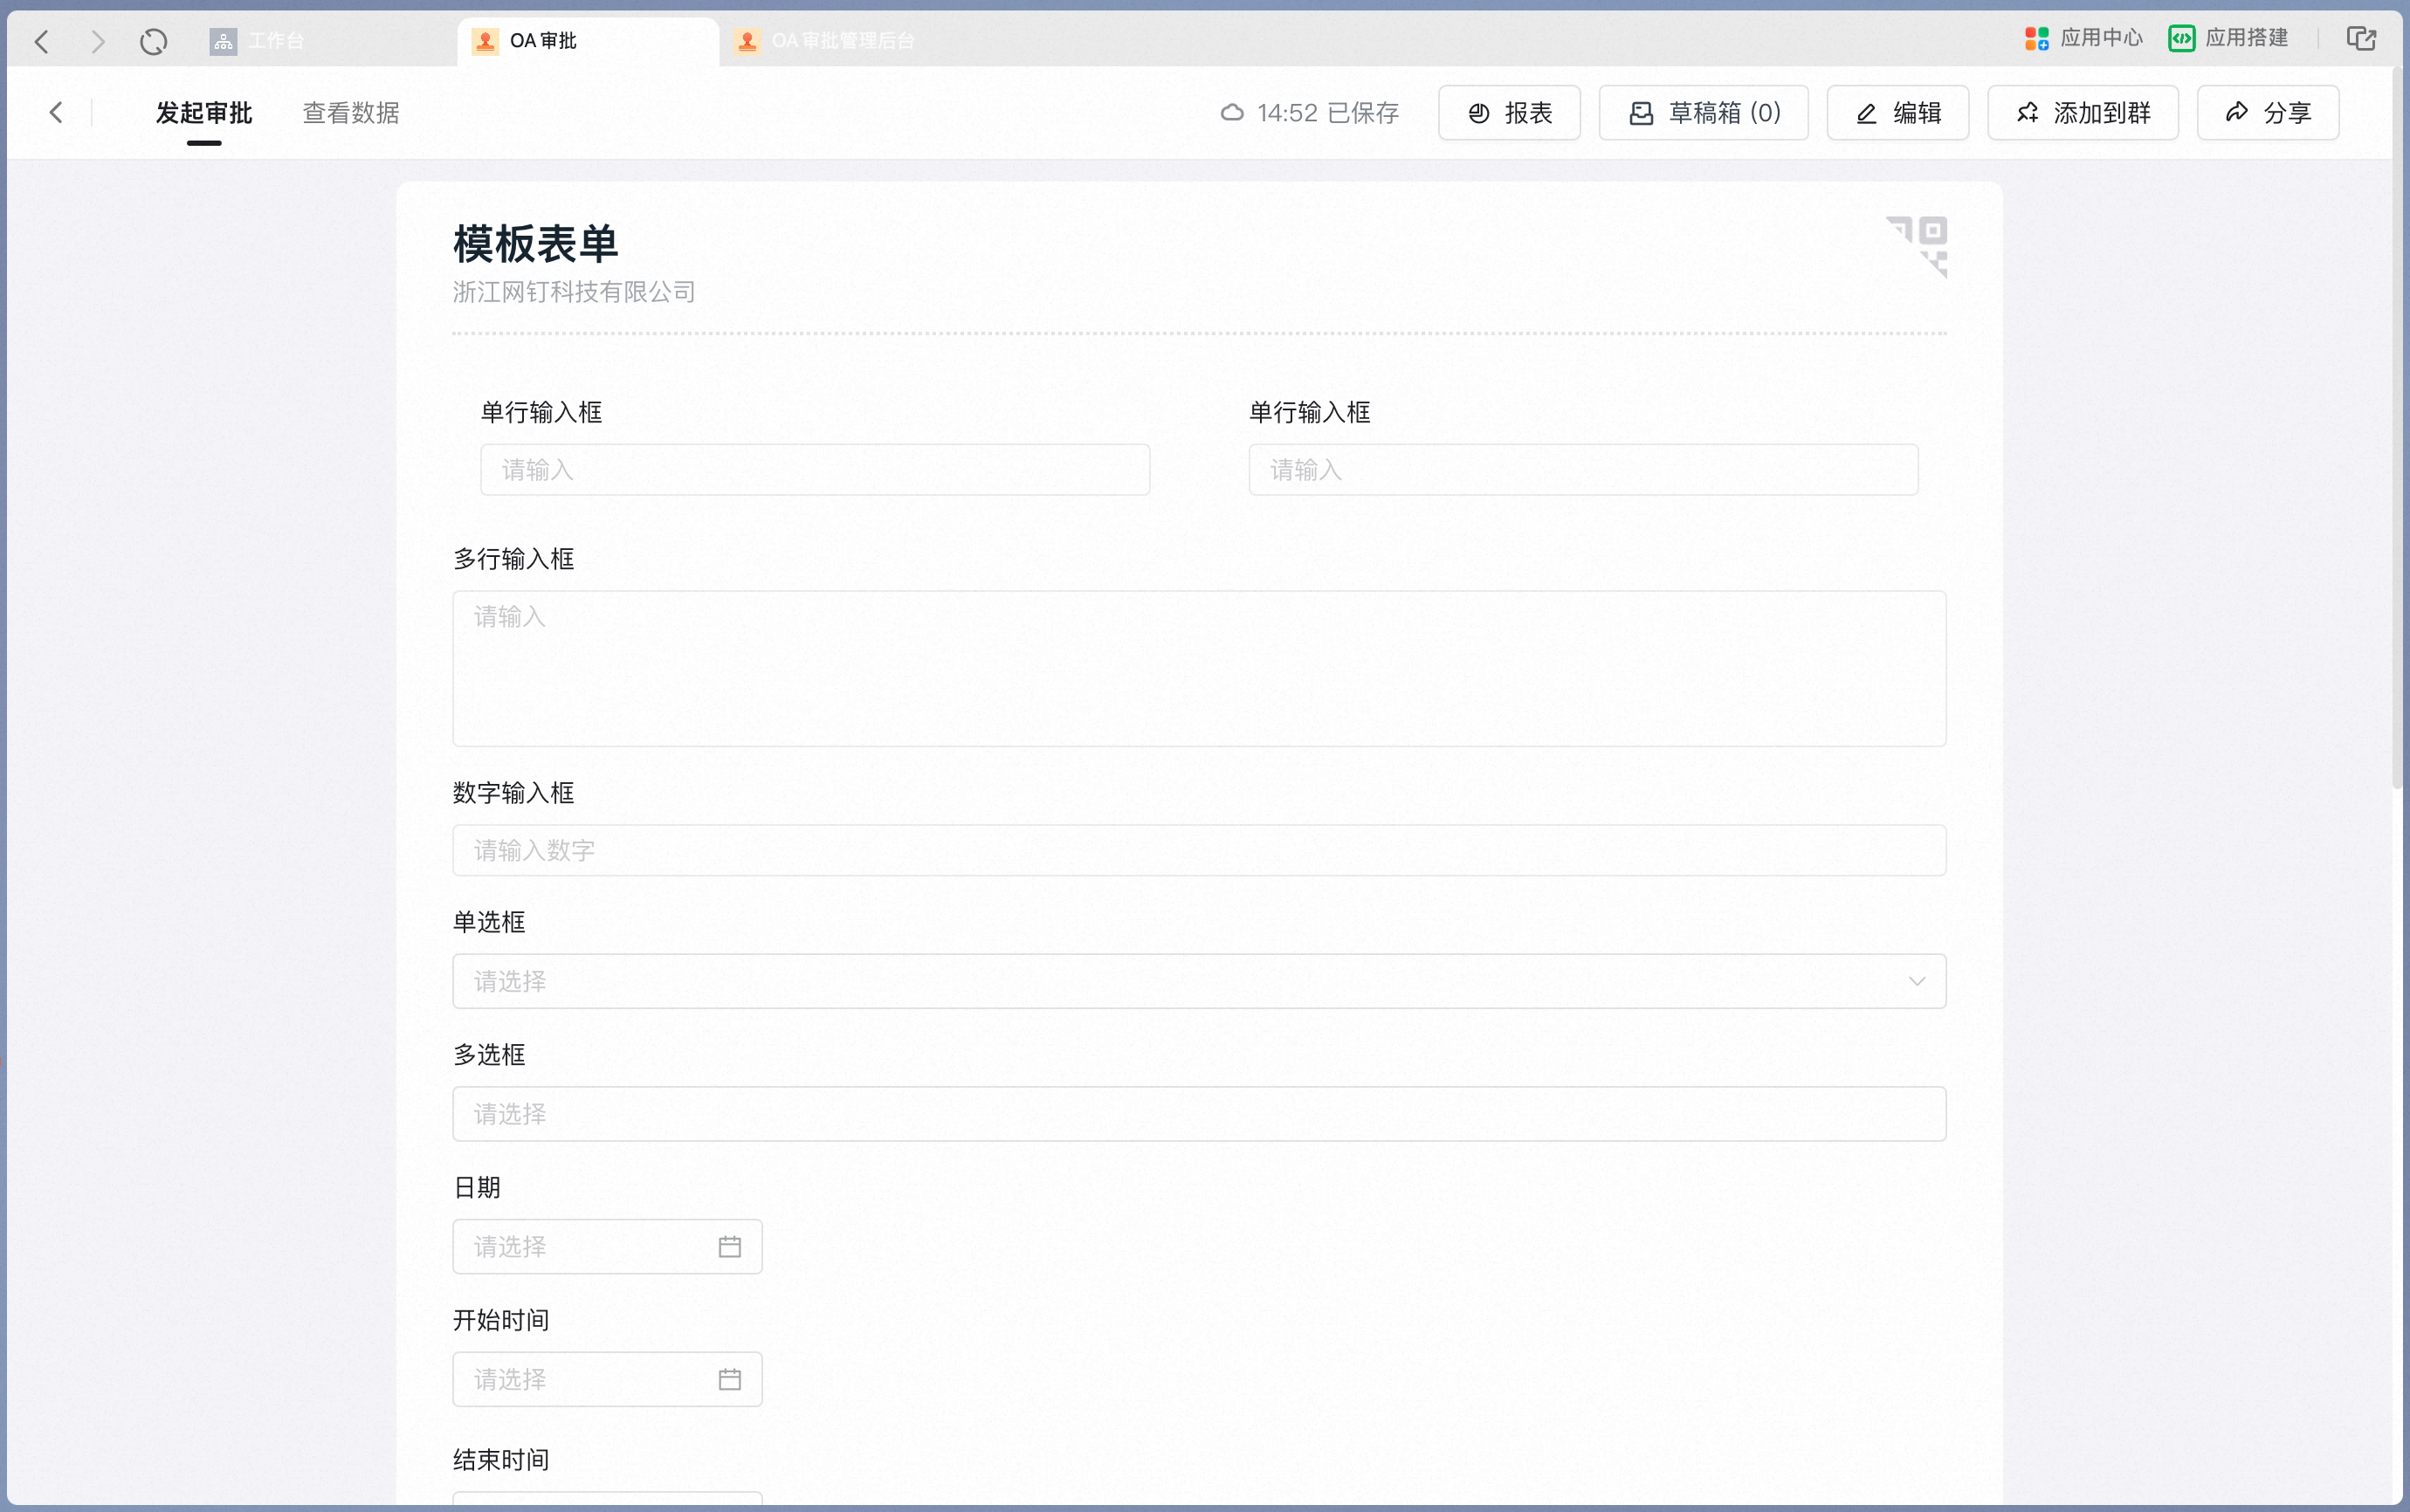
An Approval form is composed of various controls, grouped into three categories:1) Layout controls
Column split improves information density on the desktop by arranging Form Fields into multiple columns side by side.Column split takes effect only on the desktop; the mobile side still displays in a single column. This control has no Attribute Settings, data constraints, or Search.

2) Basic controls
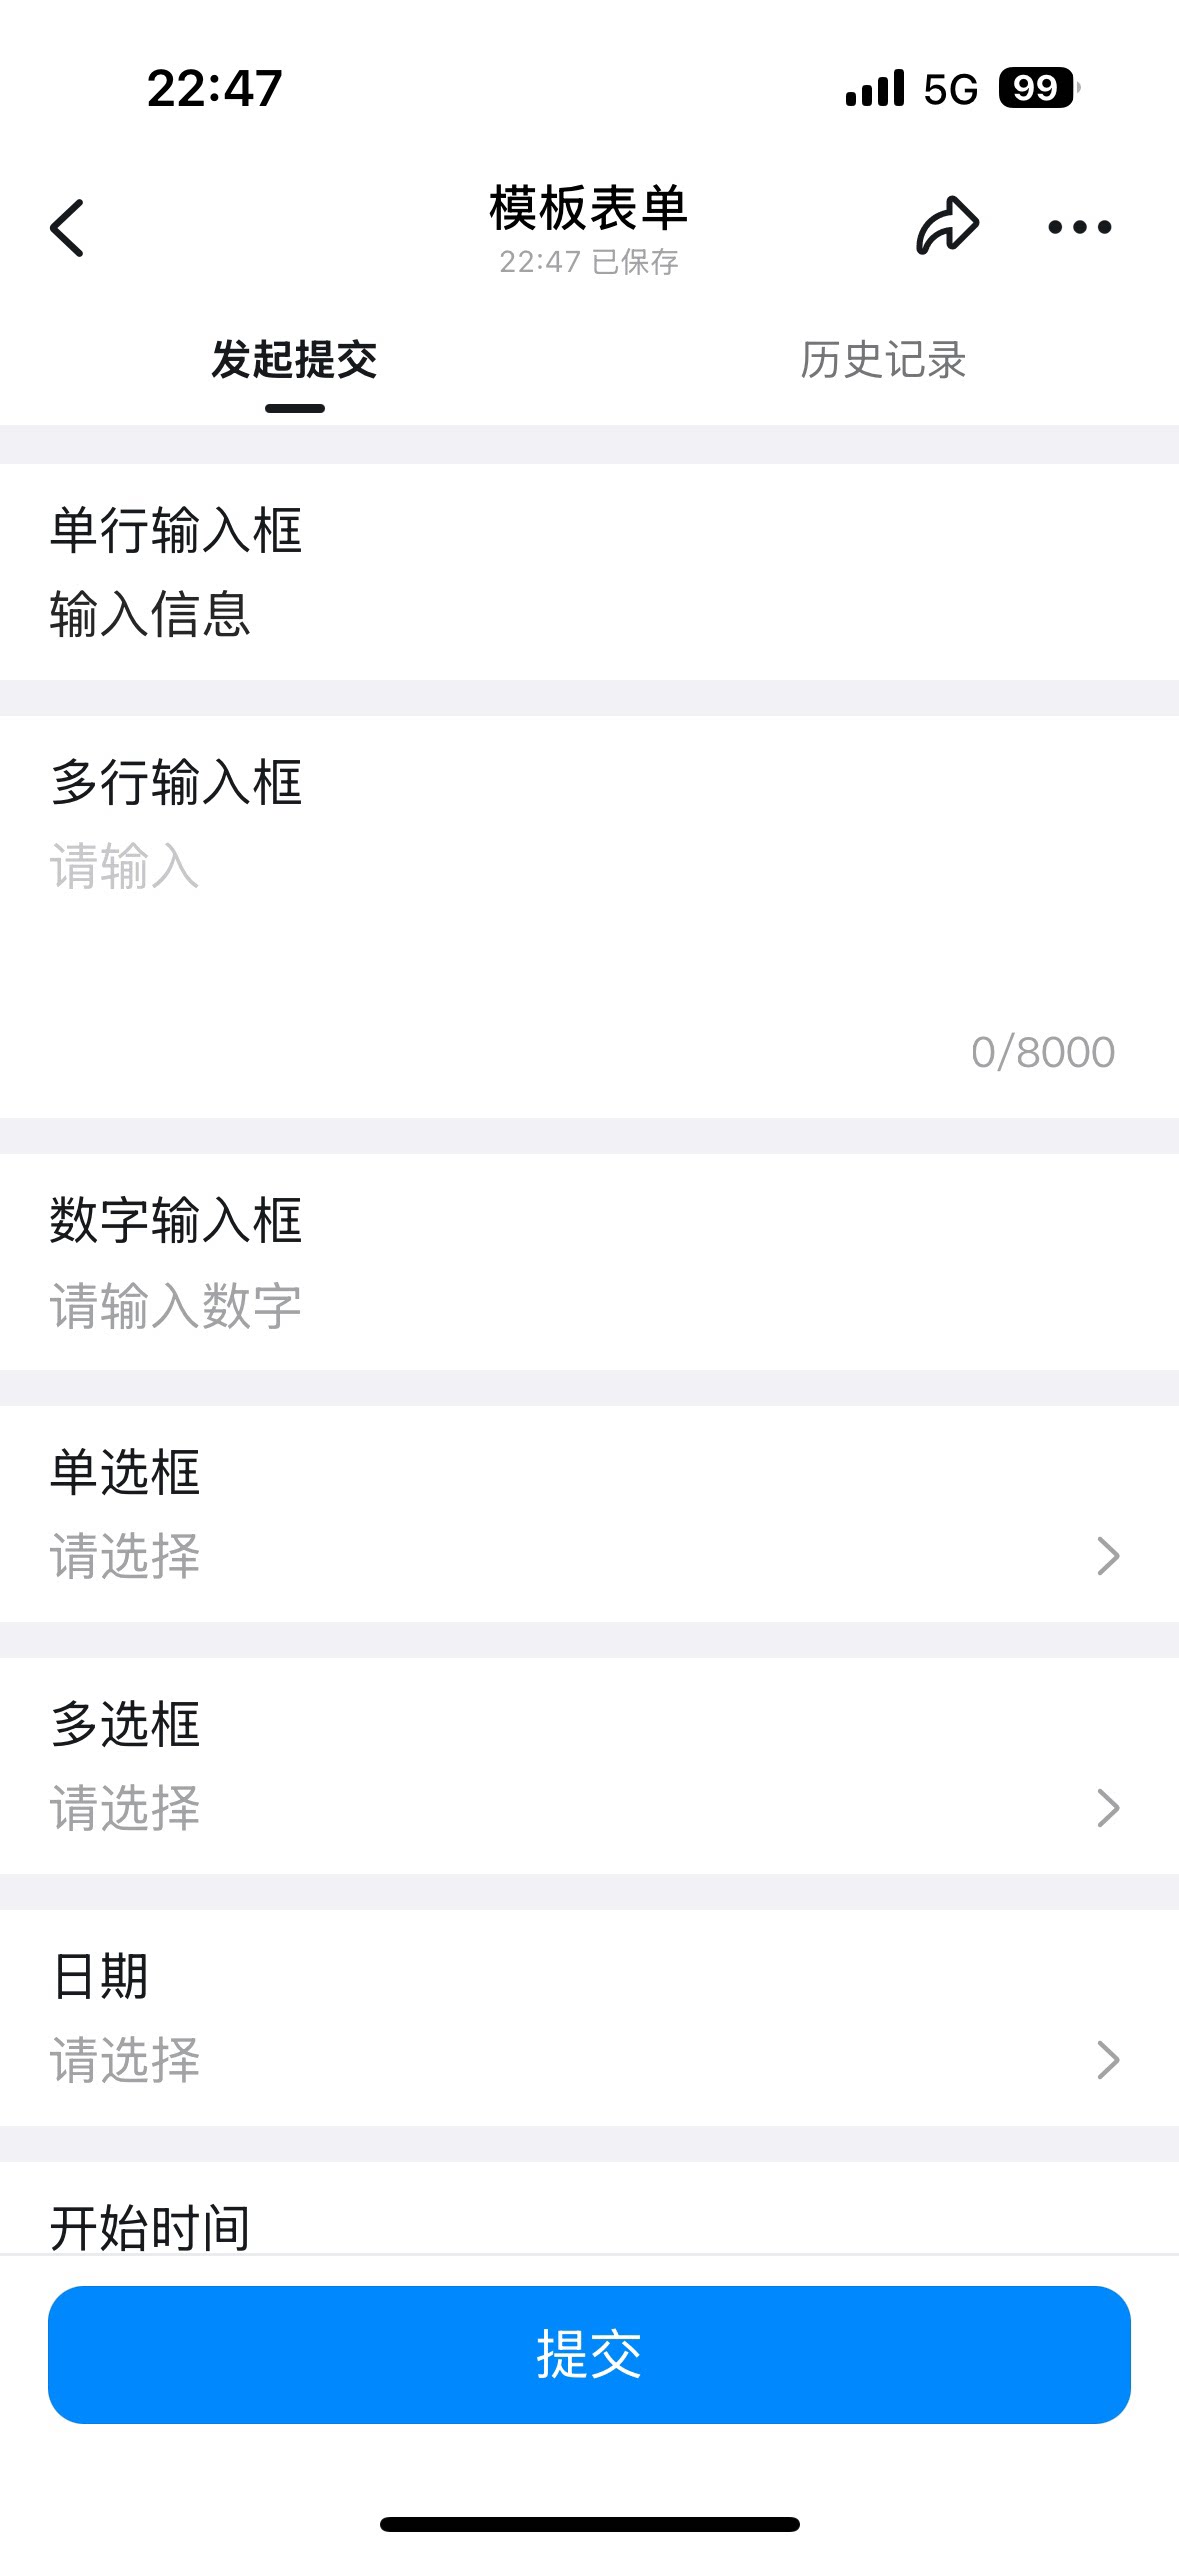
Basic controls share the following common settings:1. Single-line input
Use this control to enter simple Text, such as a contract name or item name. Settings interface Add a single-line input in the form designer: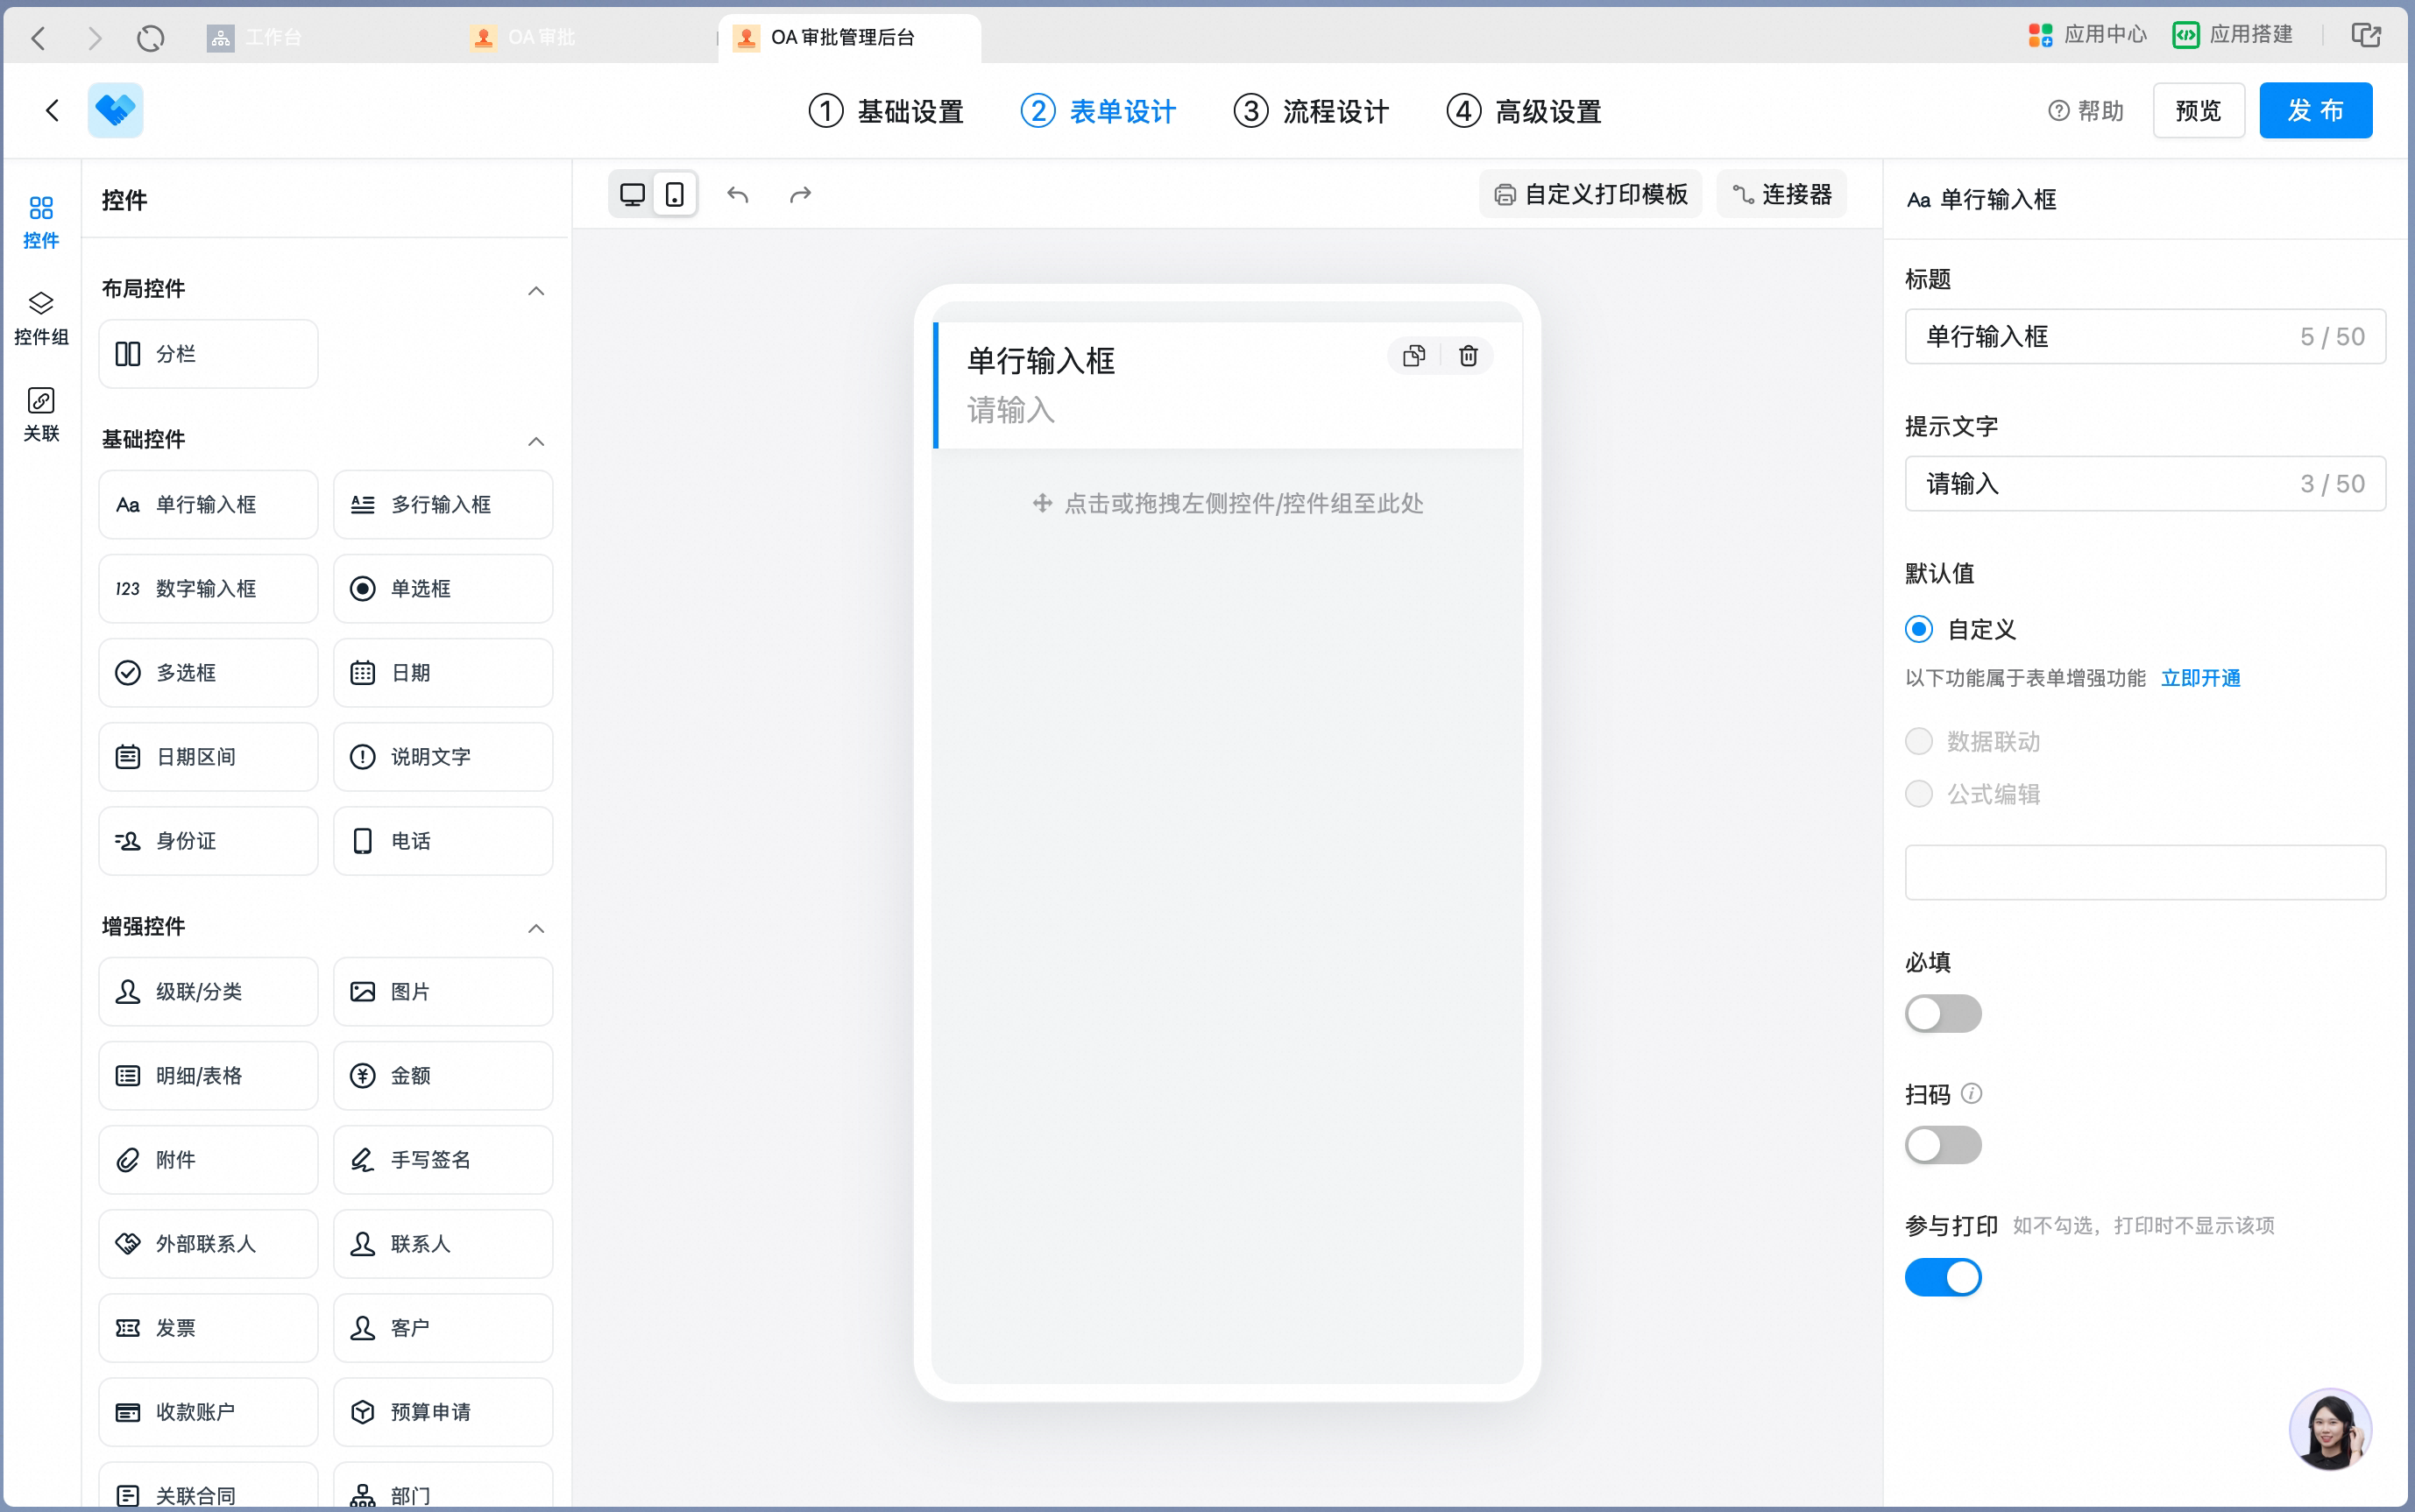
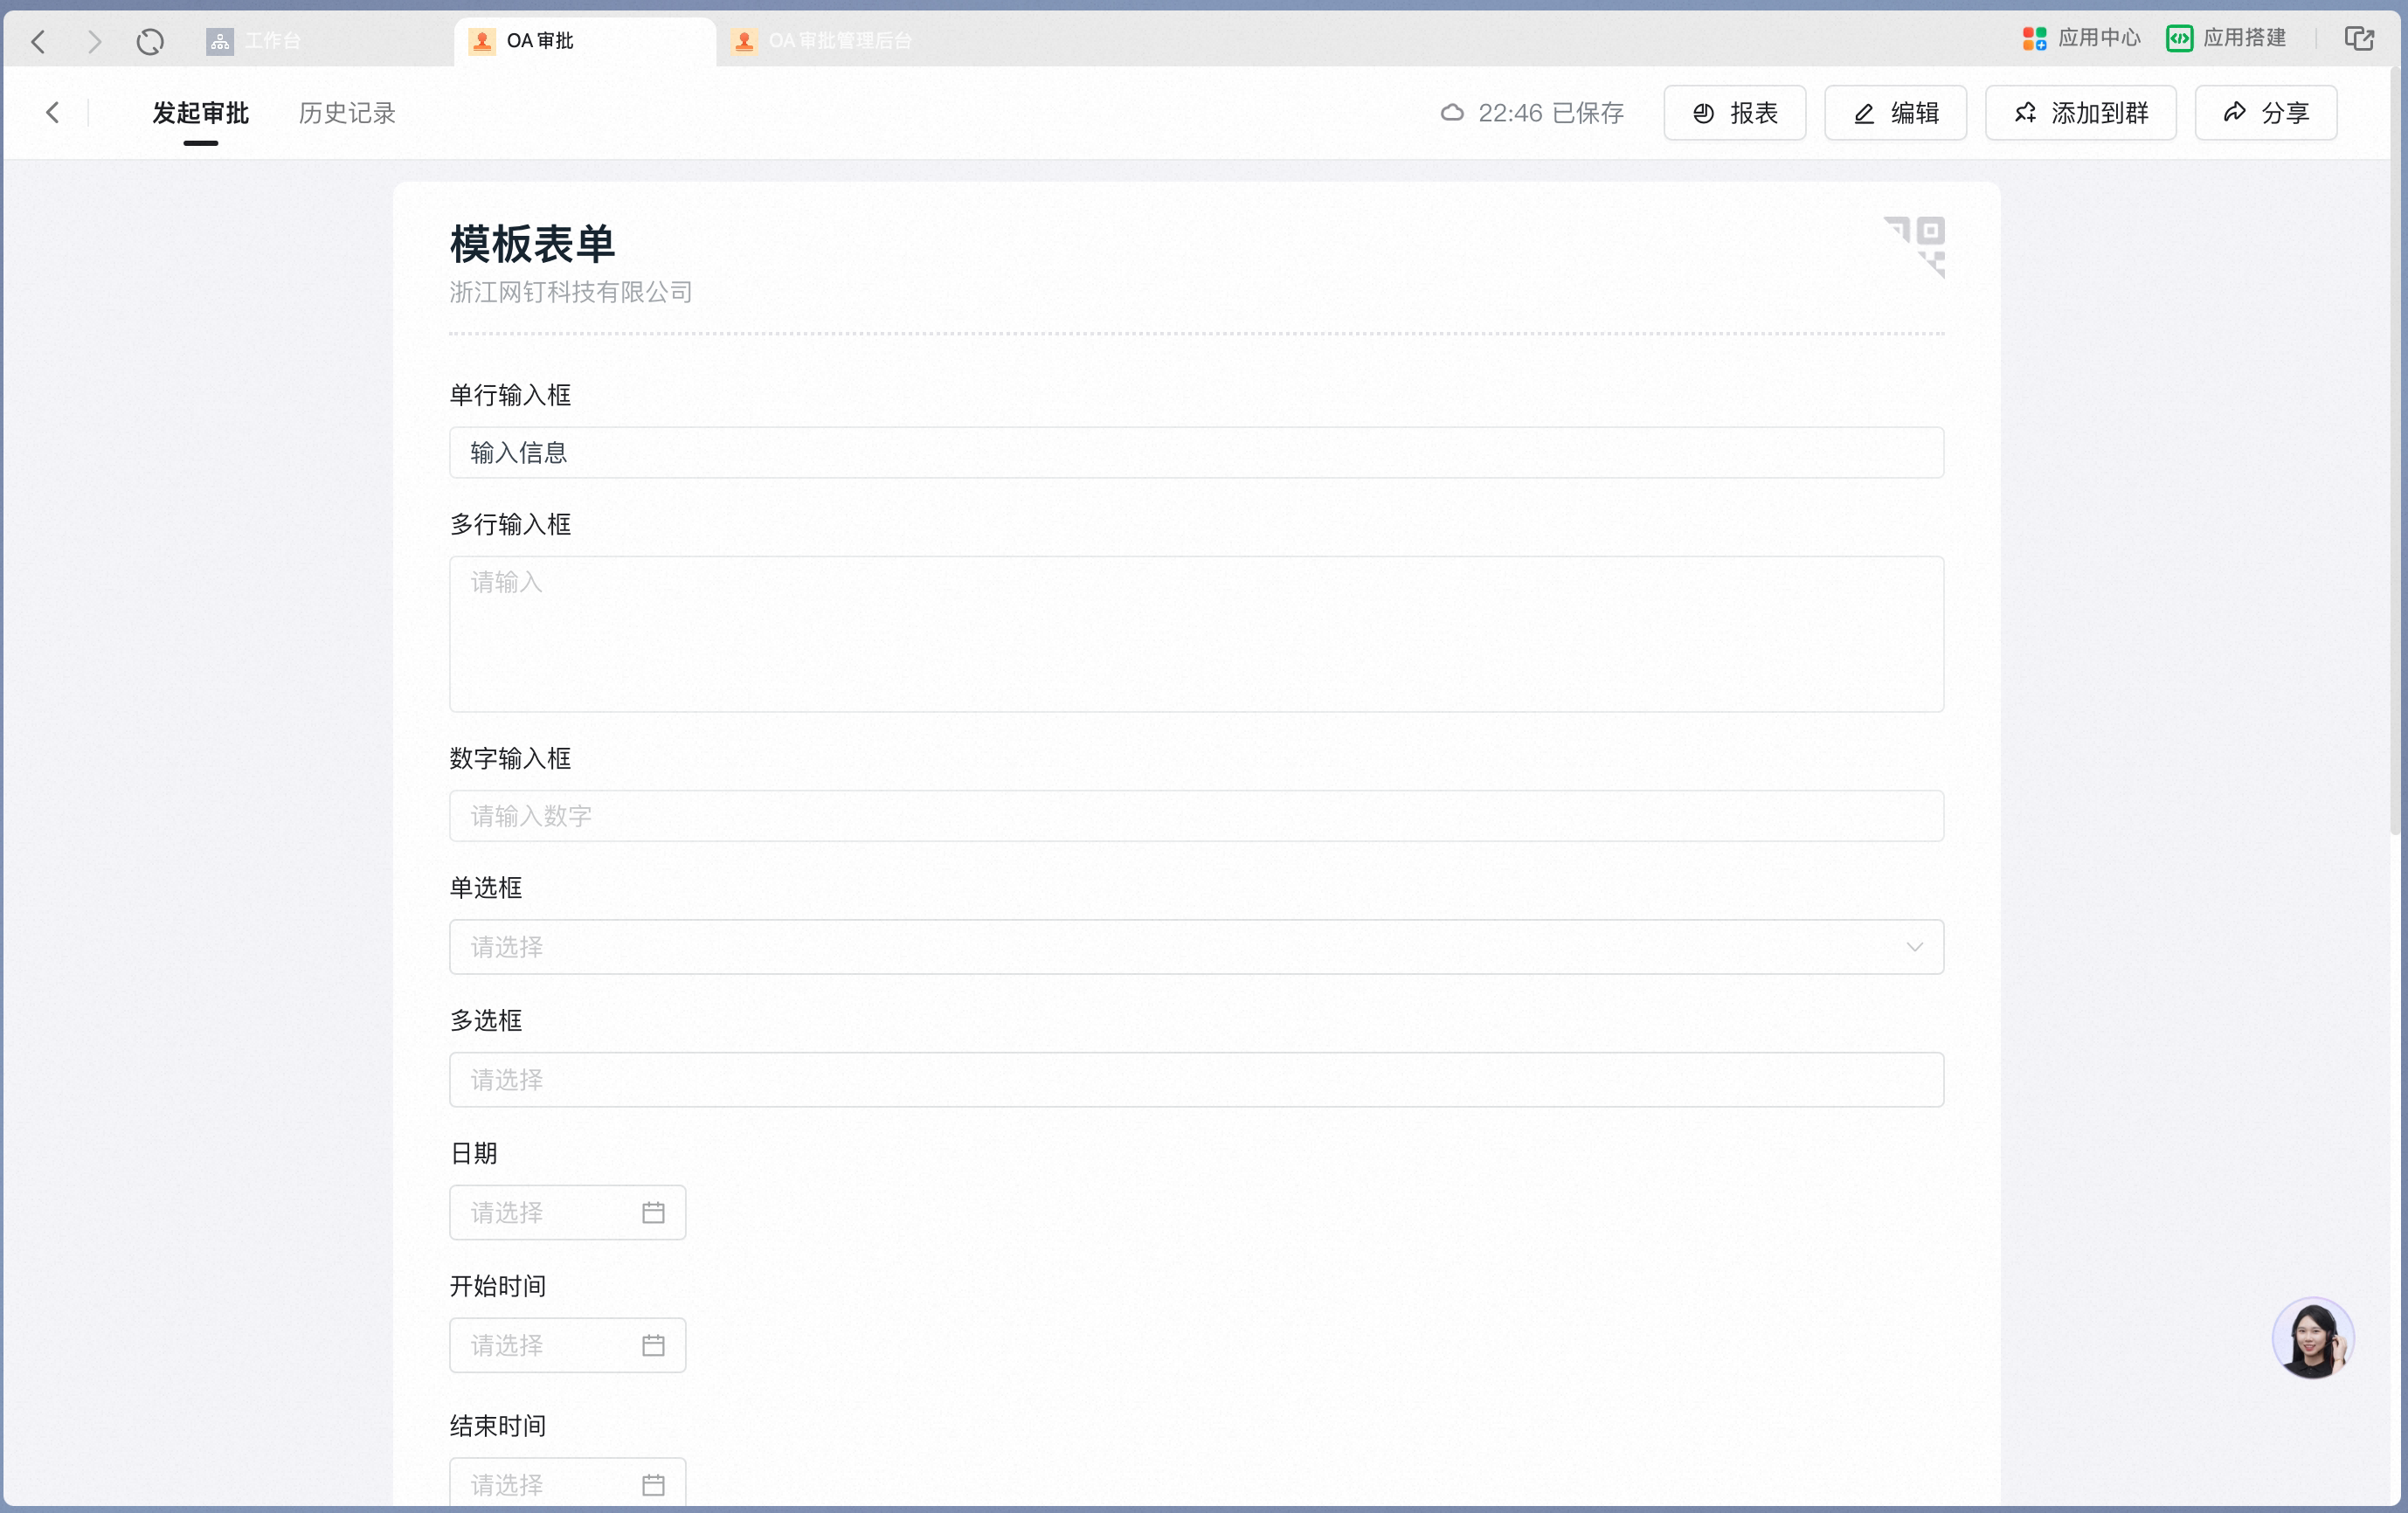
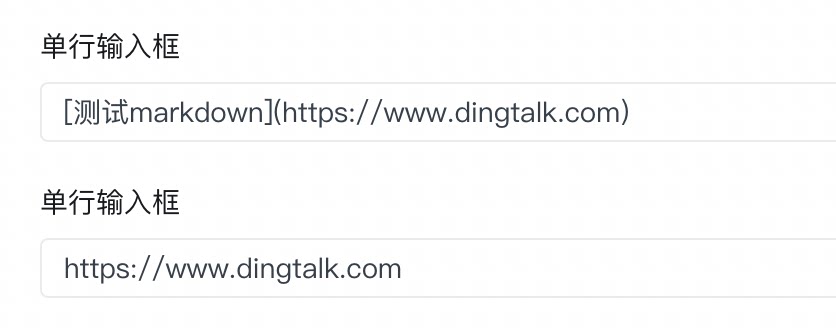
The single-line input recognizes Links and Markdown-formatted Content:

2. Multi-line input
Use this control to enter complex Text — for example, detailed notes, interview transcripts, or interview evaluations. Line breaks are supported. Settings interface Add a multi-line input in the form designer: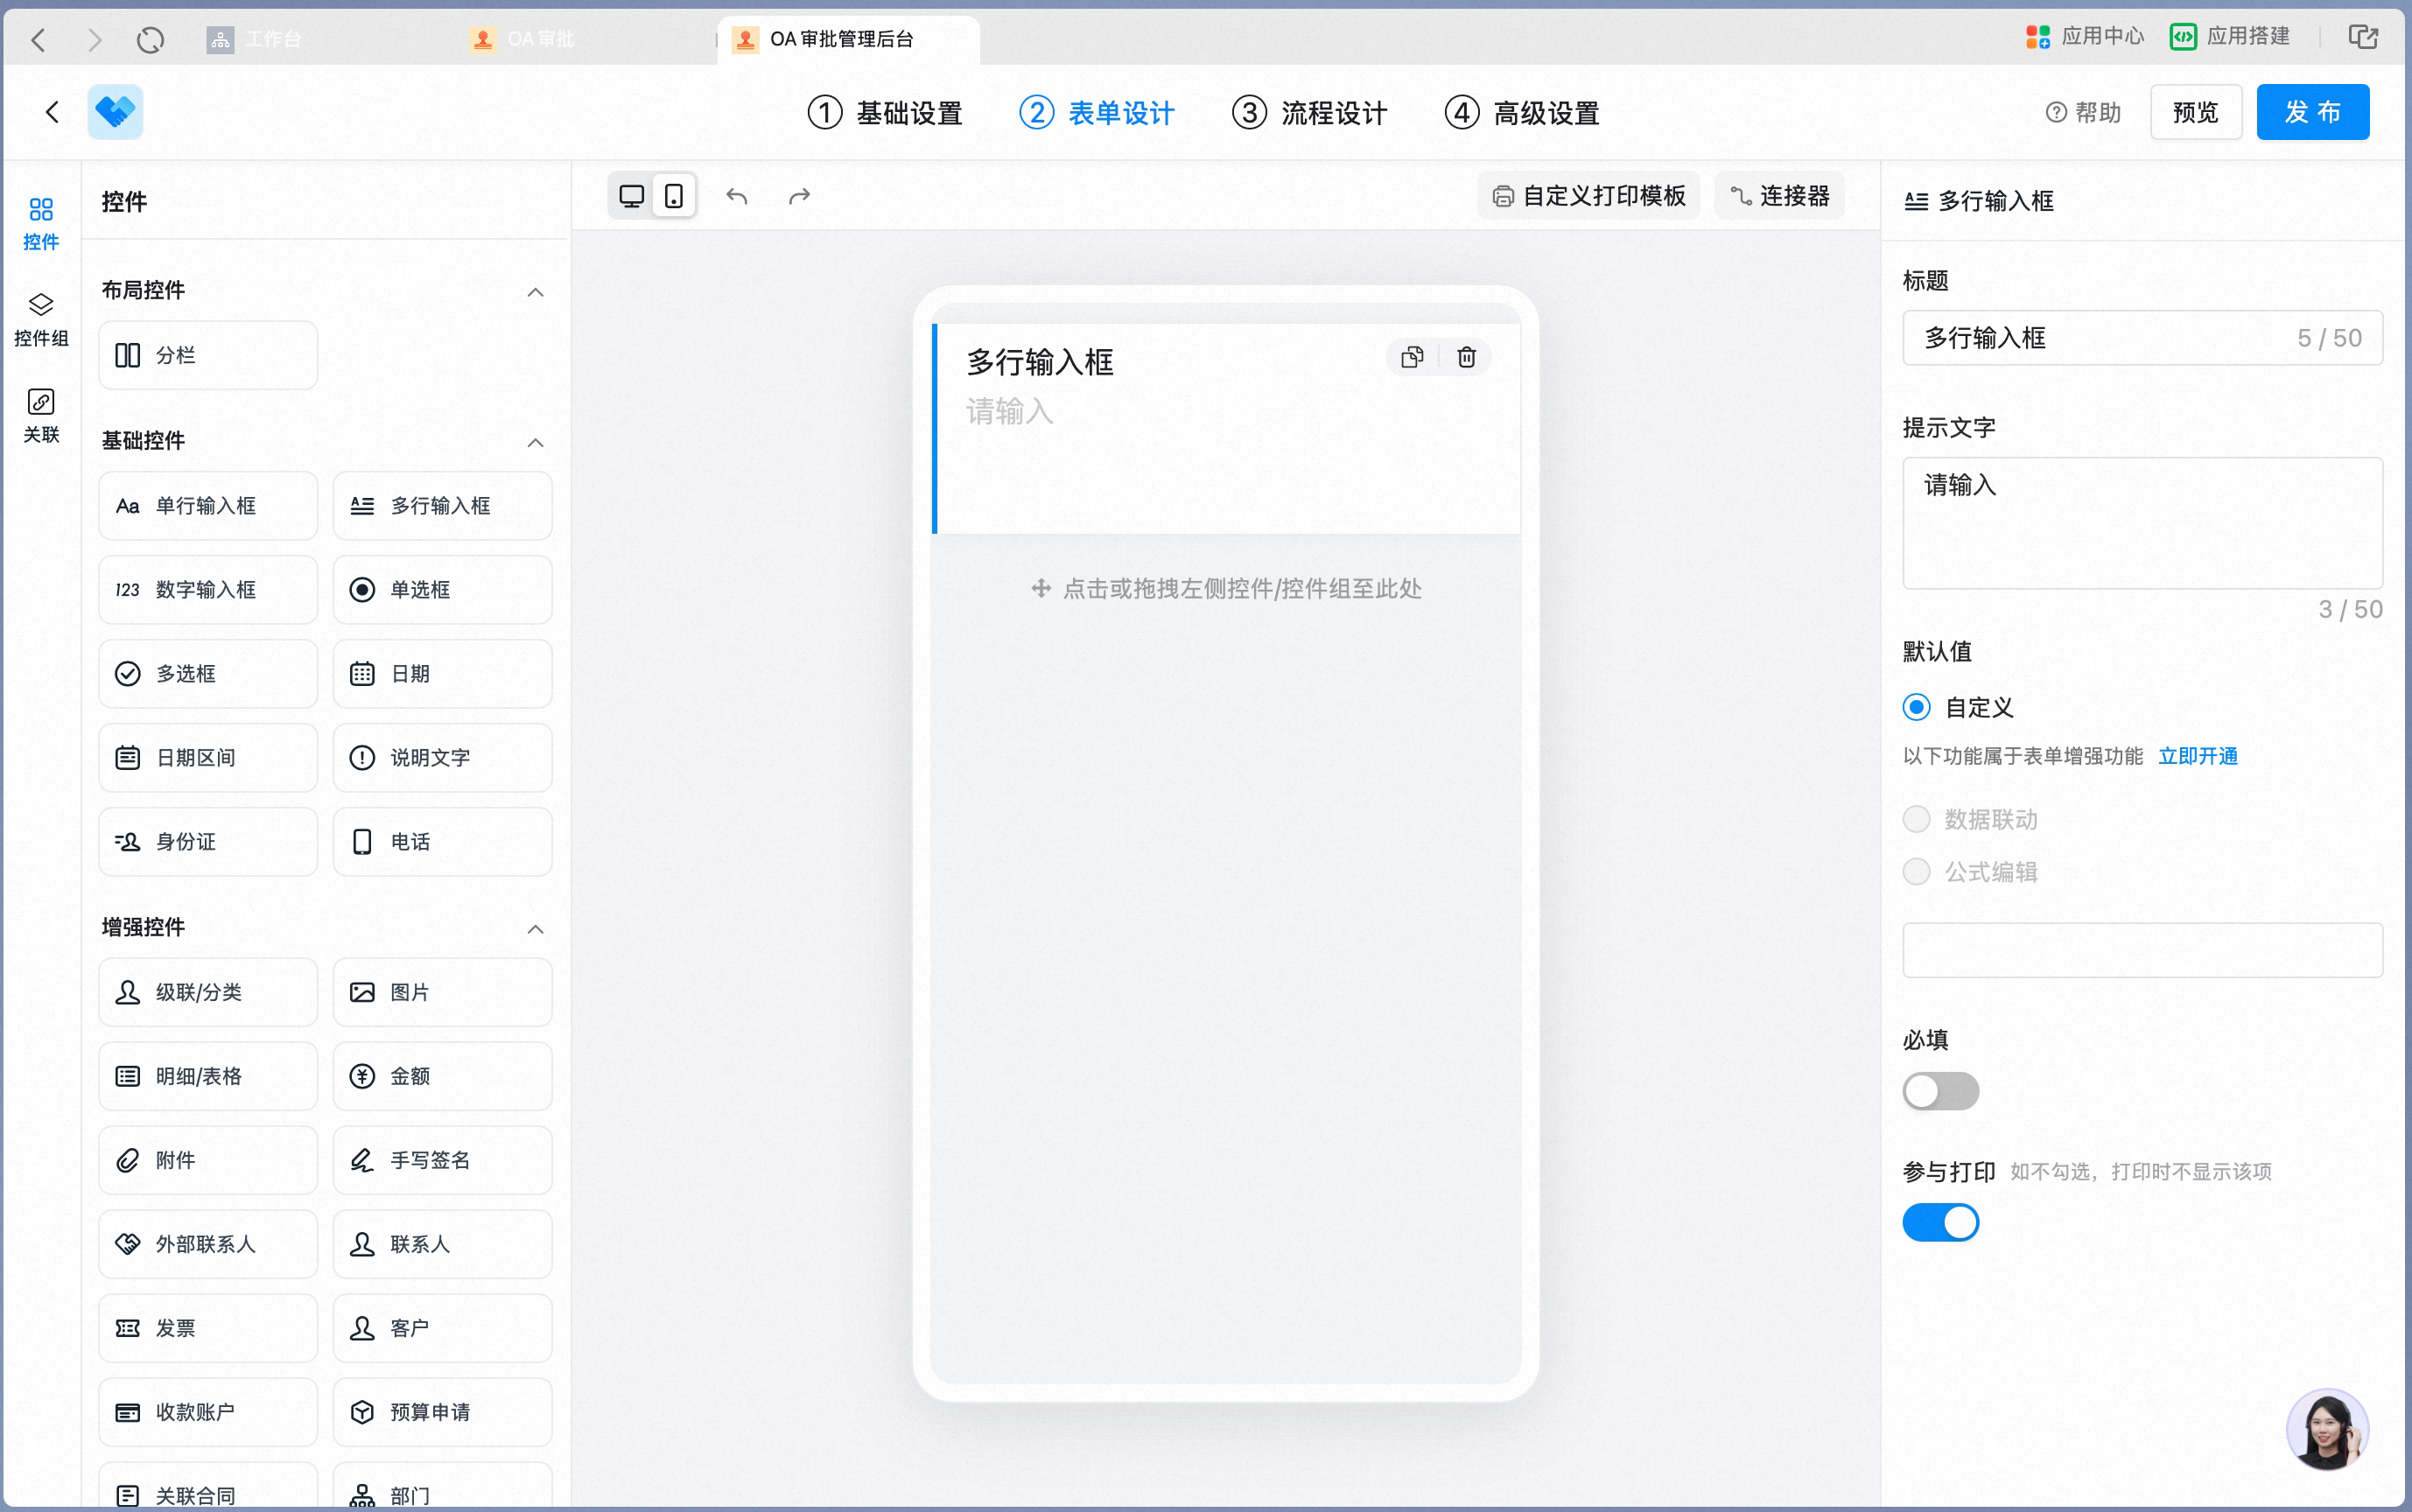
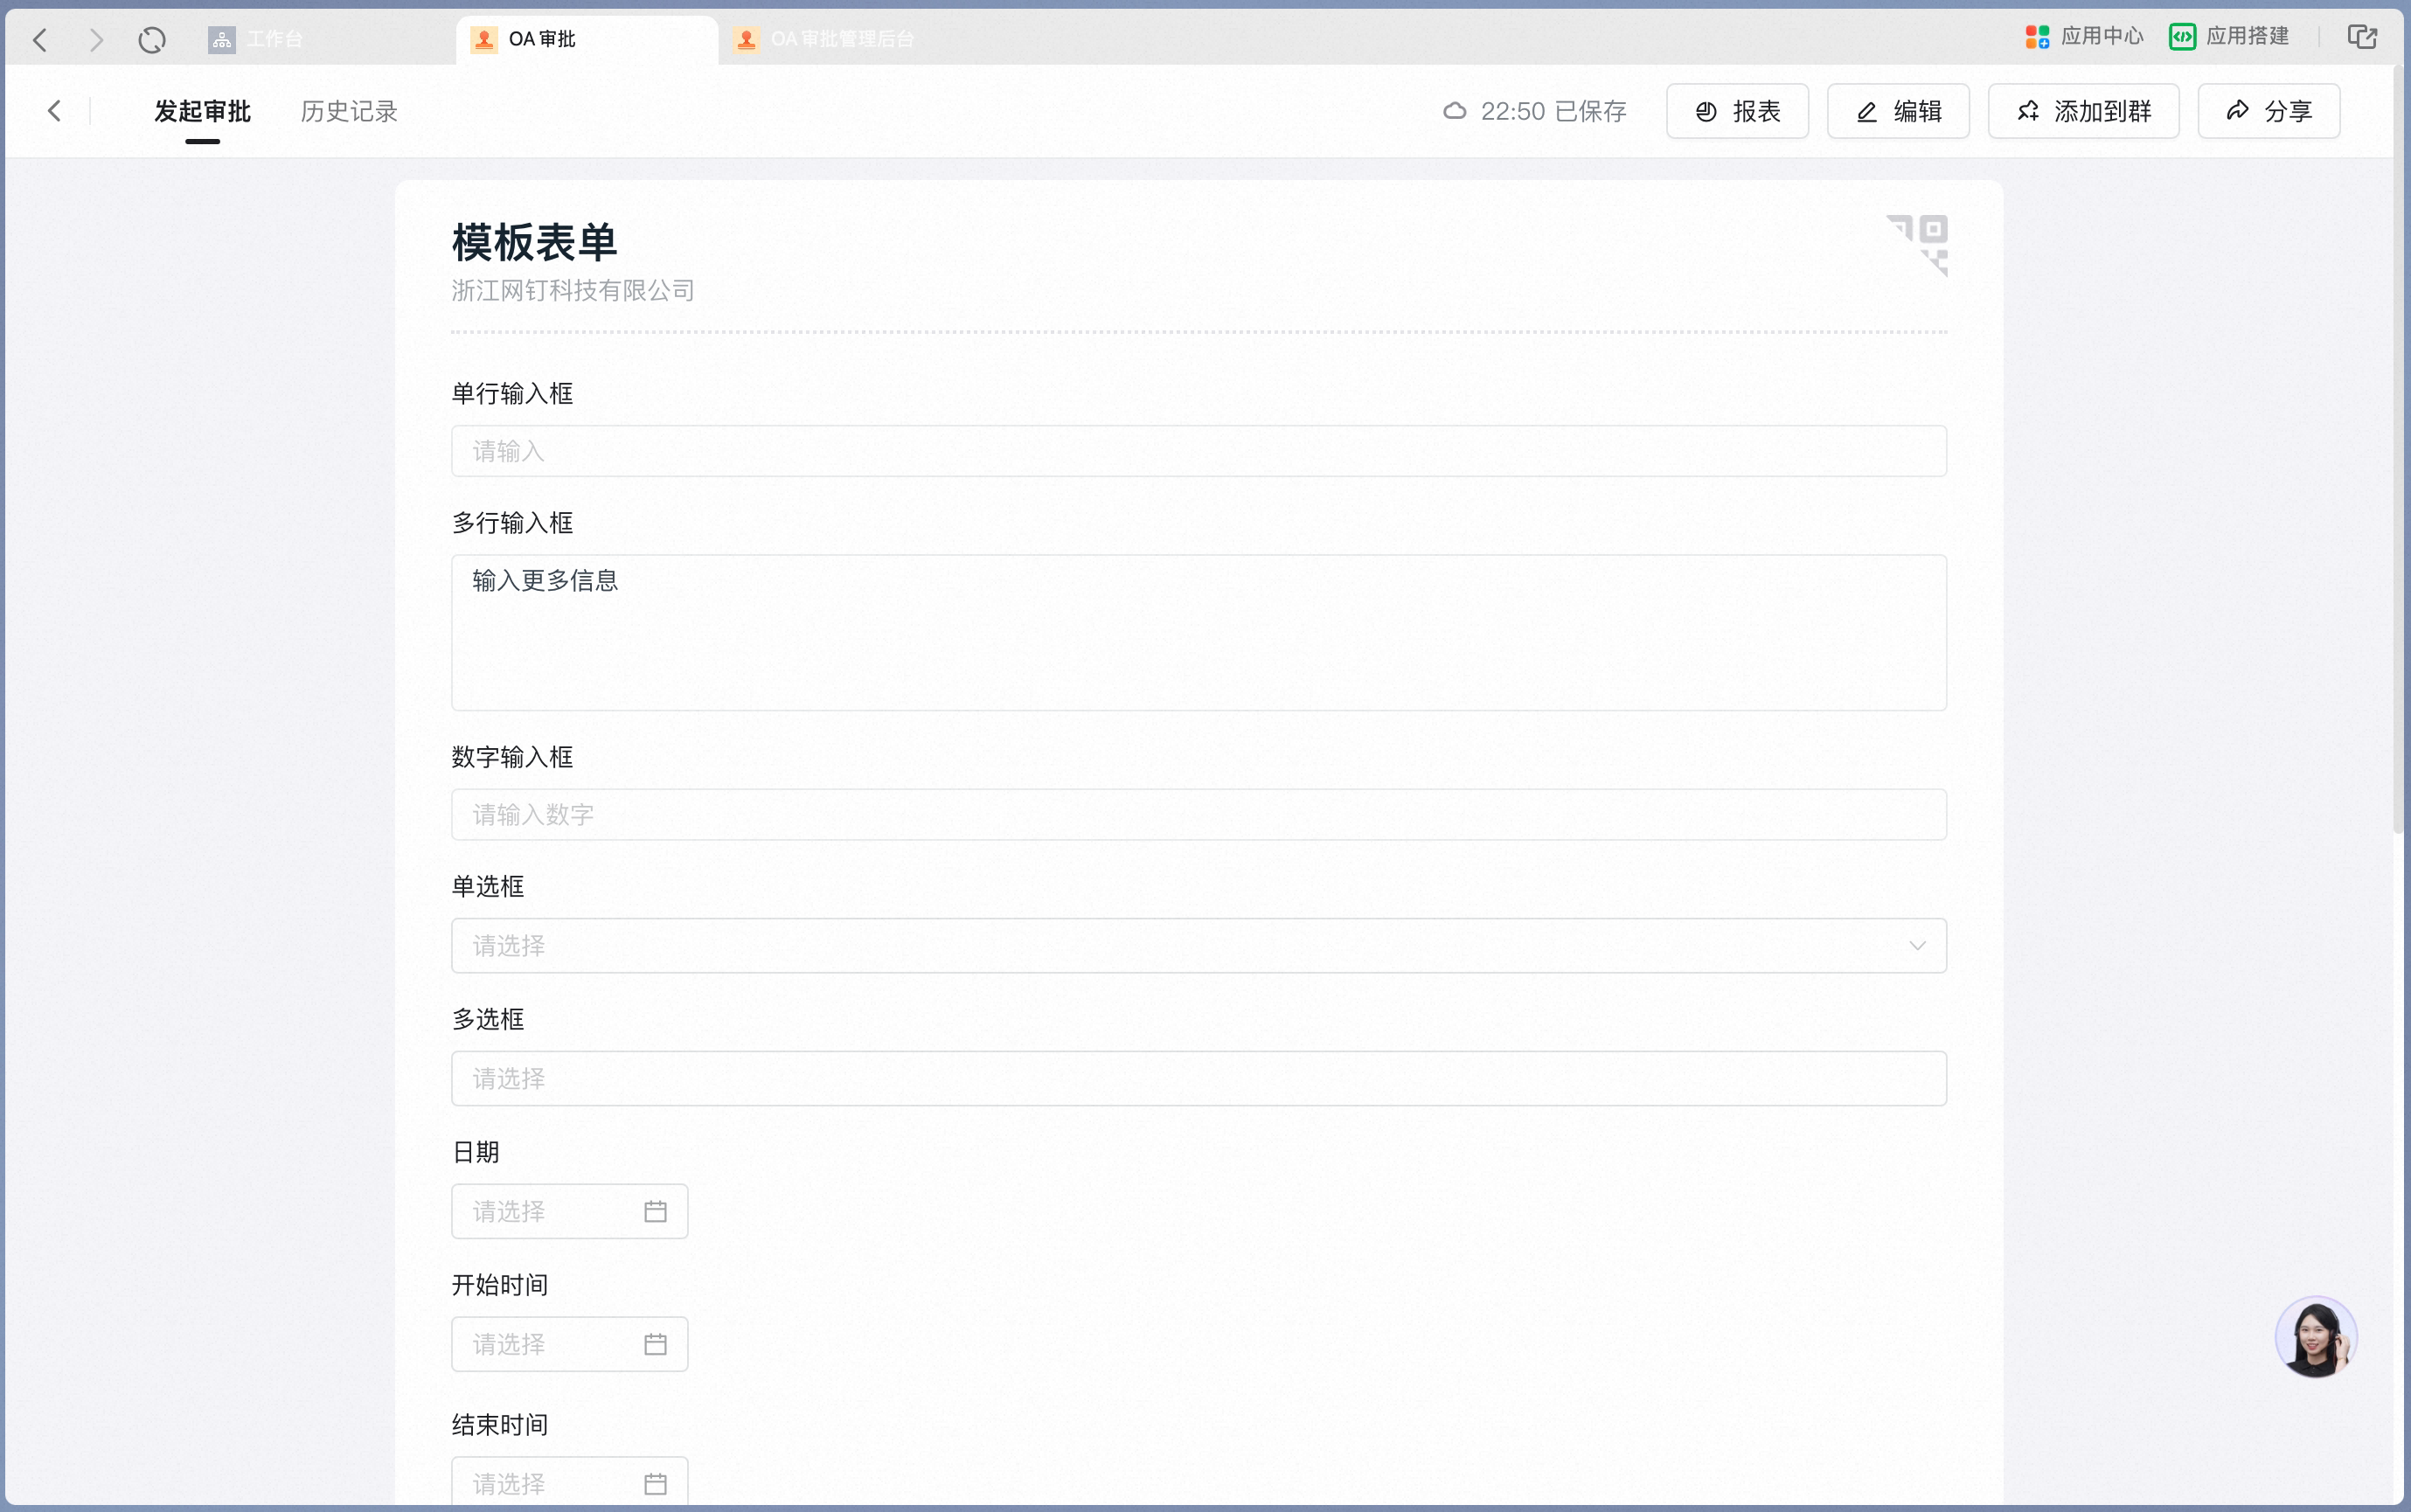
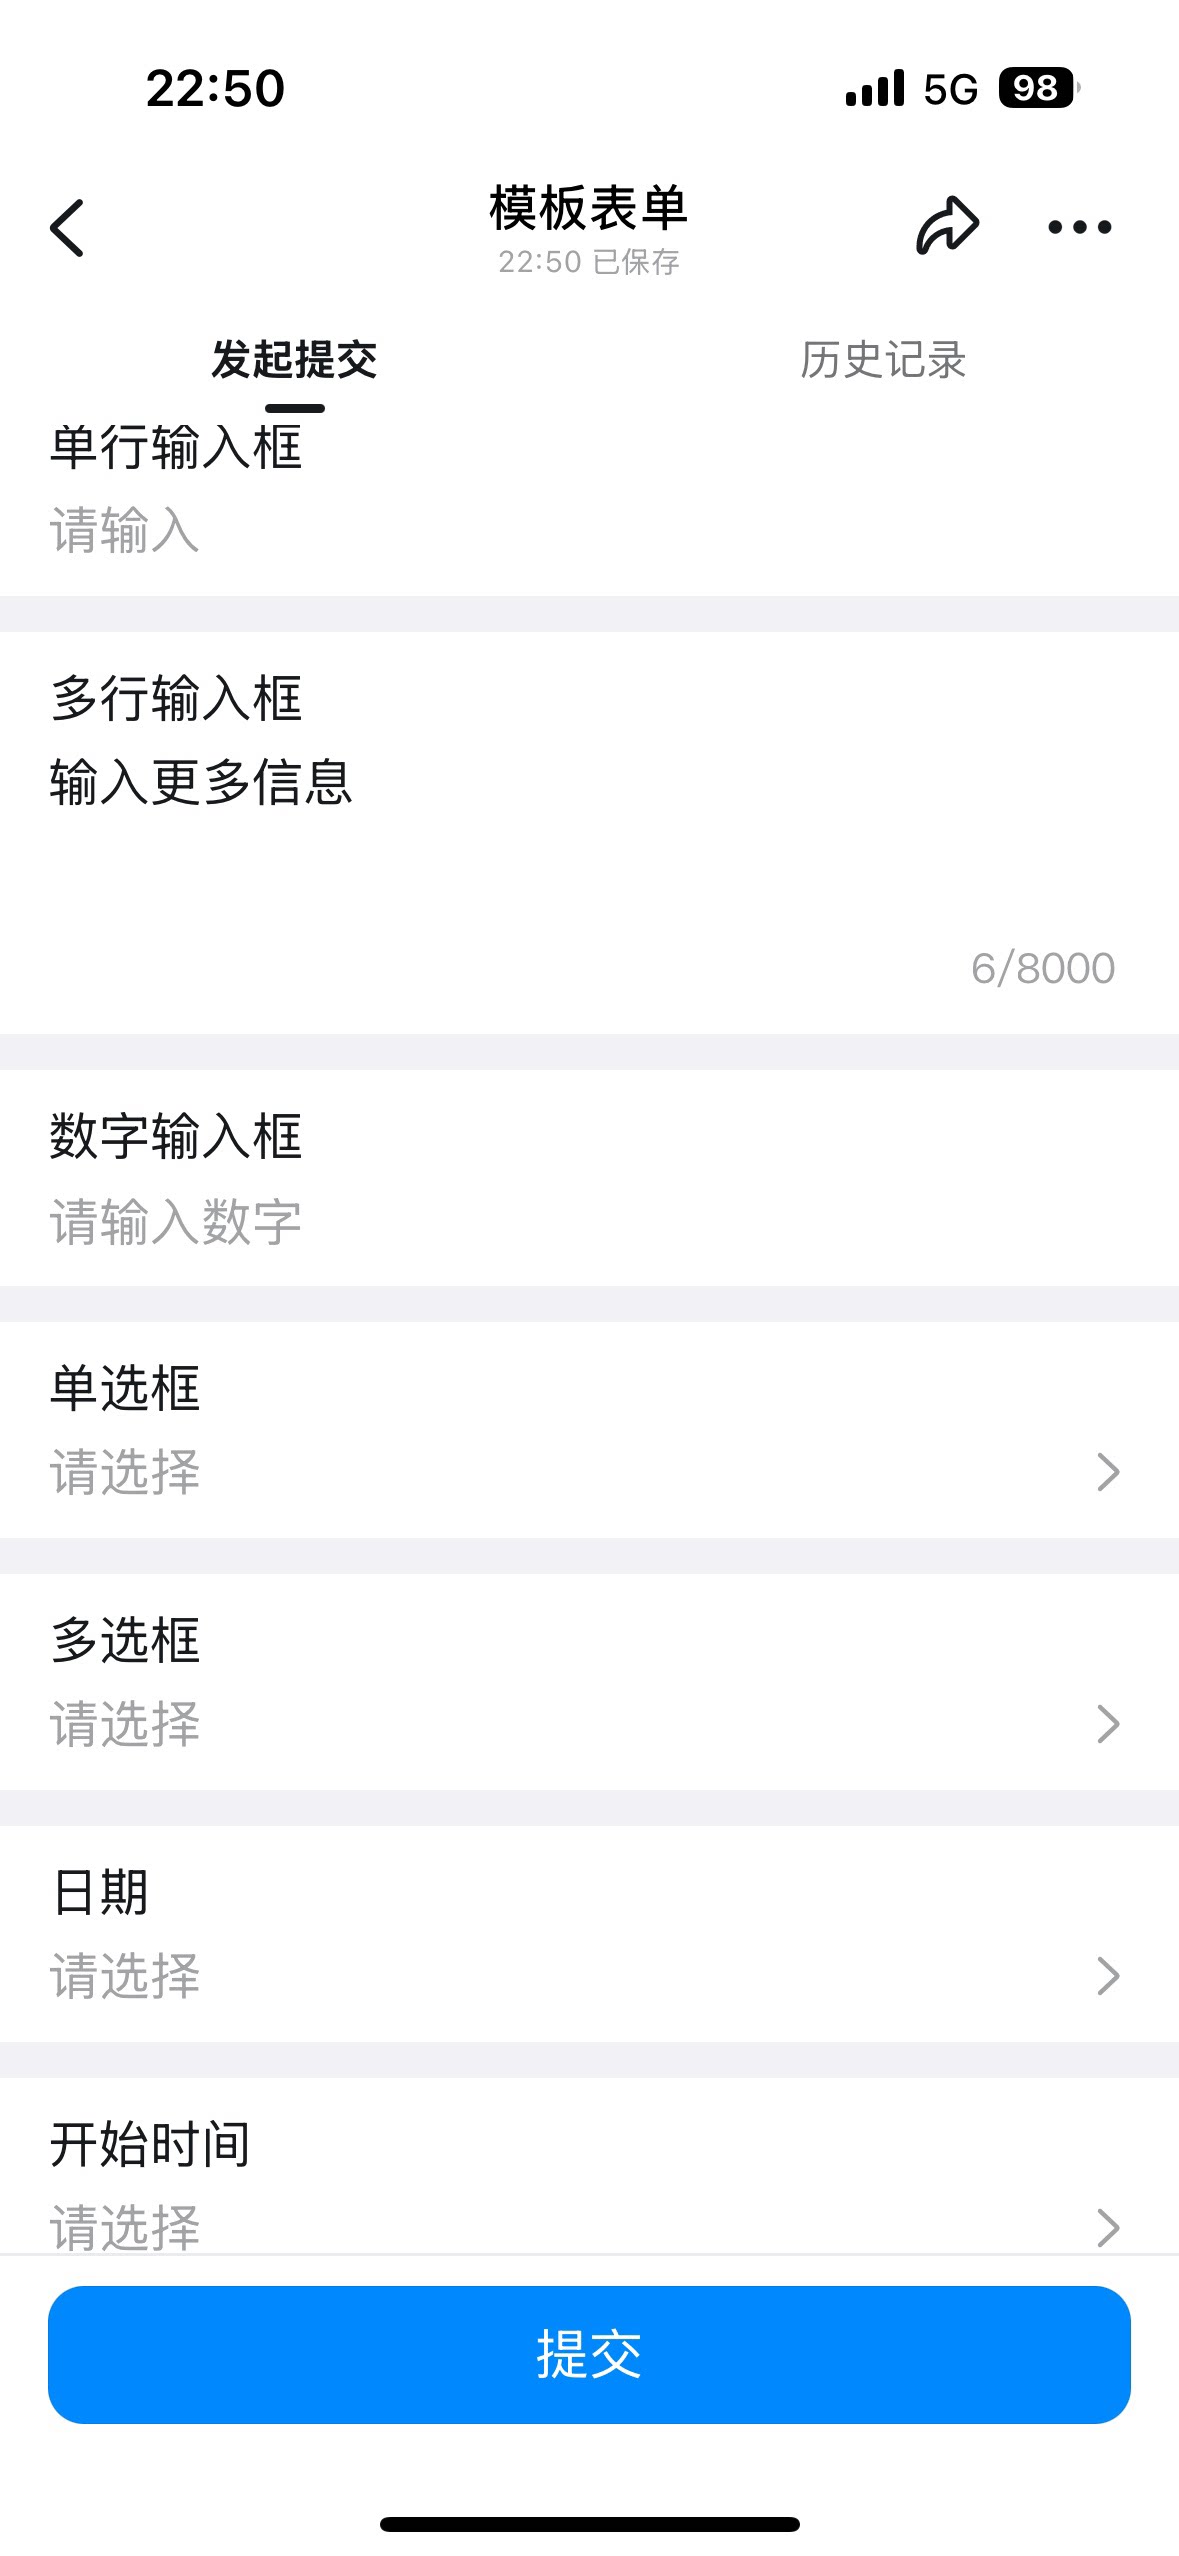
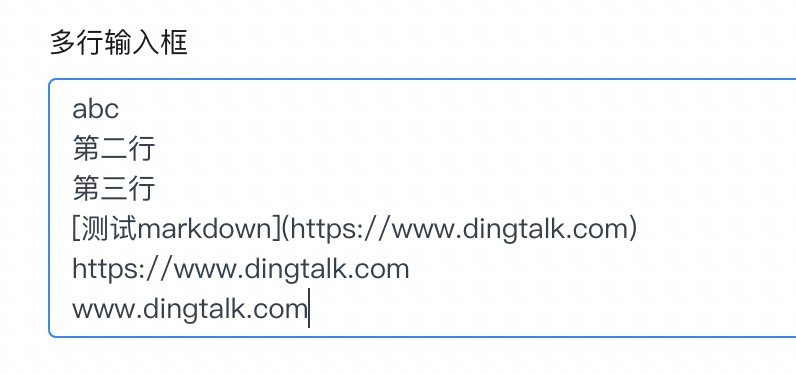
The multi-line input supports line breaks and recognizes Links and Markdown-formatted Content:

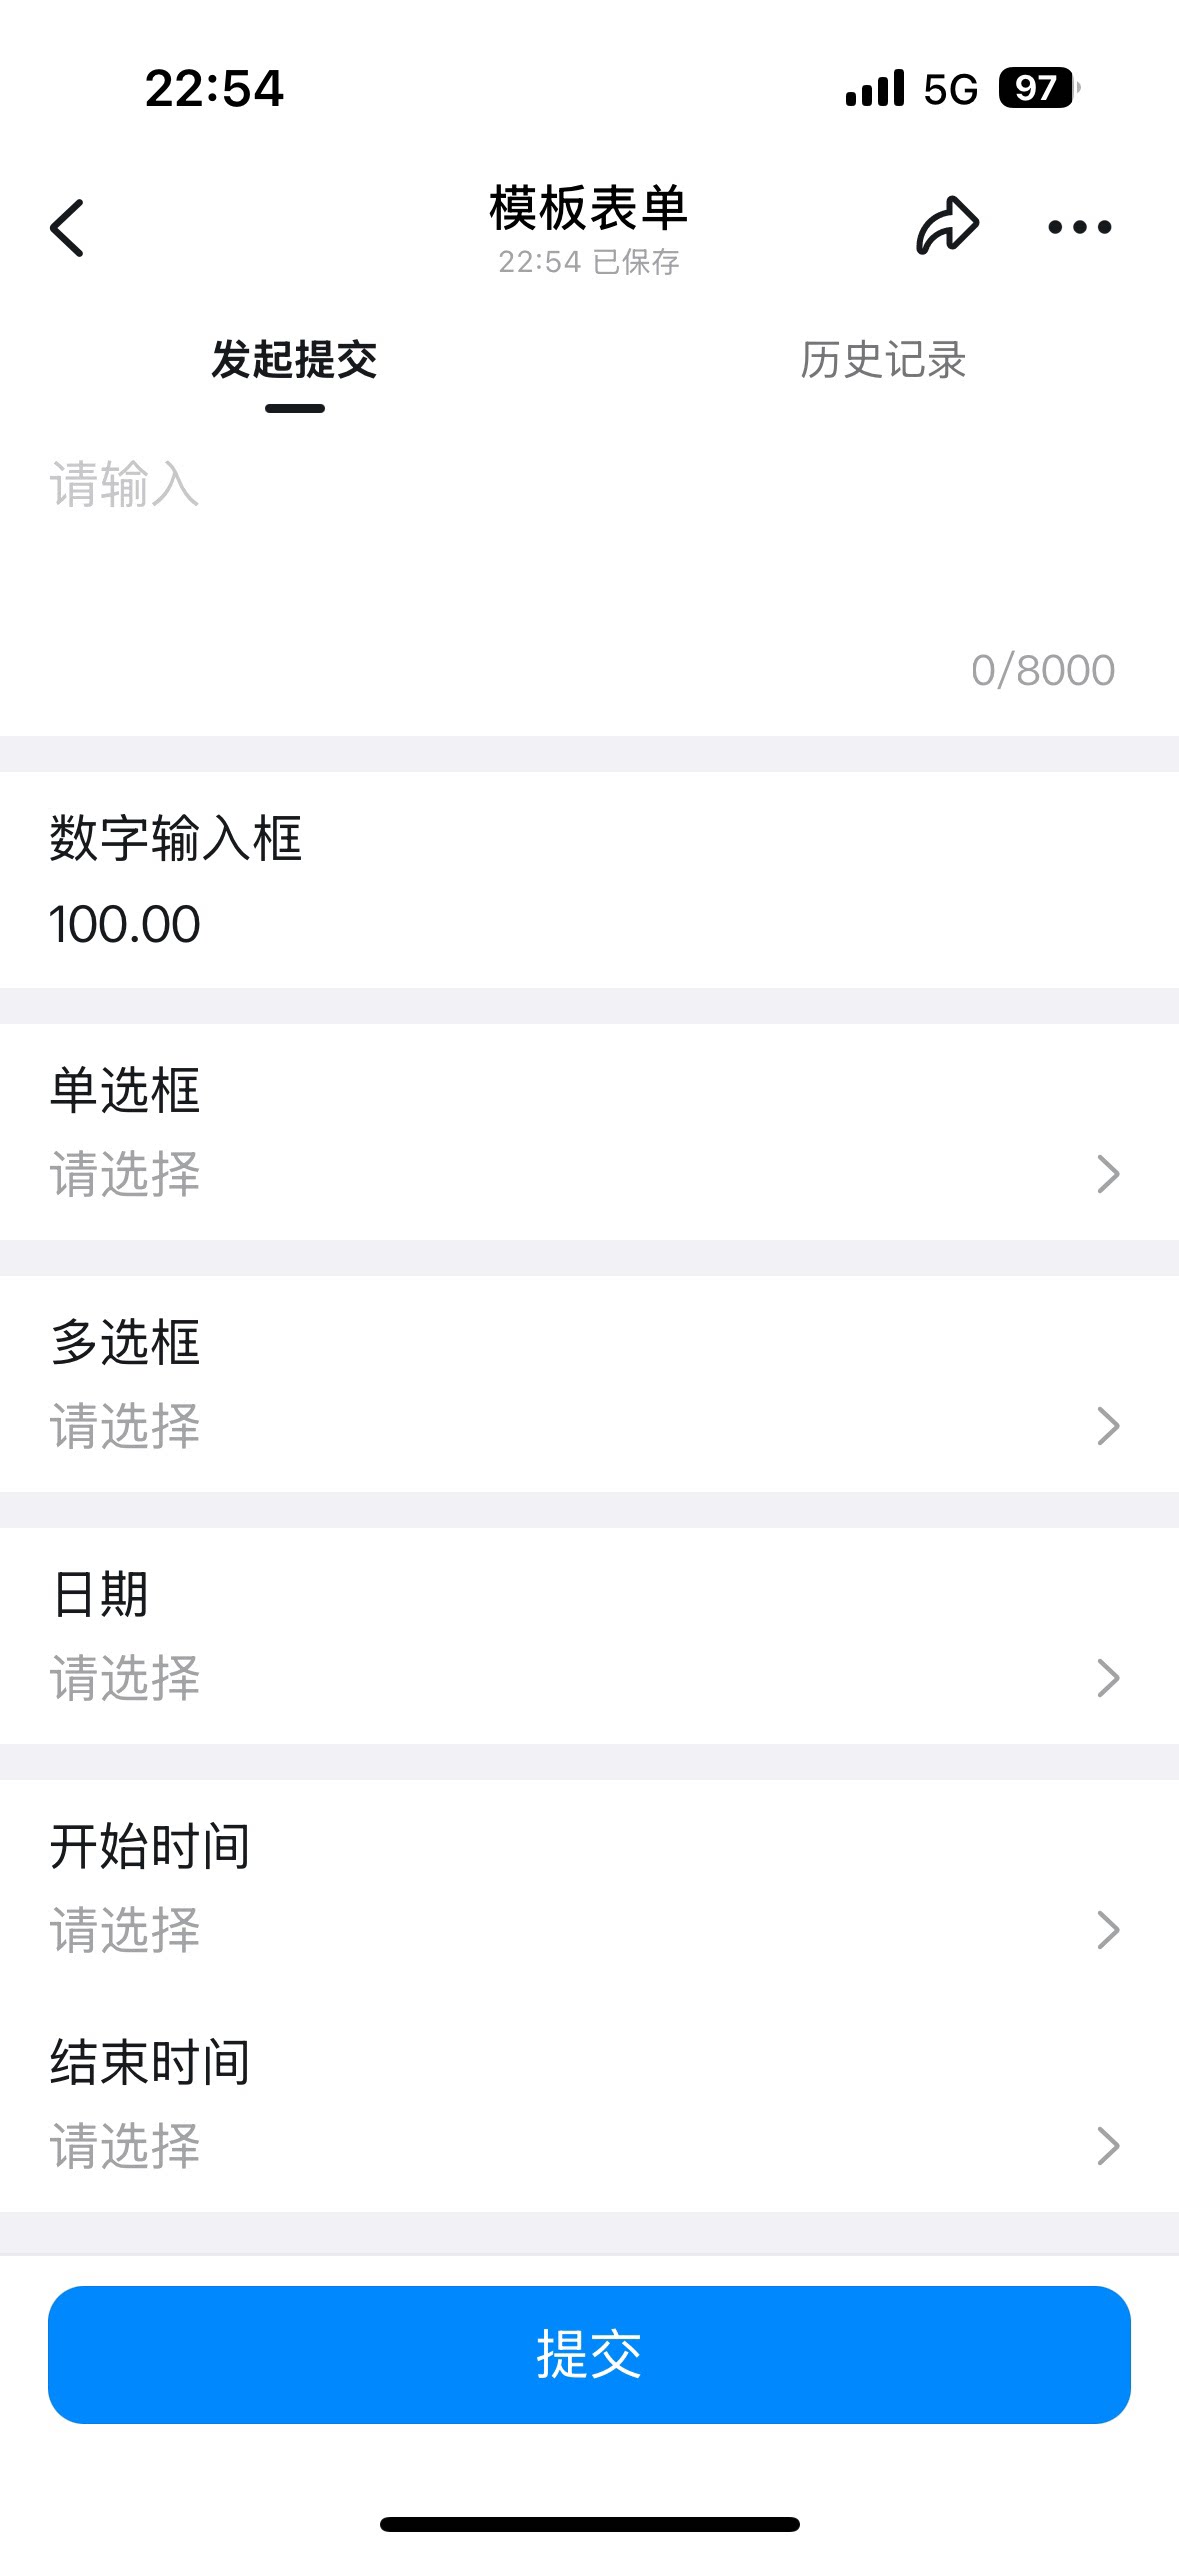
3. Numeric input
Use this control to enter Numbers, such as purchase quantity, stock quantity, or points. Settings interface Add a numeric input in the form designer: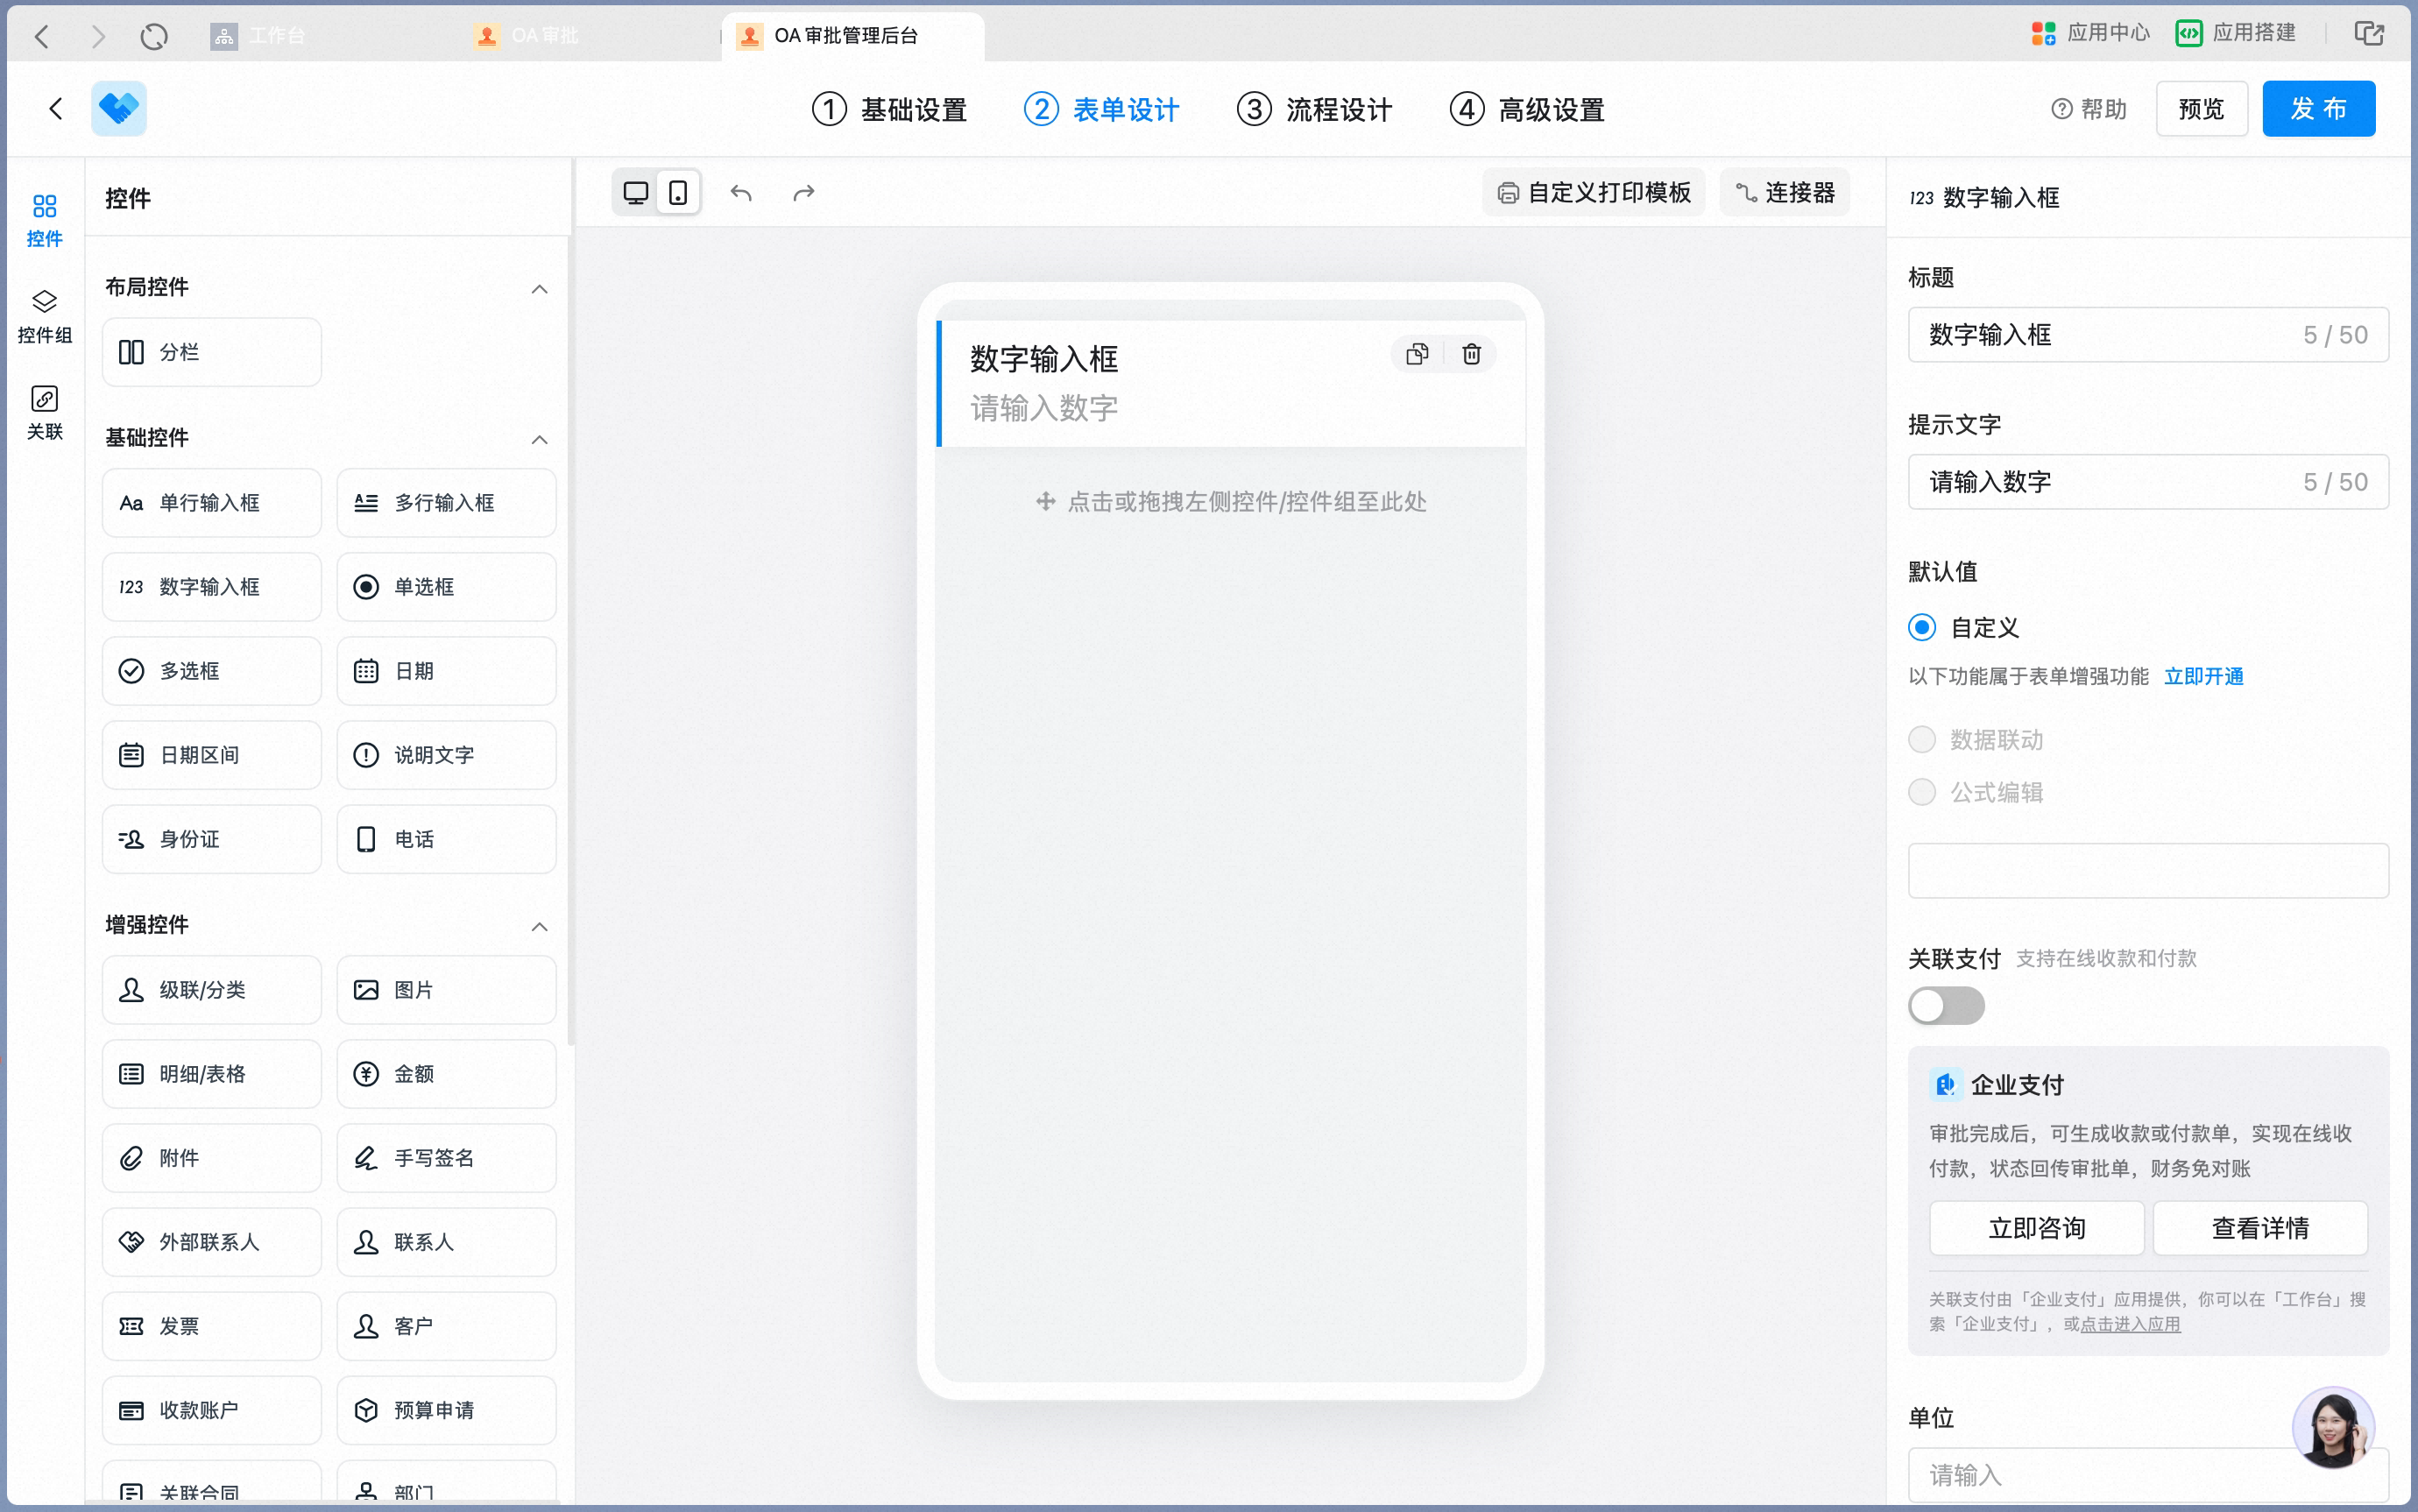
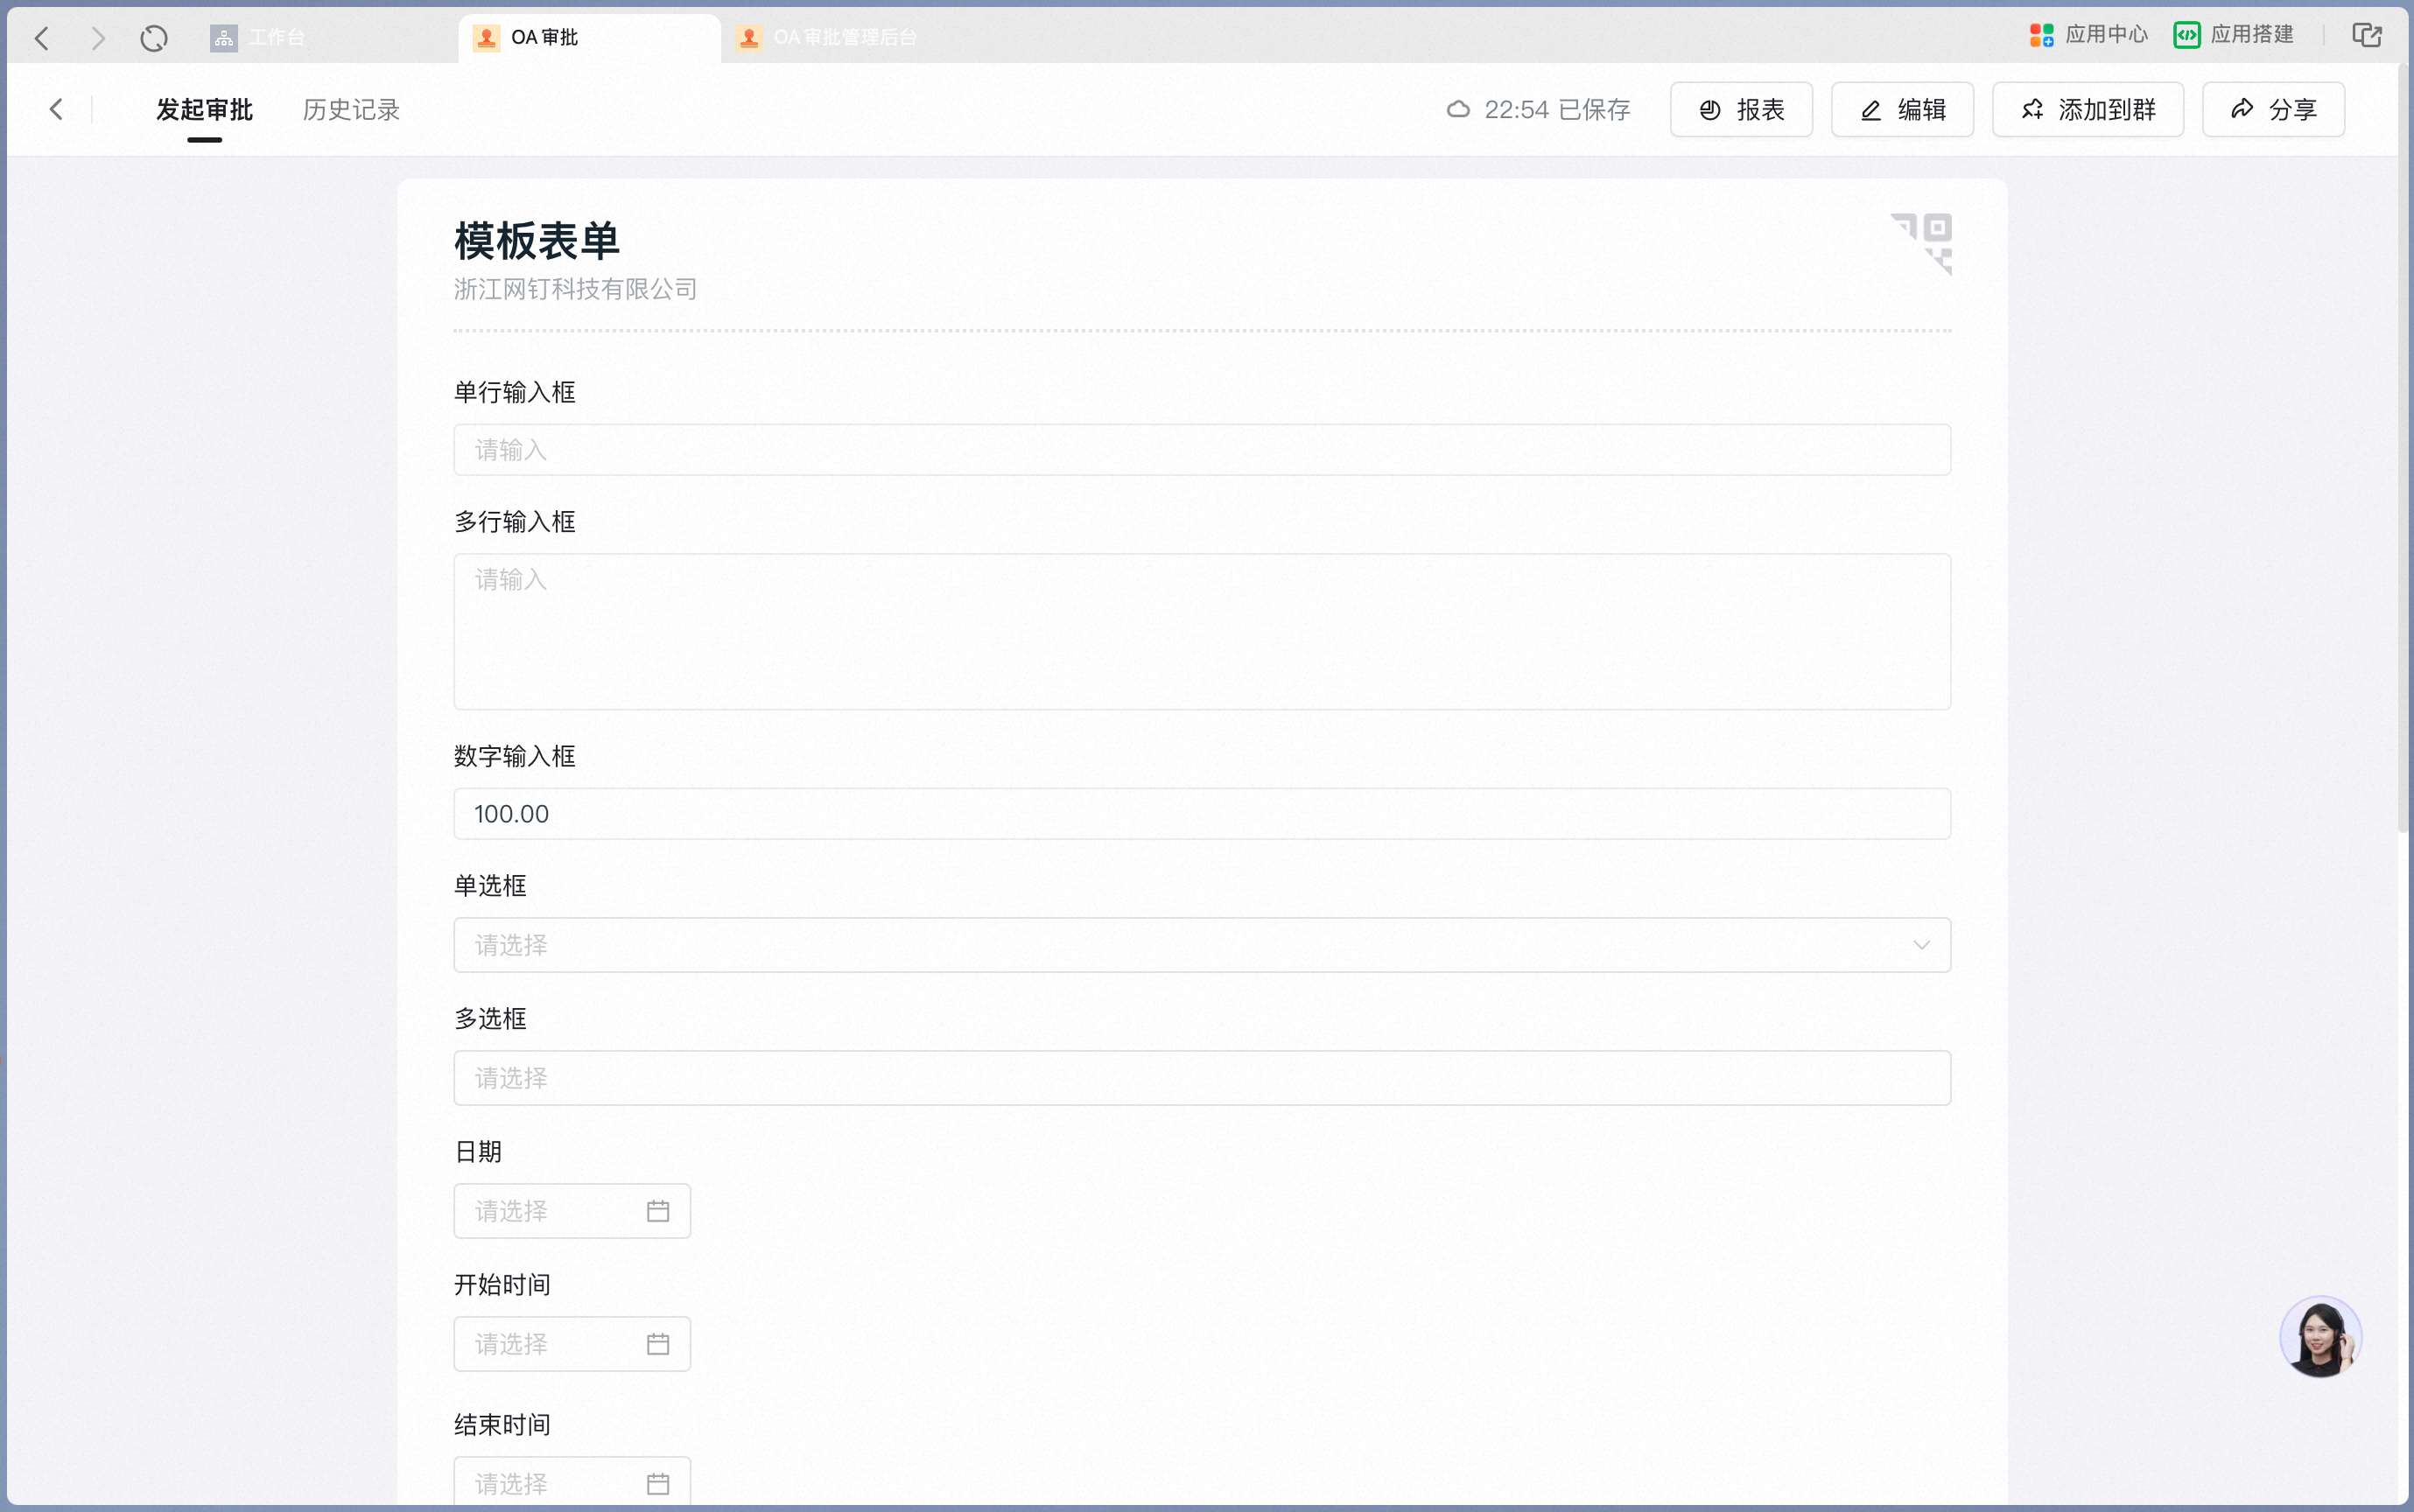
Data constraints and Search
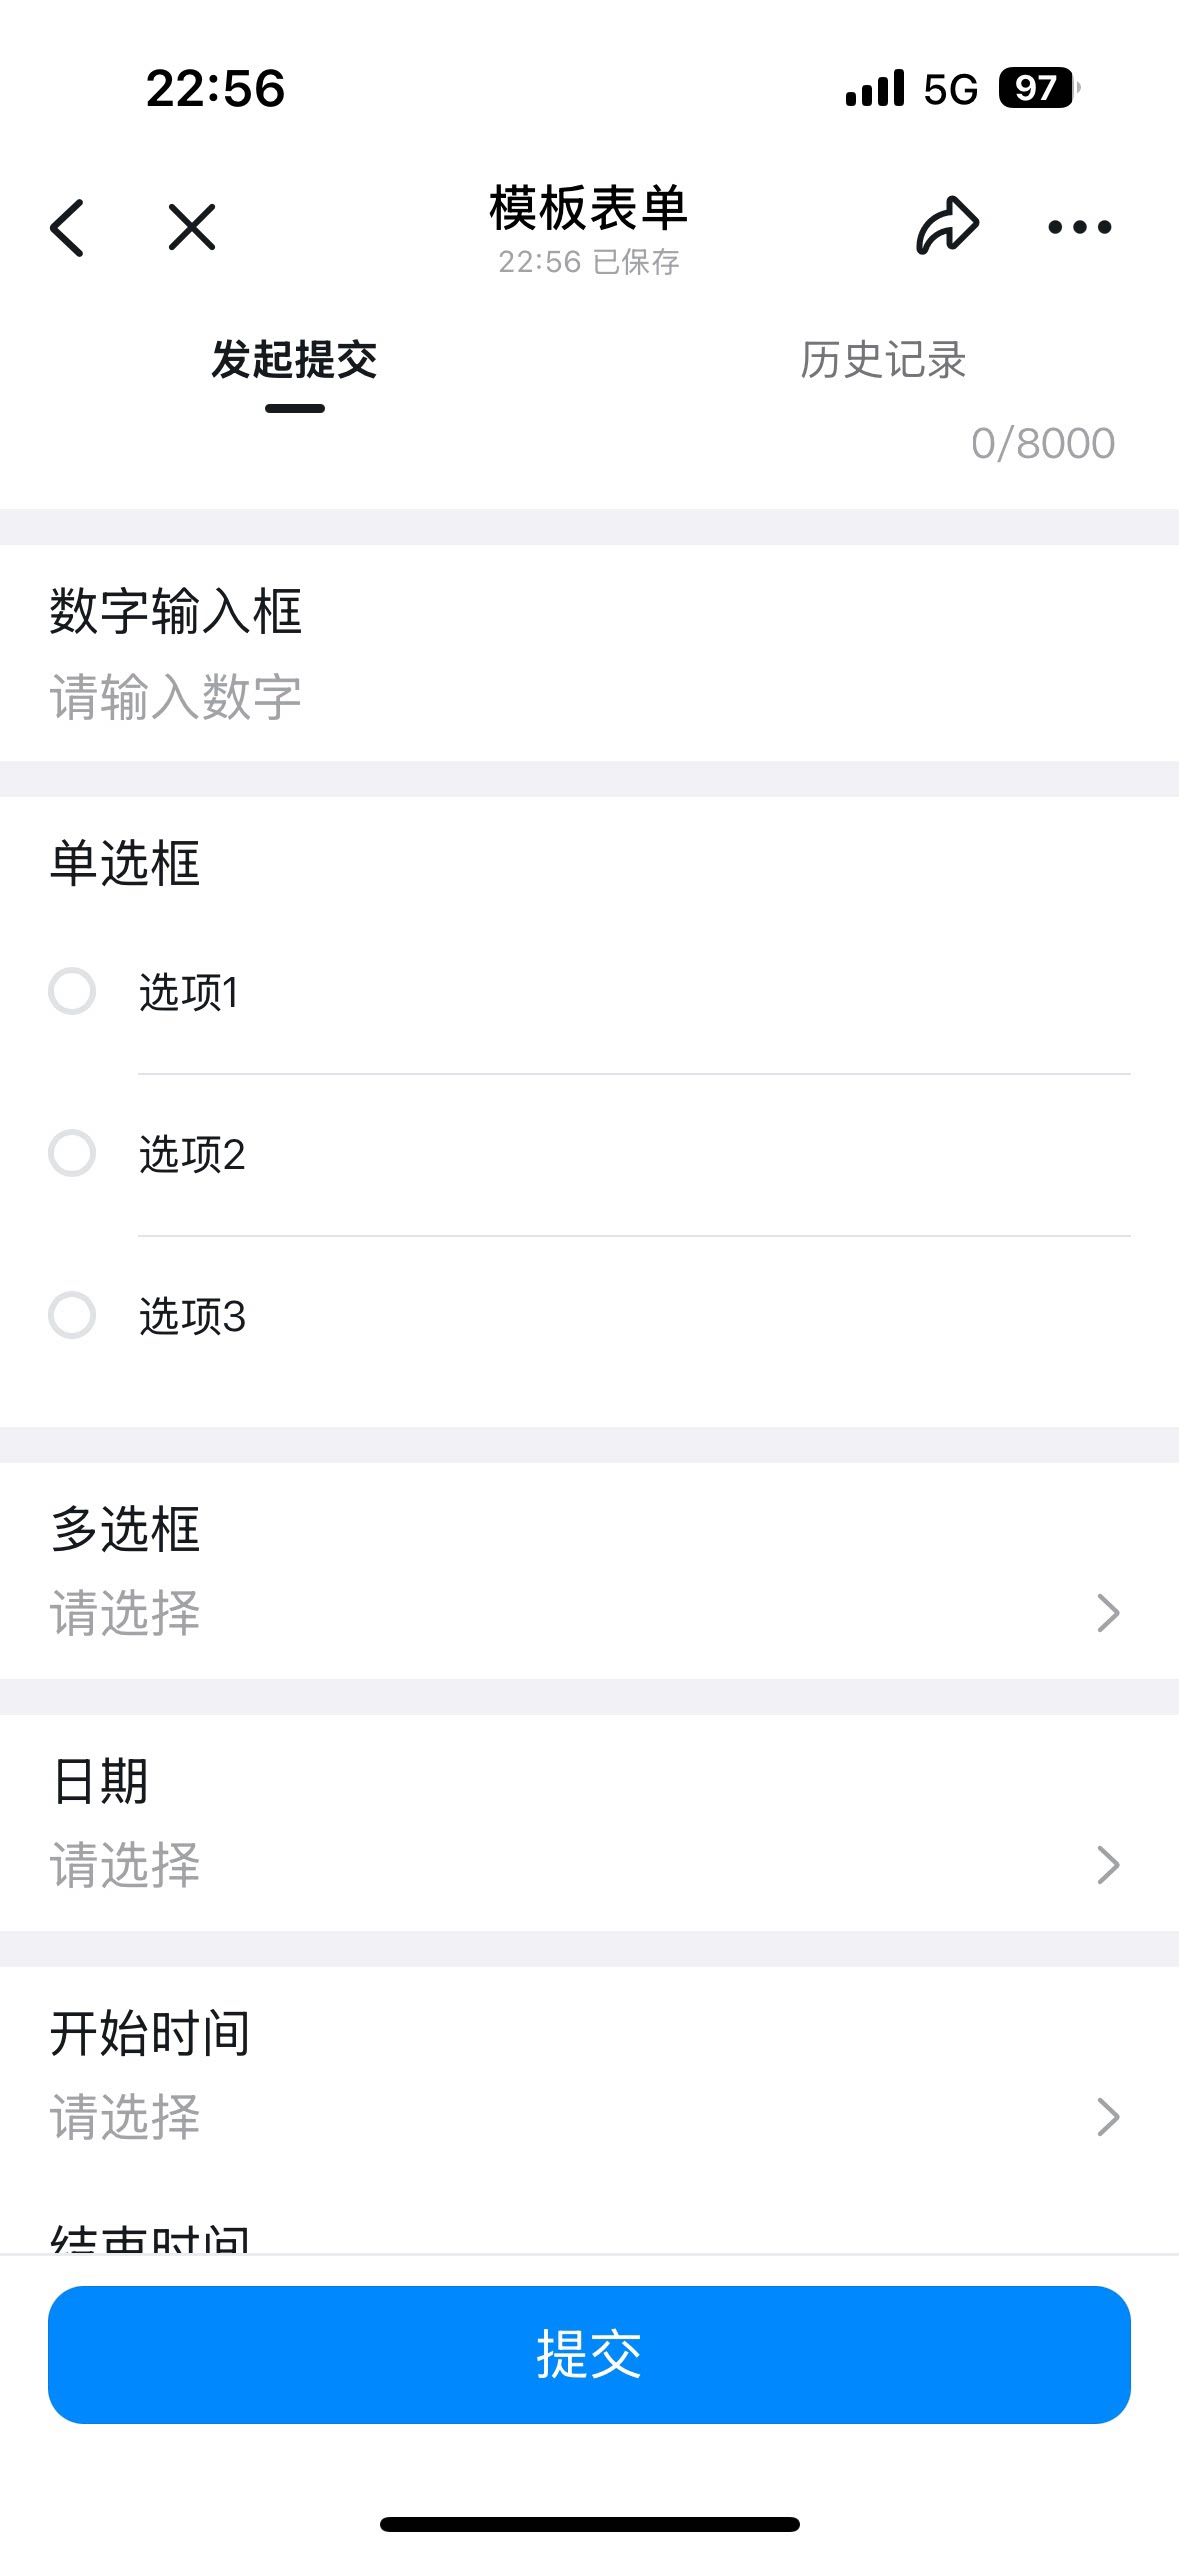
4. Single Select
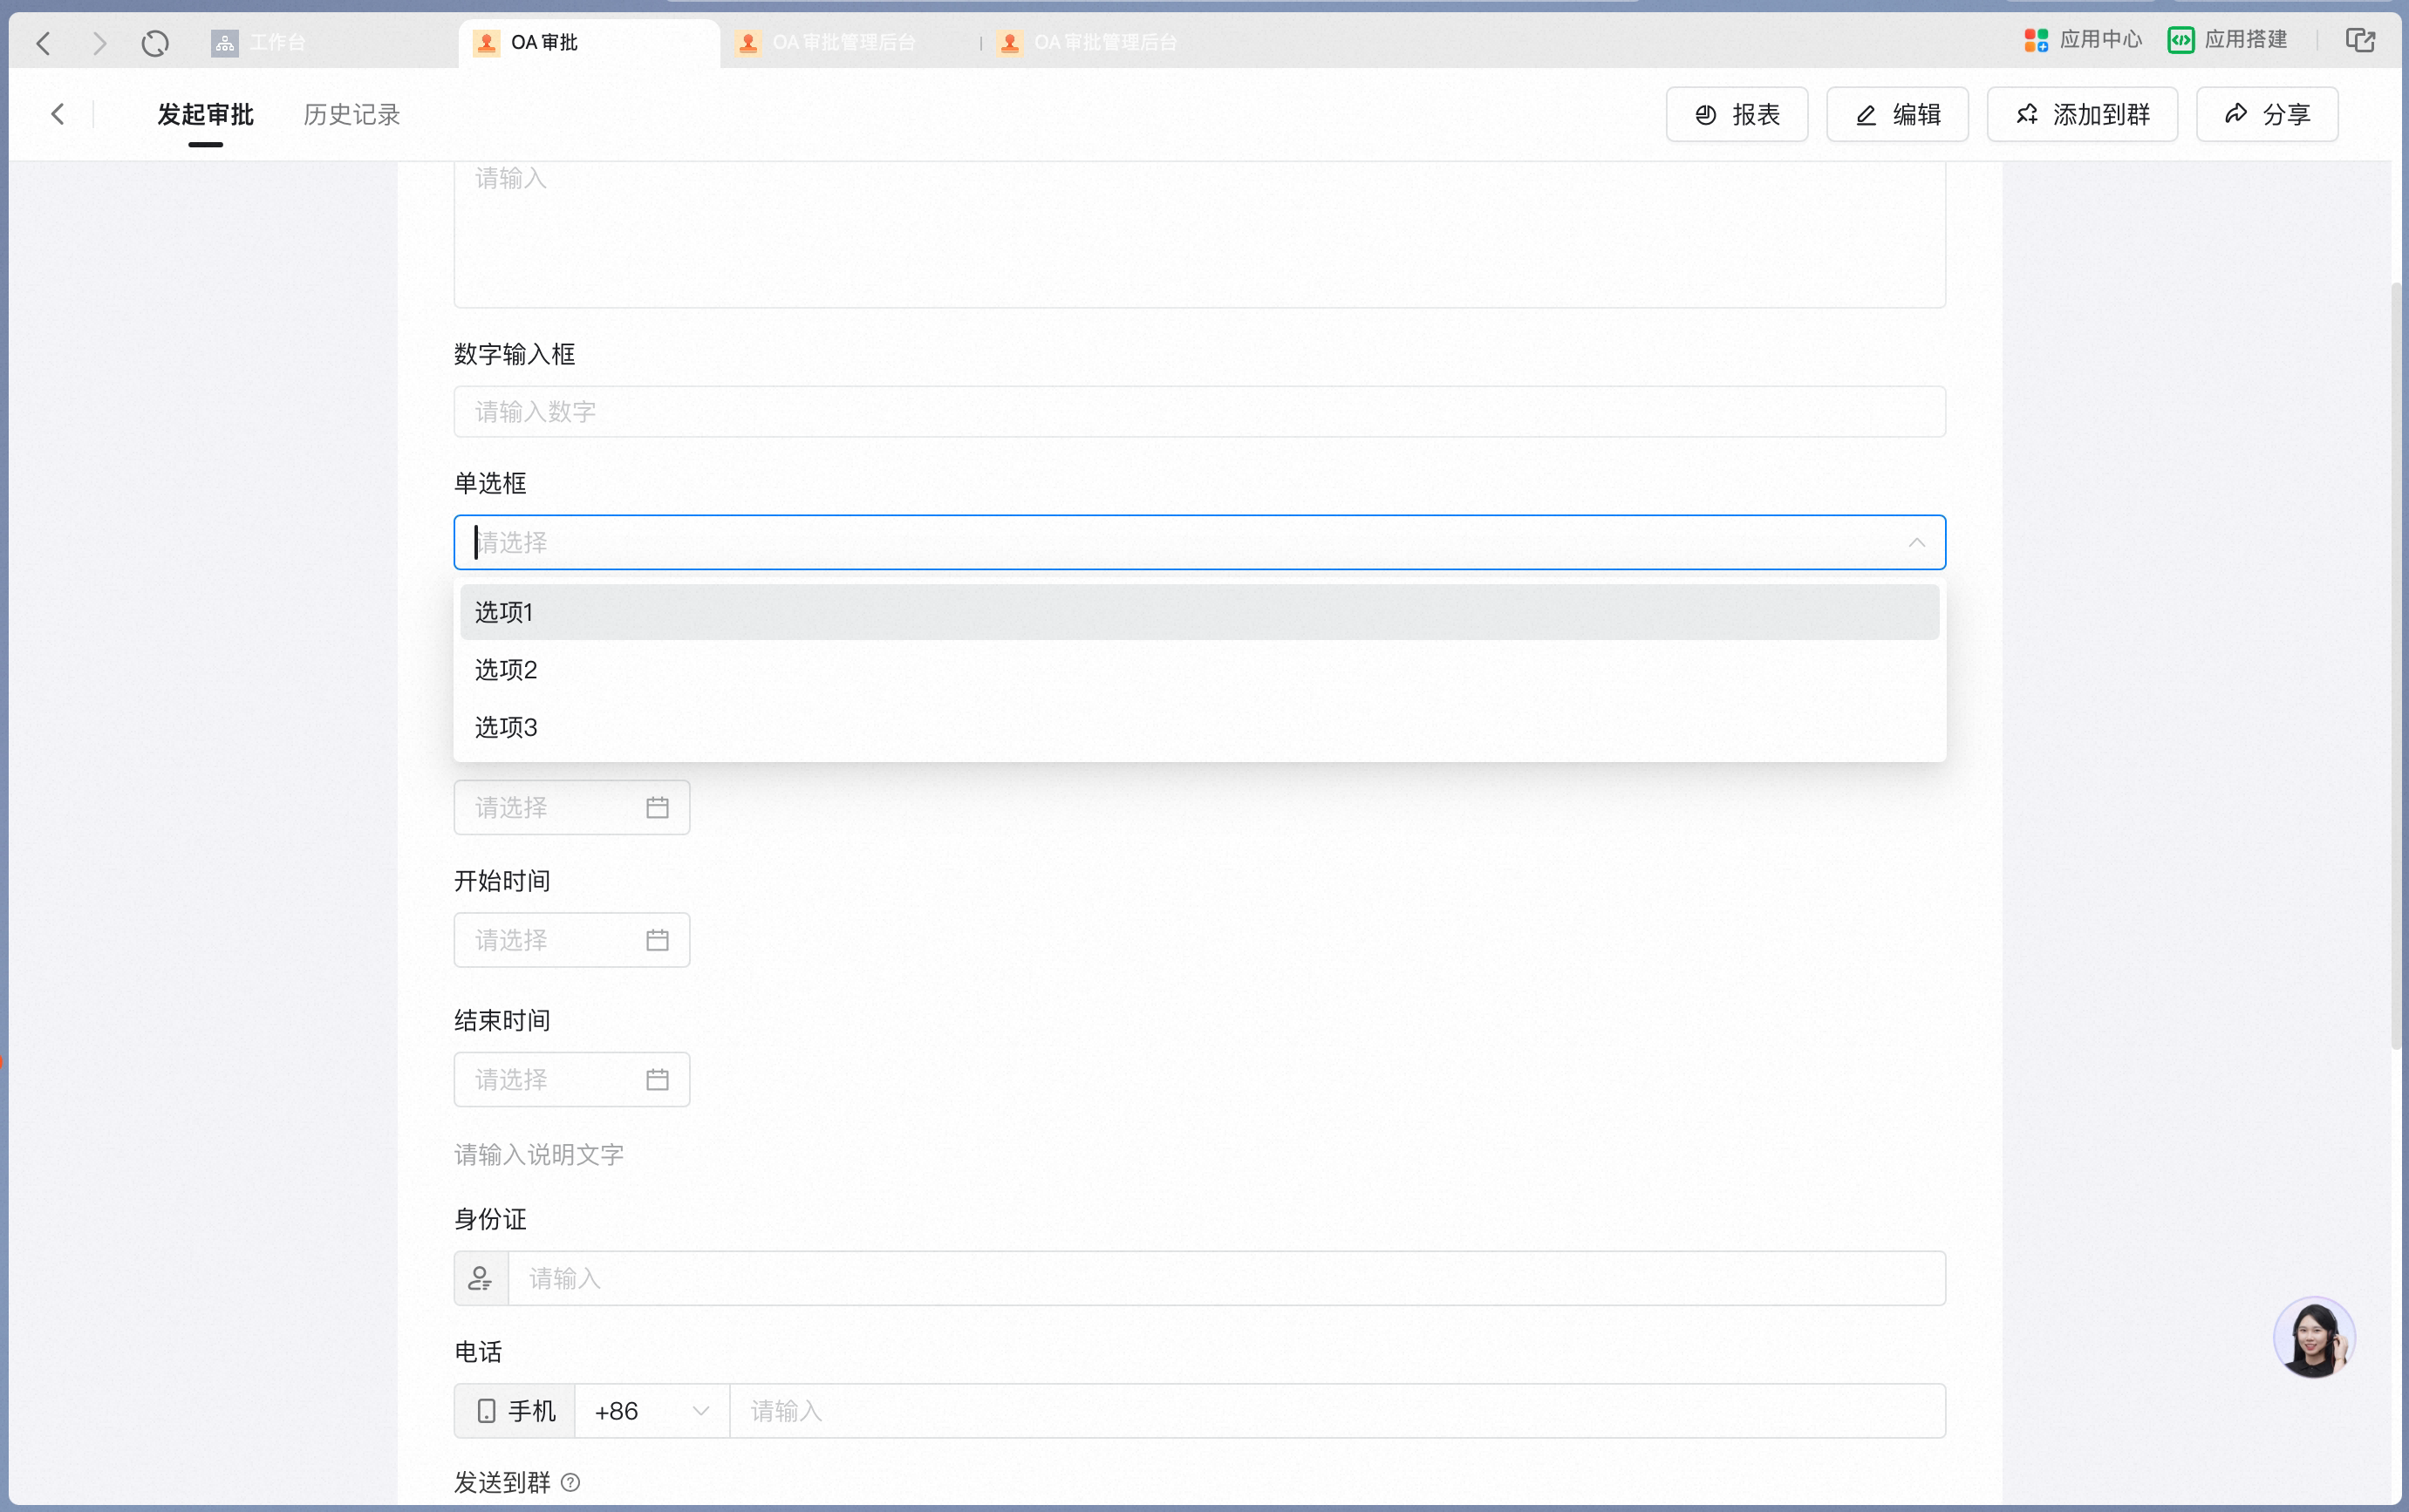
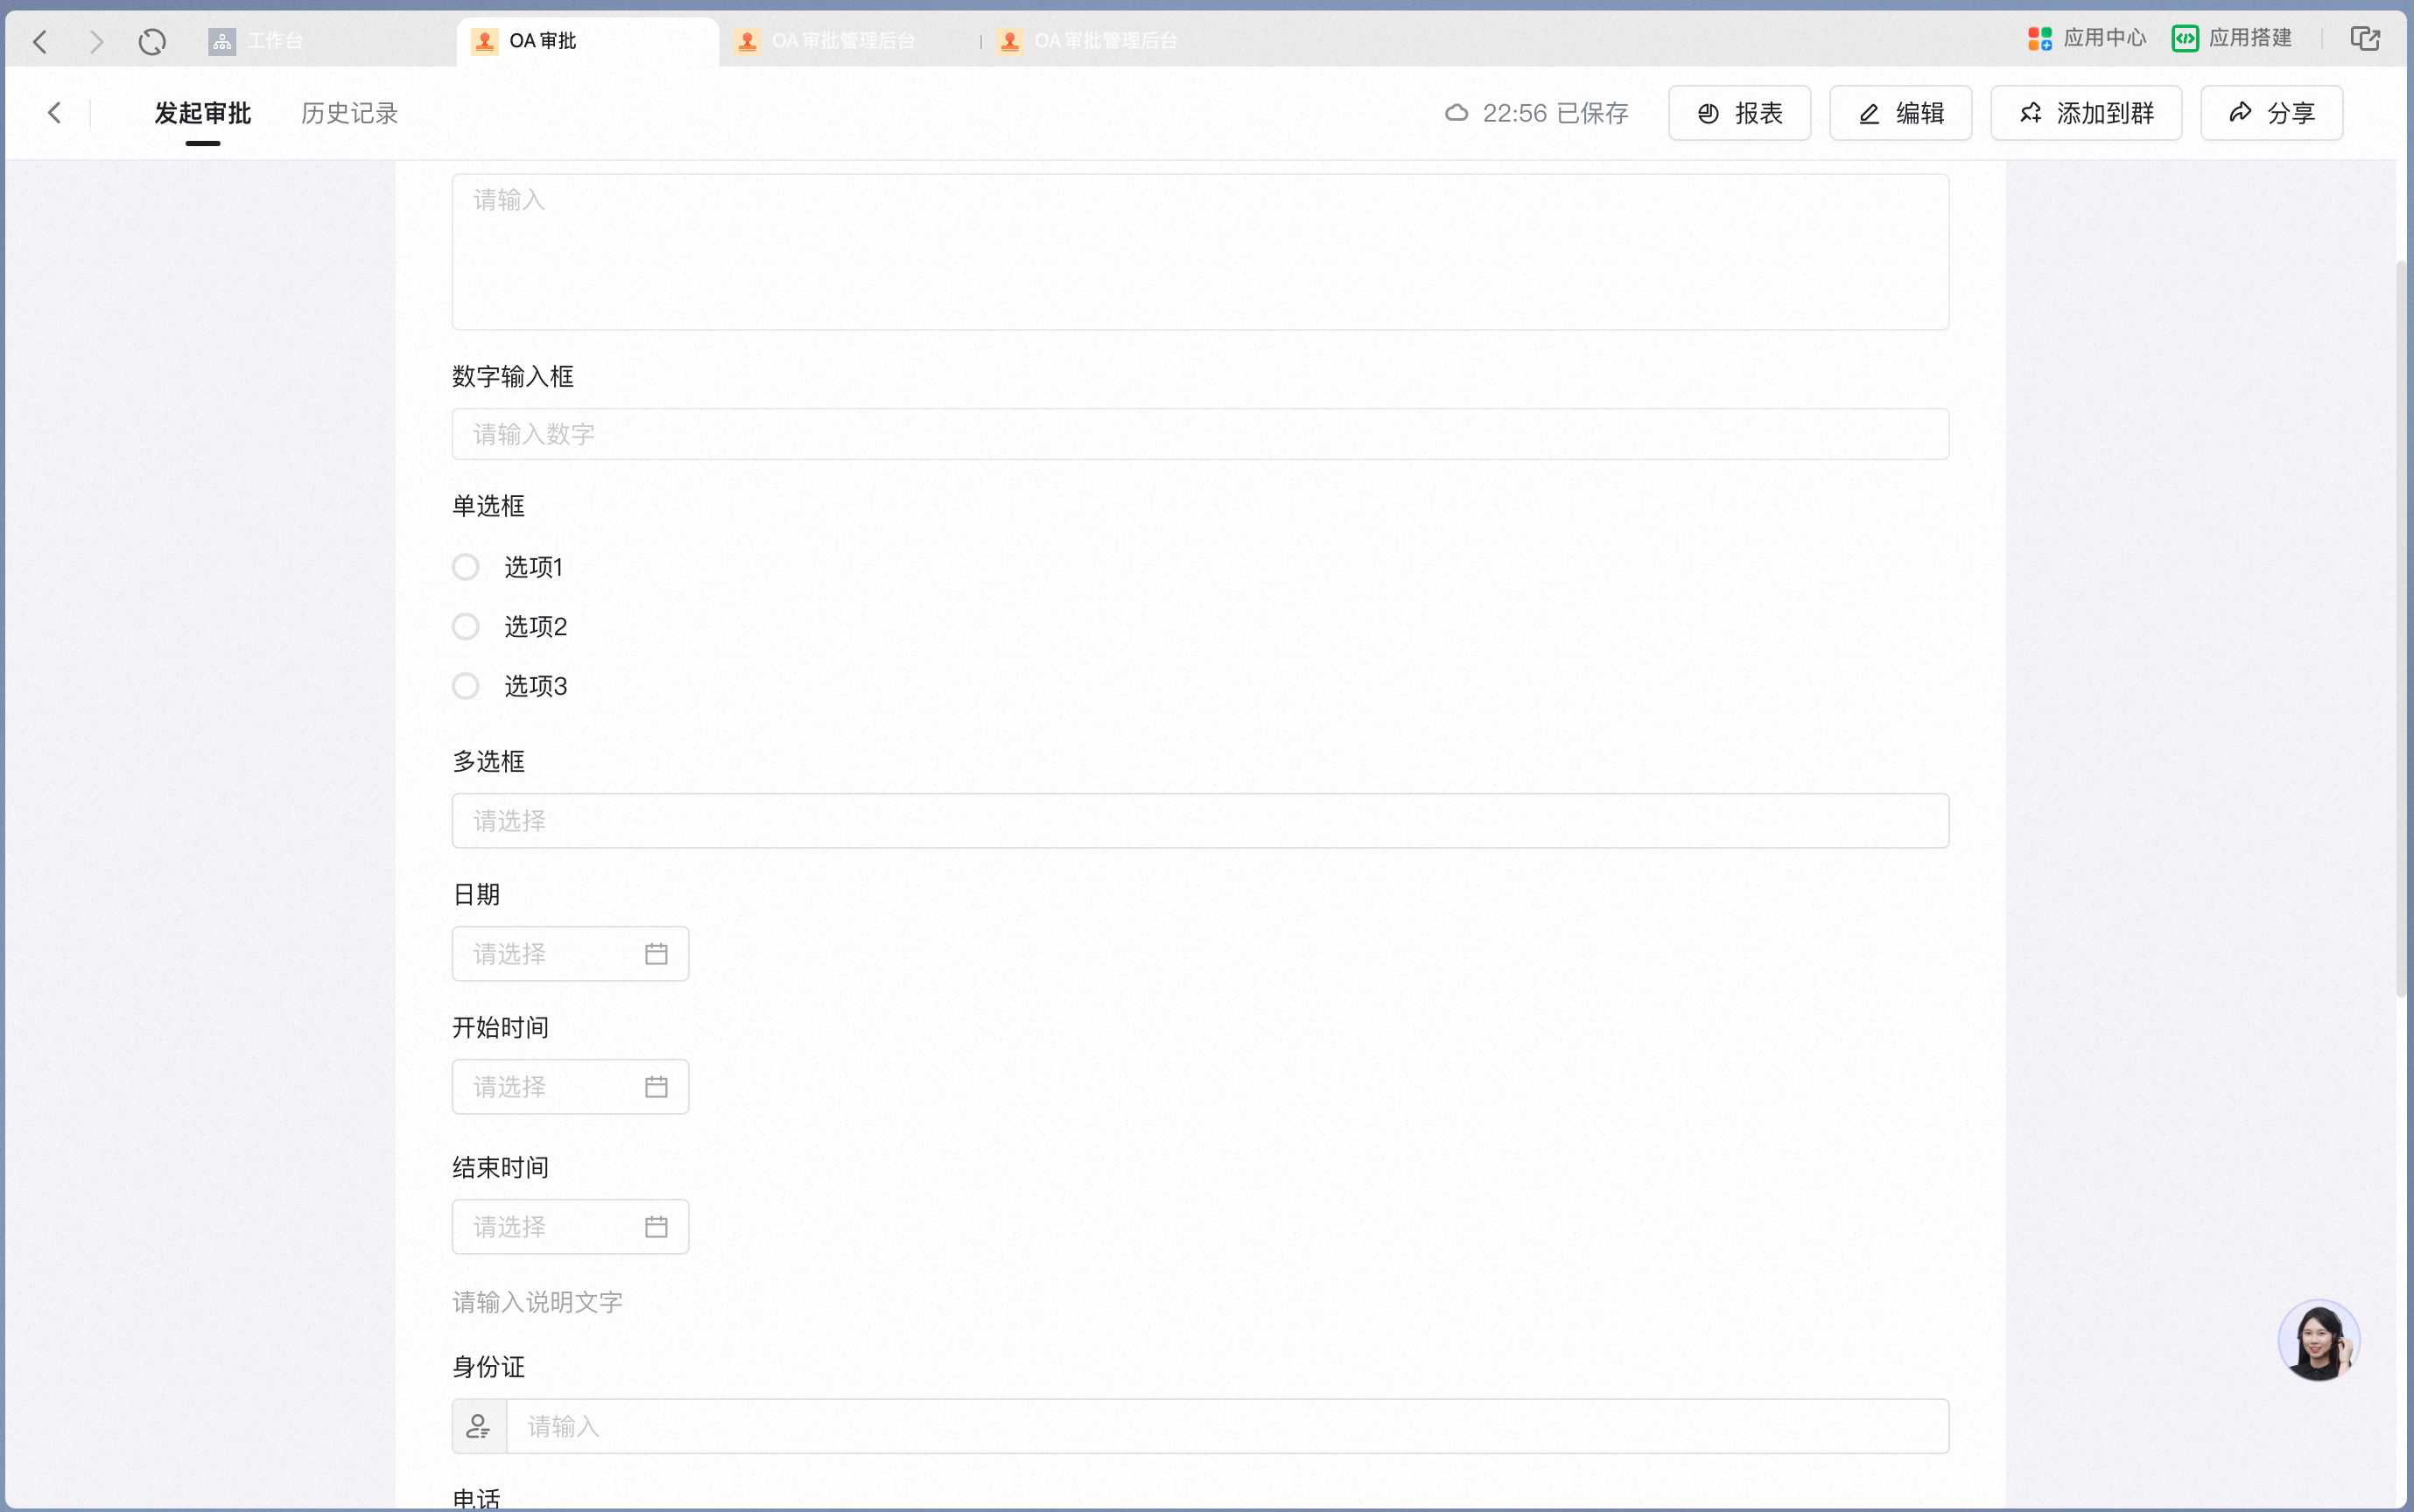
Use this control to pick one option from a preset list of Enum values, such as a reimbursement category or goods category. These Enum values can be edited directly on the form, or sourced by referencing Data from another Data Source as options. Settings interface Add a single Select in the form designer: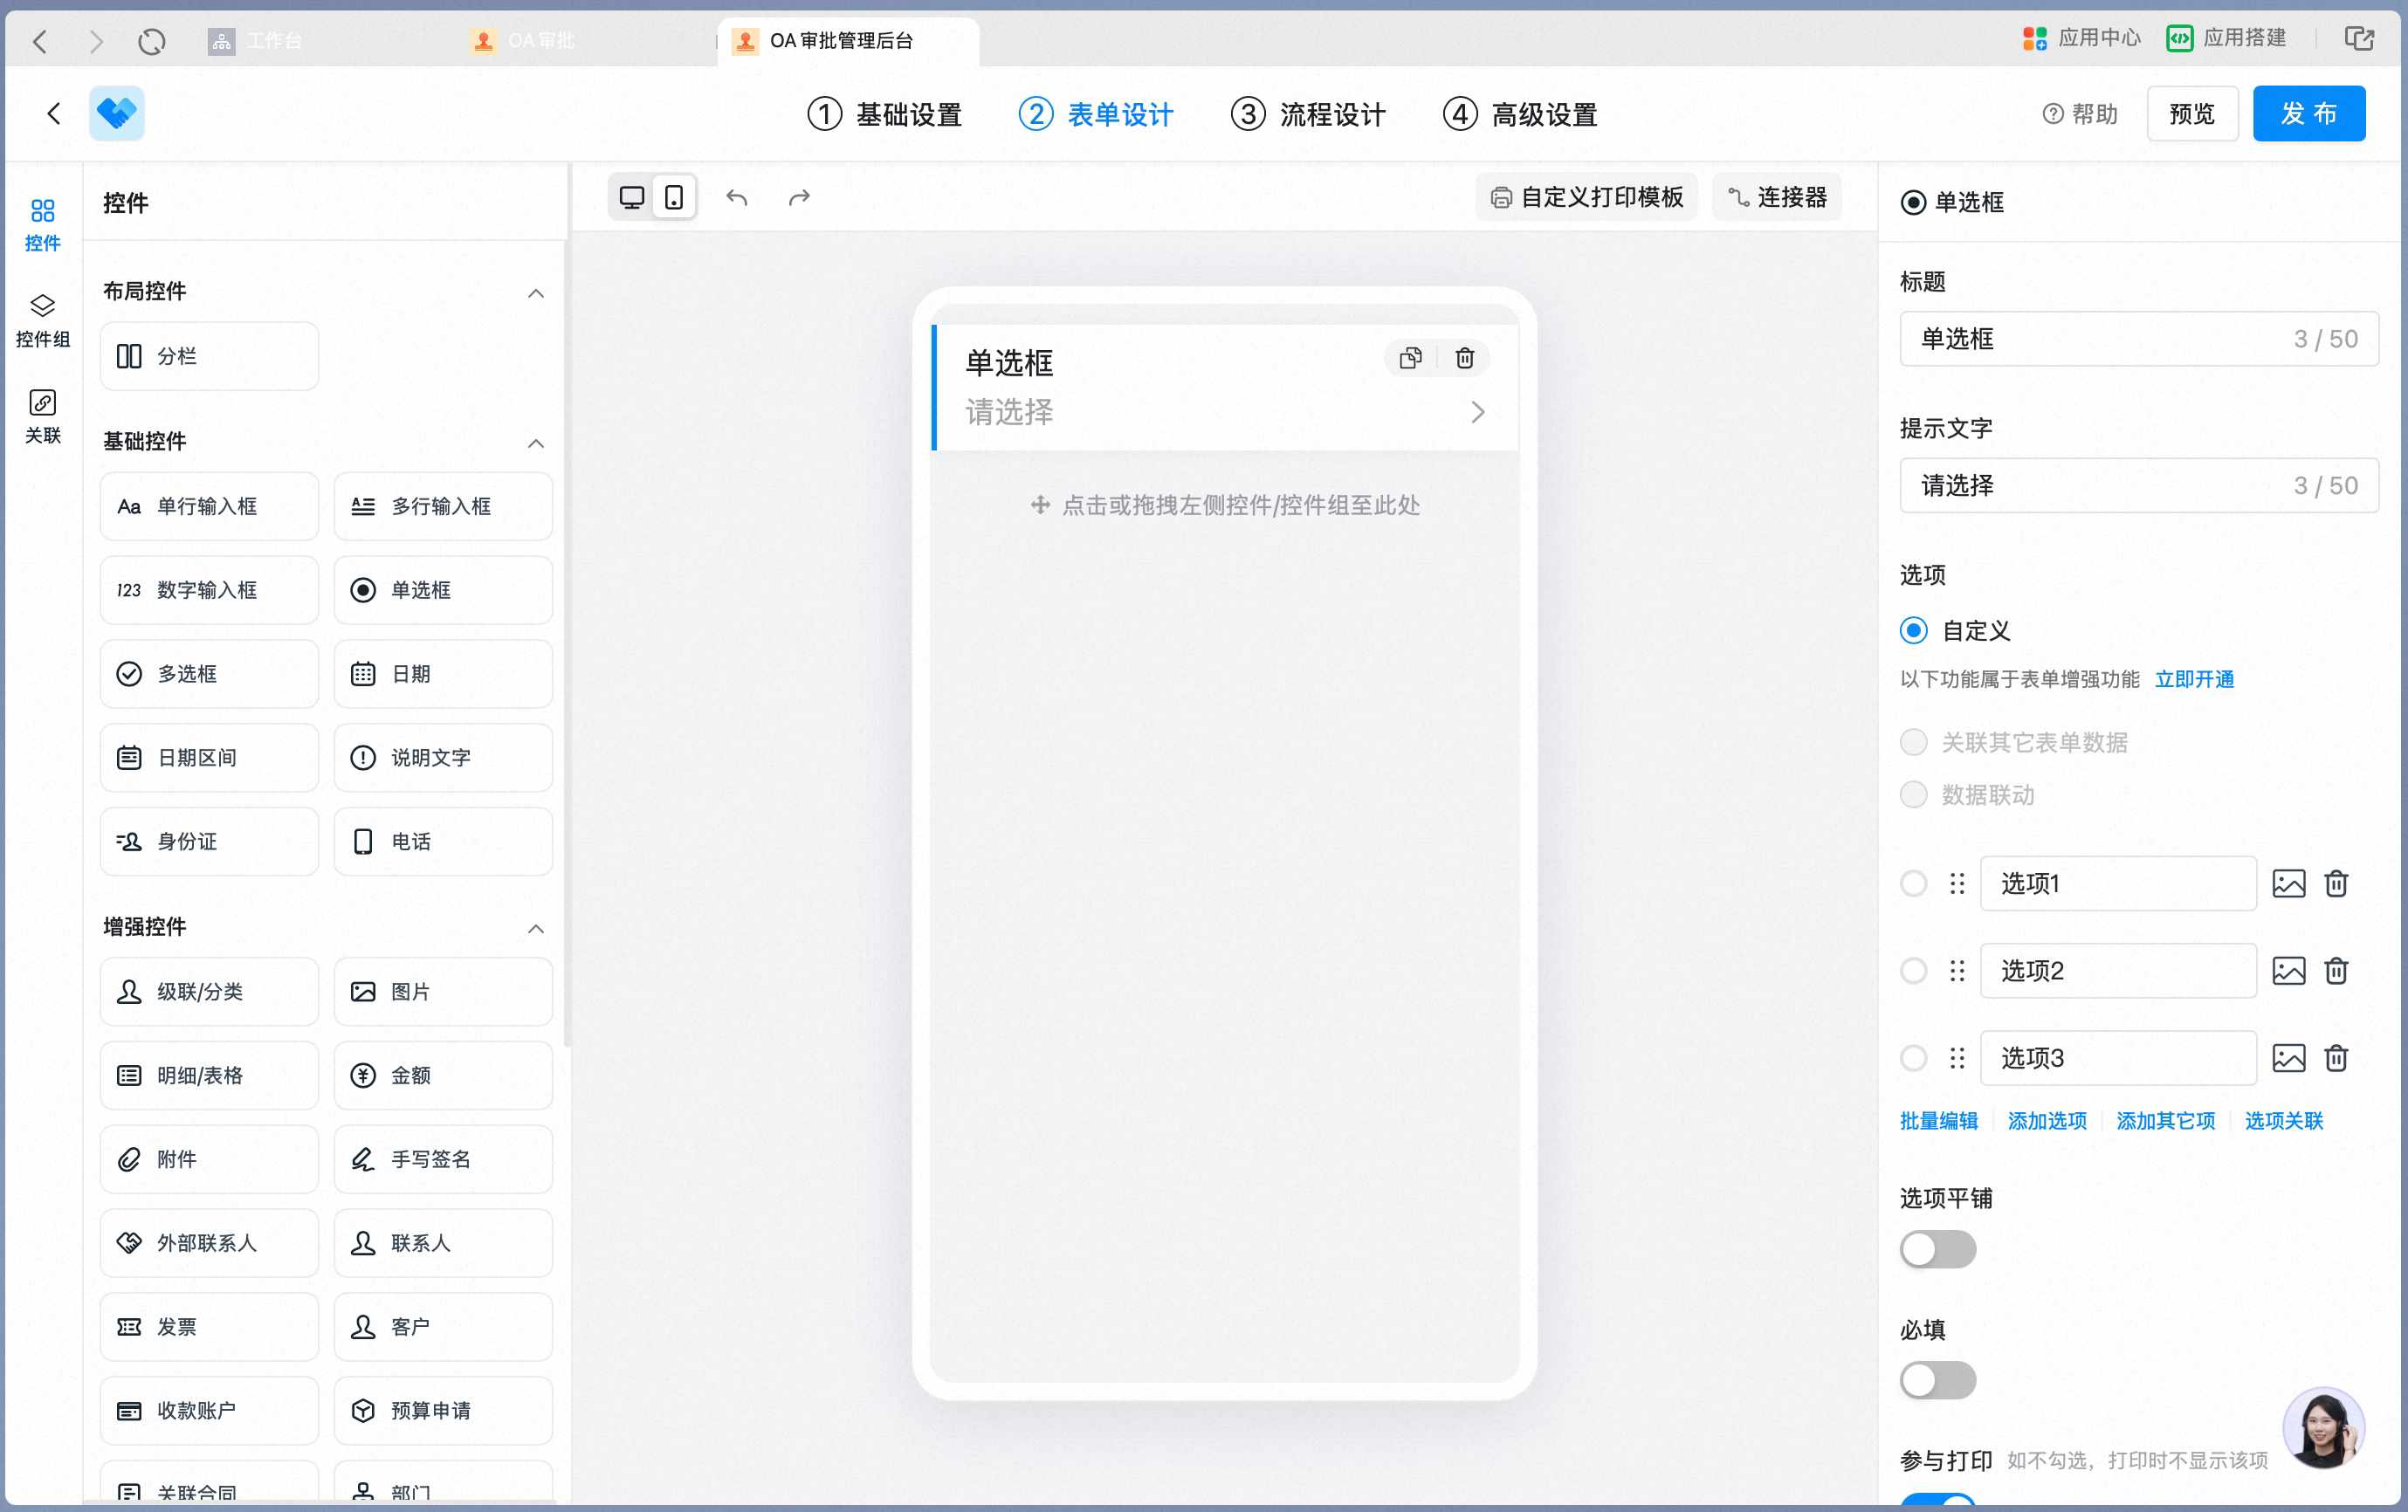

Data constraints and Search
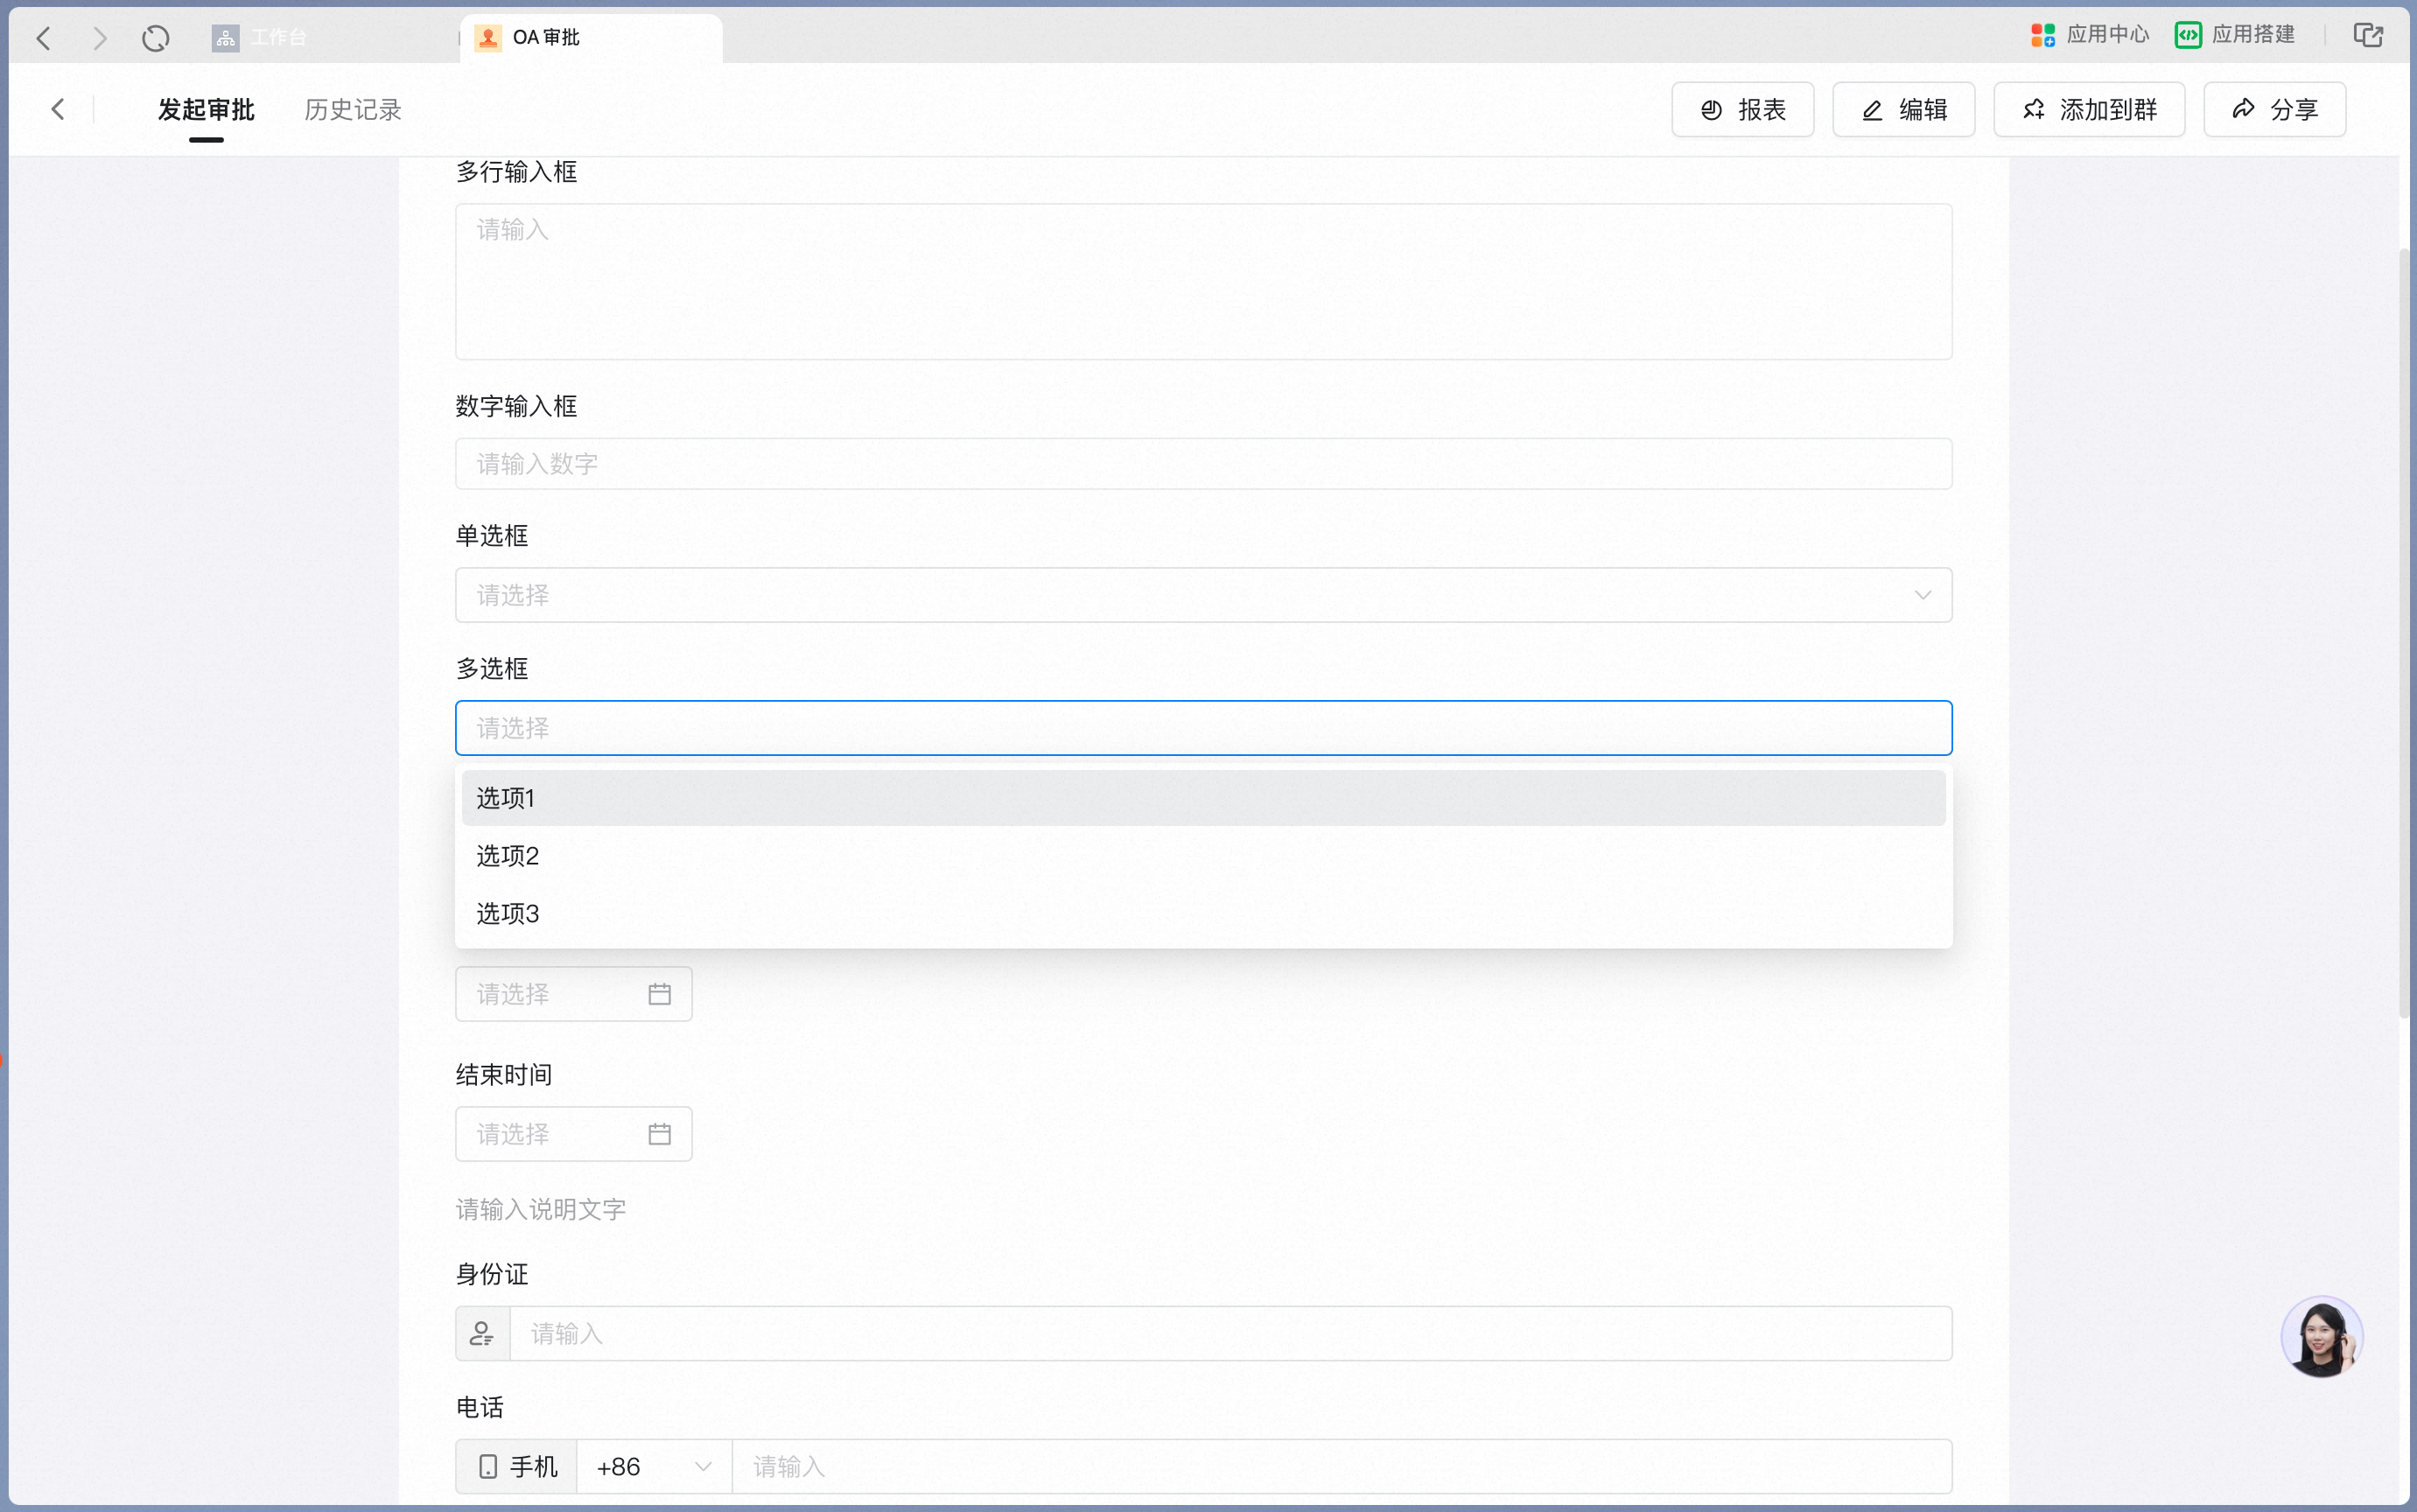
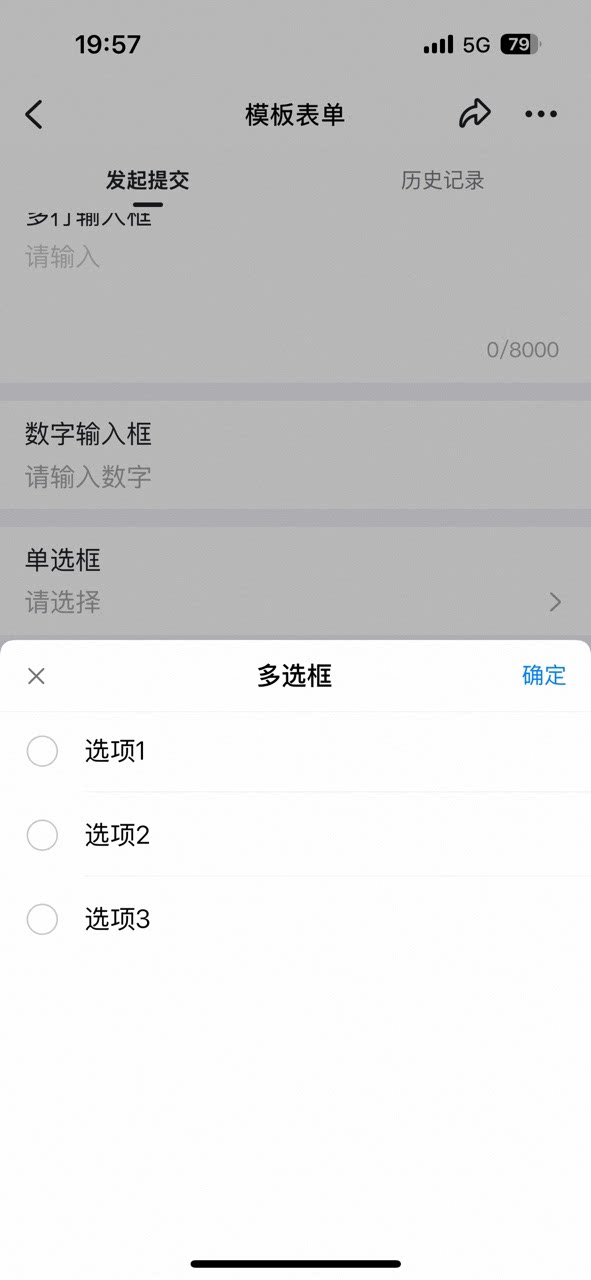
5. Multiselect
Use this control to pick several options from a preset list of Enum values, such as issue-cause Tags. These Enum values can be edited directly on the form, or sourced by referencing Data from another Data Source as options. Settings interface Add a Multiselect in the form designer: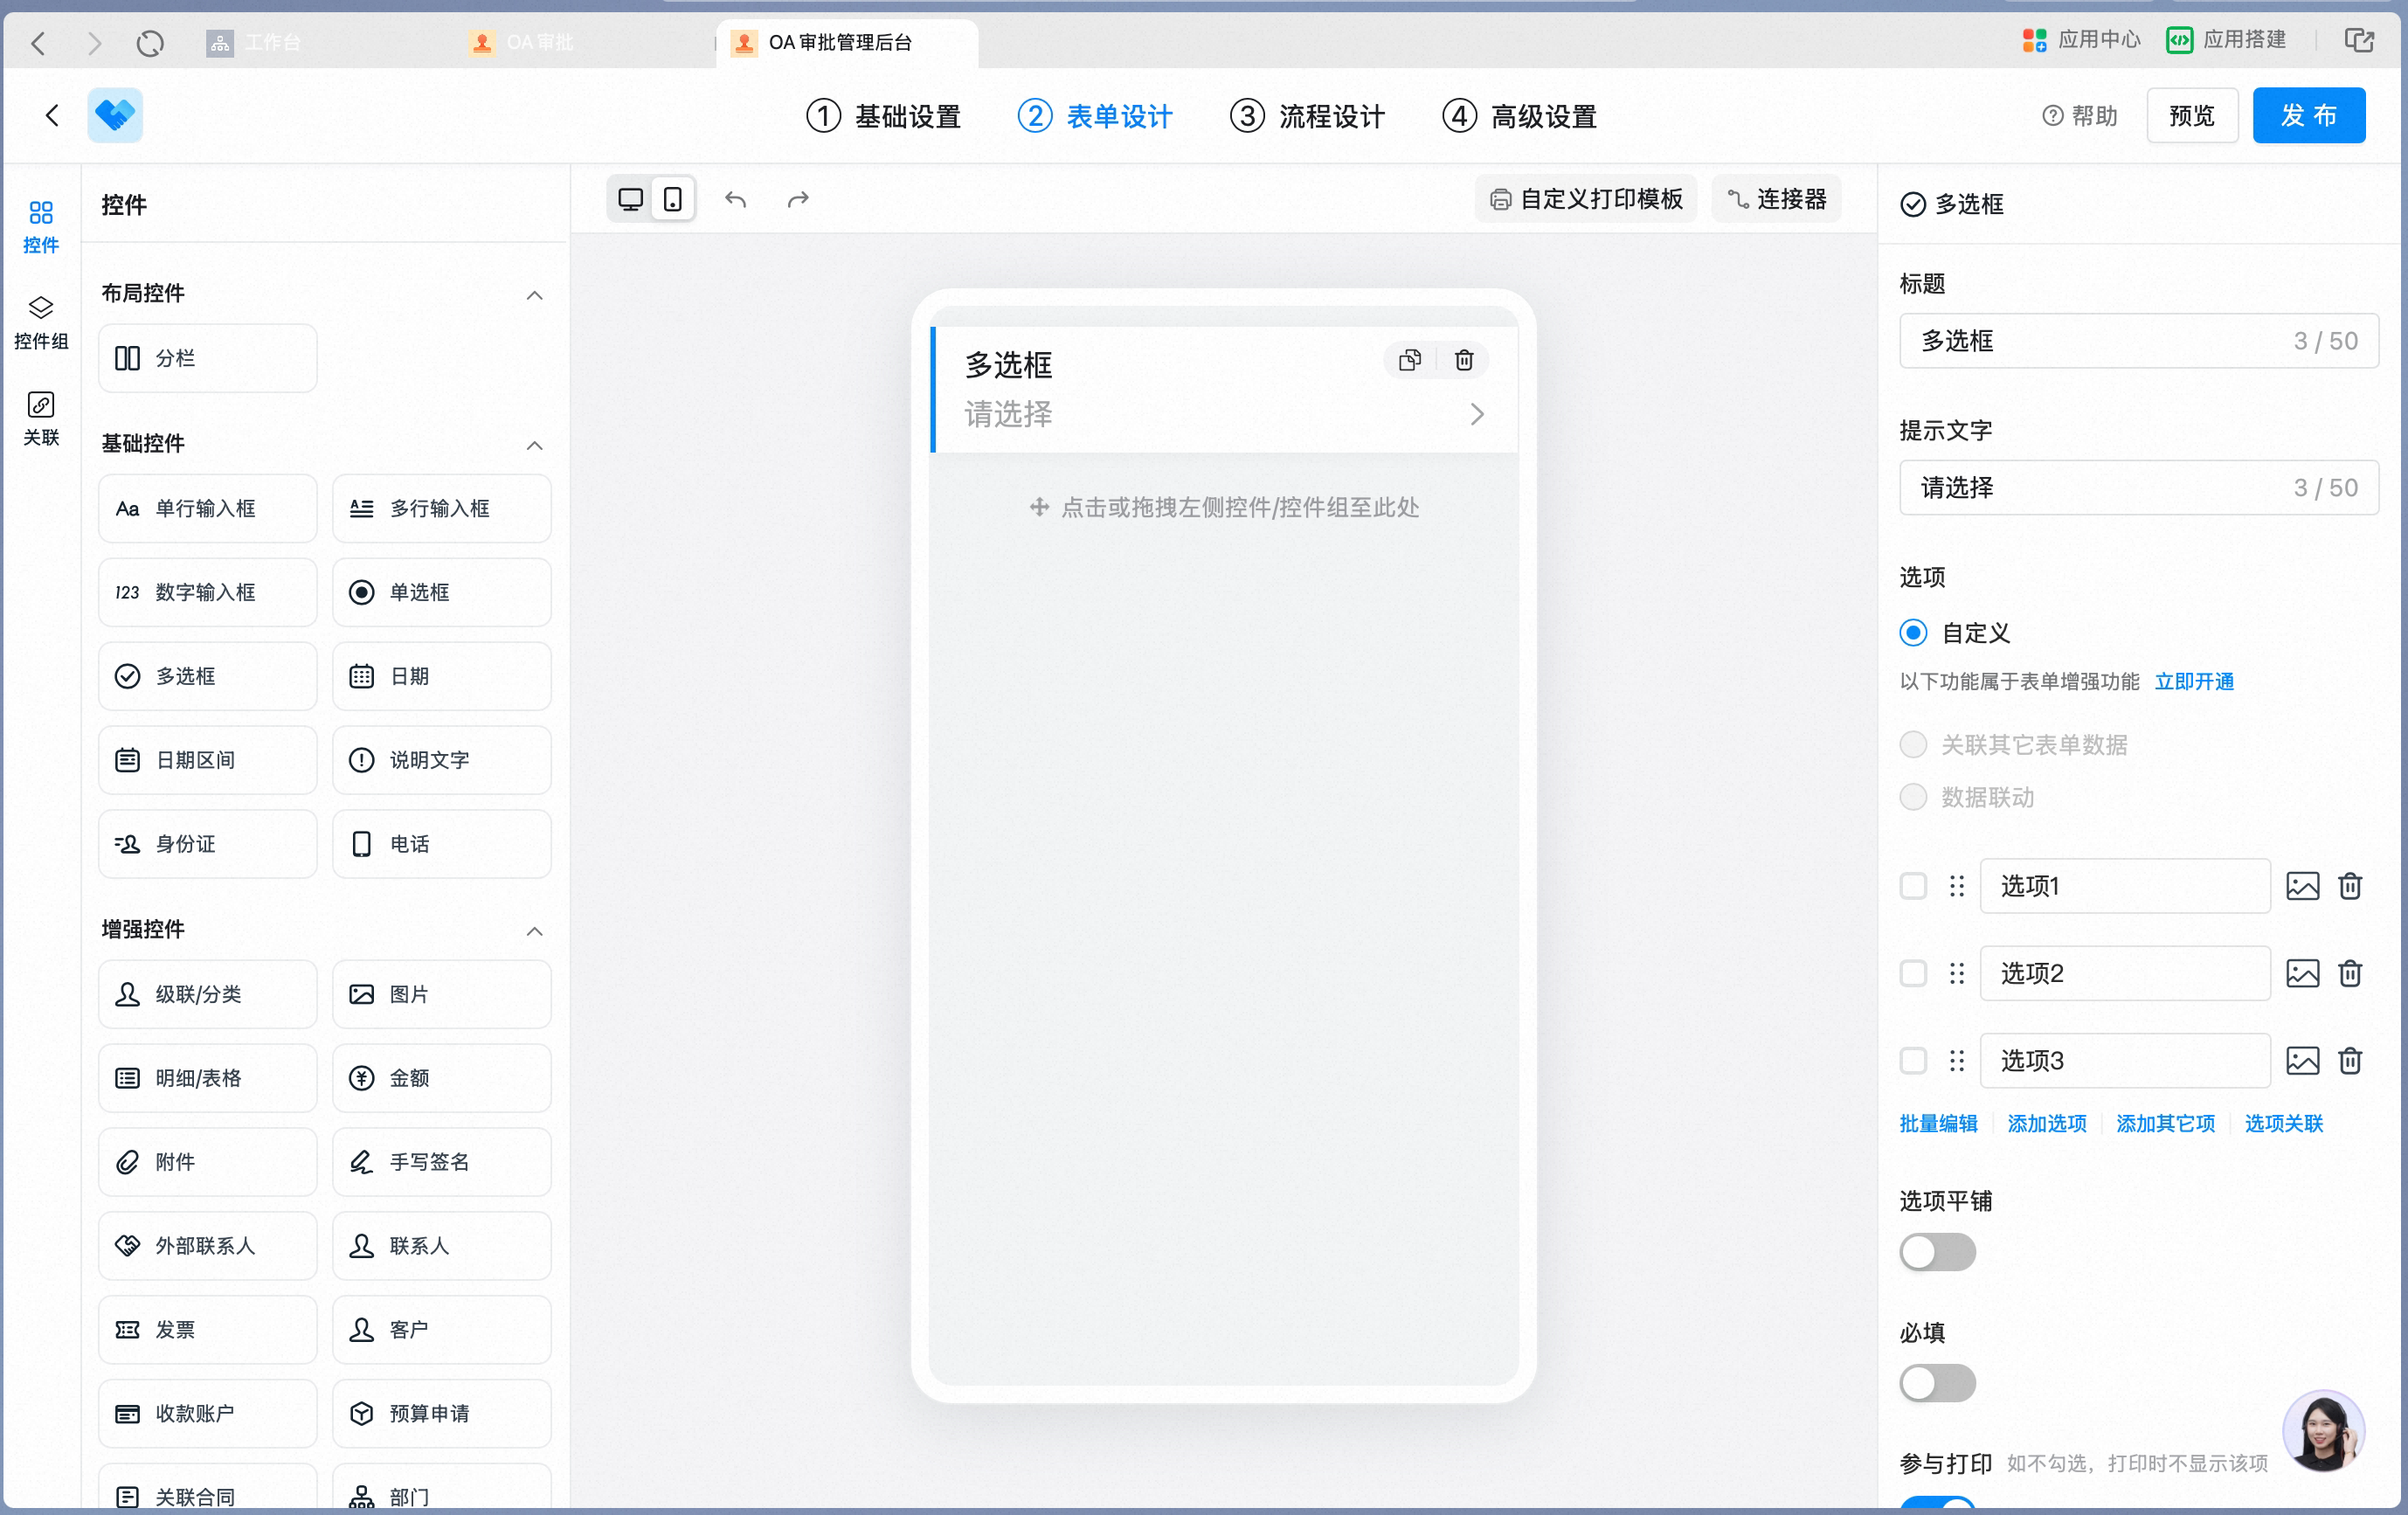
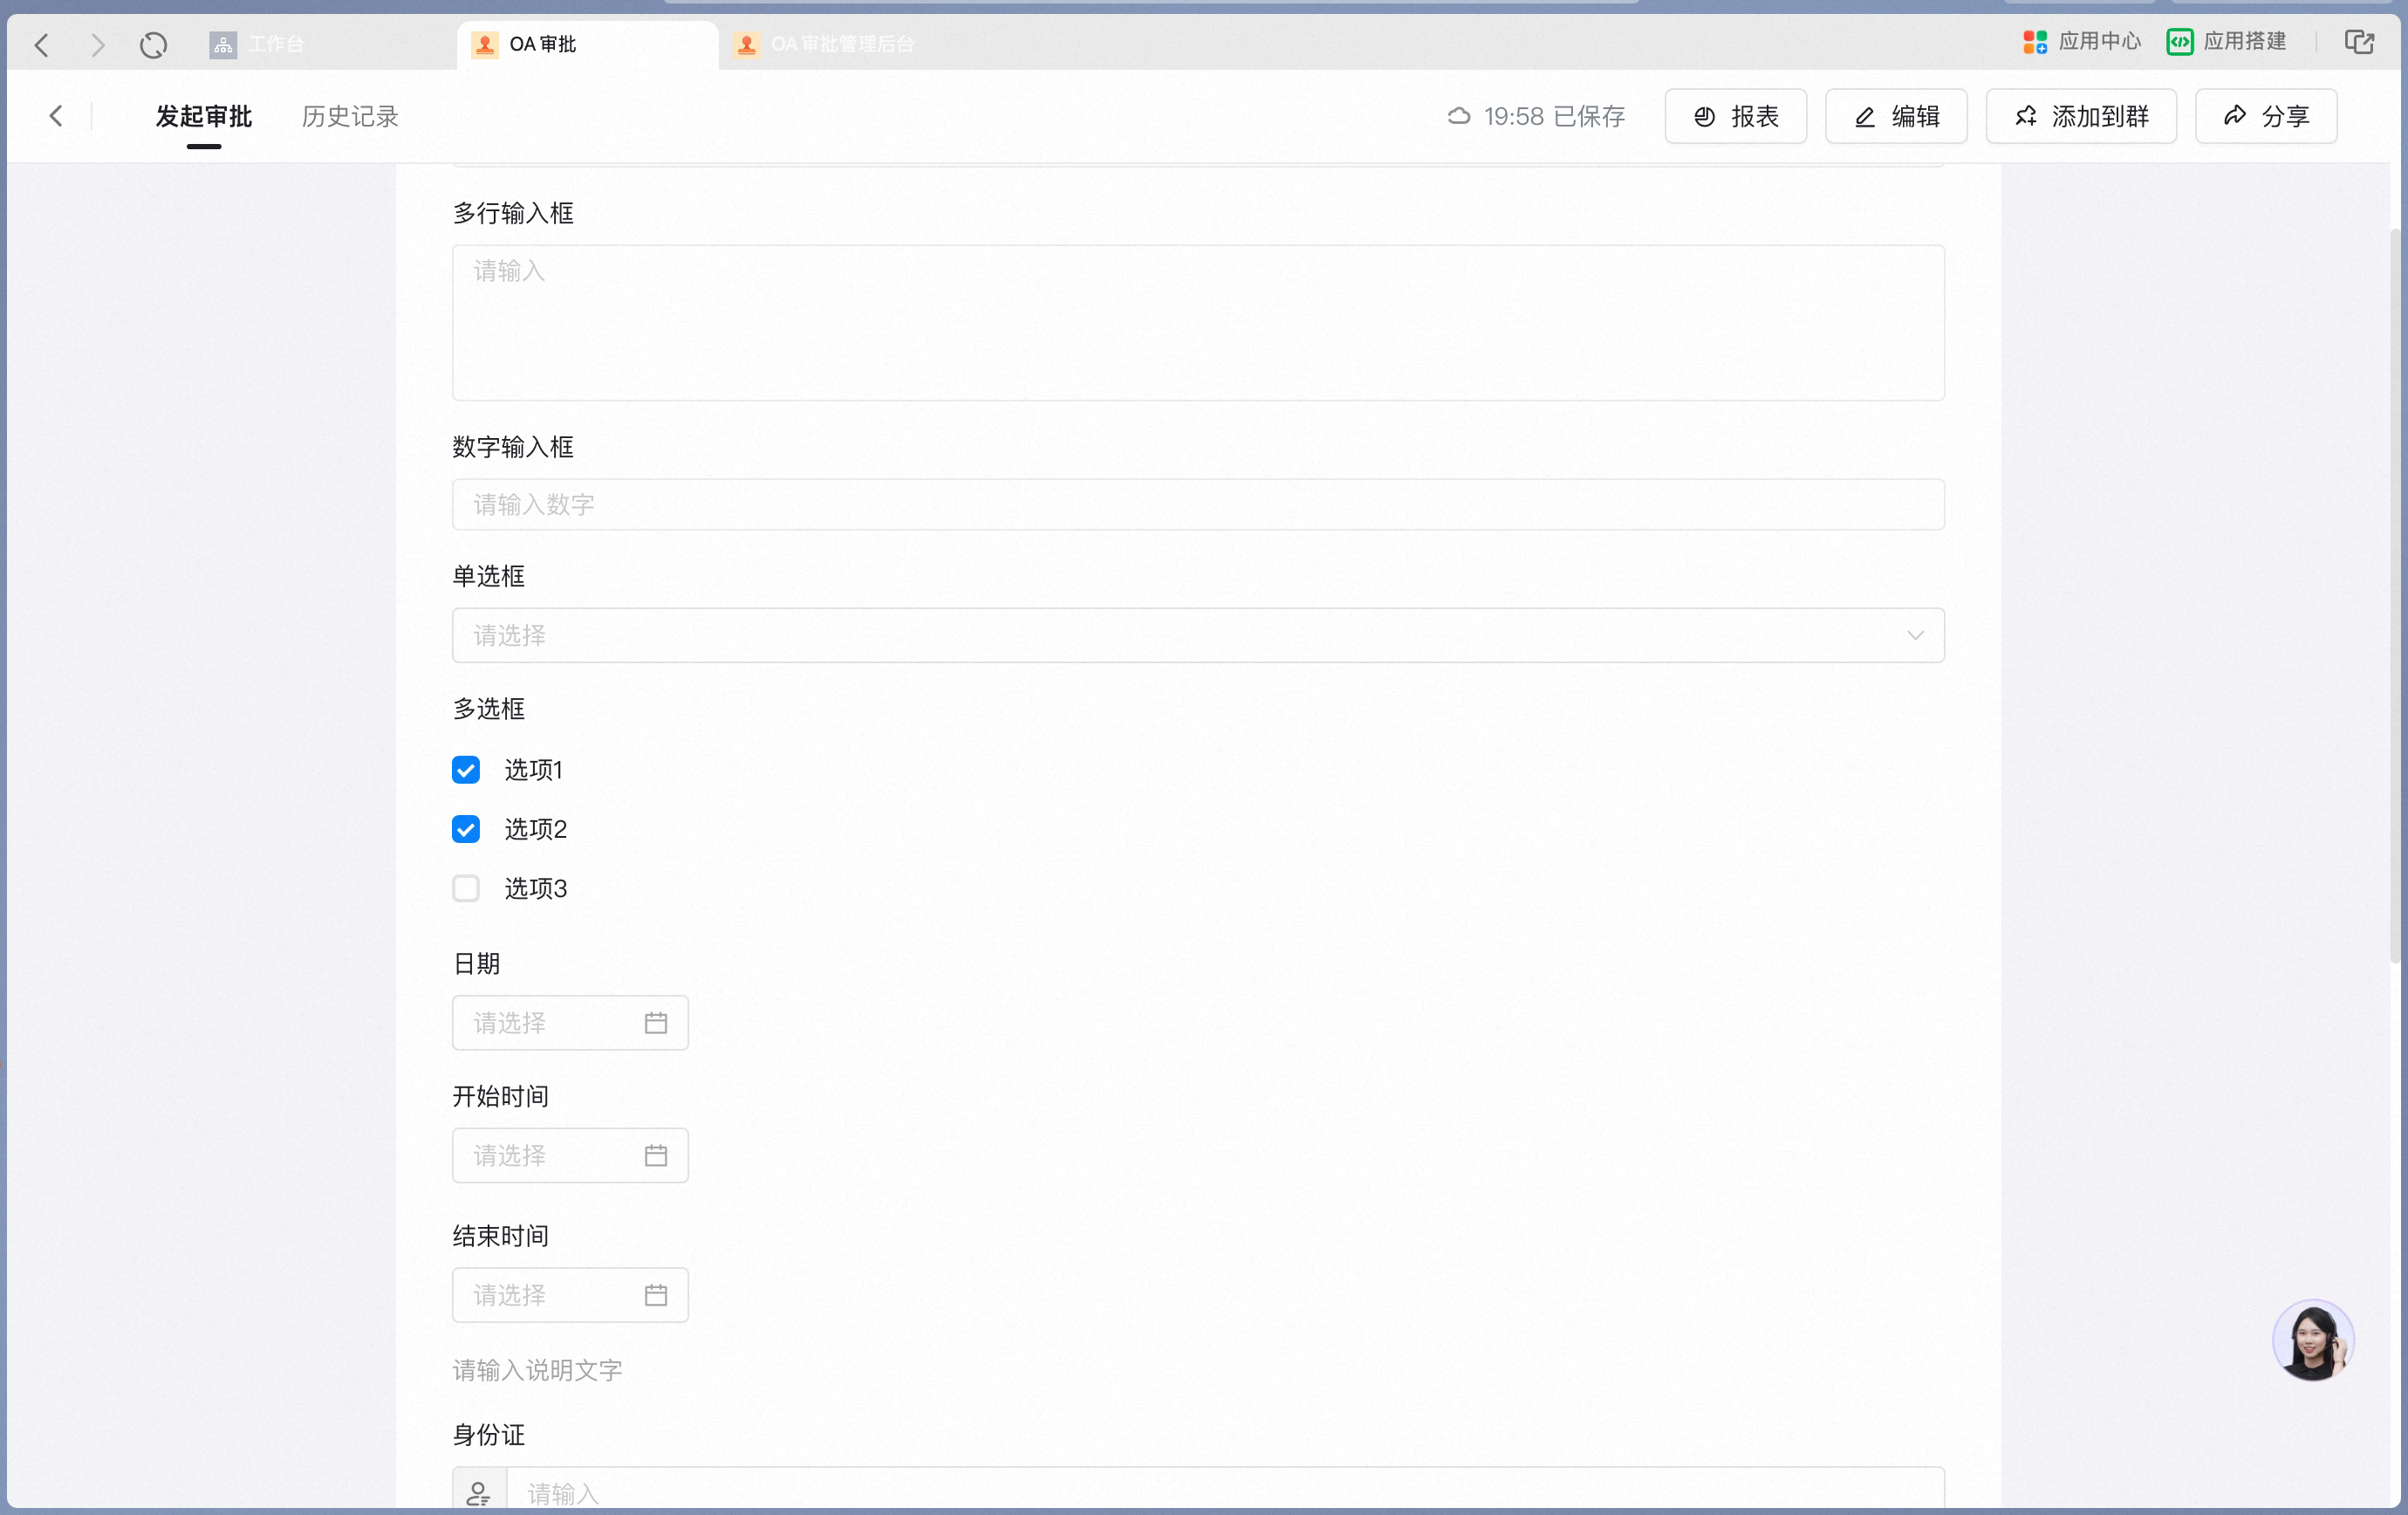
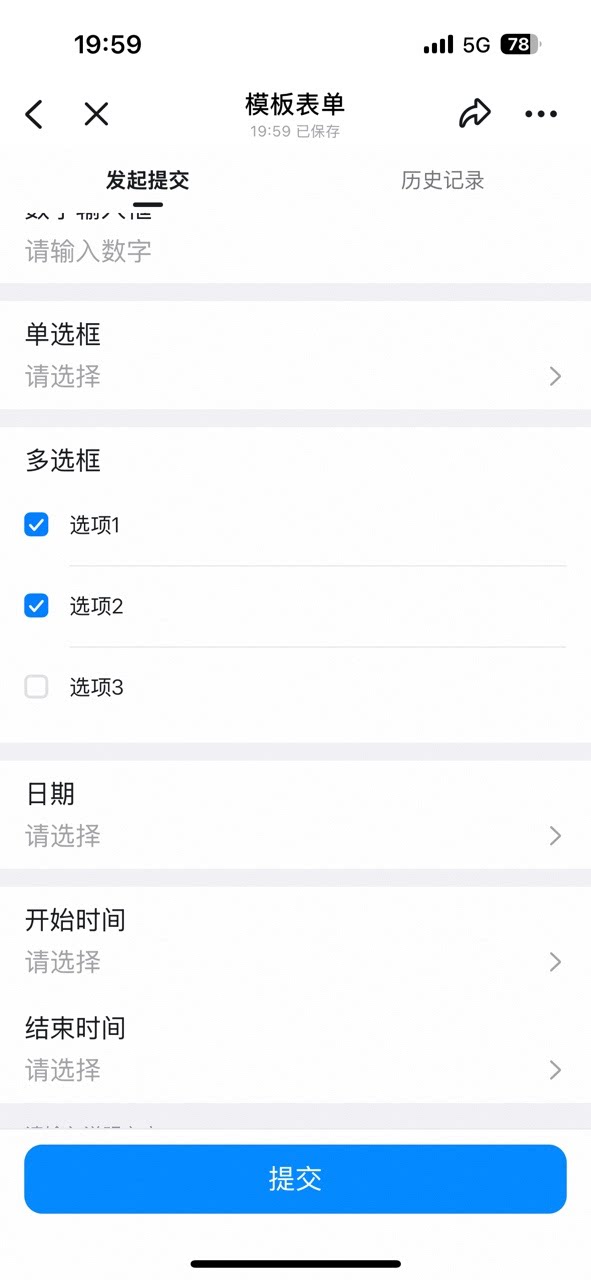
Data constraints and Search
6. Date
Use this control to set a specific Date, such as the expected arrival Date of purchased items. Settings interface Add a Date control in the form designer: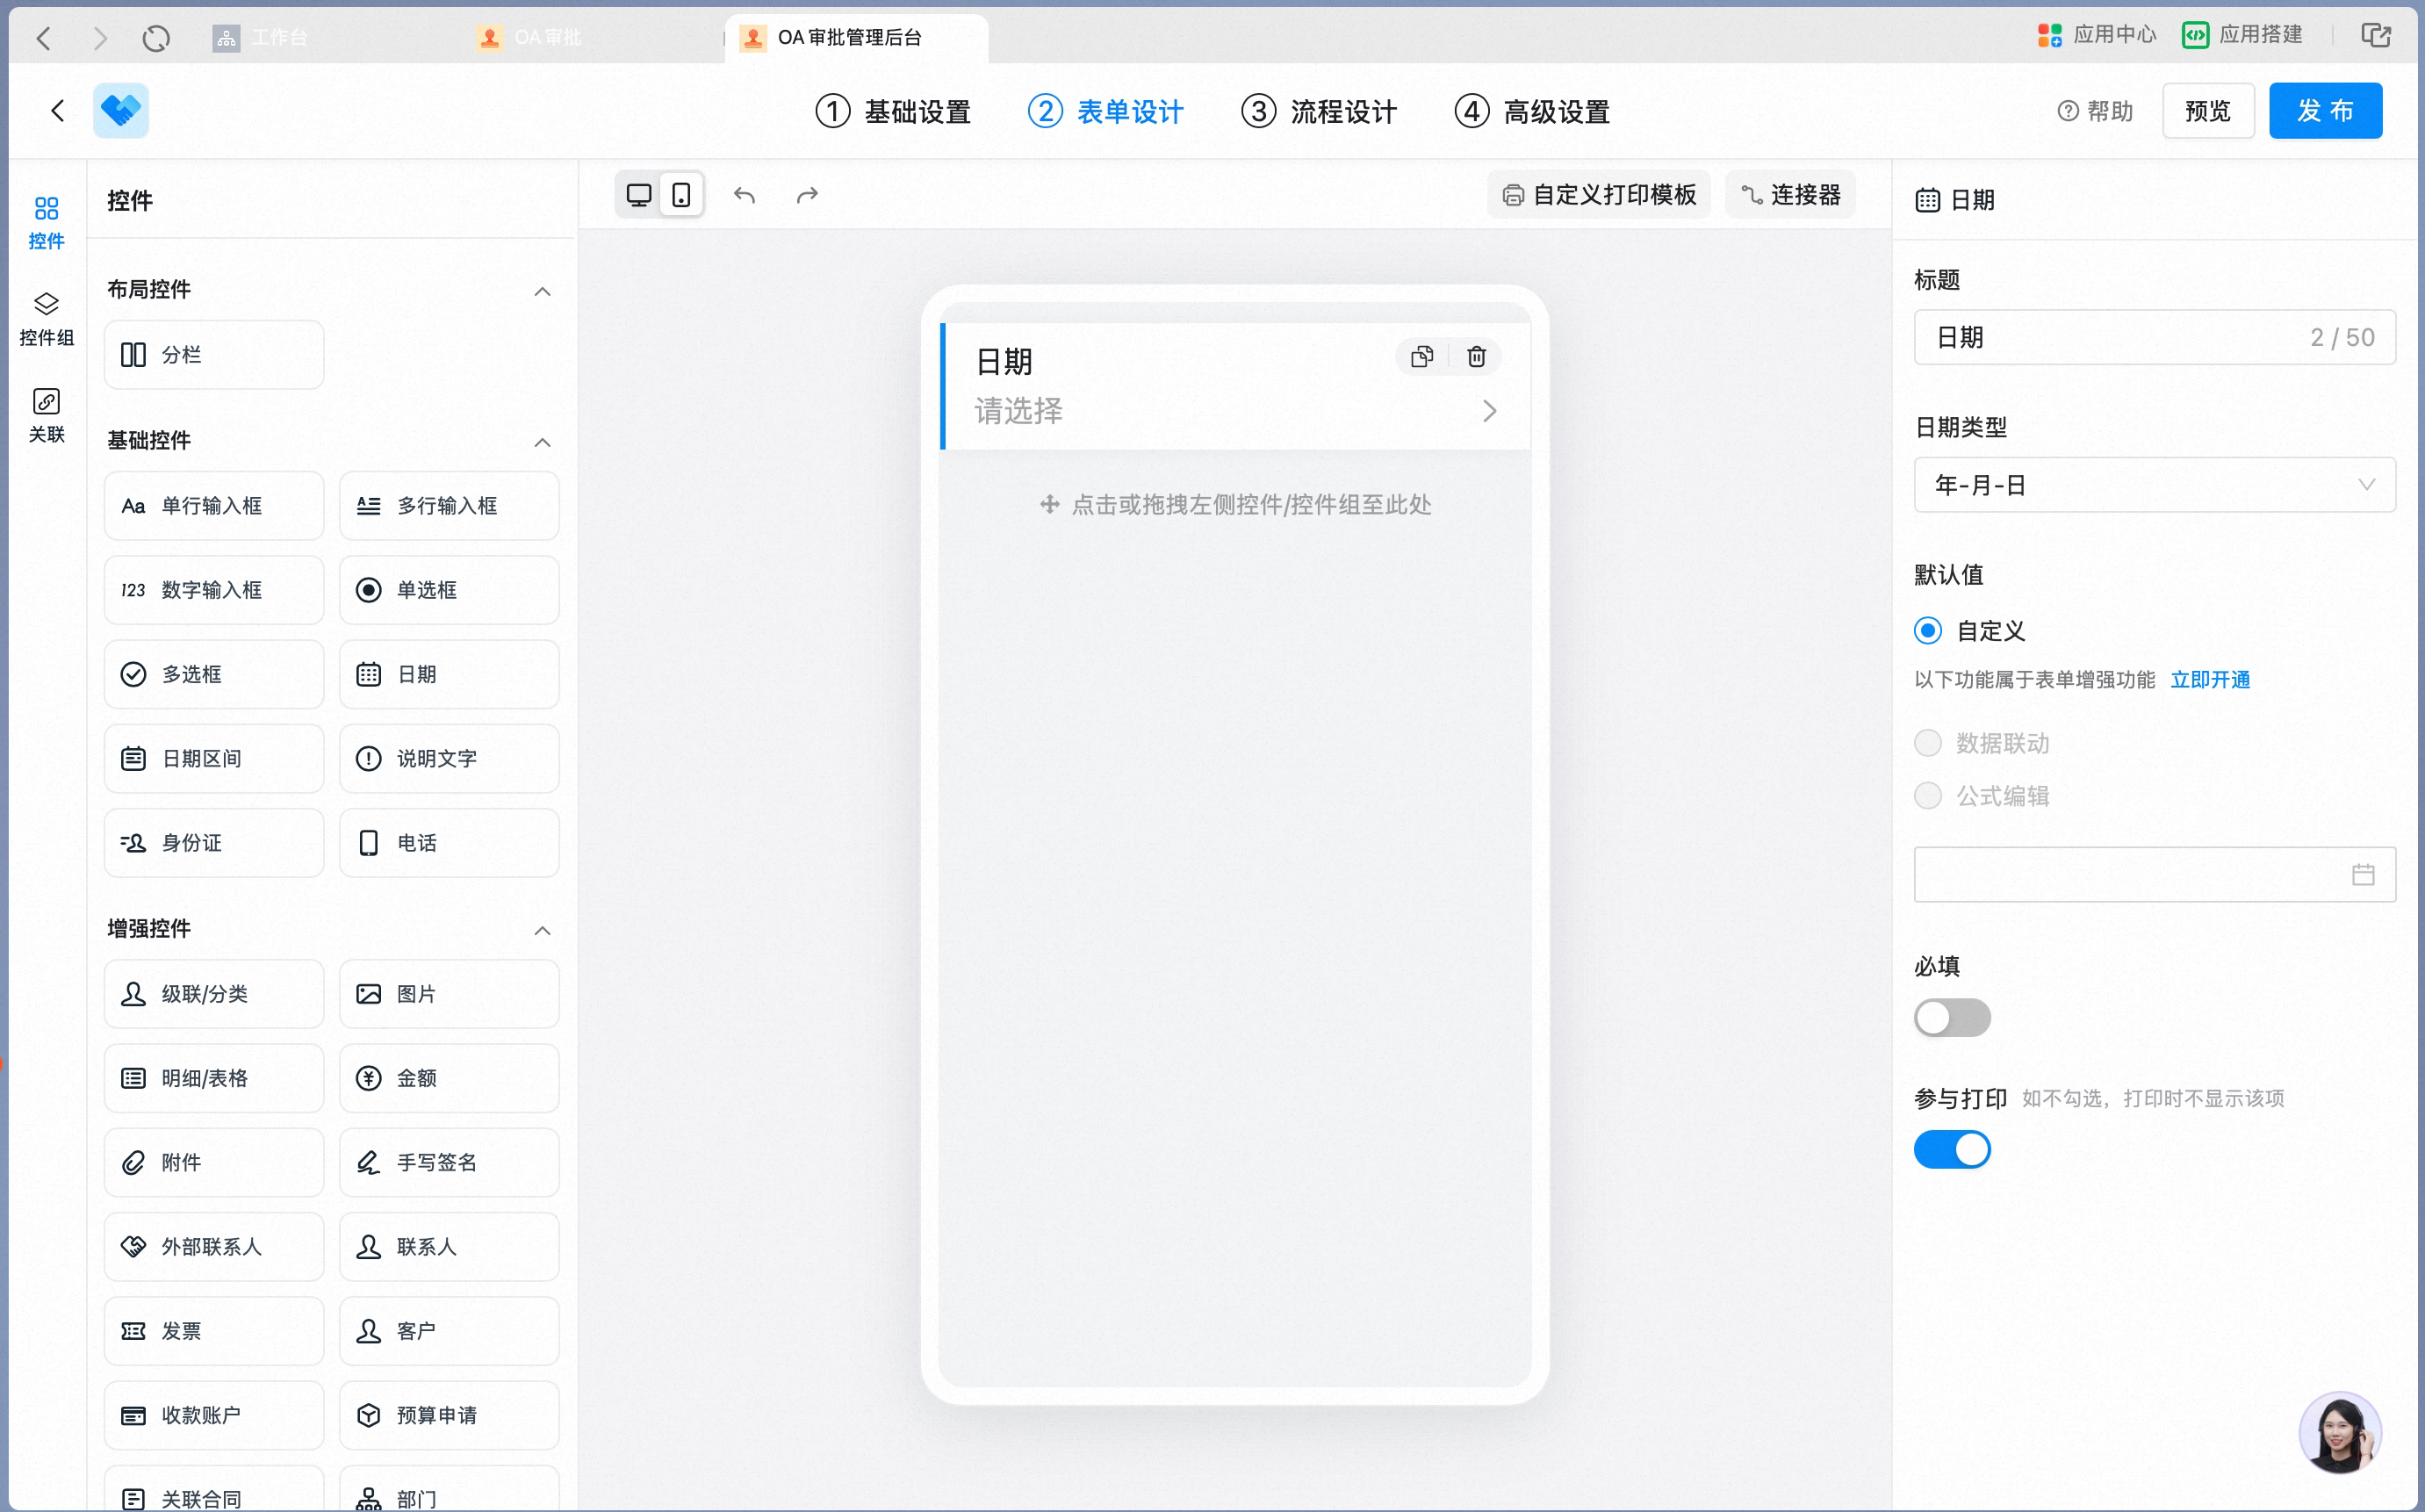
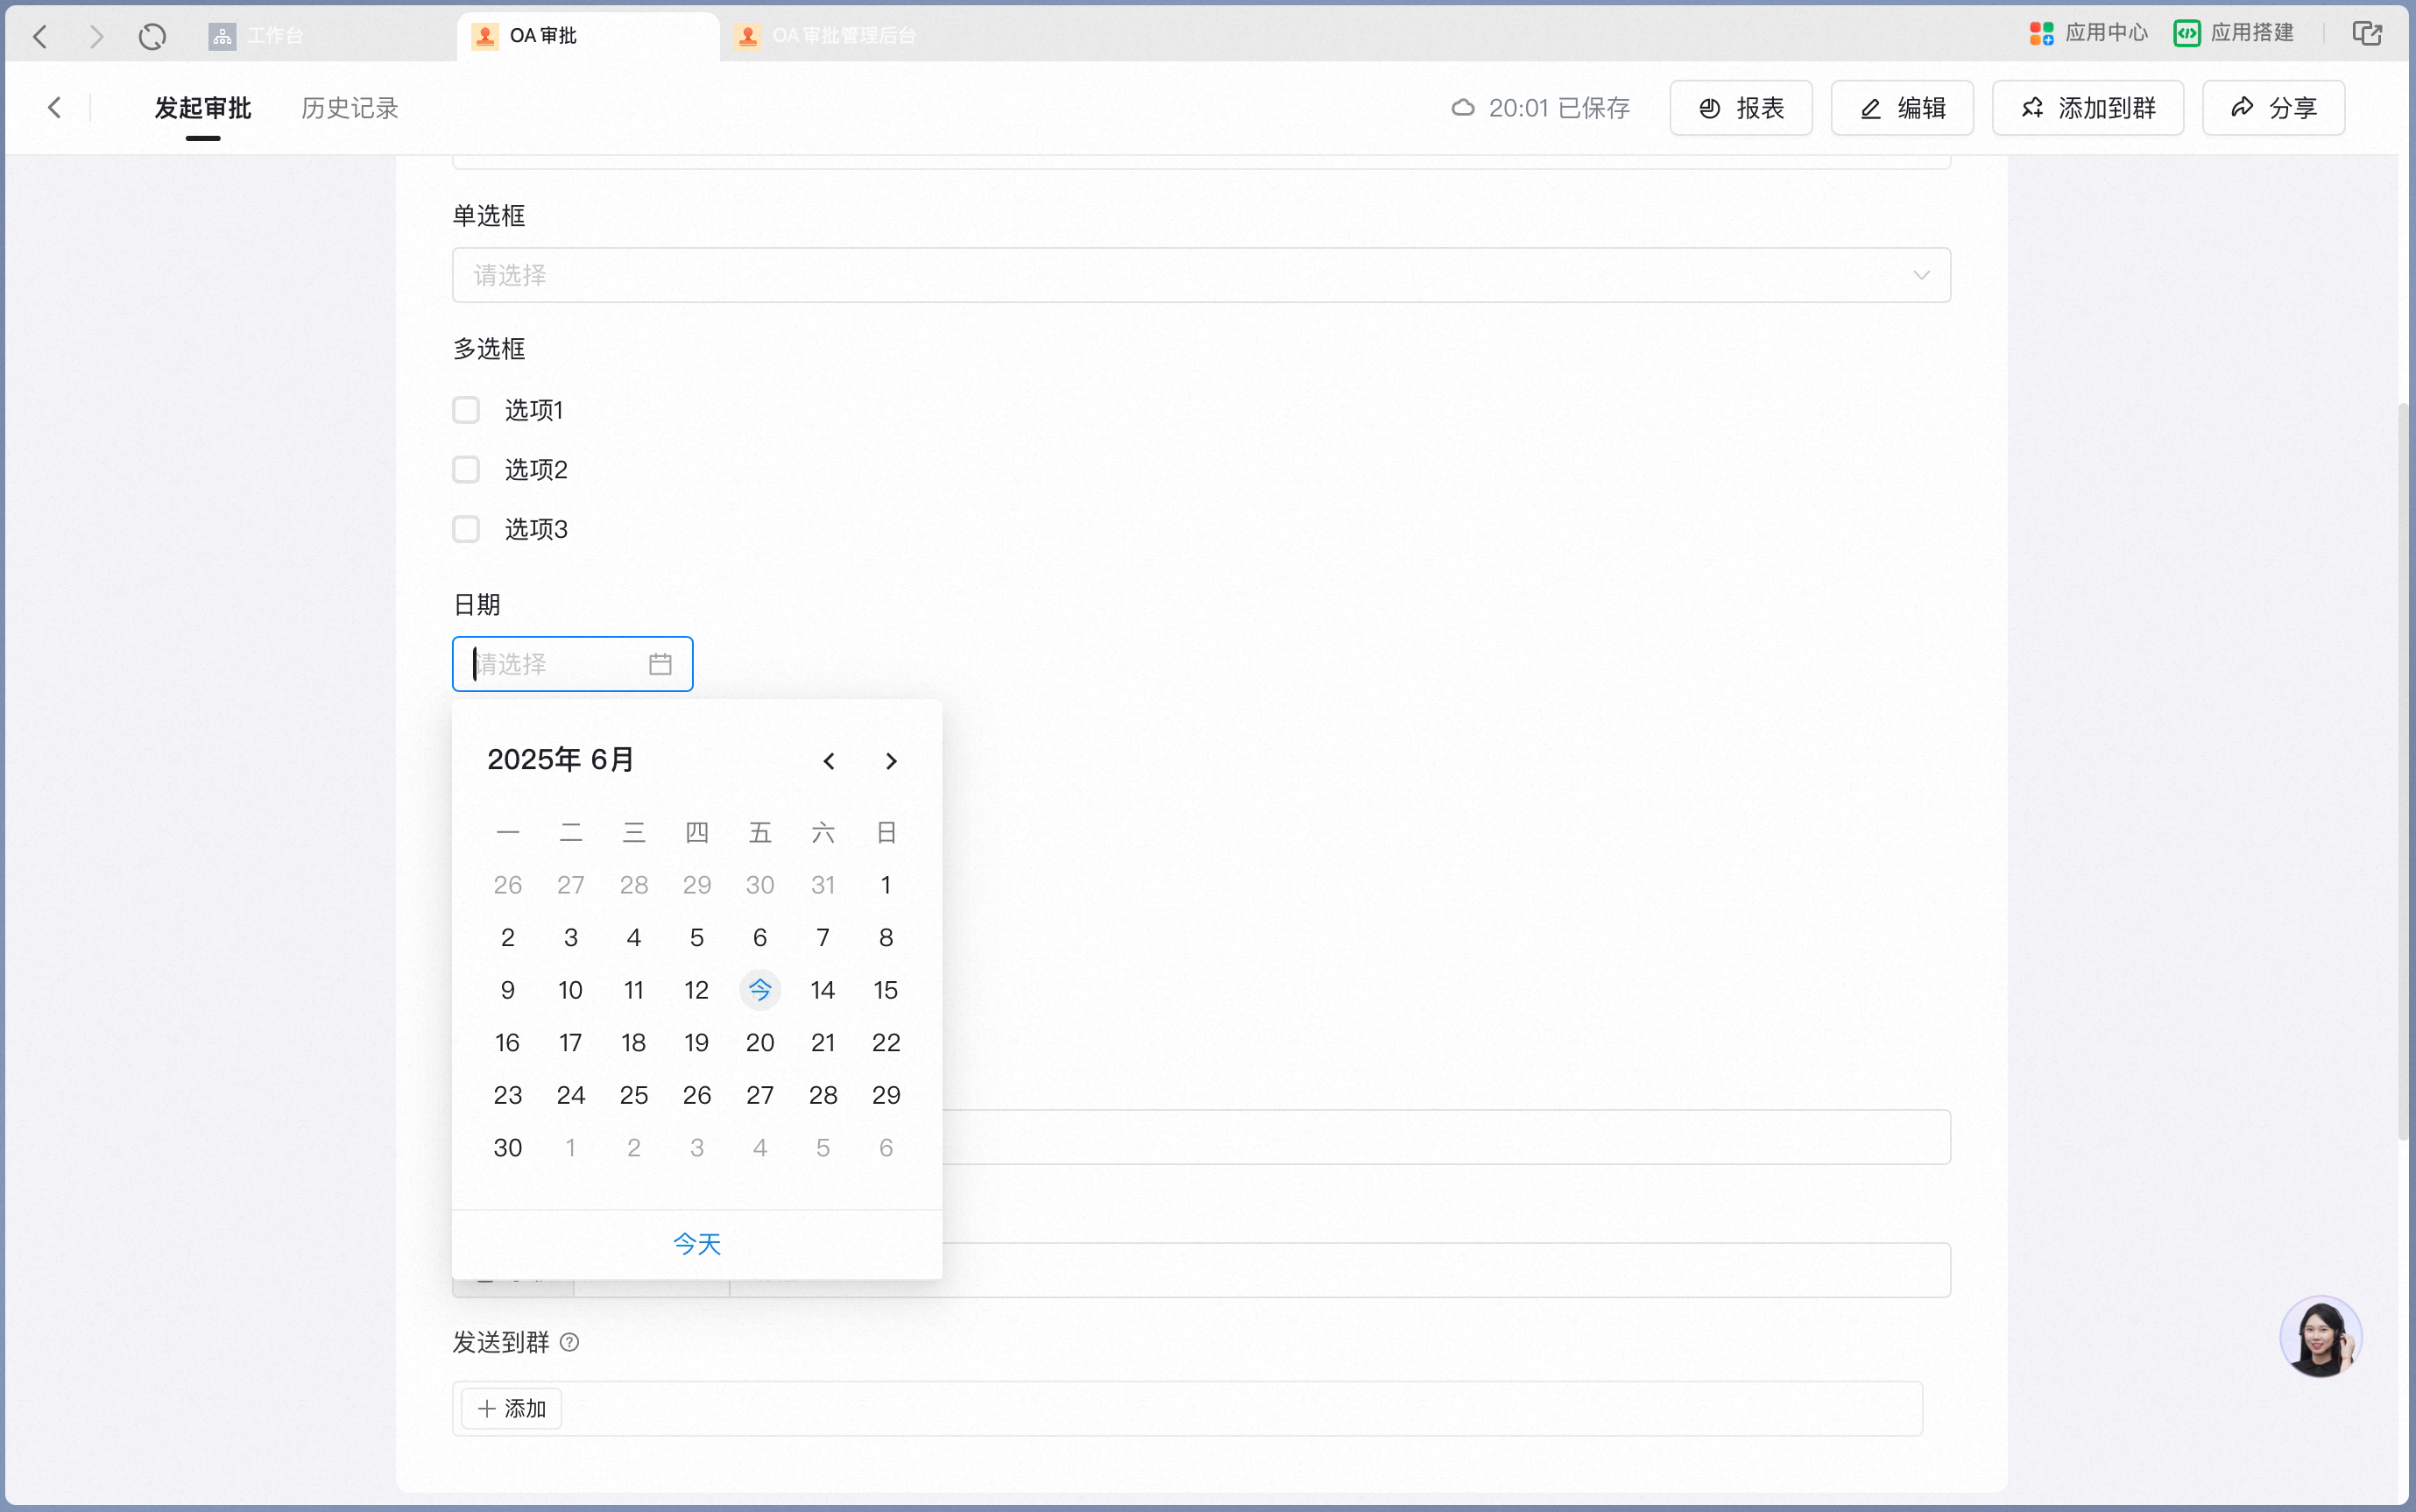
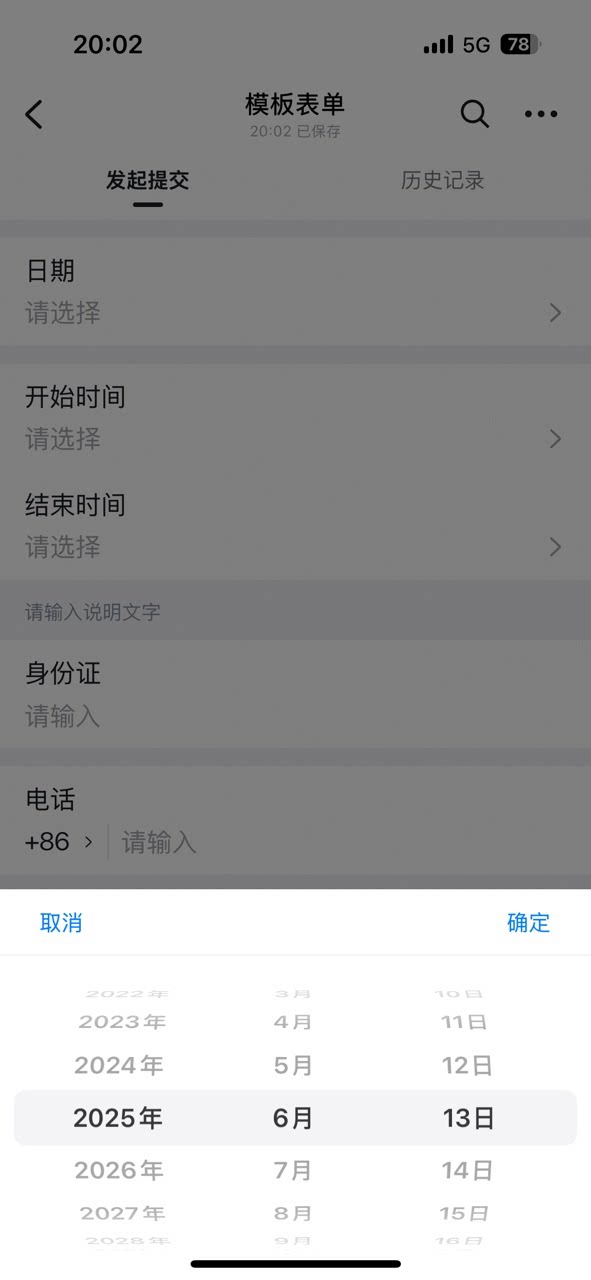
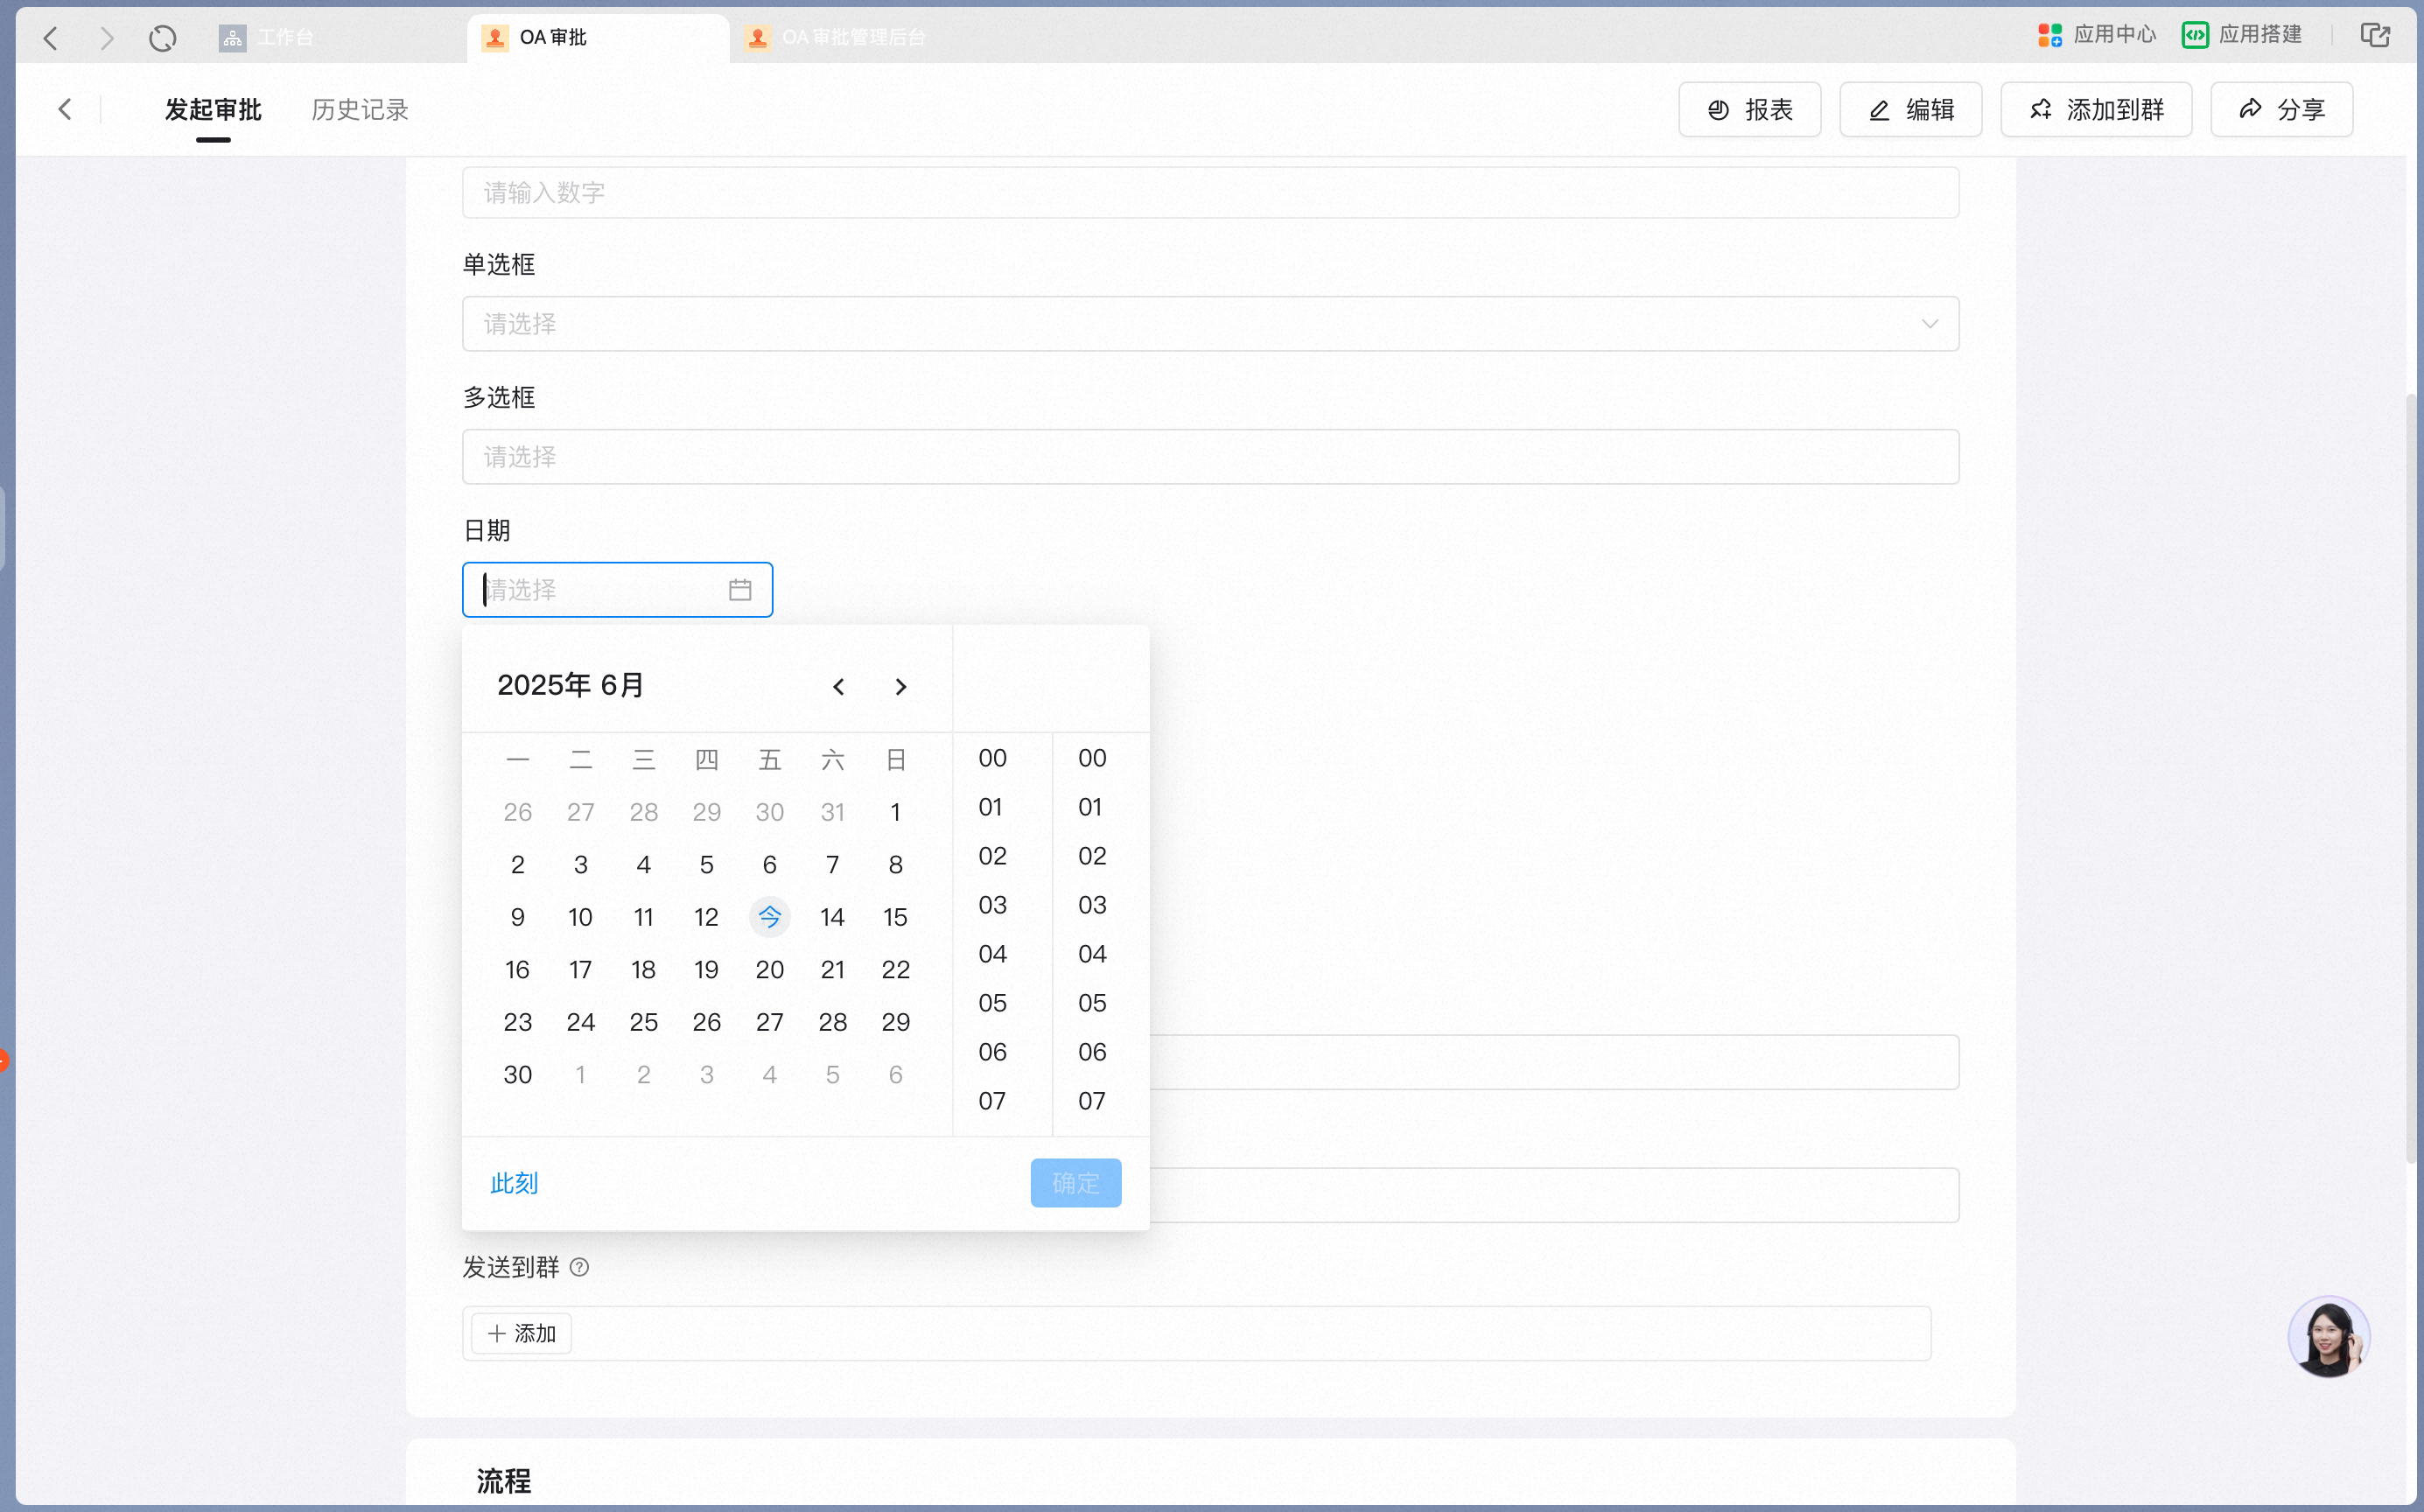
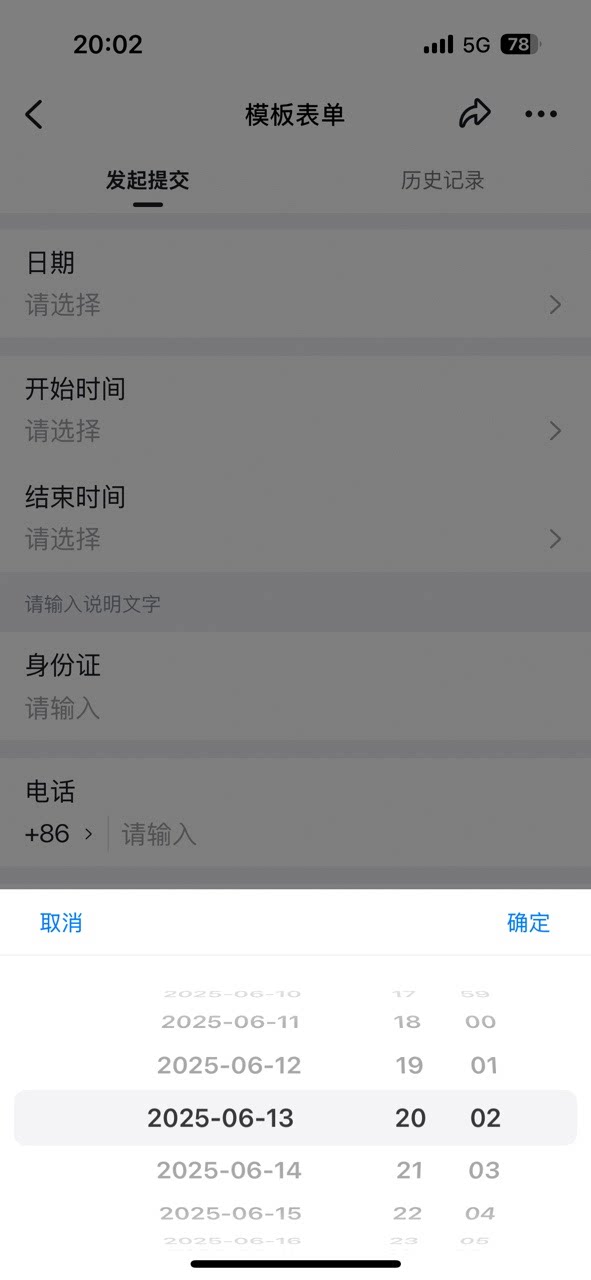
Data constraints and Search
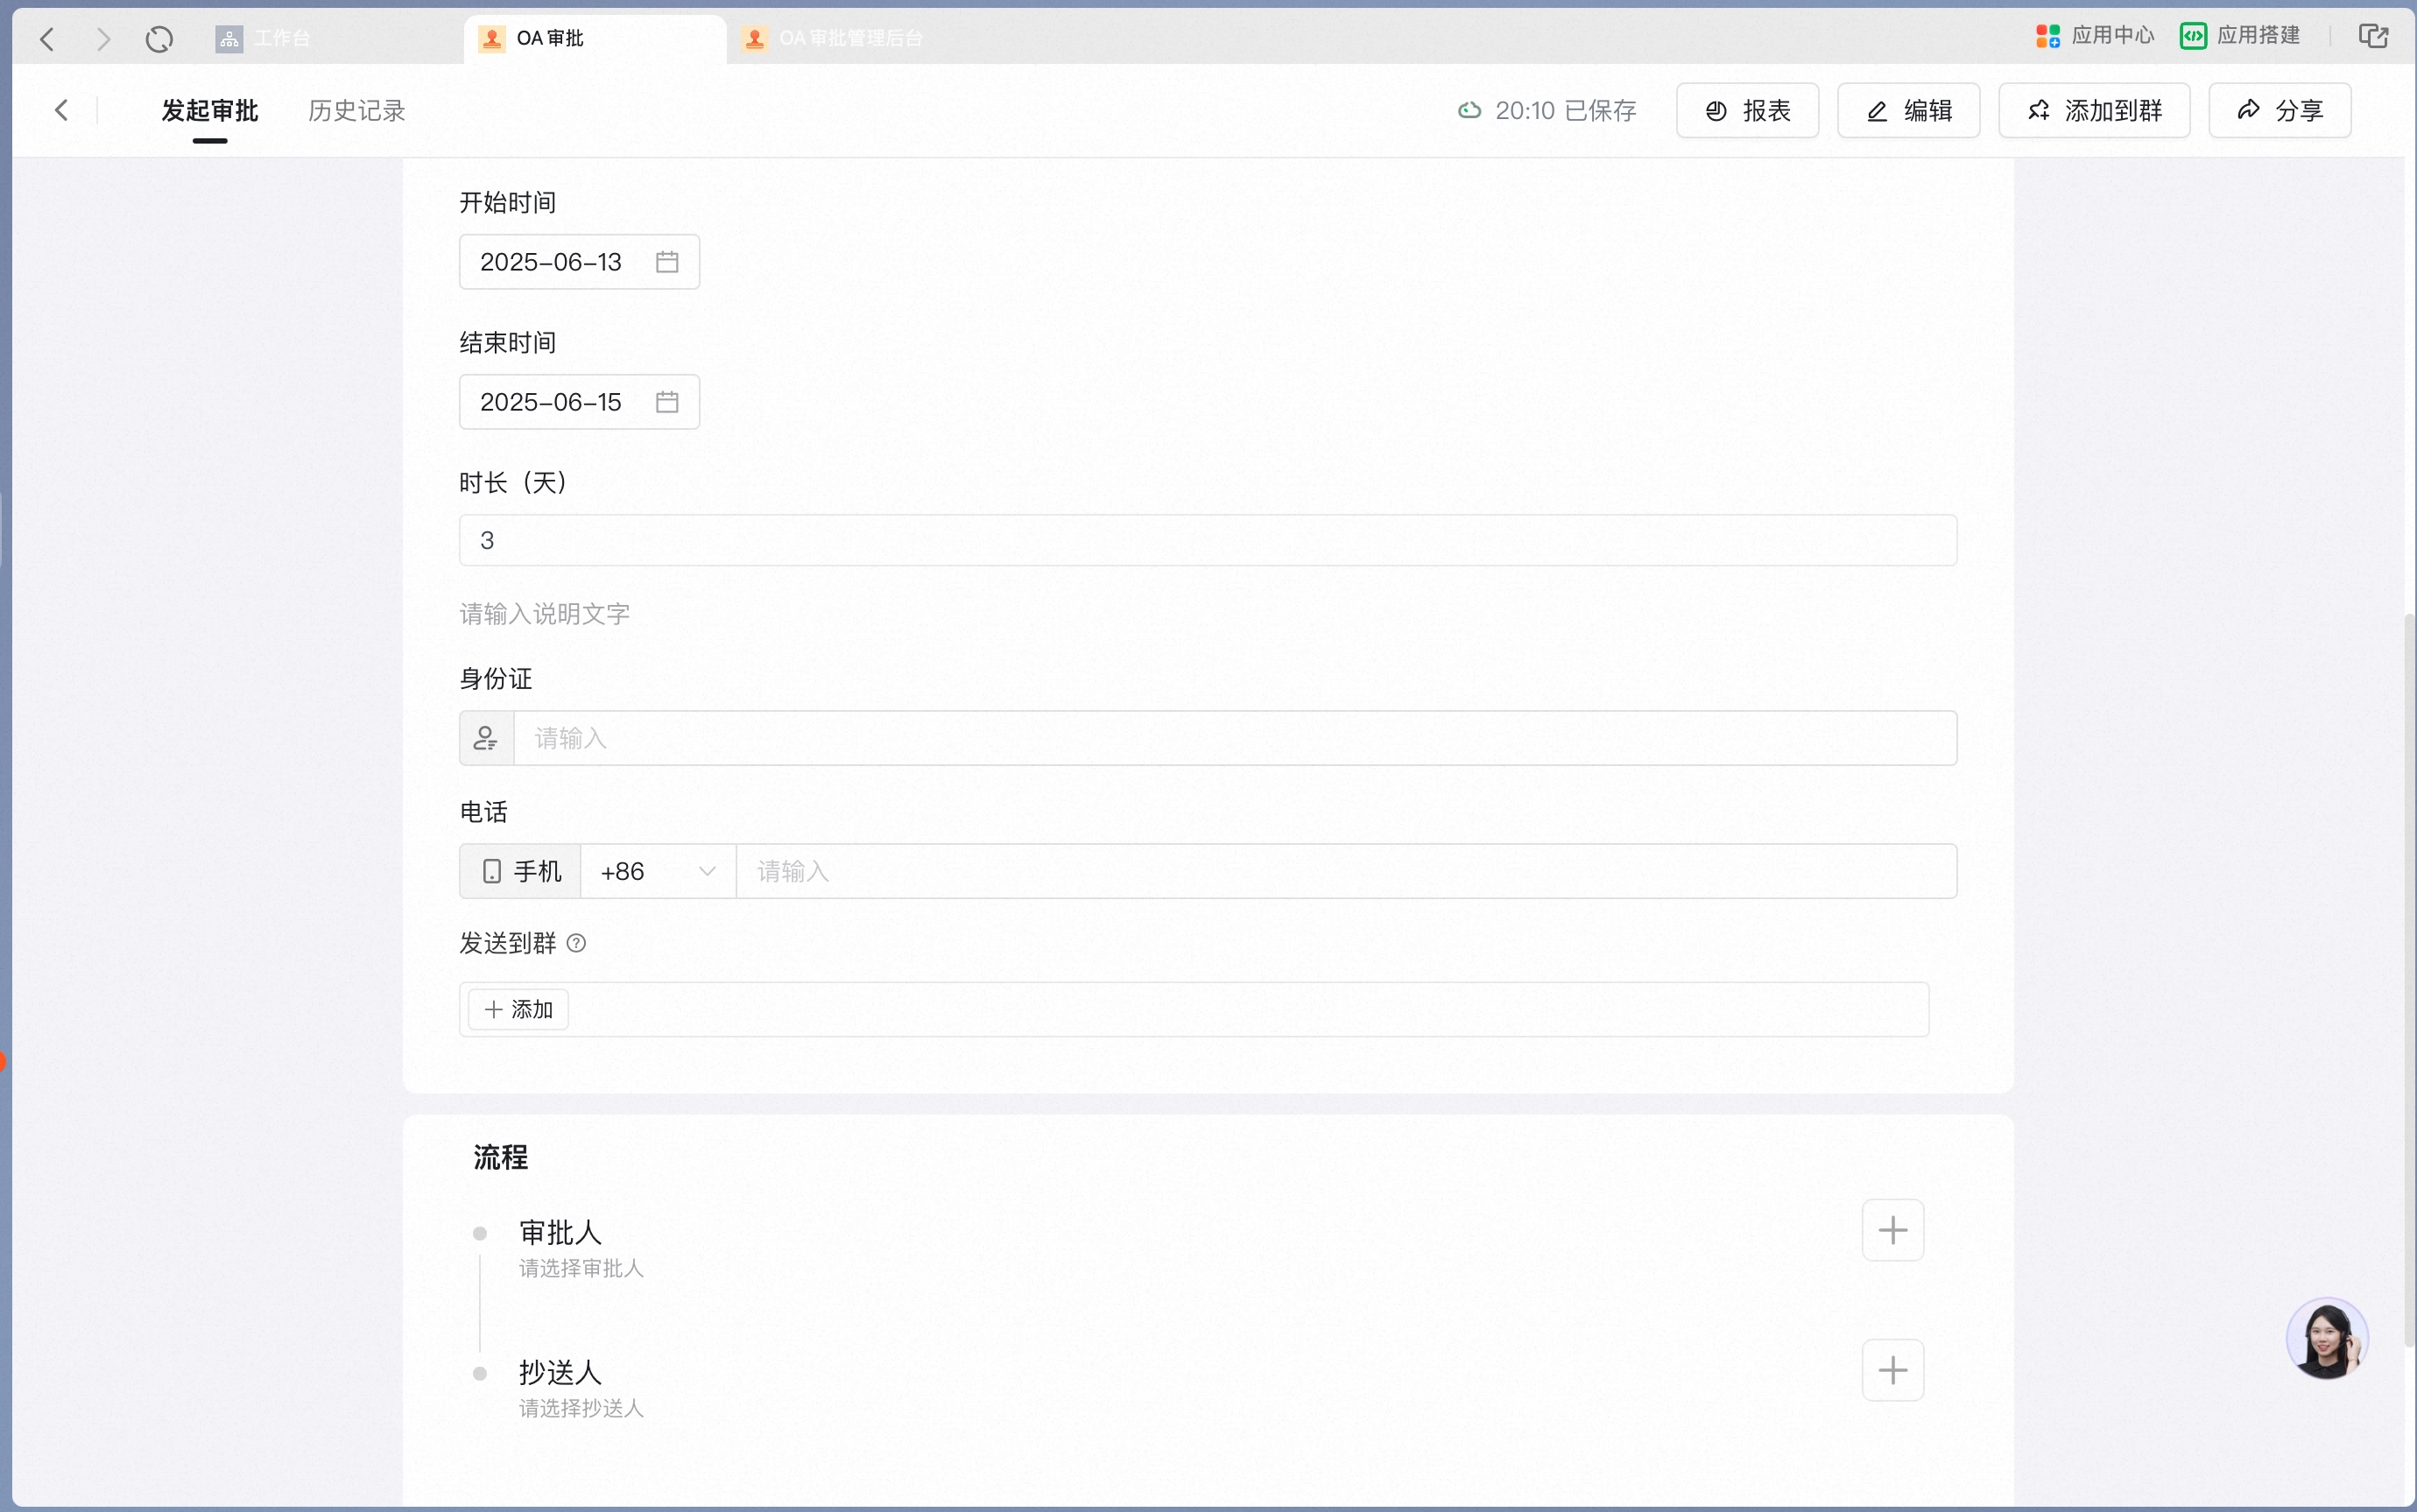
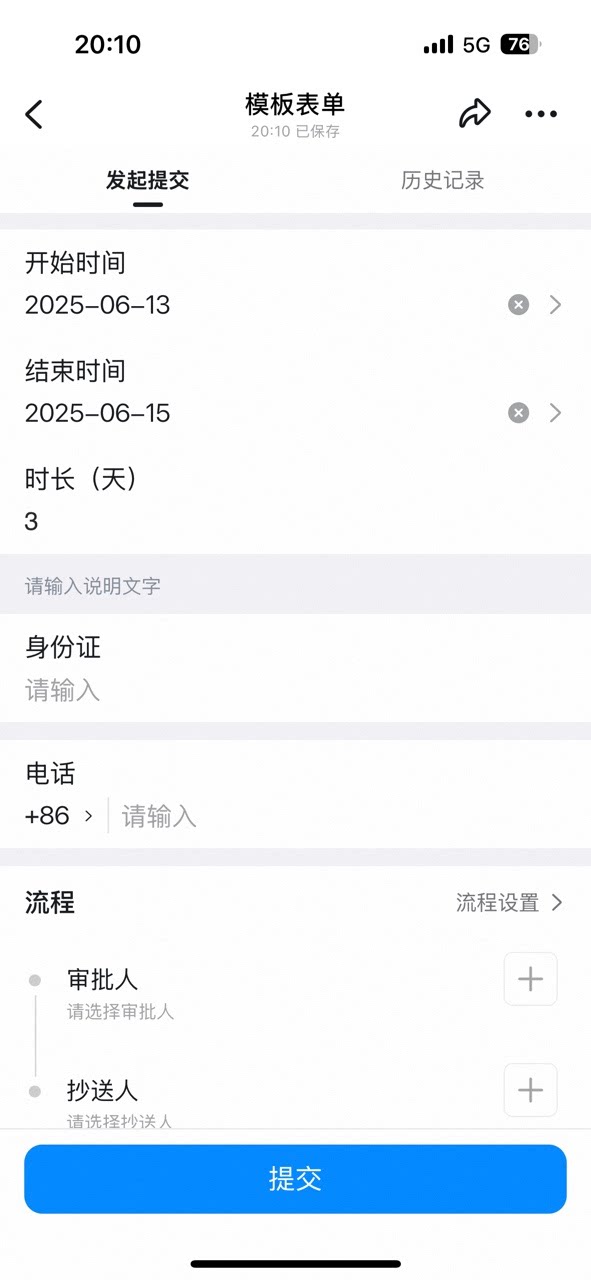
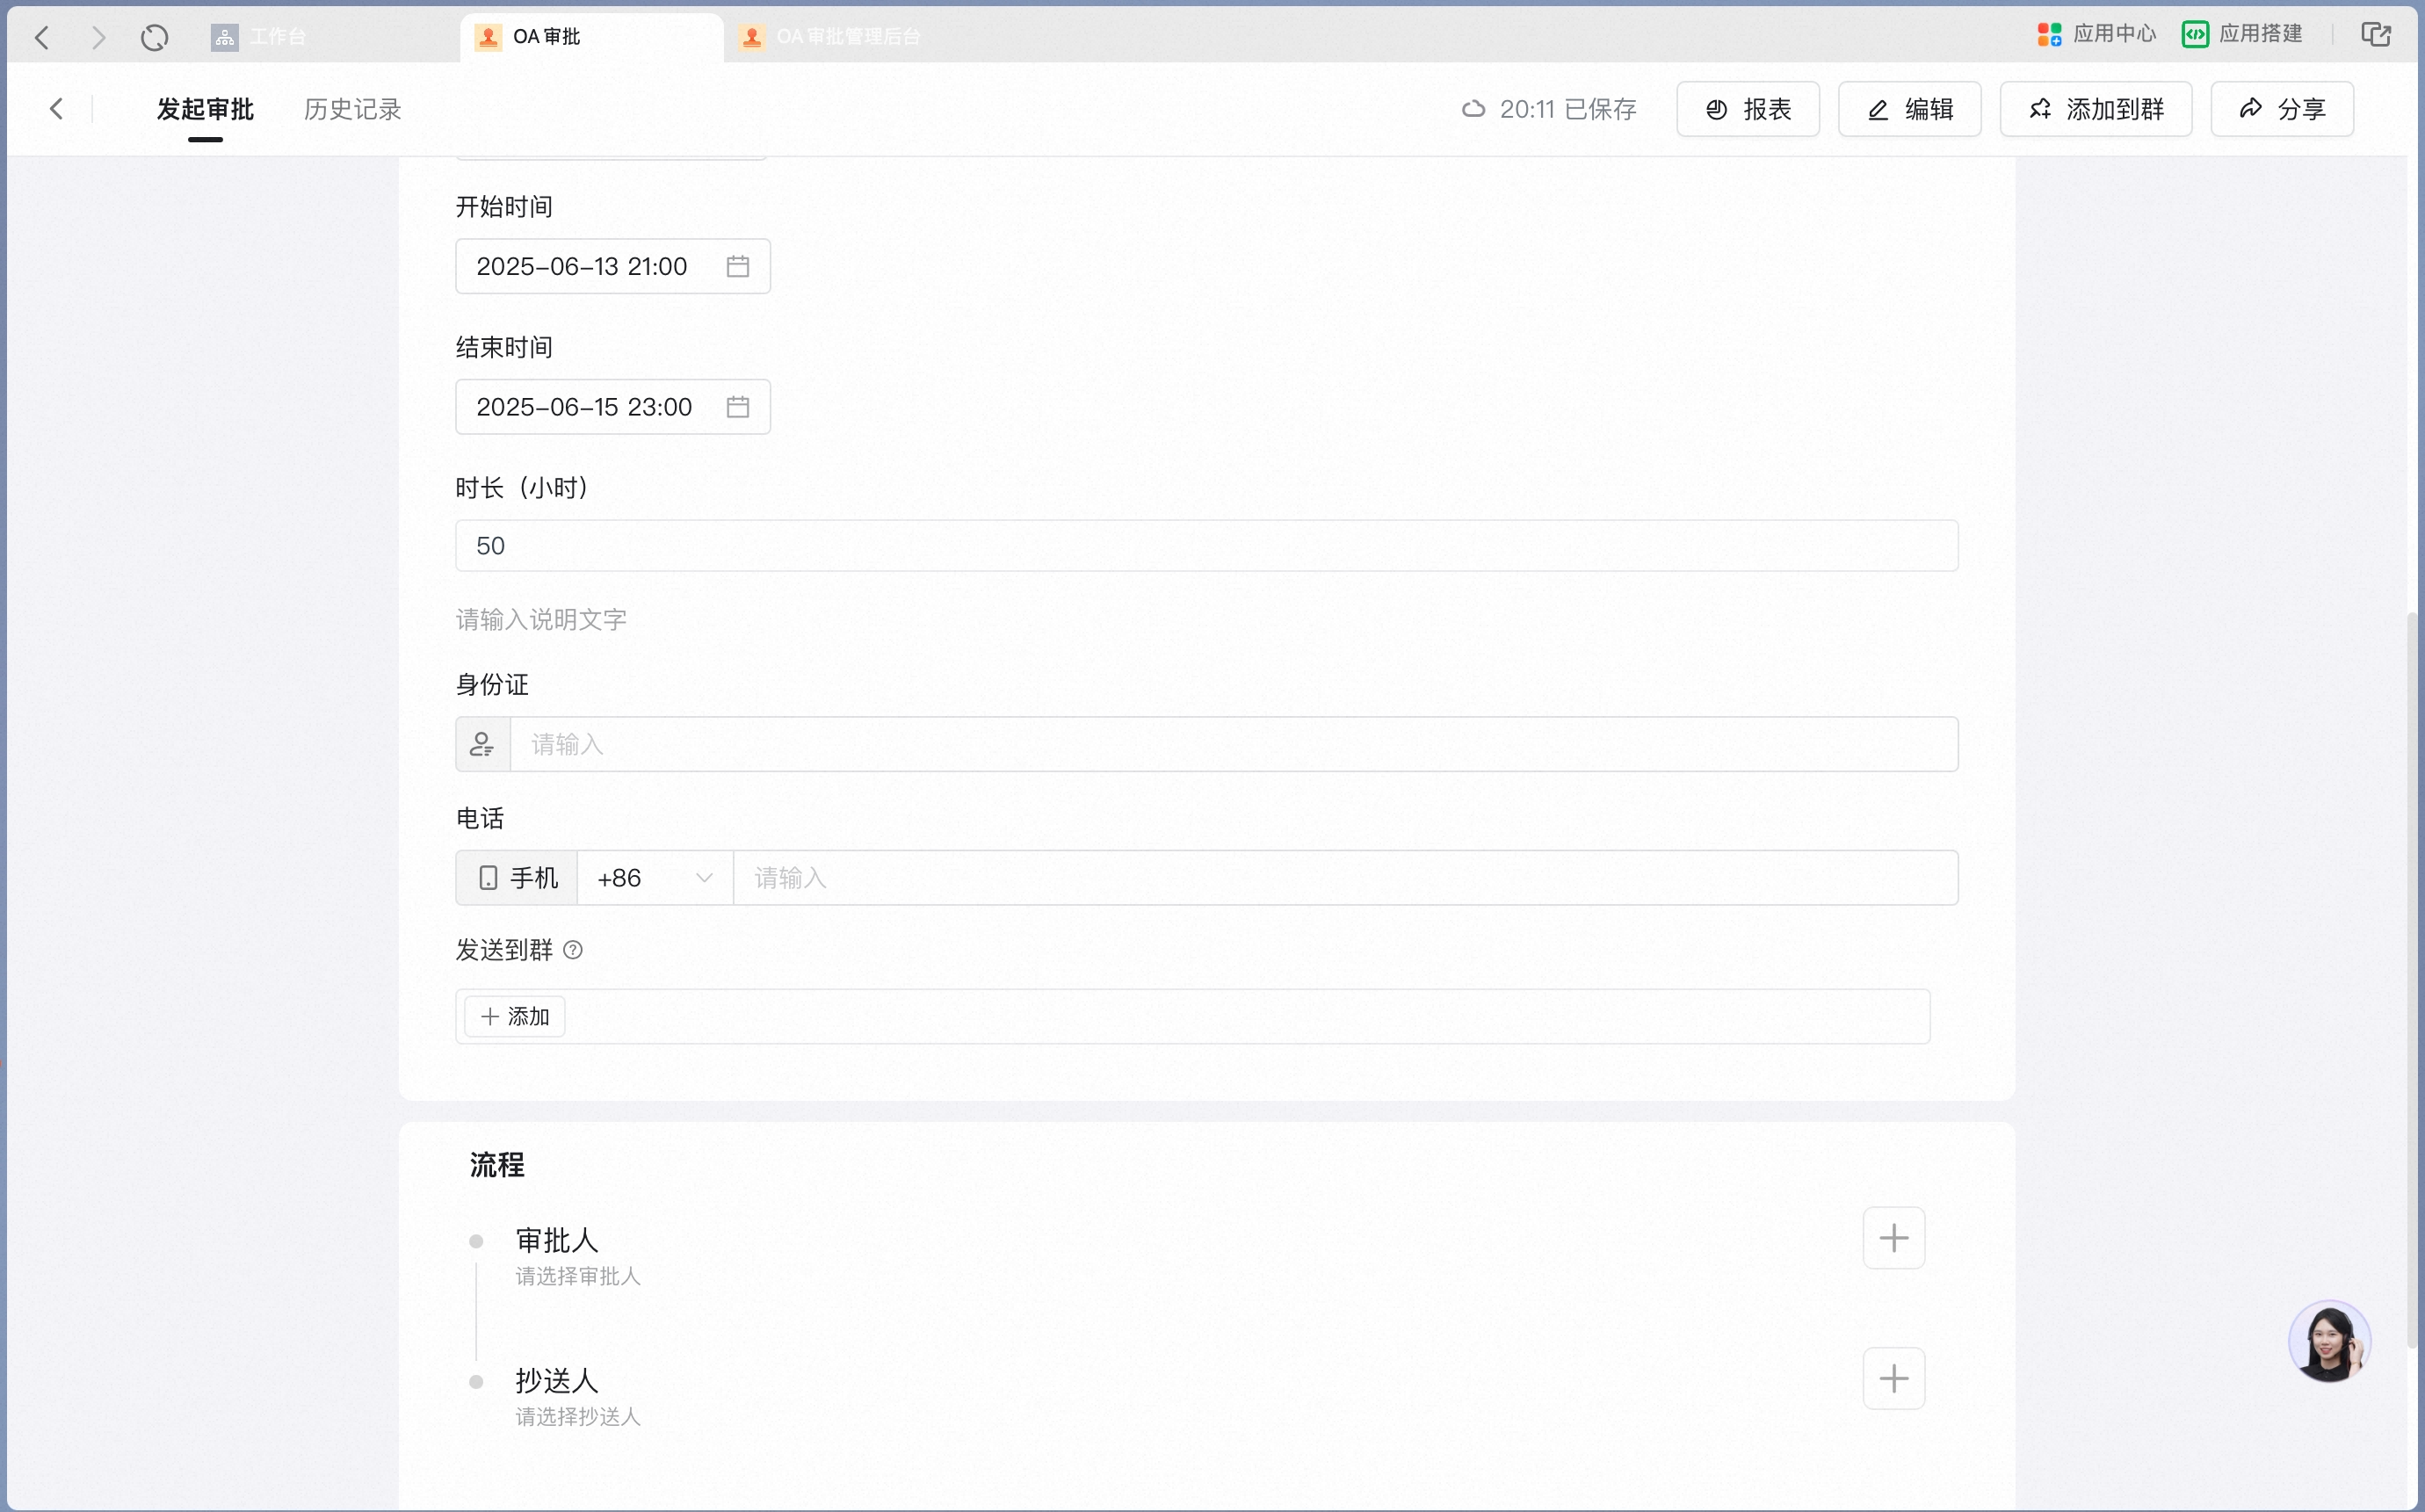
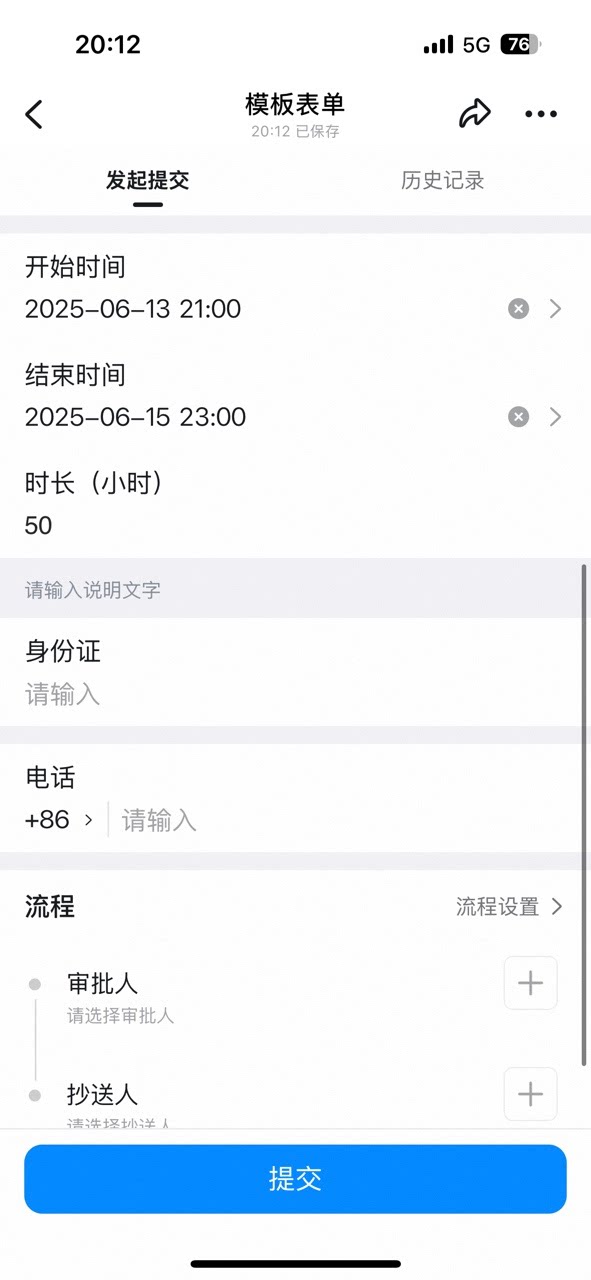
7. Date range
Use this control to set a specific time span, such as the contract start time and end time. Settings interface Add a Date range control in the form designer: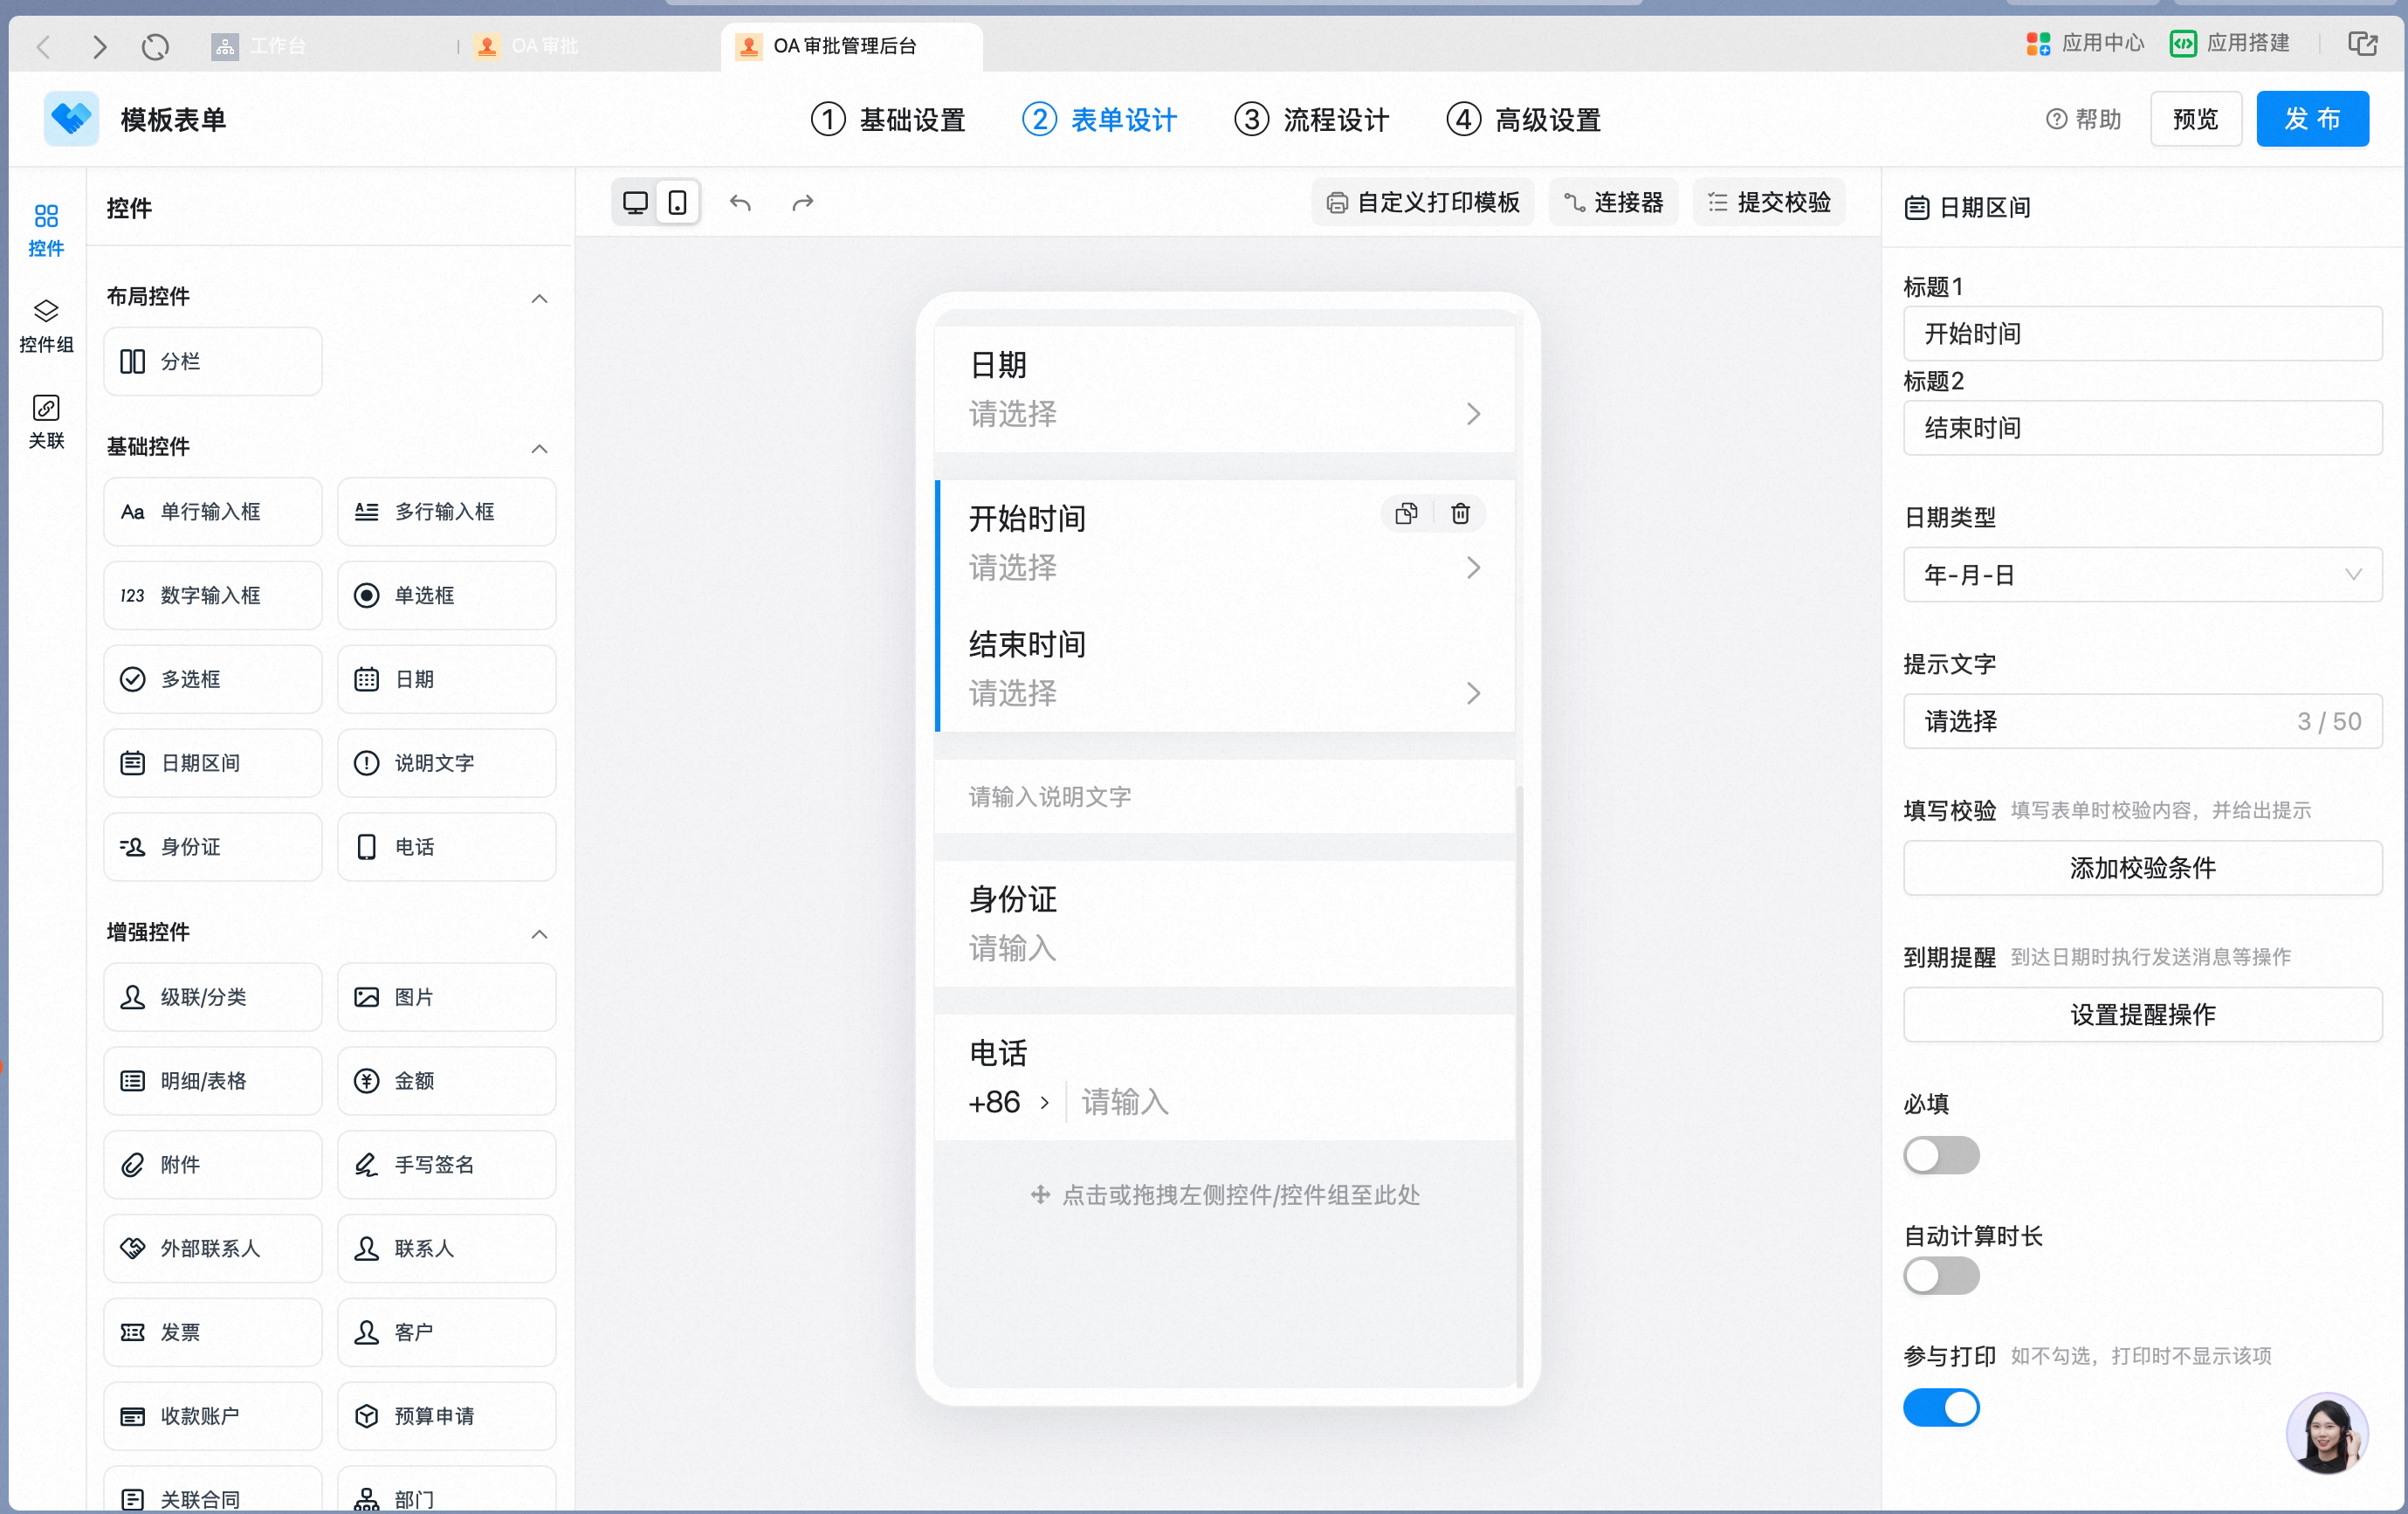
Data constraints and Search
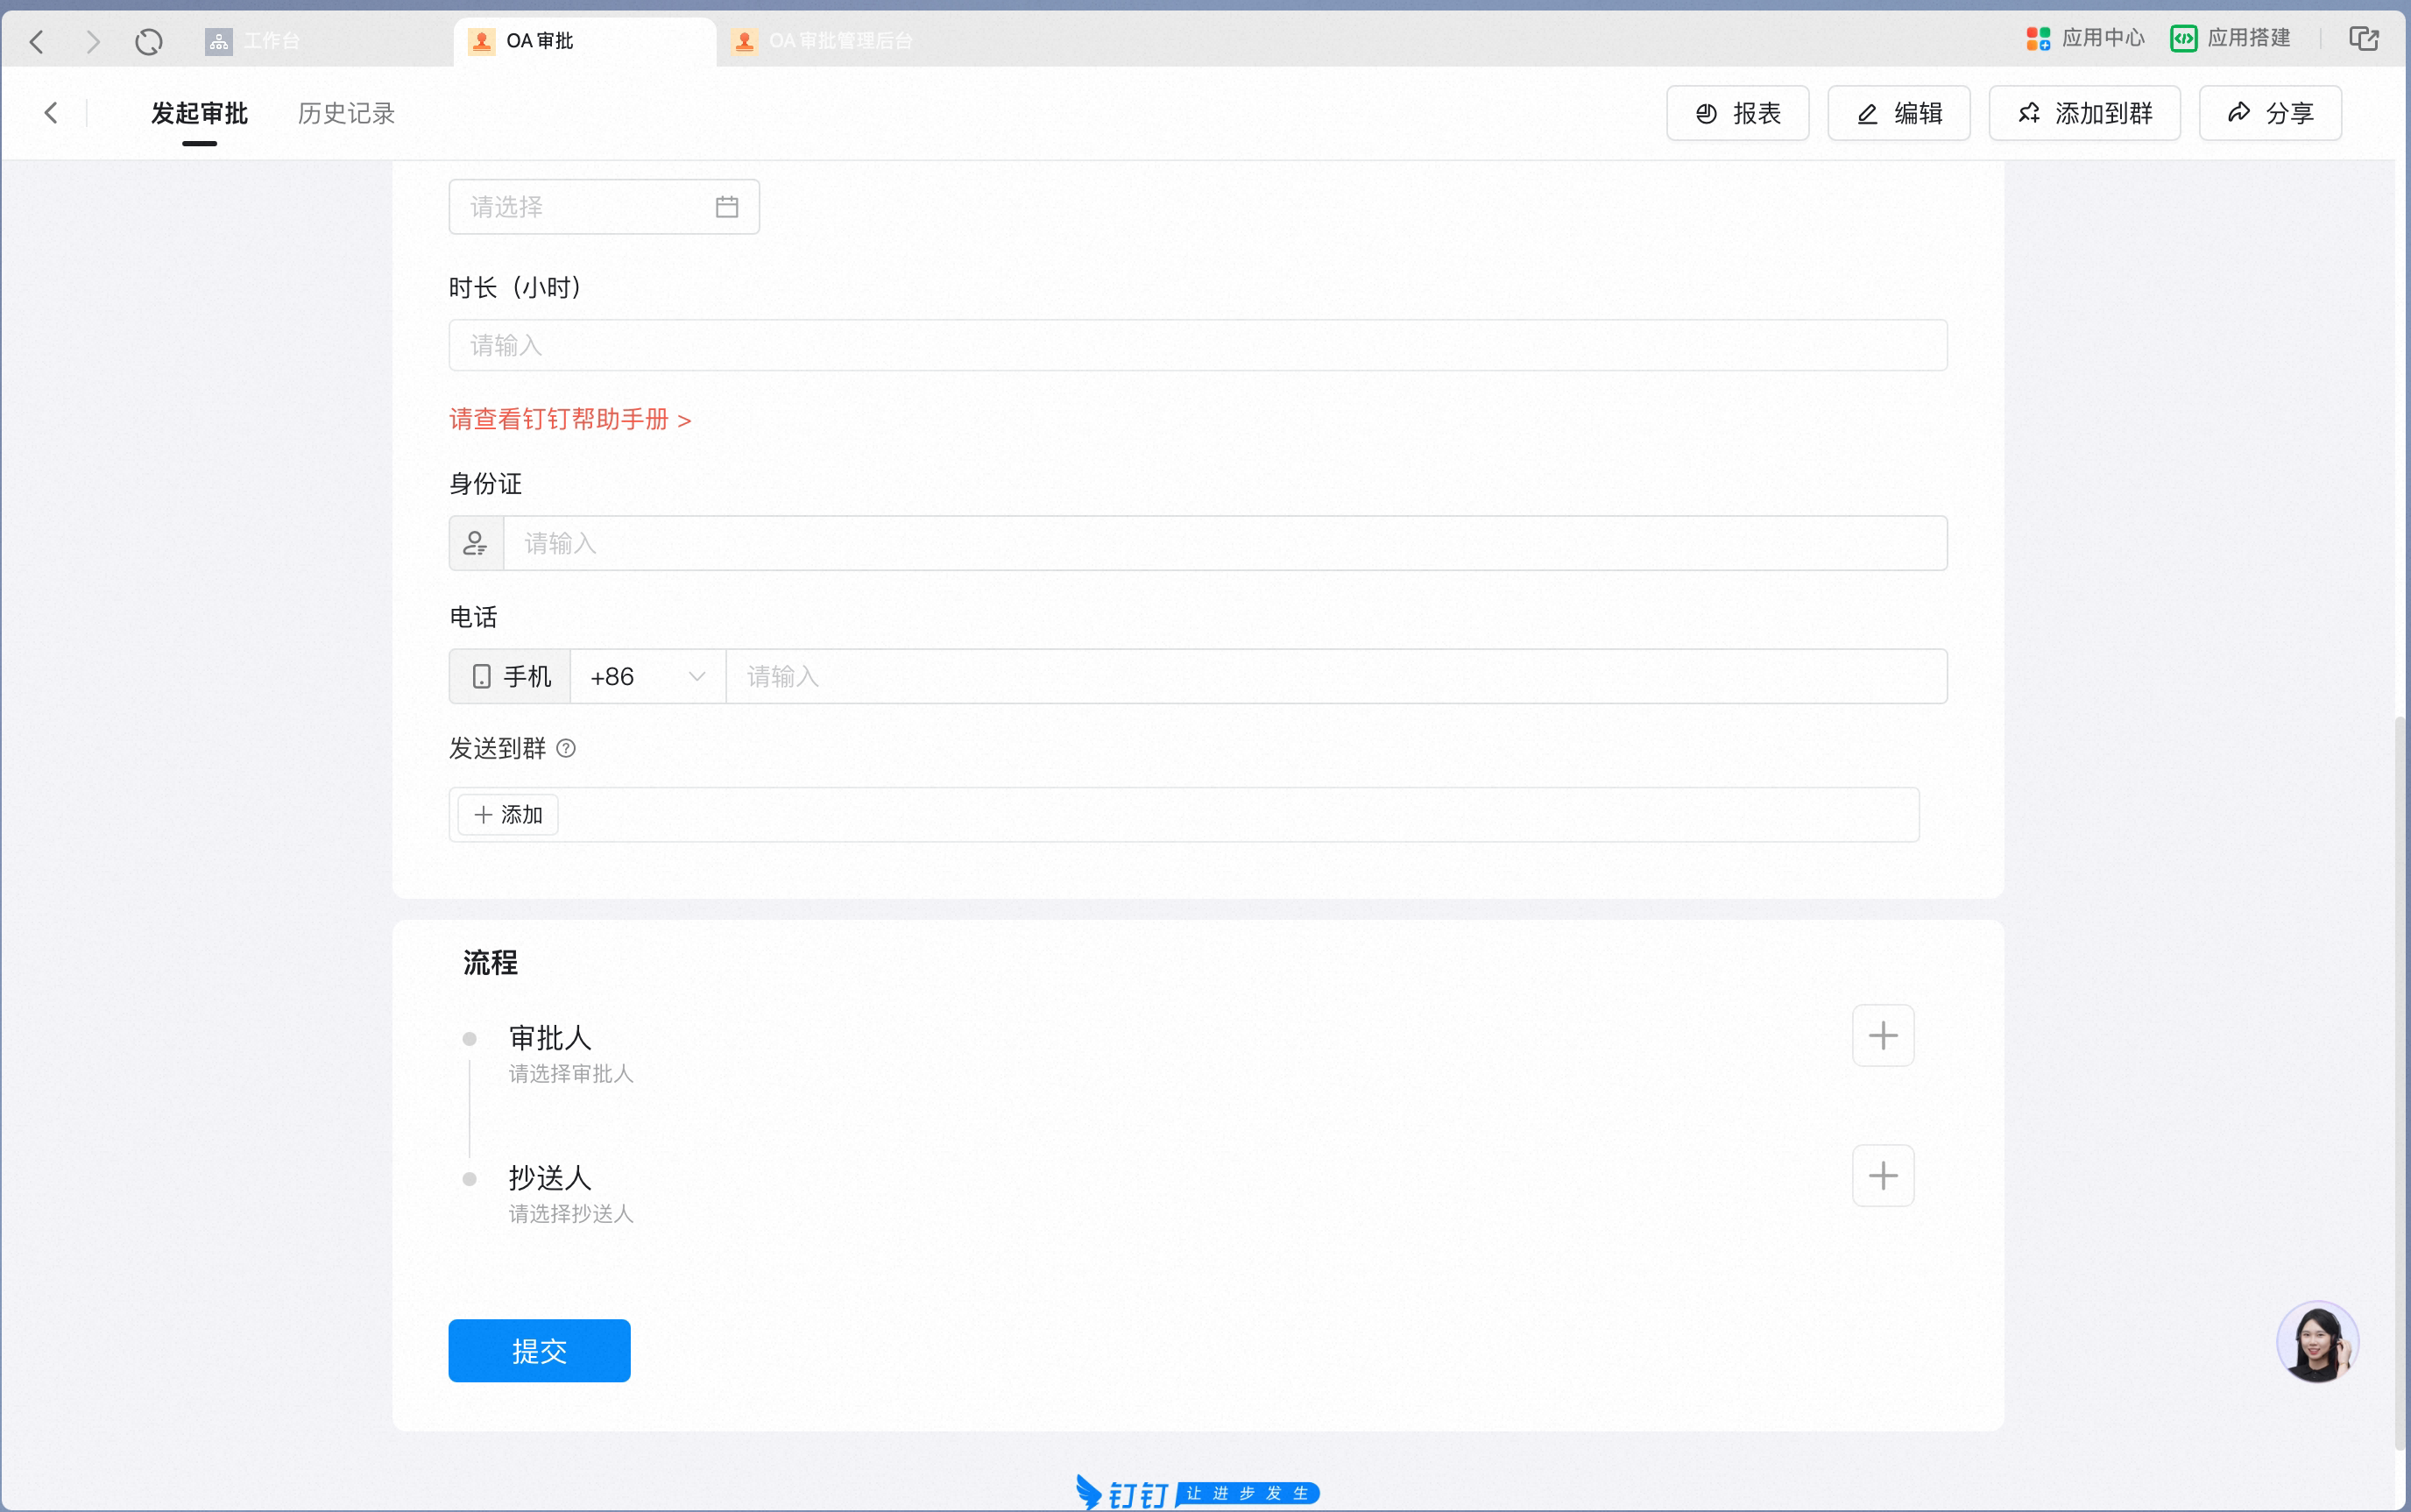
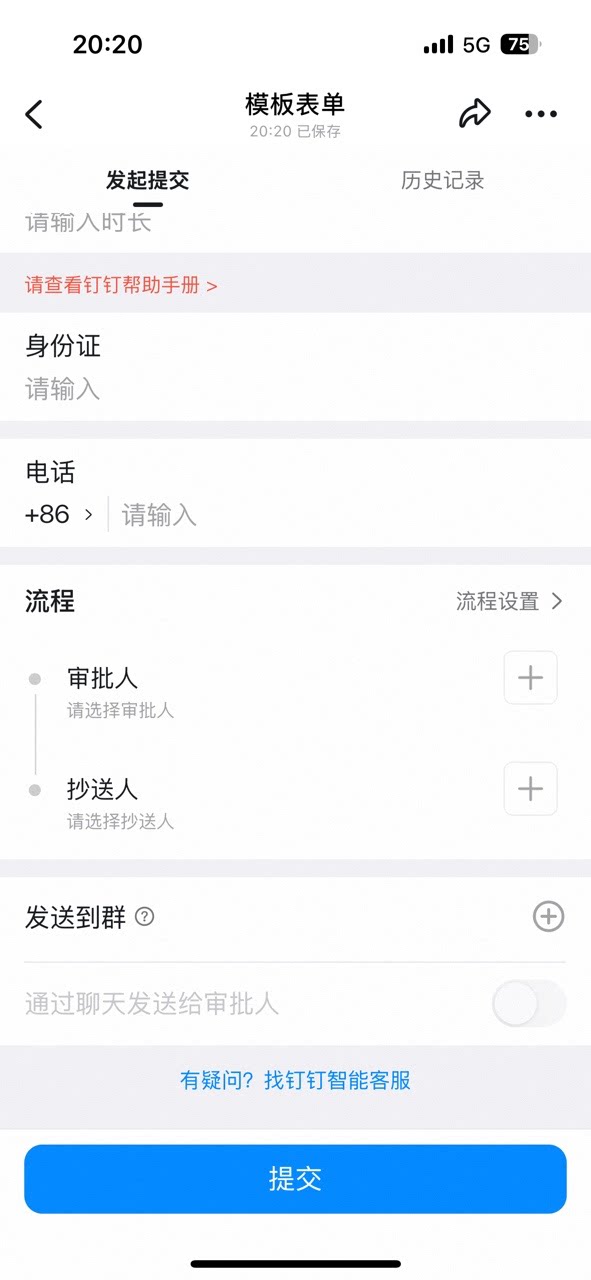
8. Description text
This control is often used to describe the purpose of the current form. Add Links, red-highlighted Text, and similar elements to strengthen reminders. It is typically used to display rules and regulations, or items the Respondent must confirm — such as a Link to a letter of commitment. Settings interface Add a Description text control in the form designer: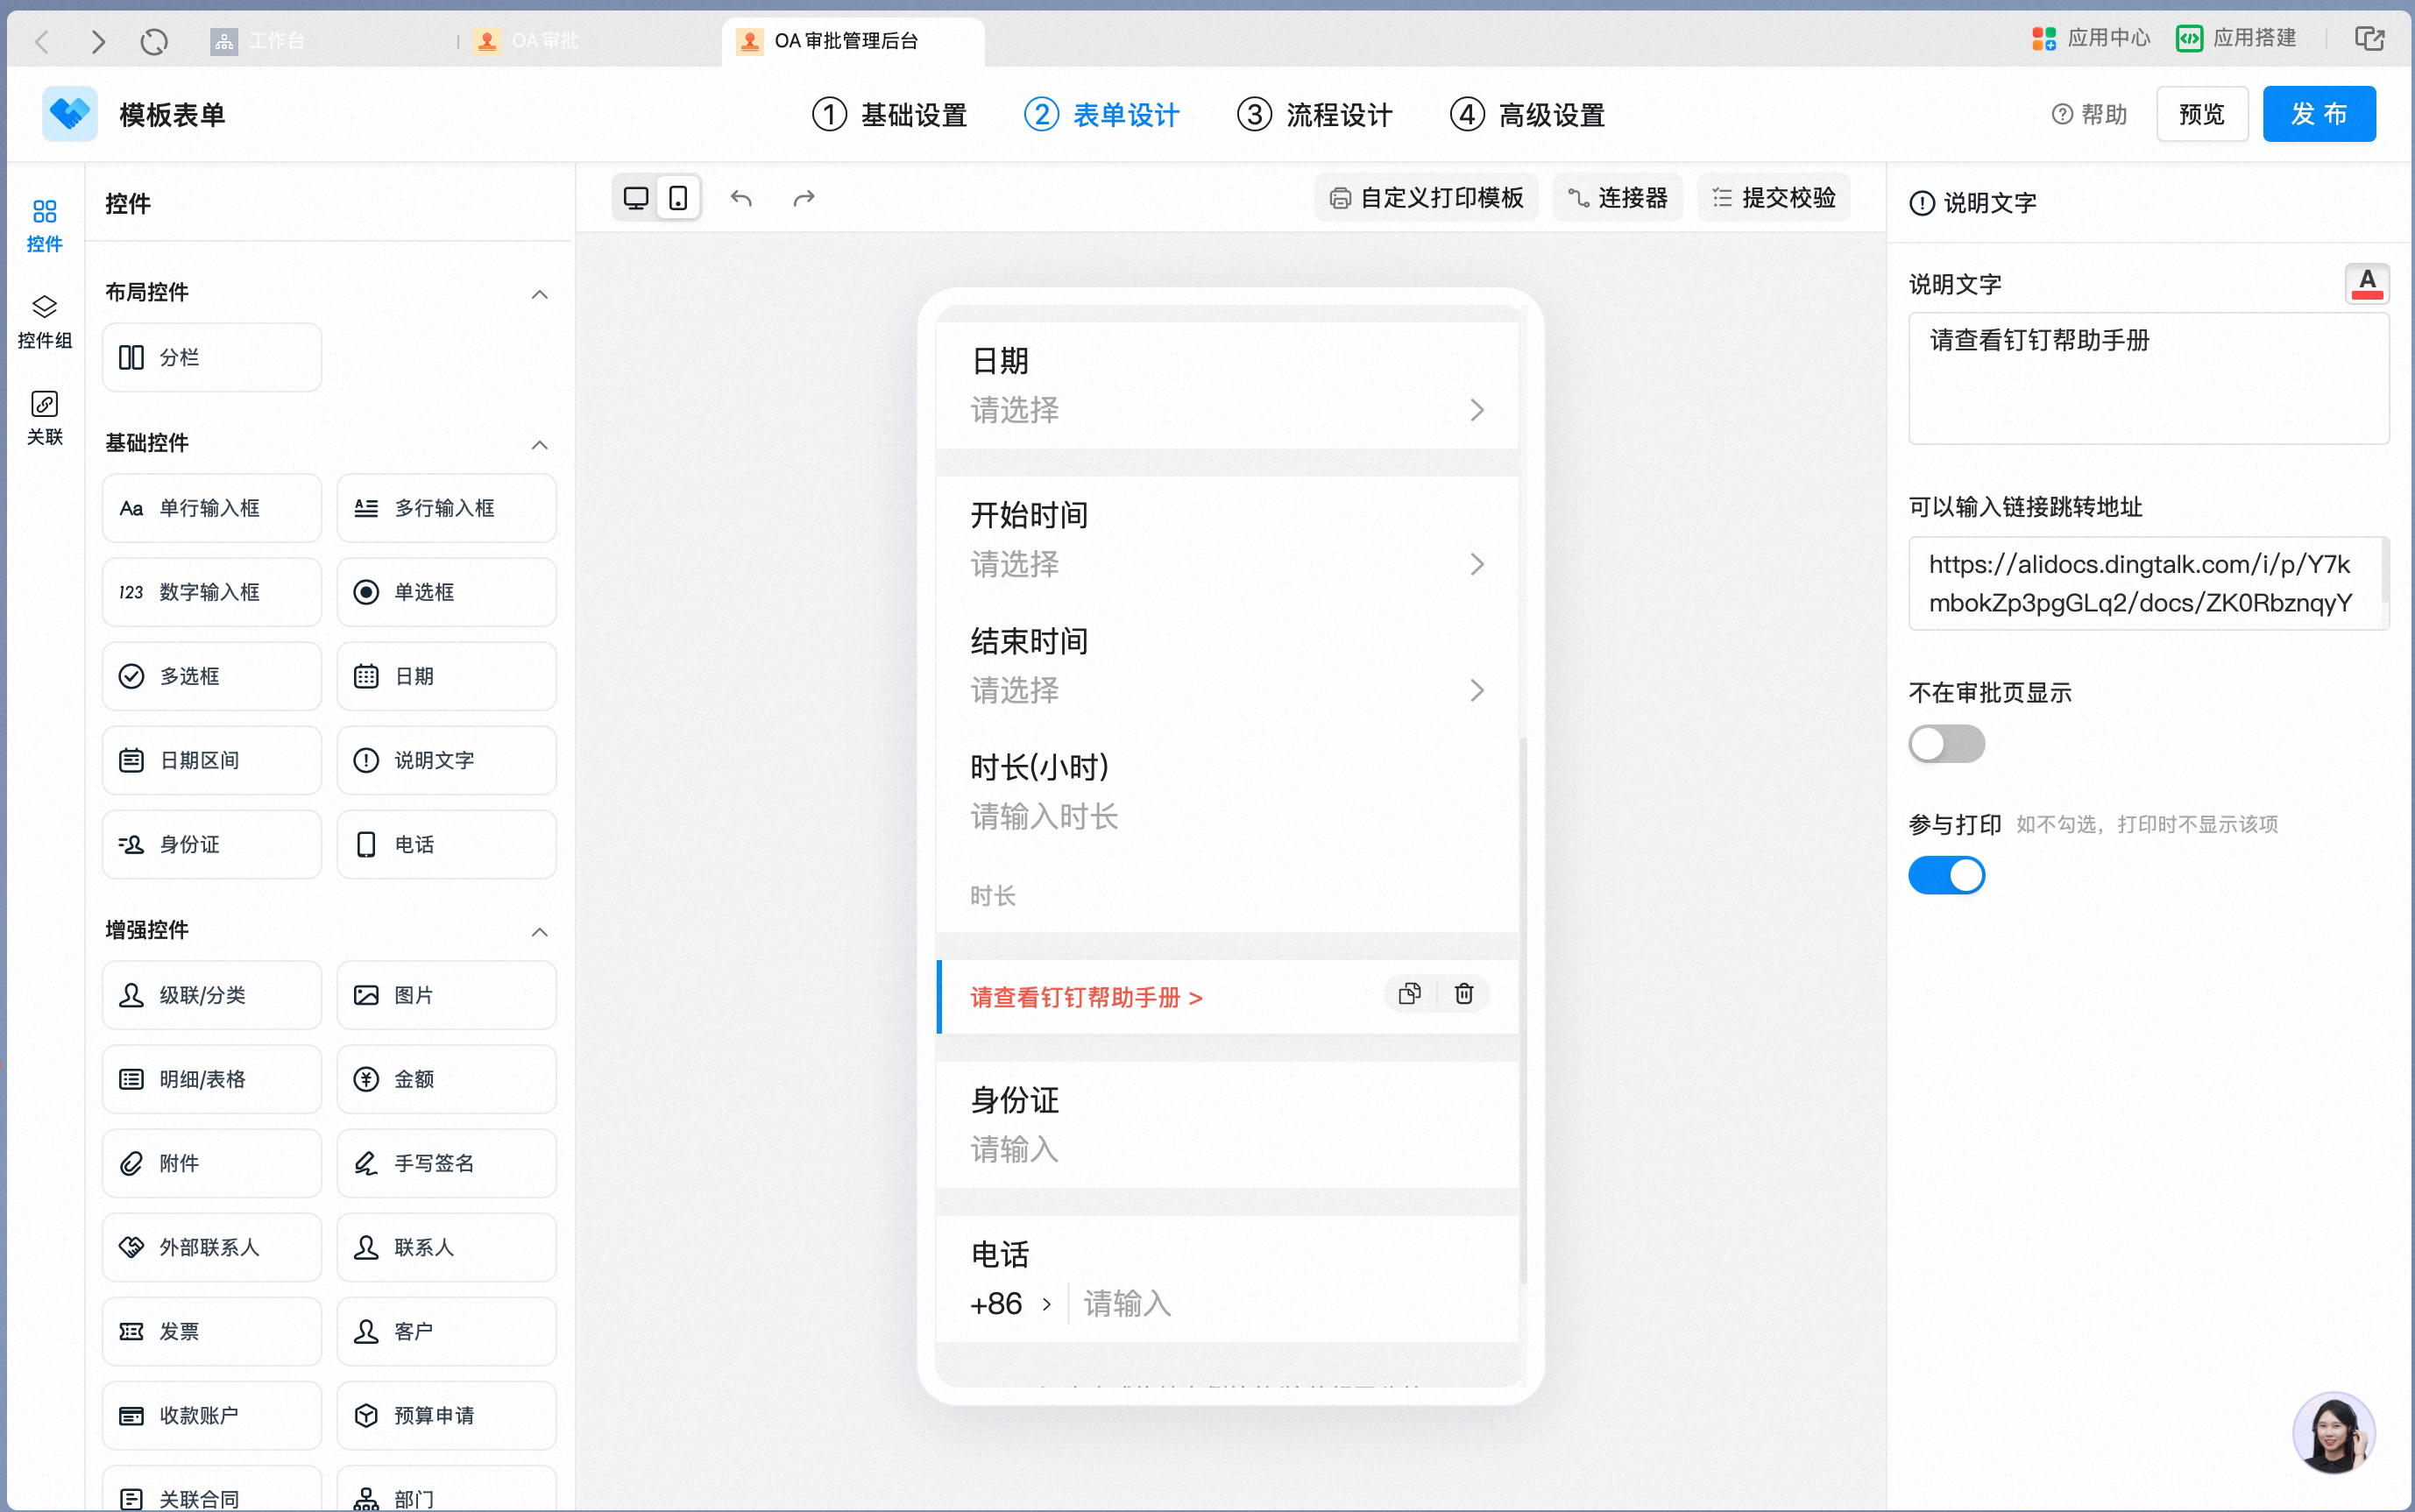
Data constraints and Search
9. ID card
Use this control in scenarios that require the ID card Number to be entered accurately. If the ID card information is invalid, an Error message appears on Submit. Settings interface Add an ID card control in the form designer: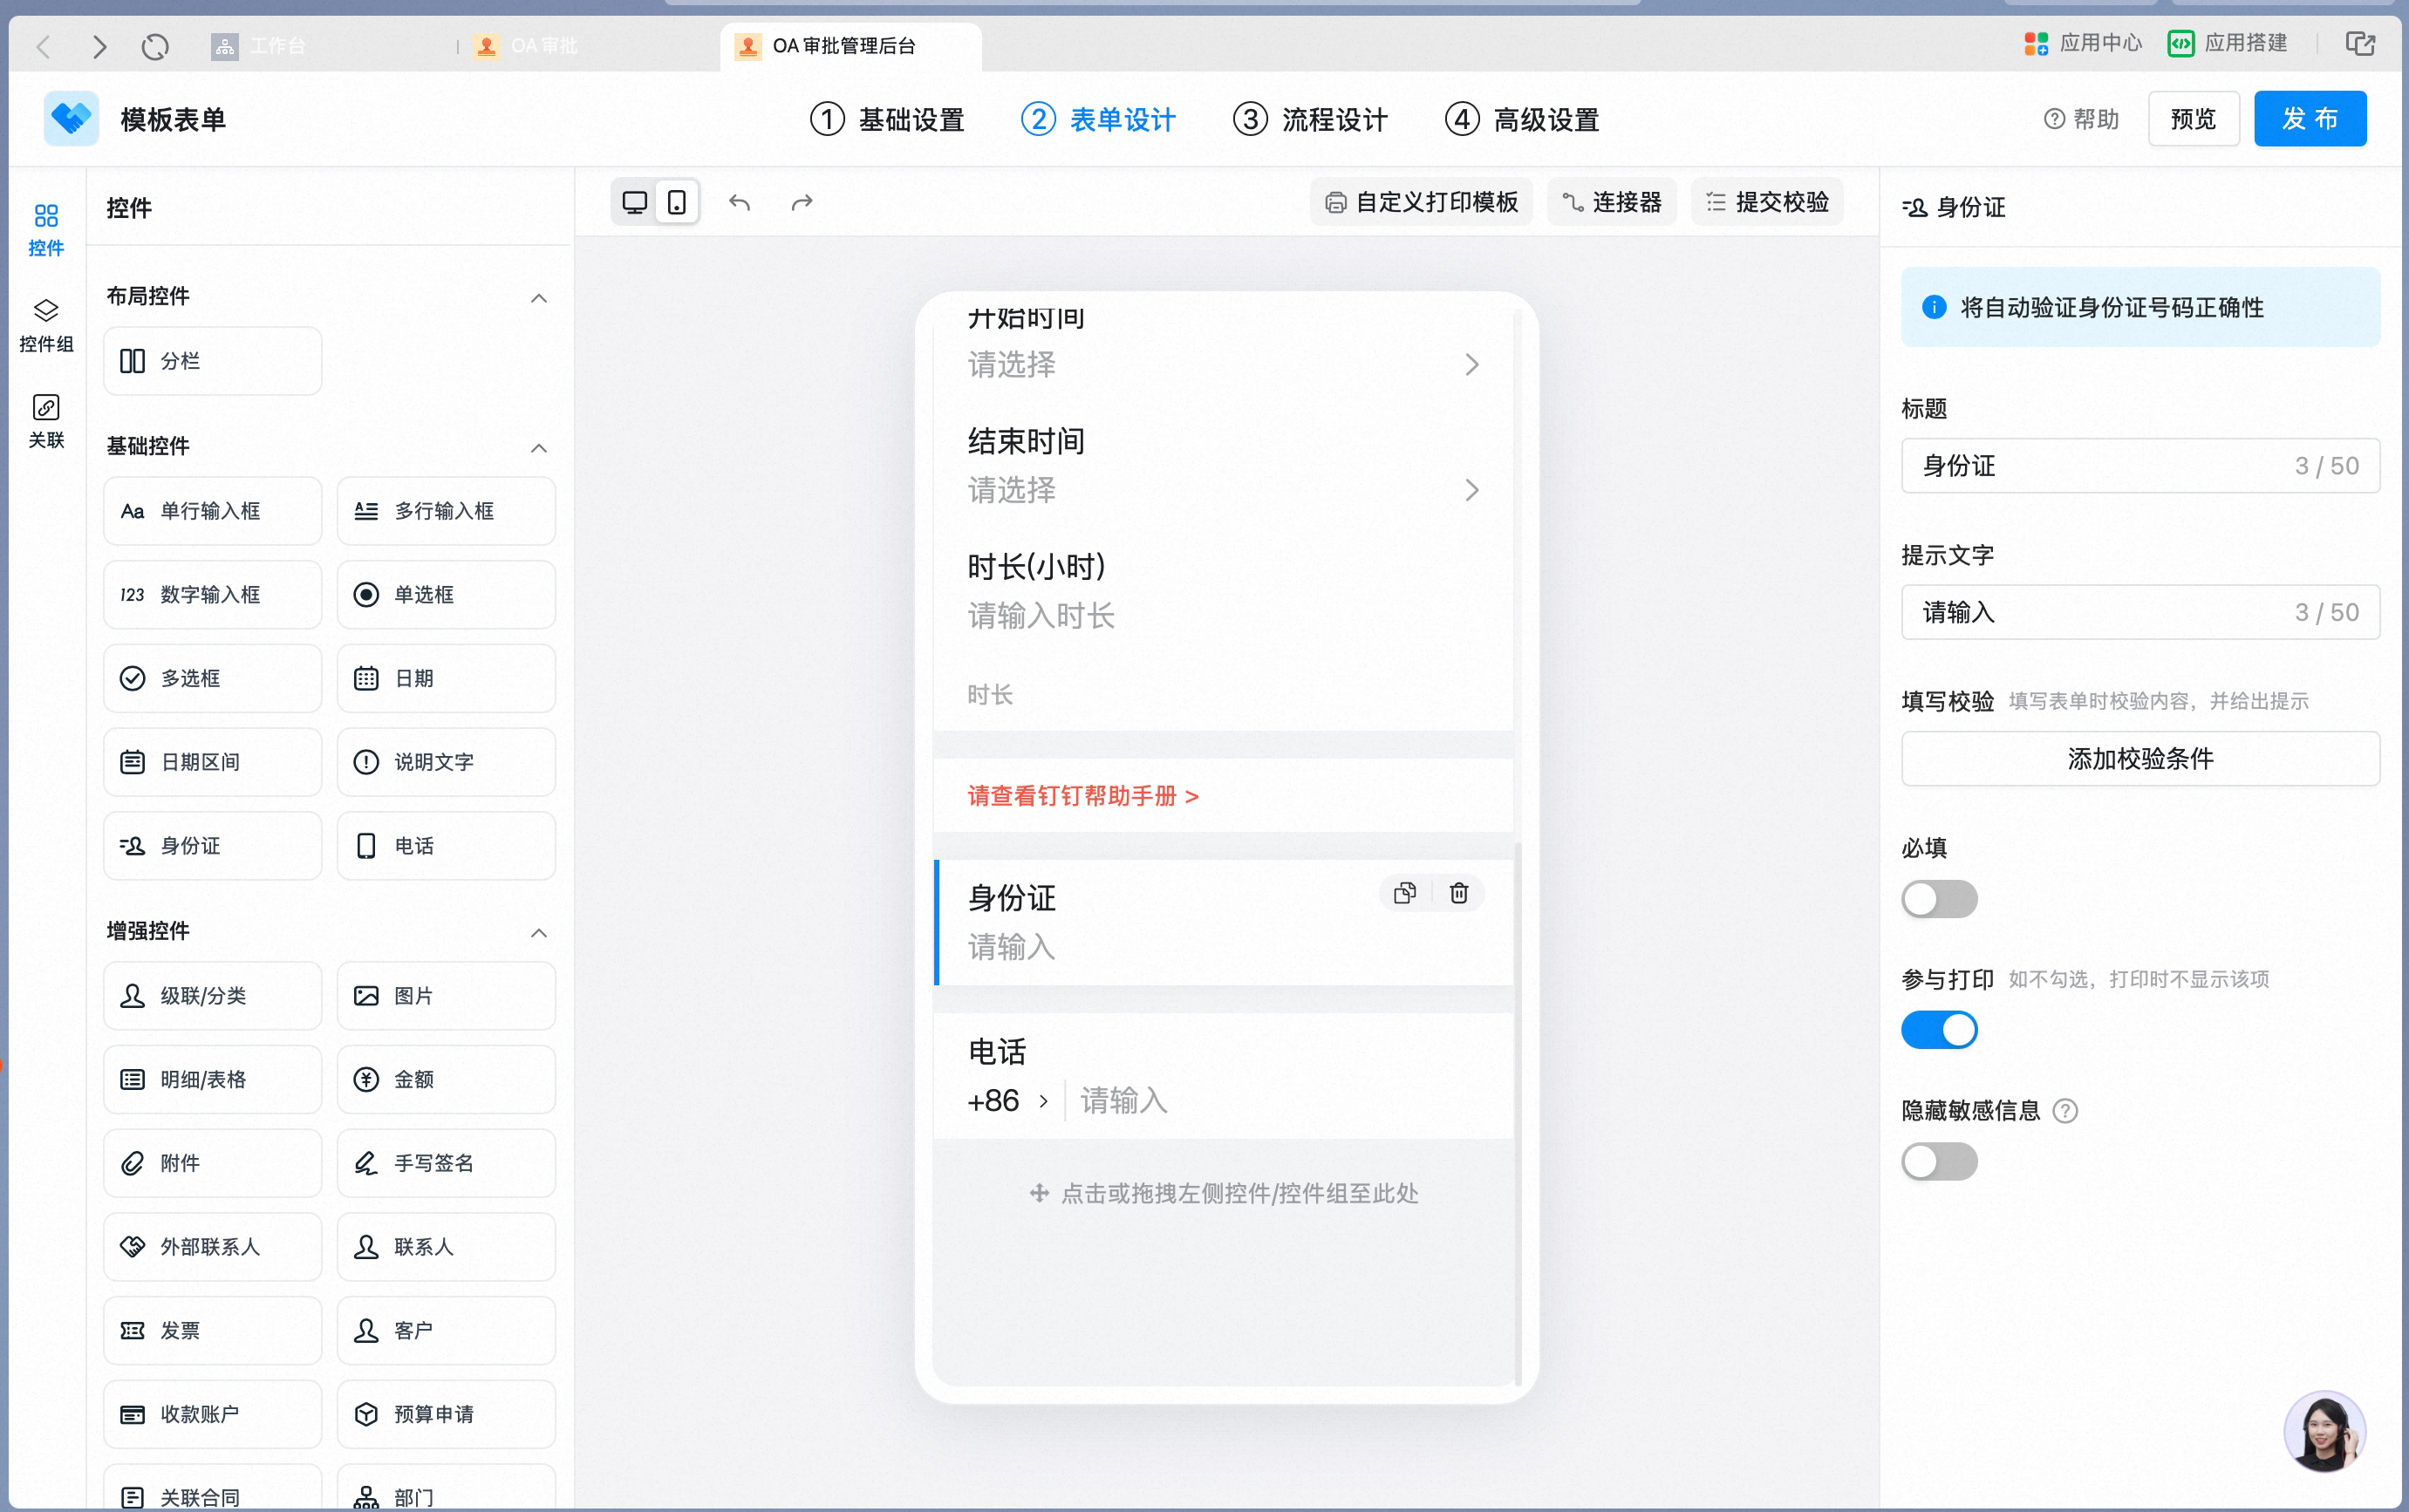
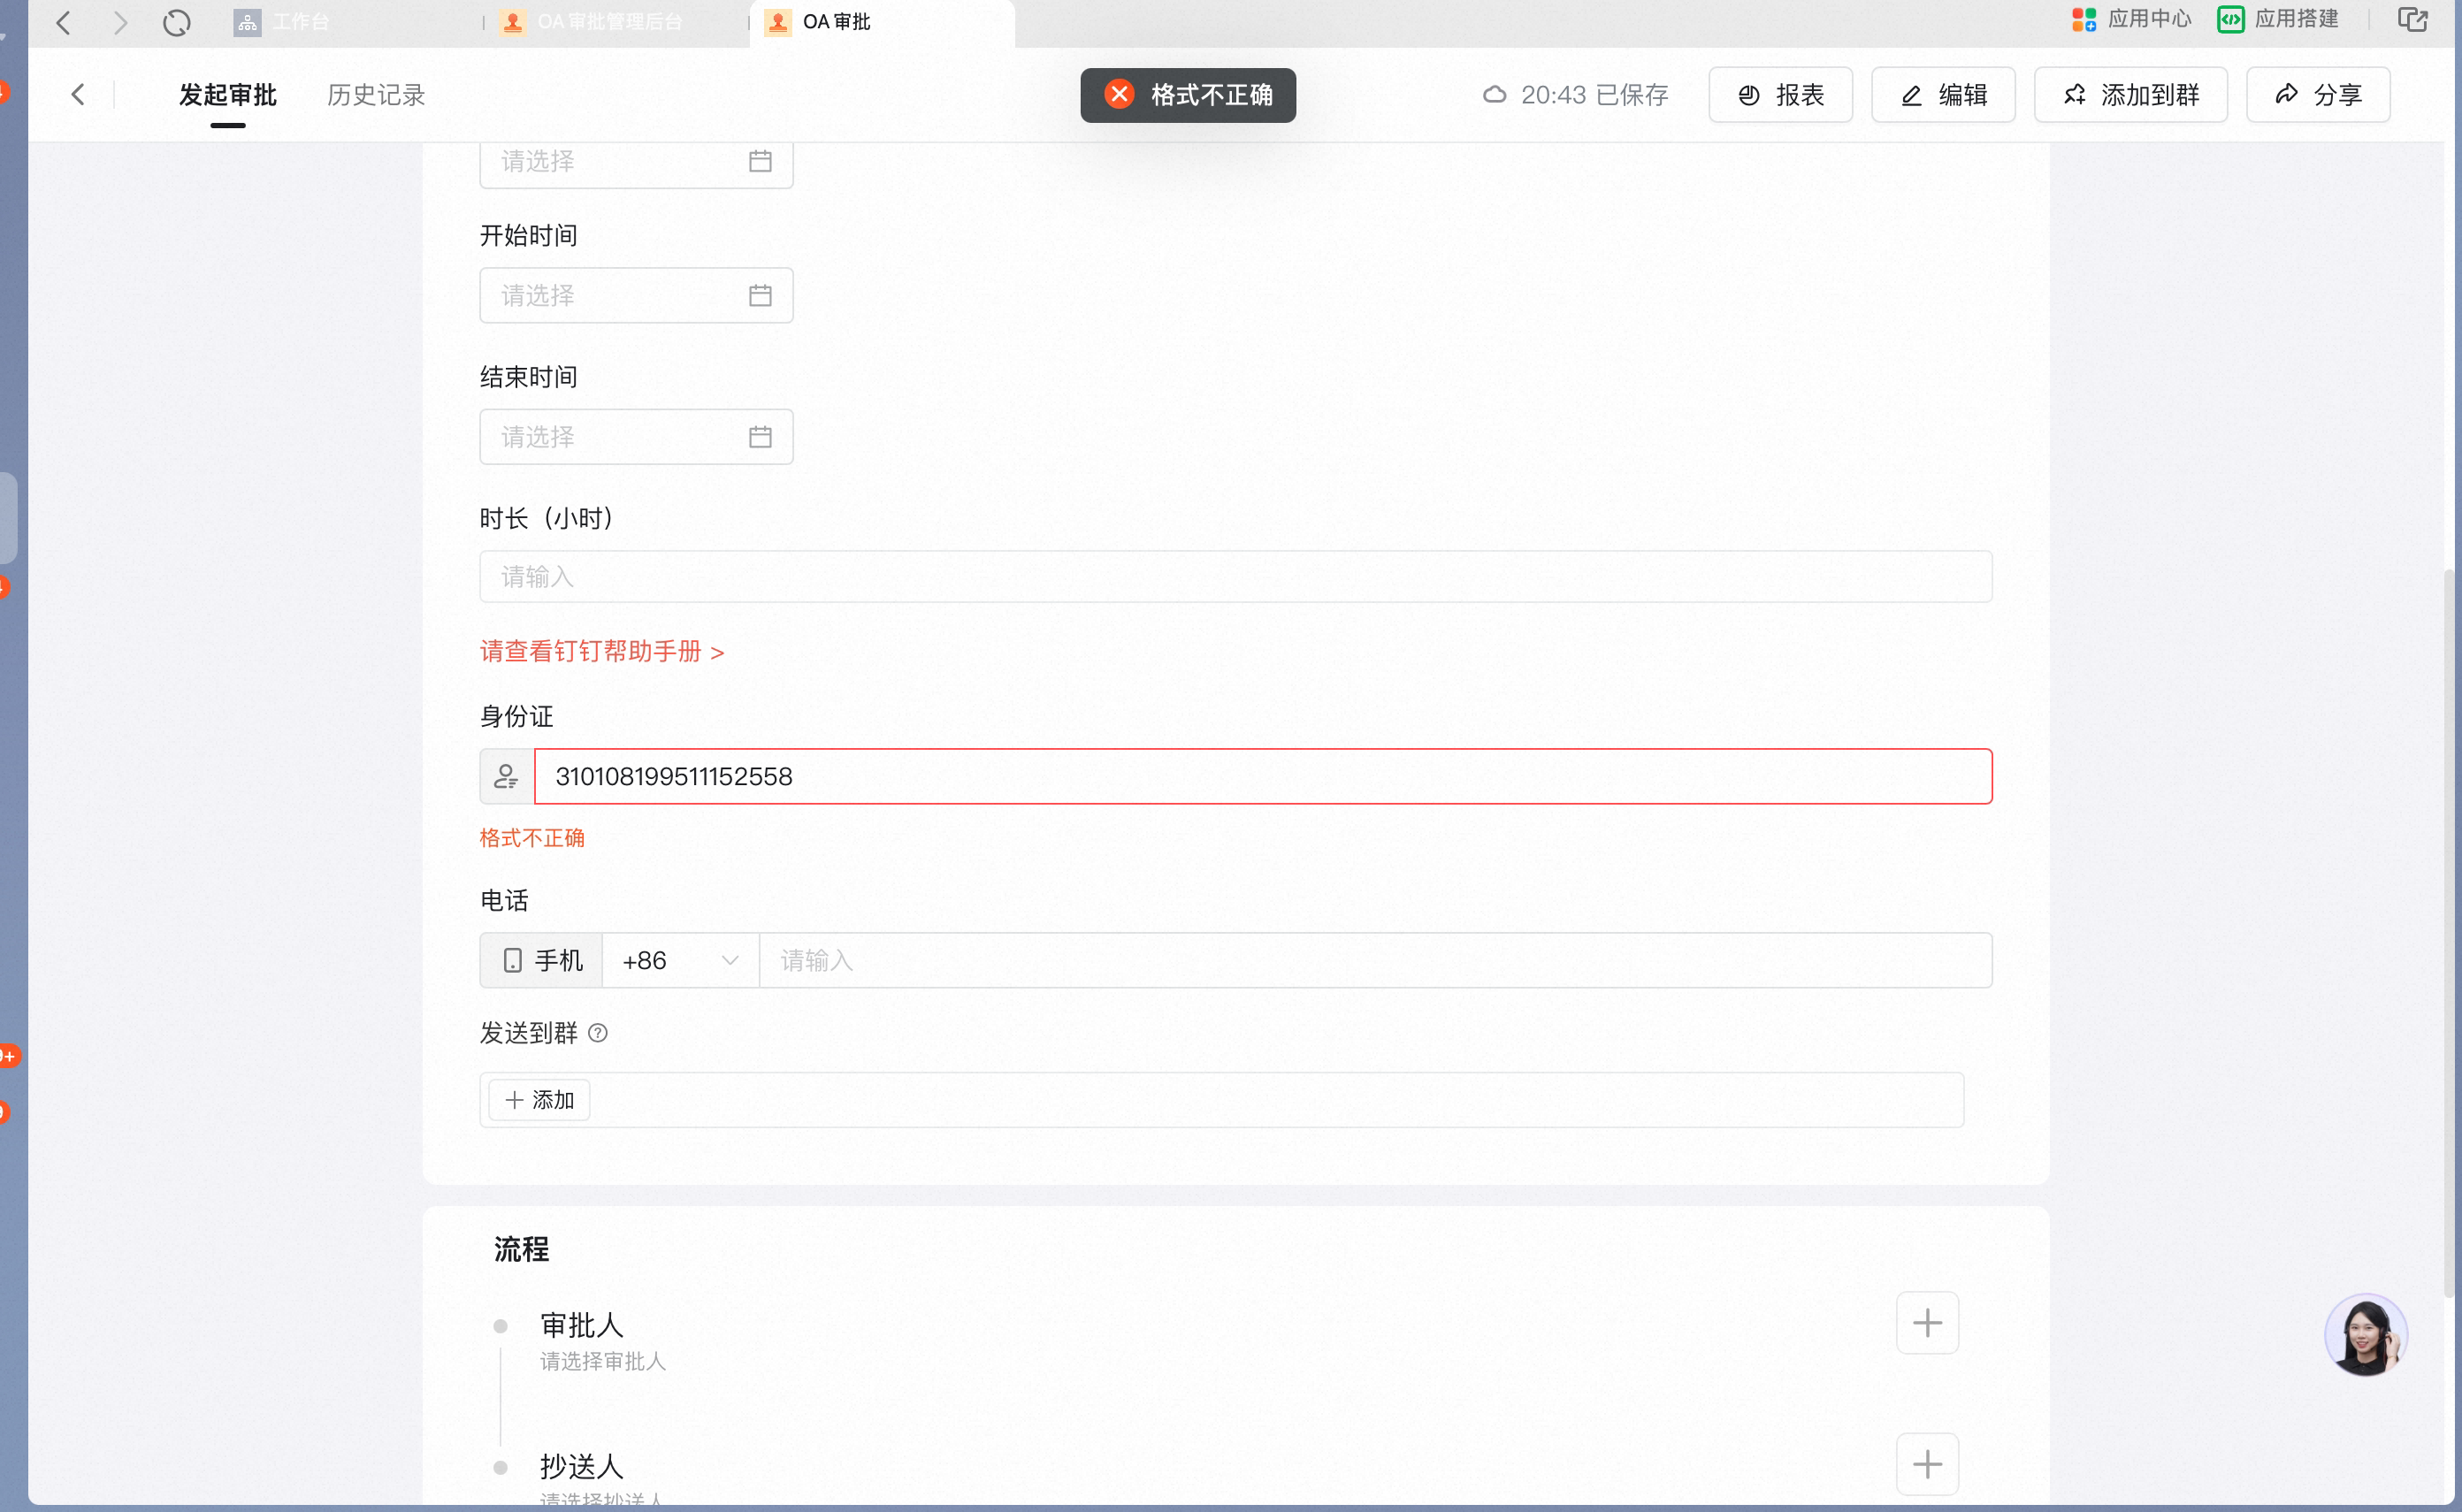
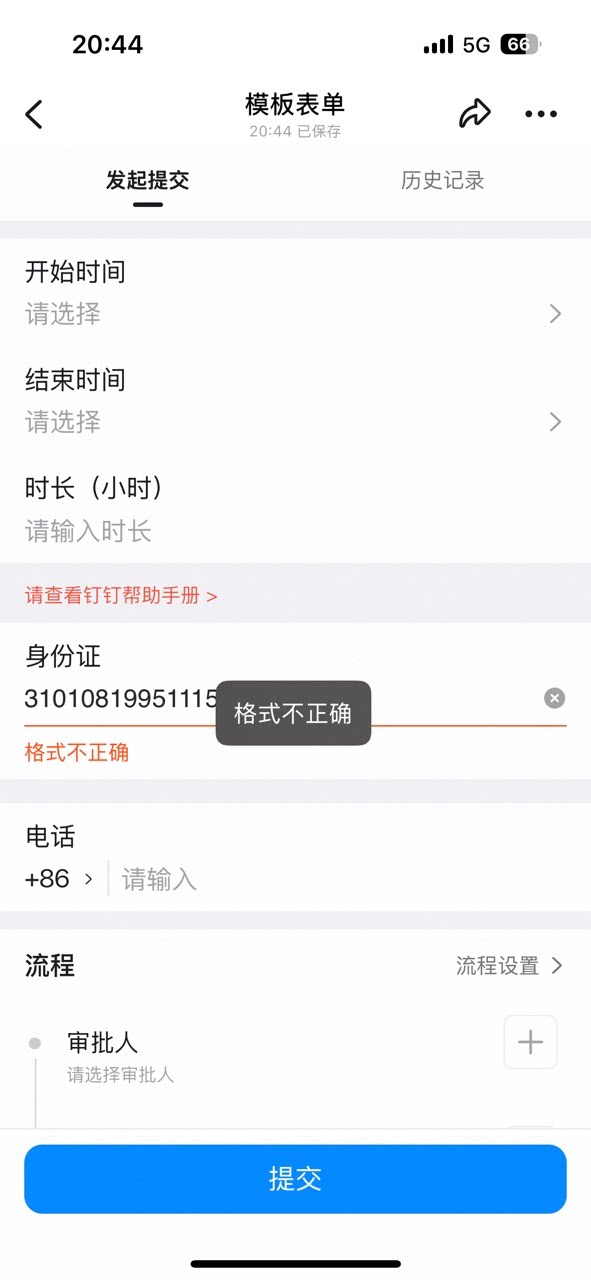
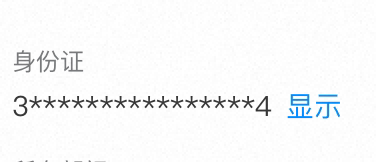
With Hide sensitive info On, the ID card Number is masked on the Approval form:
10. Phone
Supports format validation for mobile Numbers and landlines from common countries. When a Phone number is required, the entry can be pre-checked on Submit. Settings interface Add a Phone control in the form designer: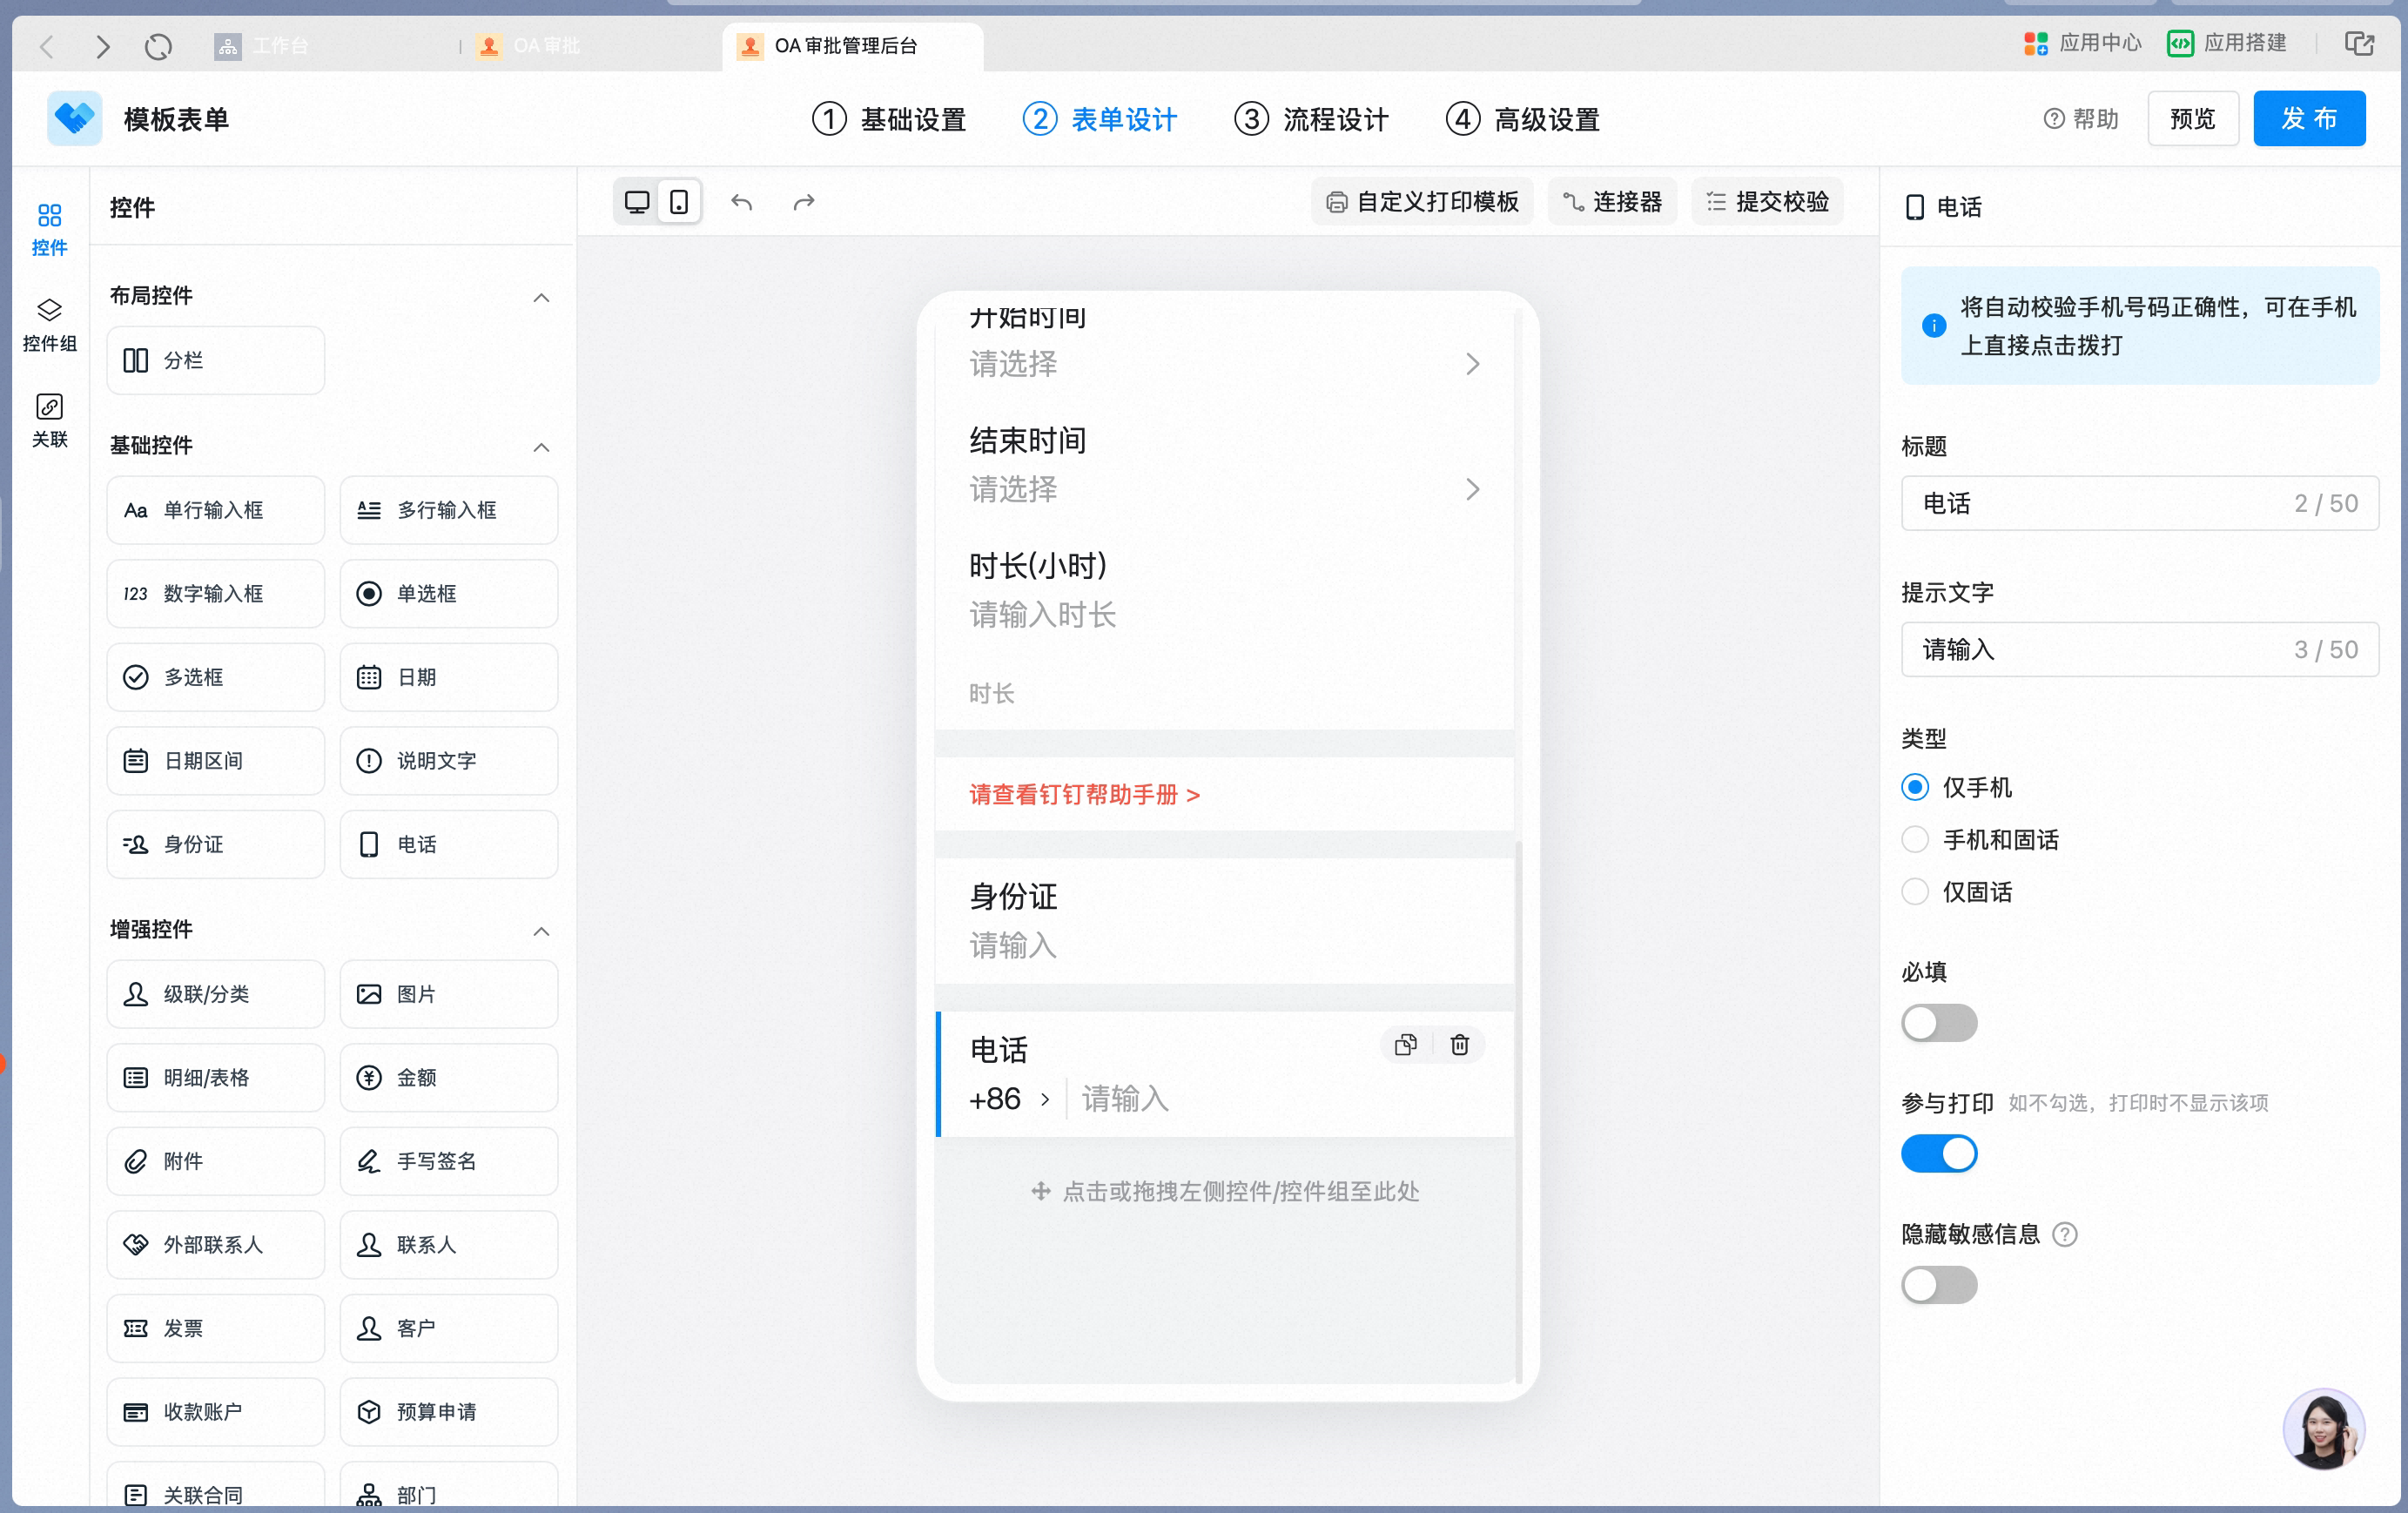
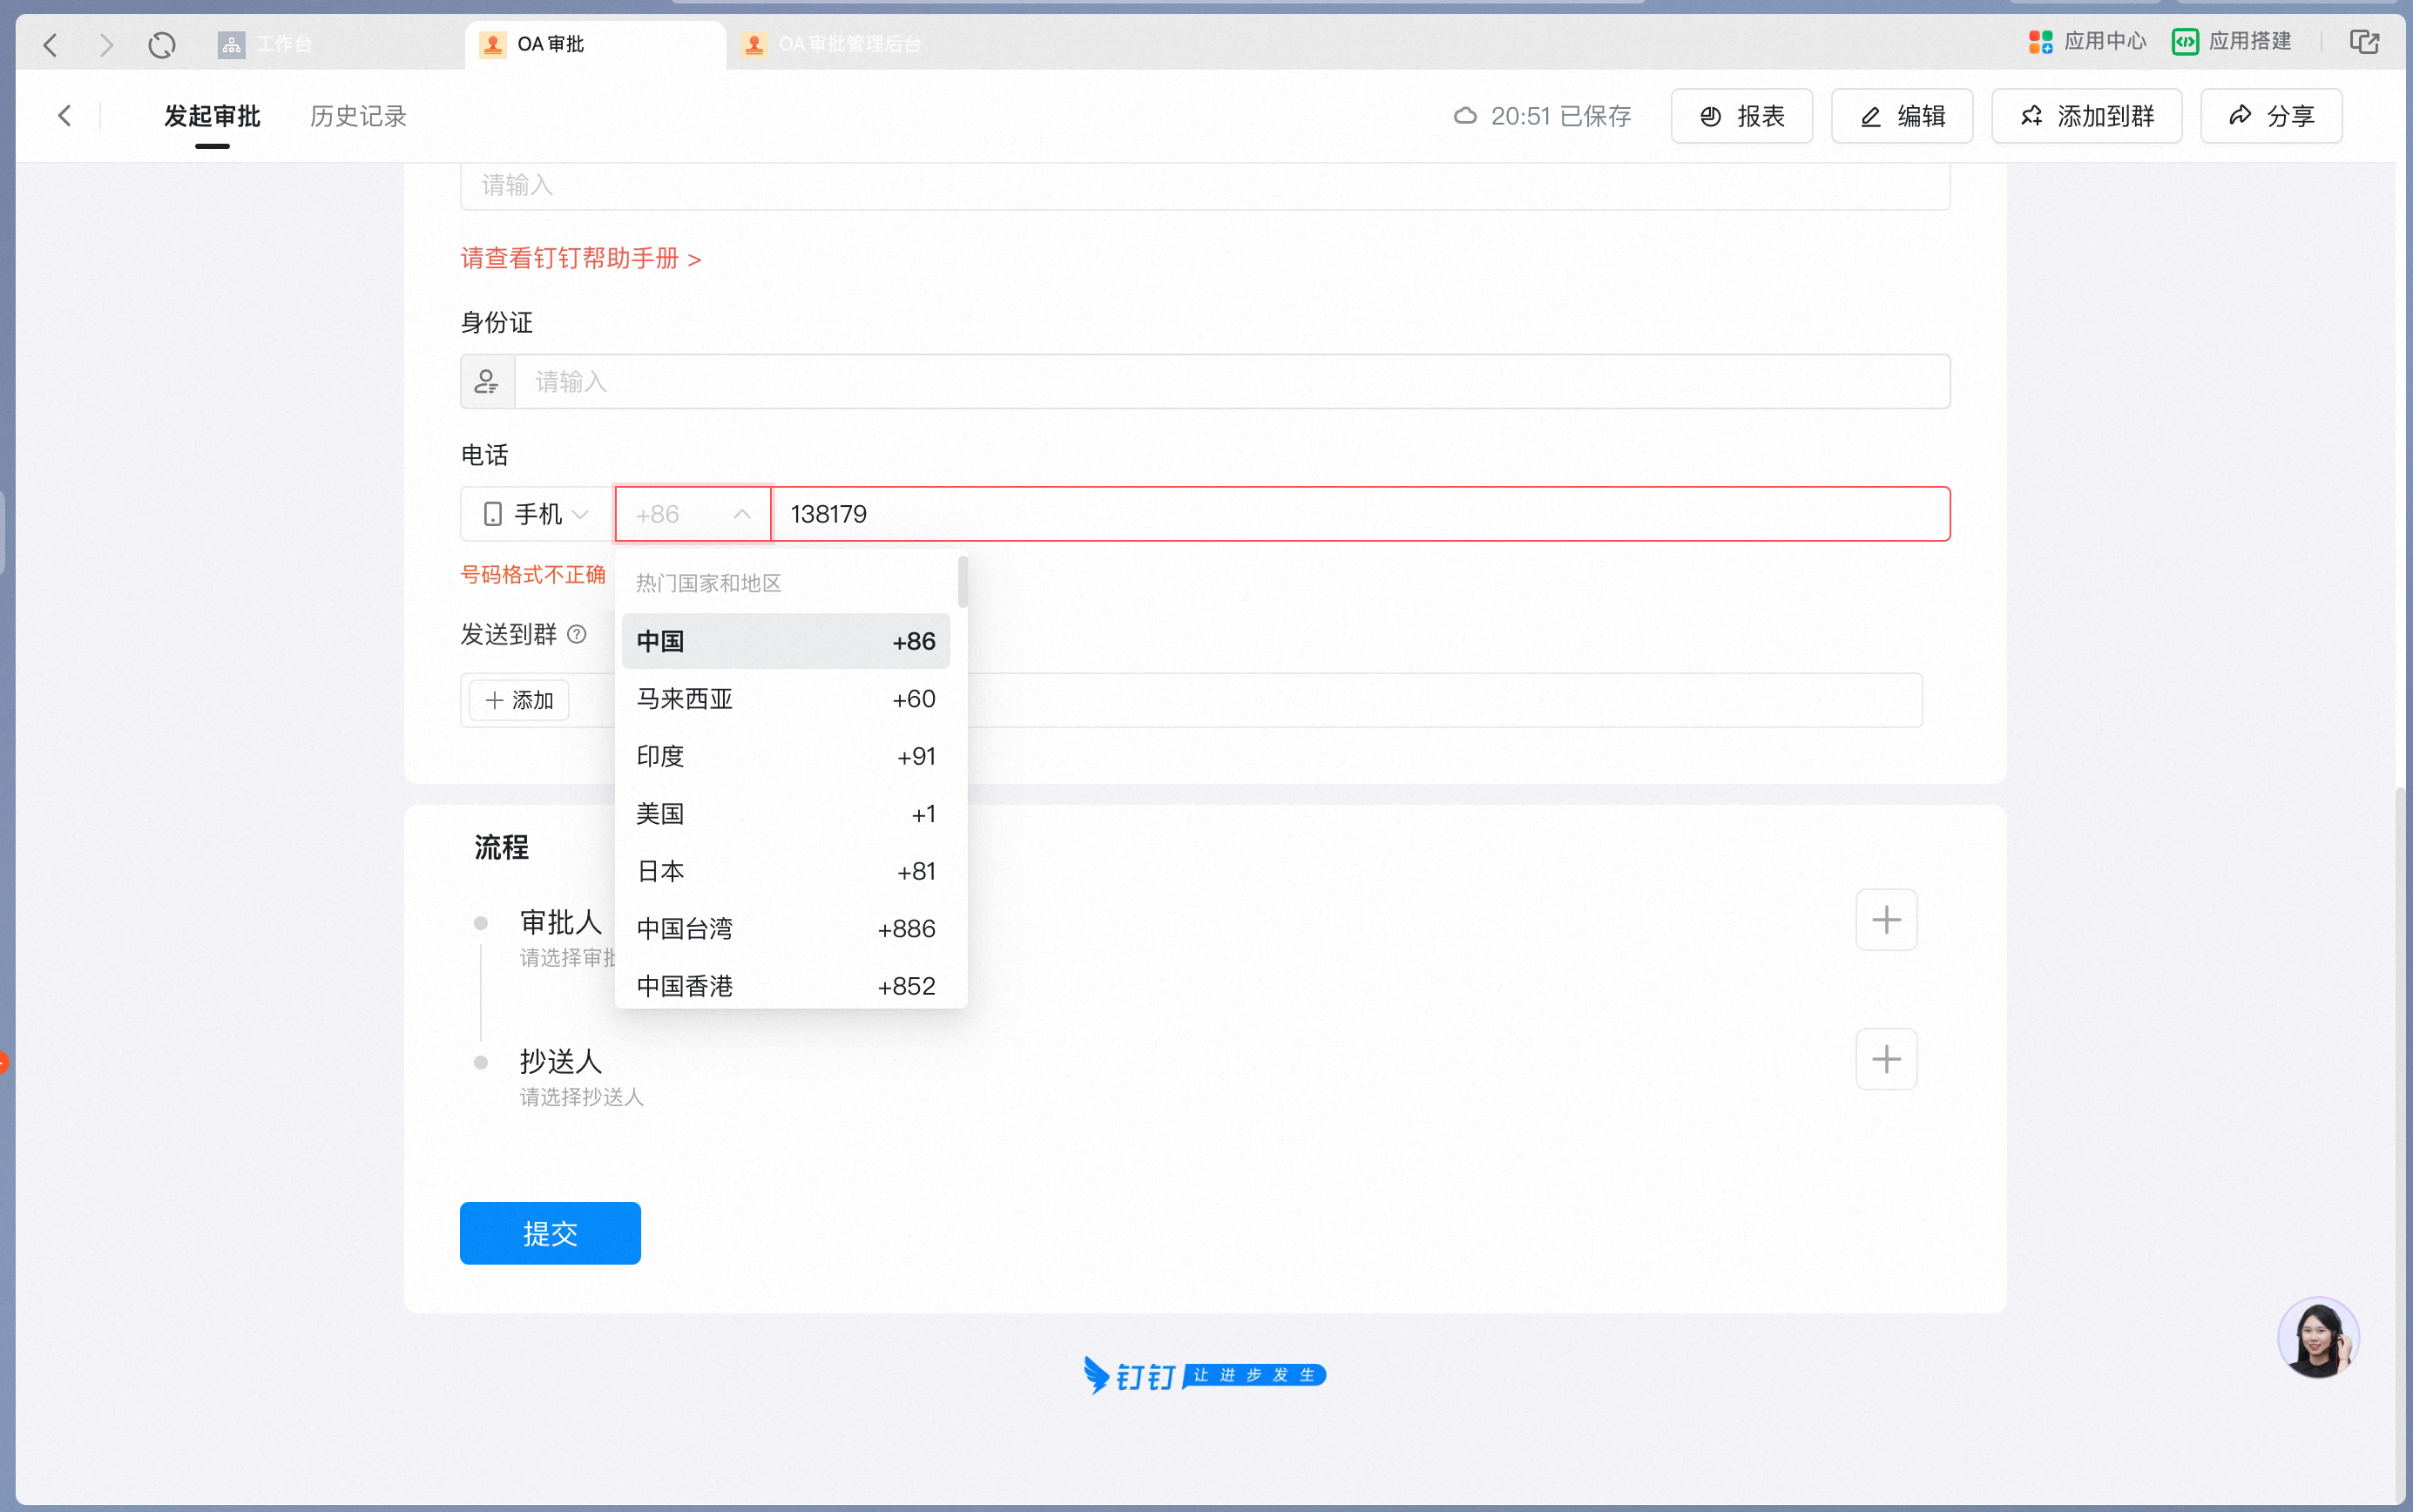
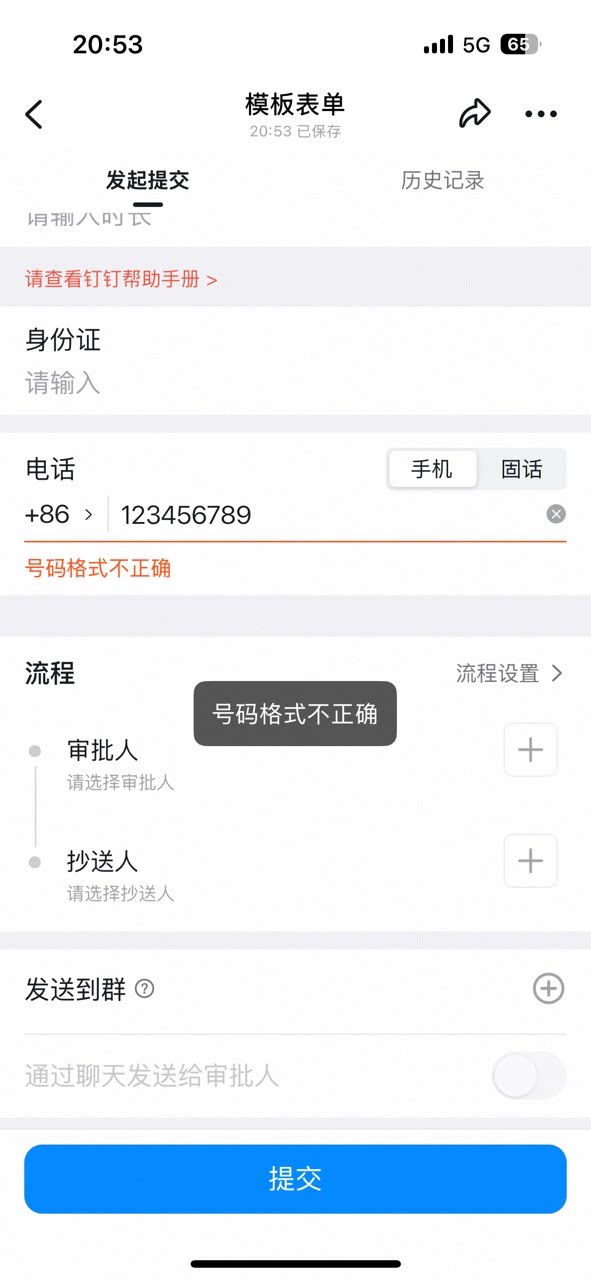
Data constraints and Search
3) Enhanced controls
1. Cascade/Category
Use this control in scenarios where categories must be maintained in Tiers, such as recording item information for inventory management, or Province/City/District. Settings interface Add a Cascade/Category control in the form designer: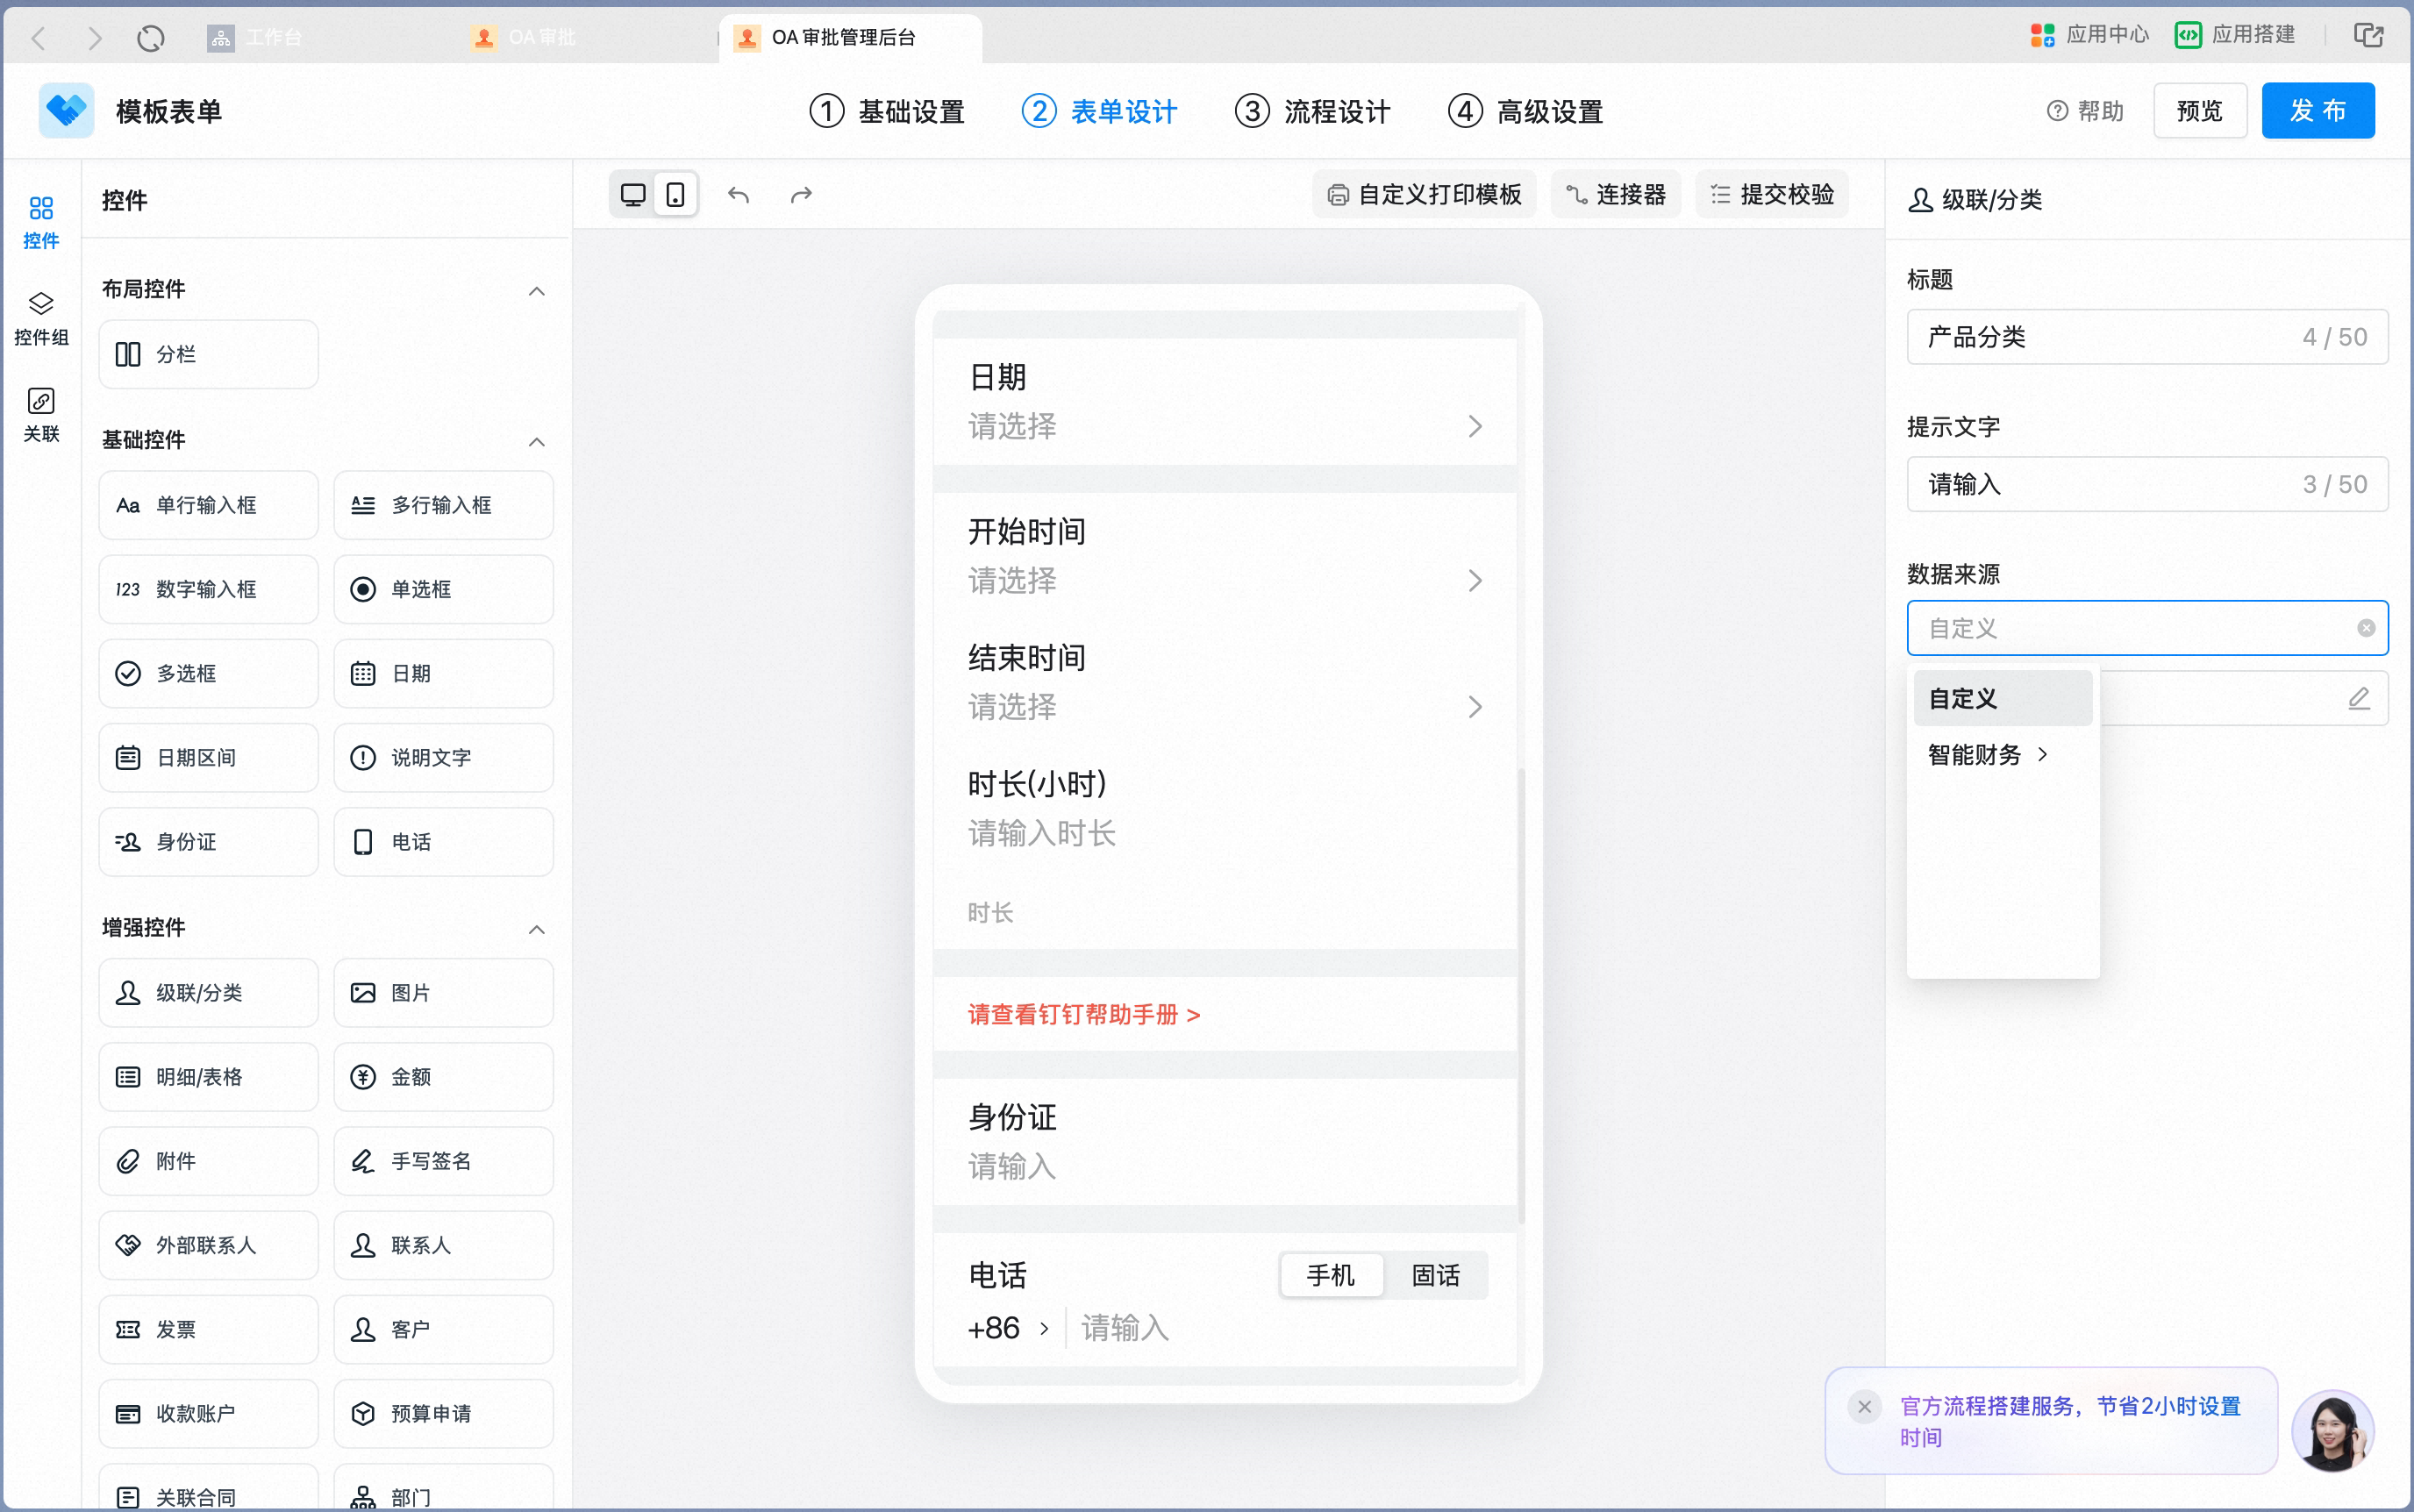
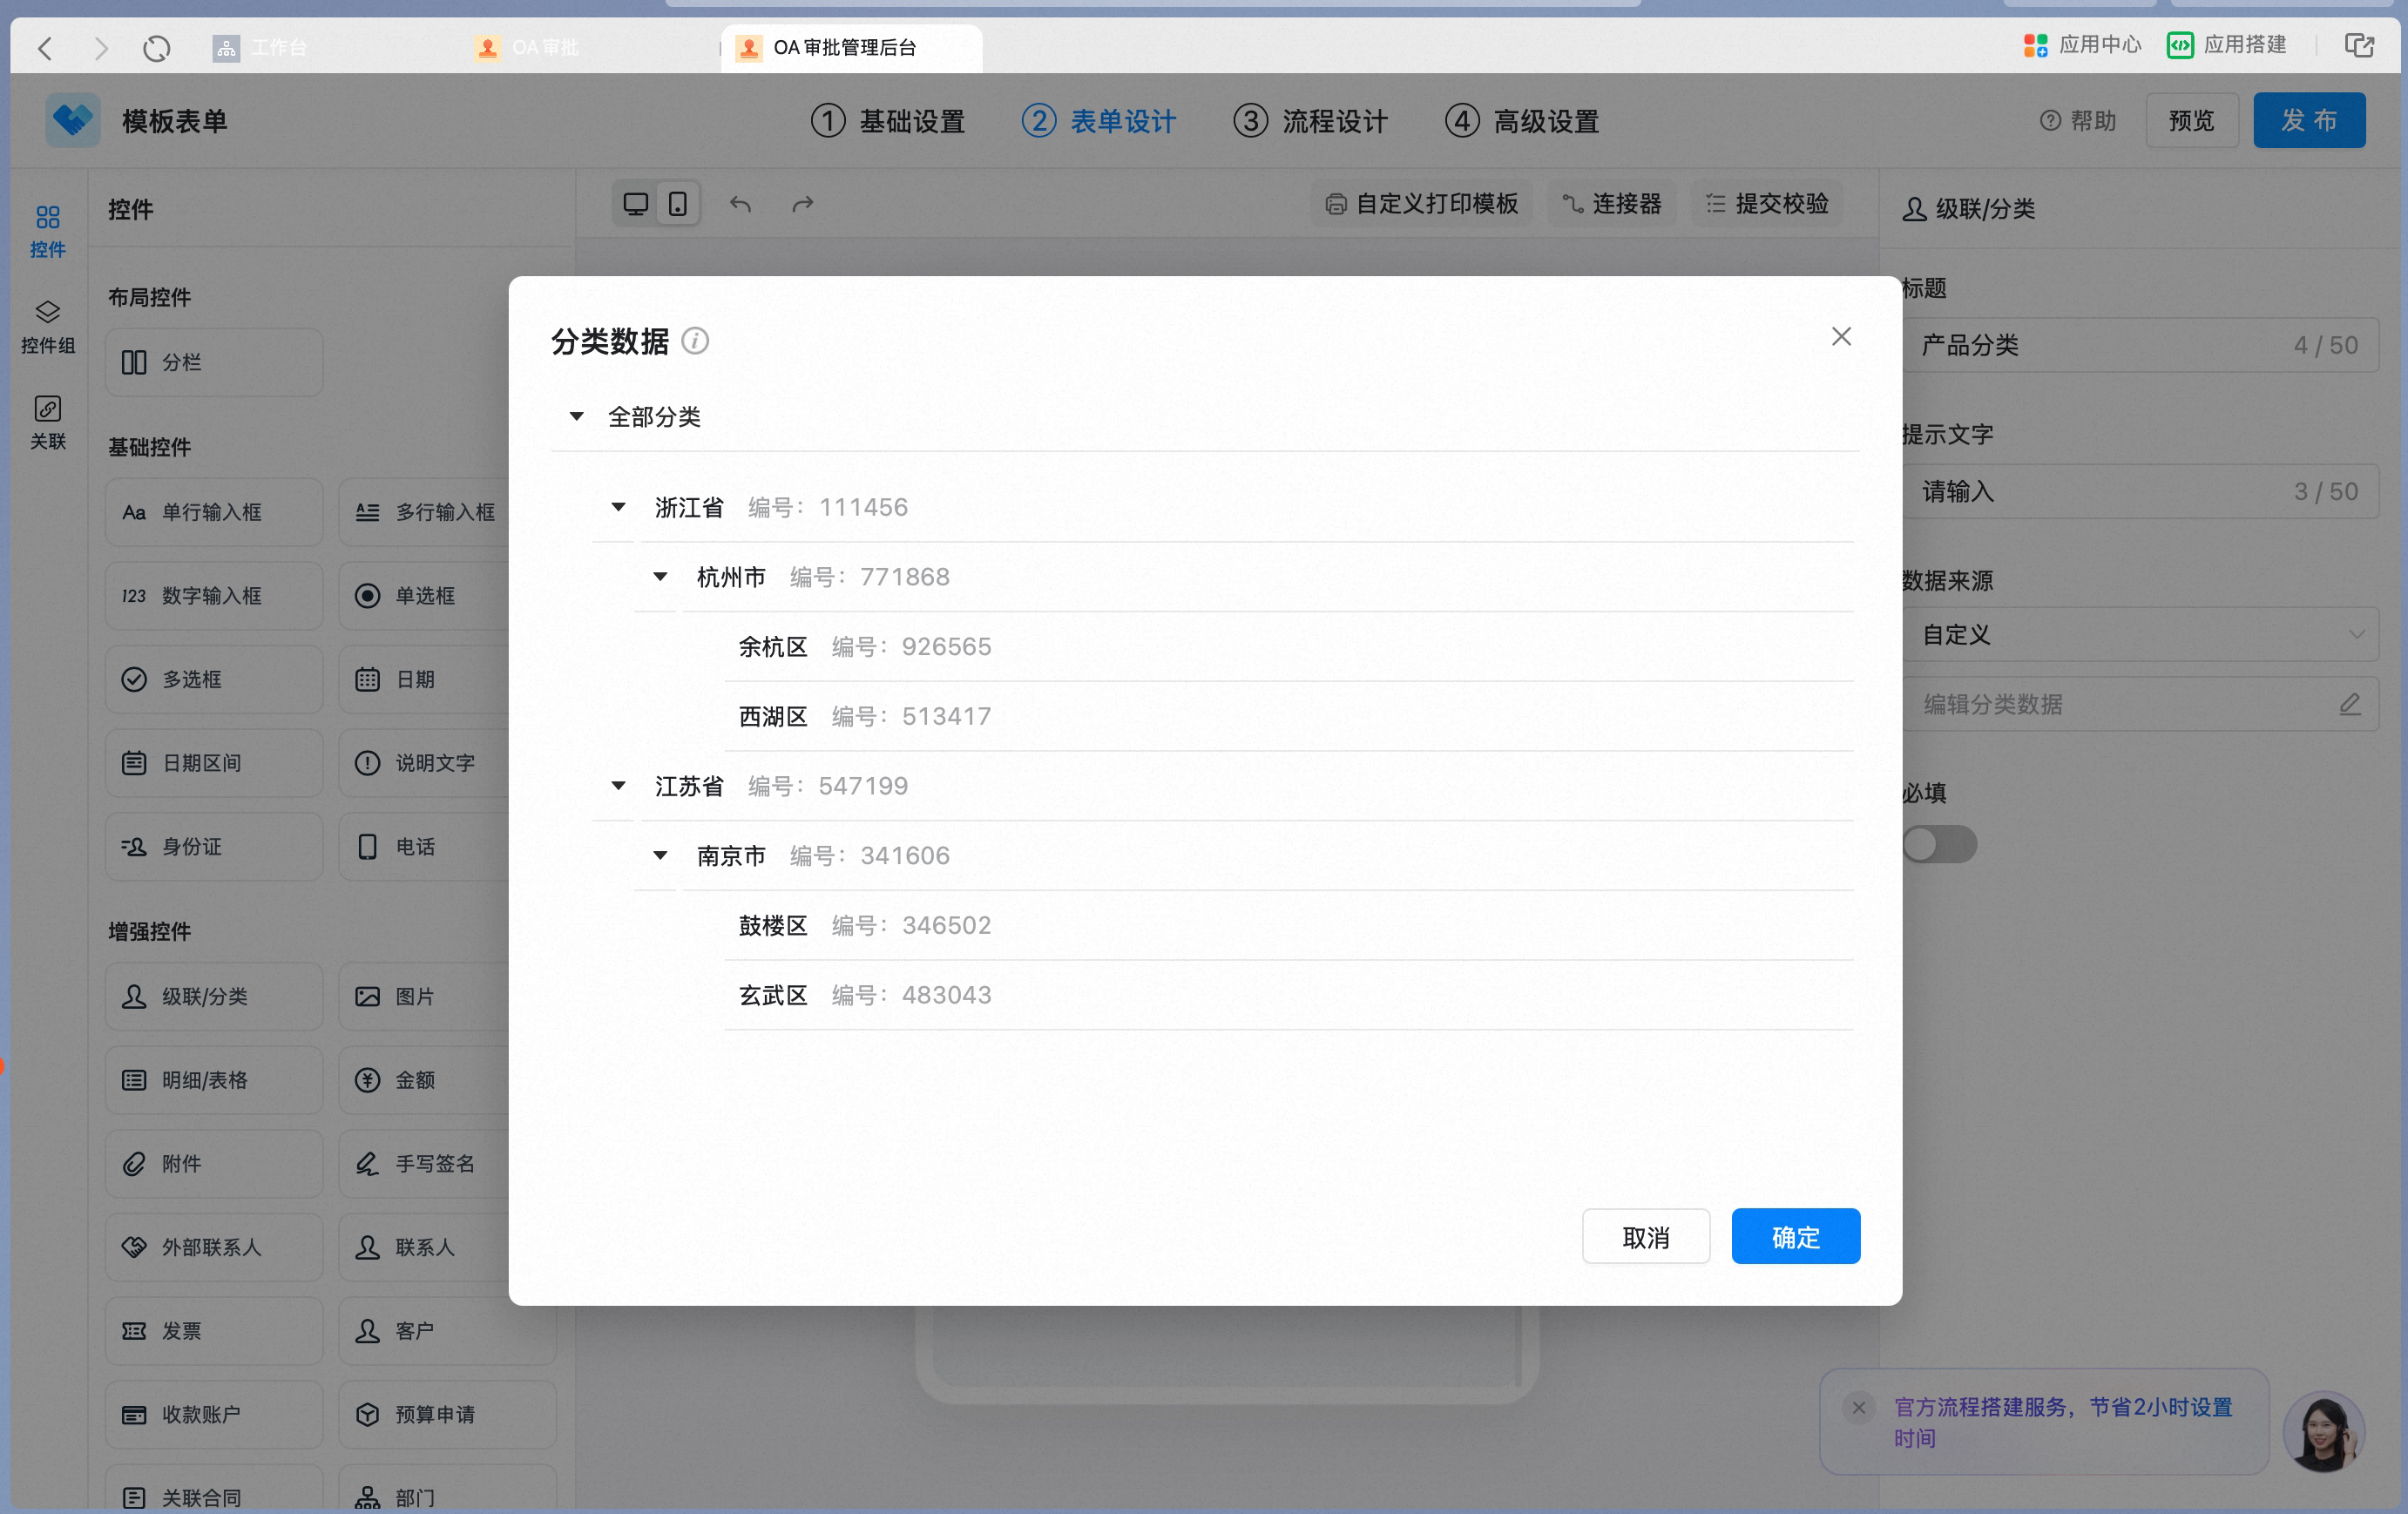
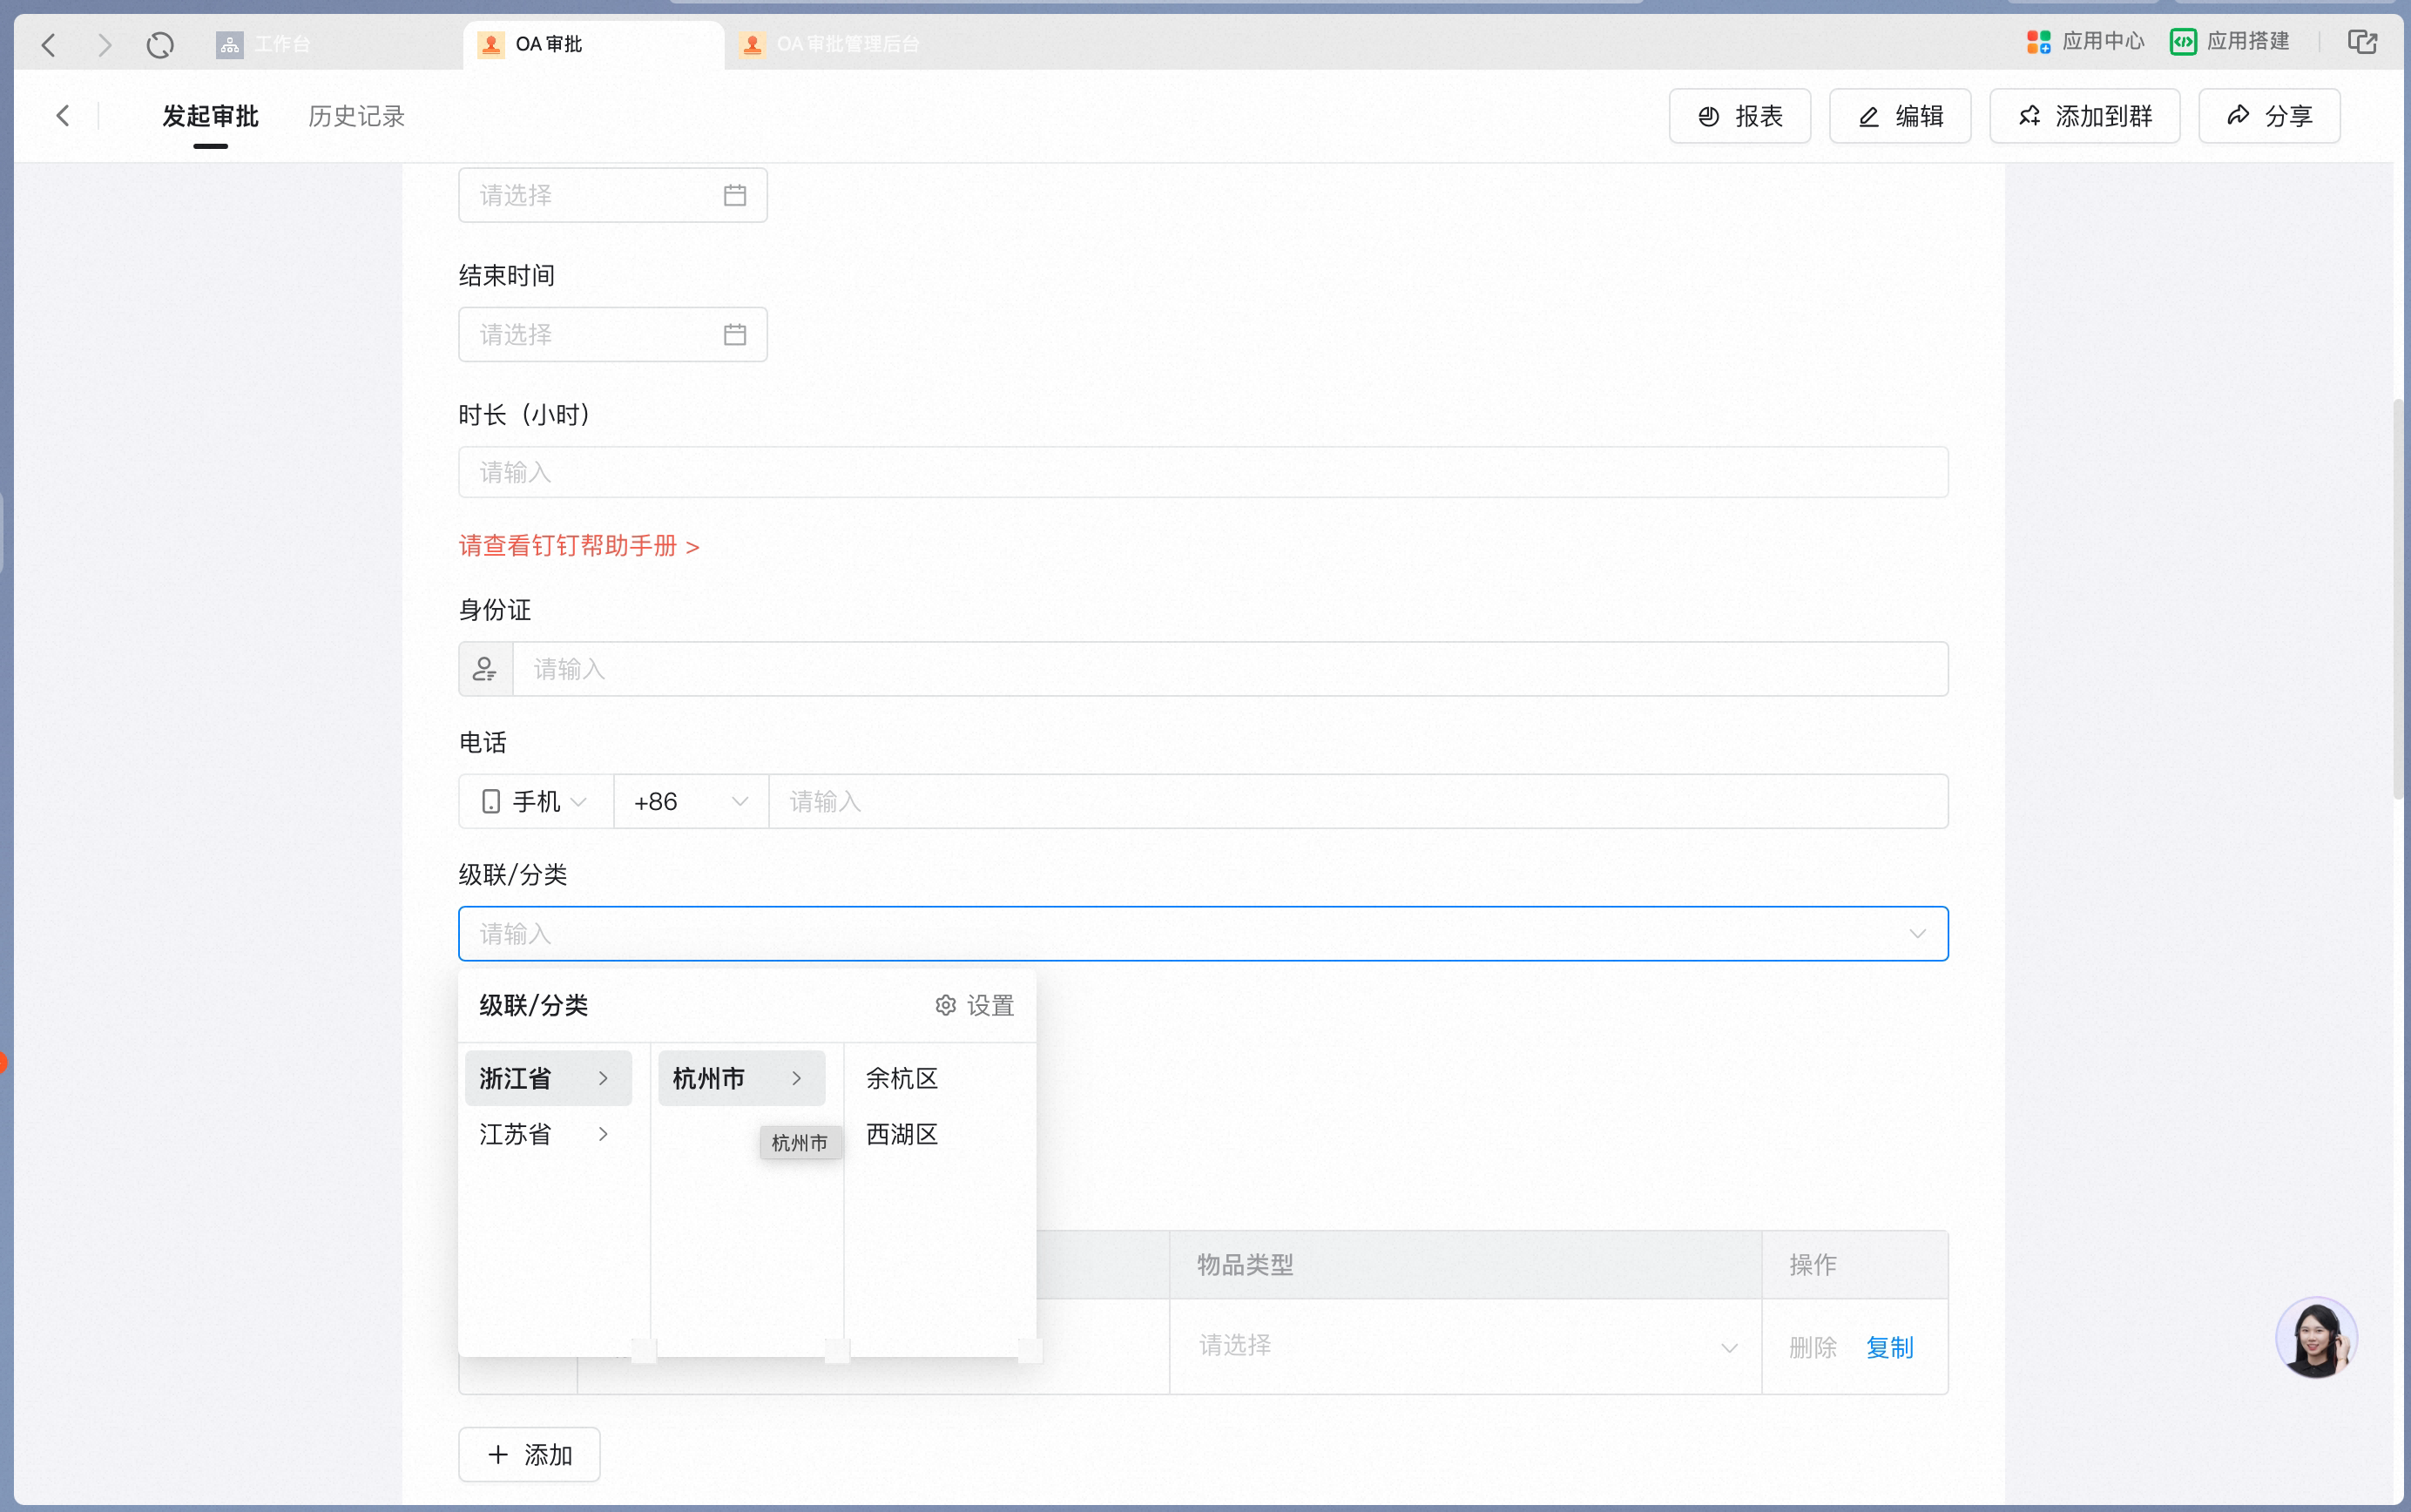

Data constraints and Search
2. Image
Use this control to capture Image information in form-Data scenarios — for example, in customer-visit records, use the Image control to log on-site notes from a visit. Settings interface Add an Image control in the form designer: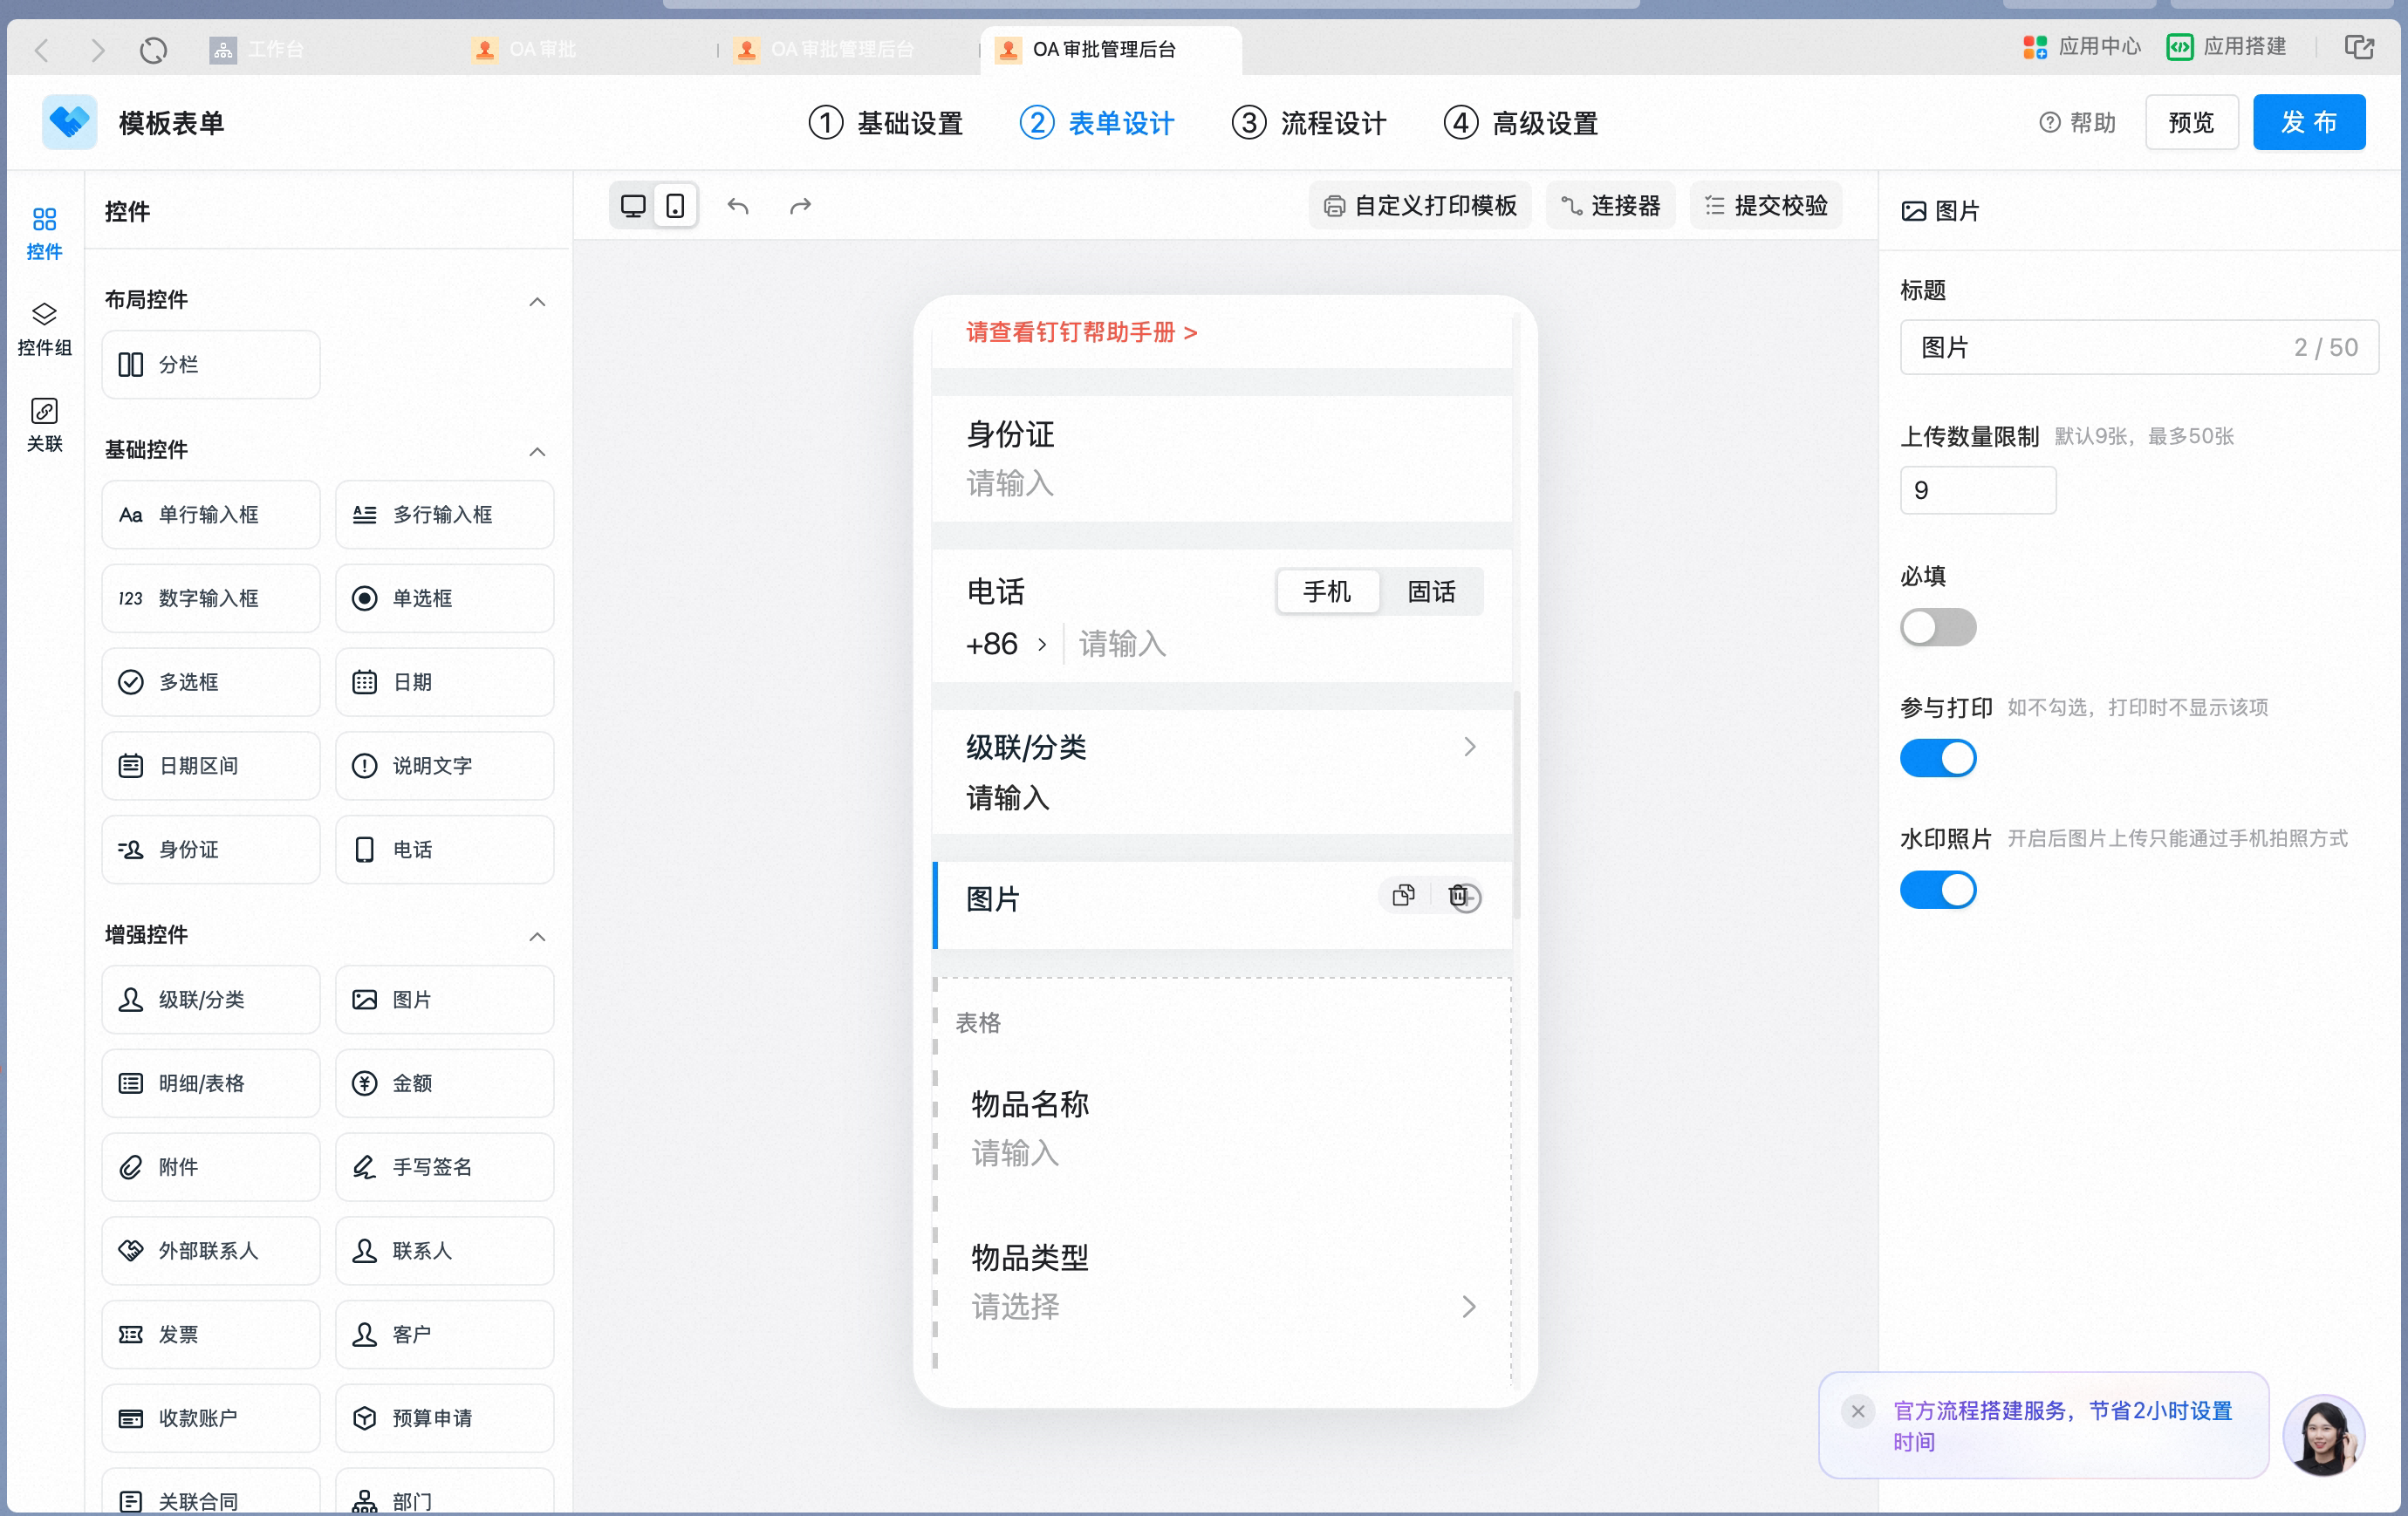
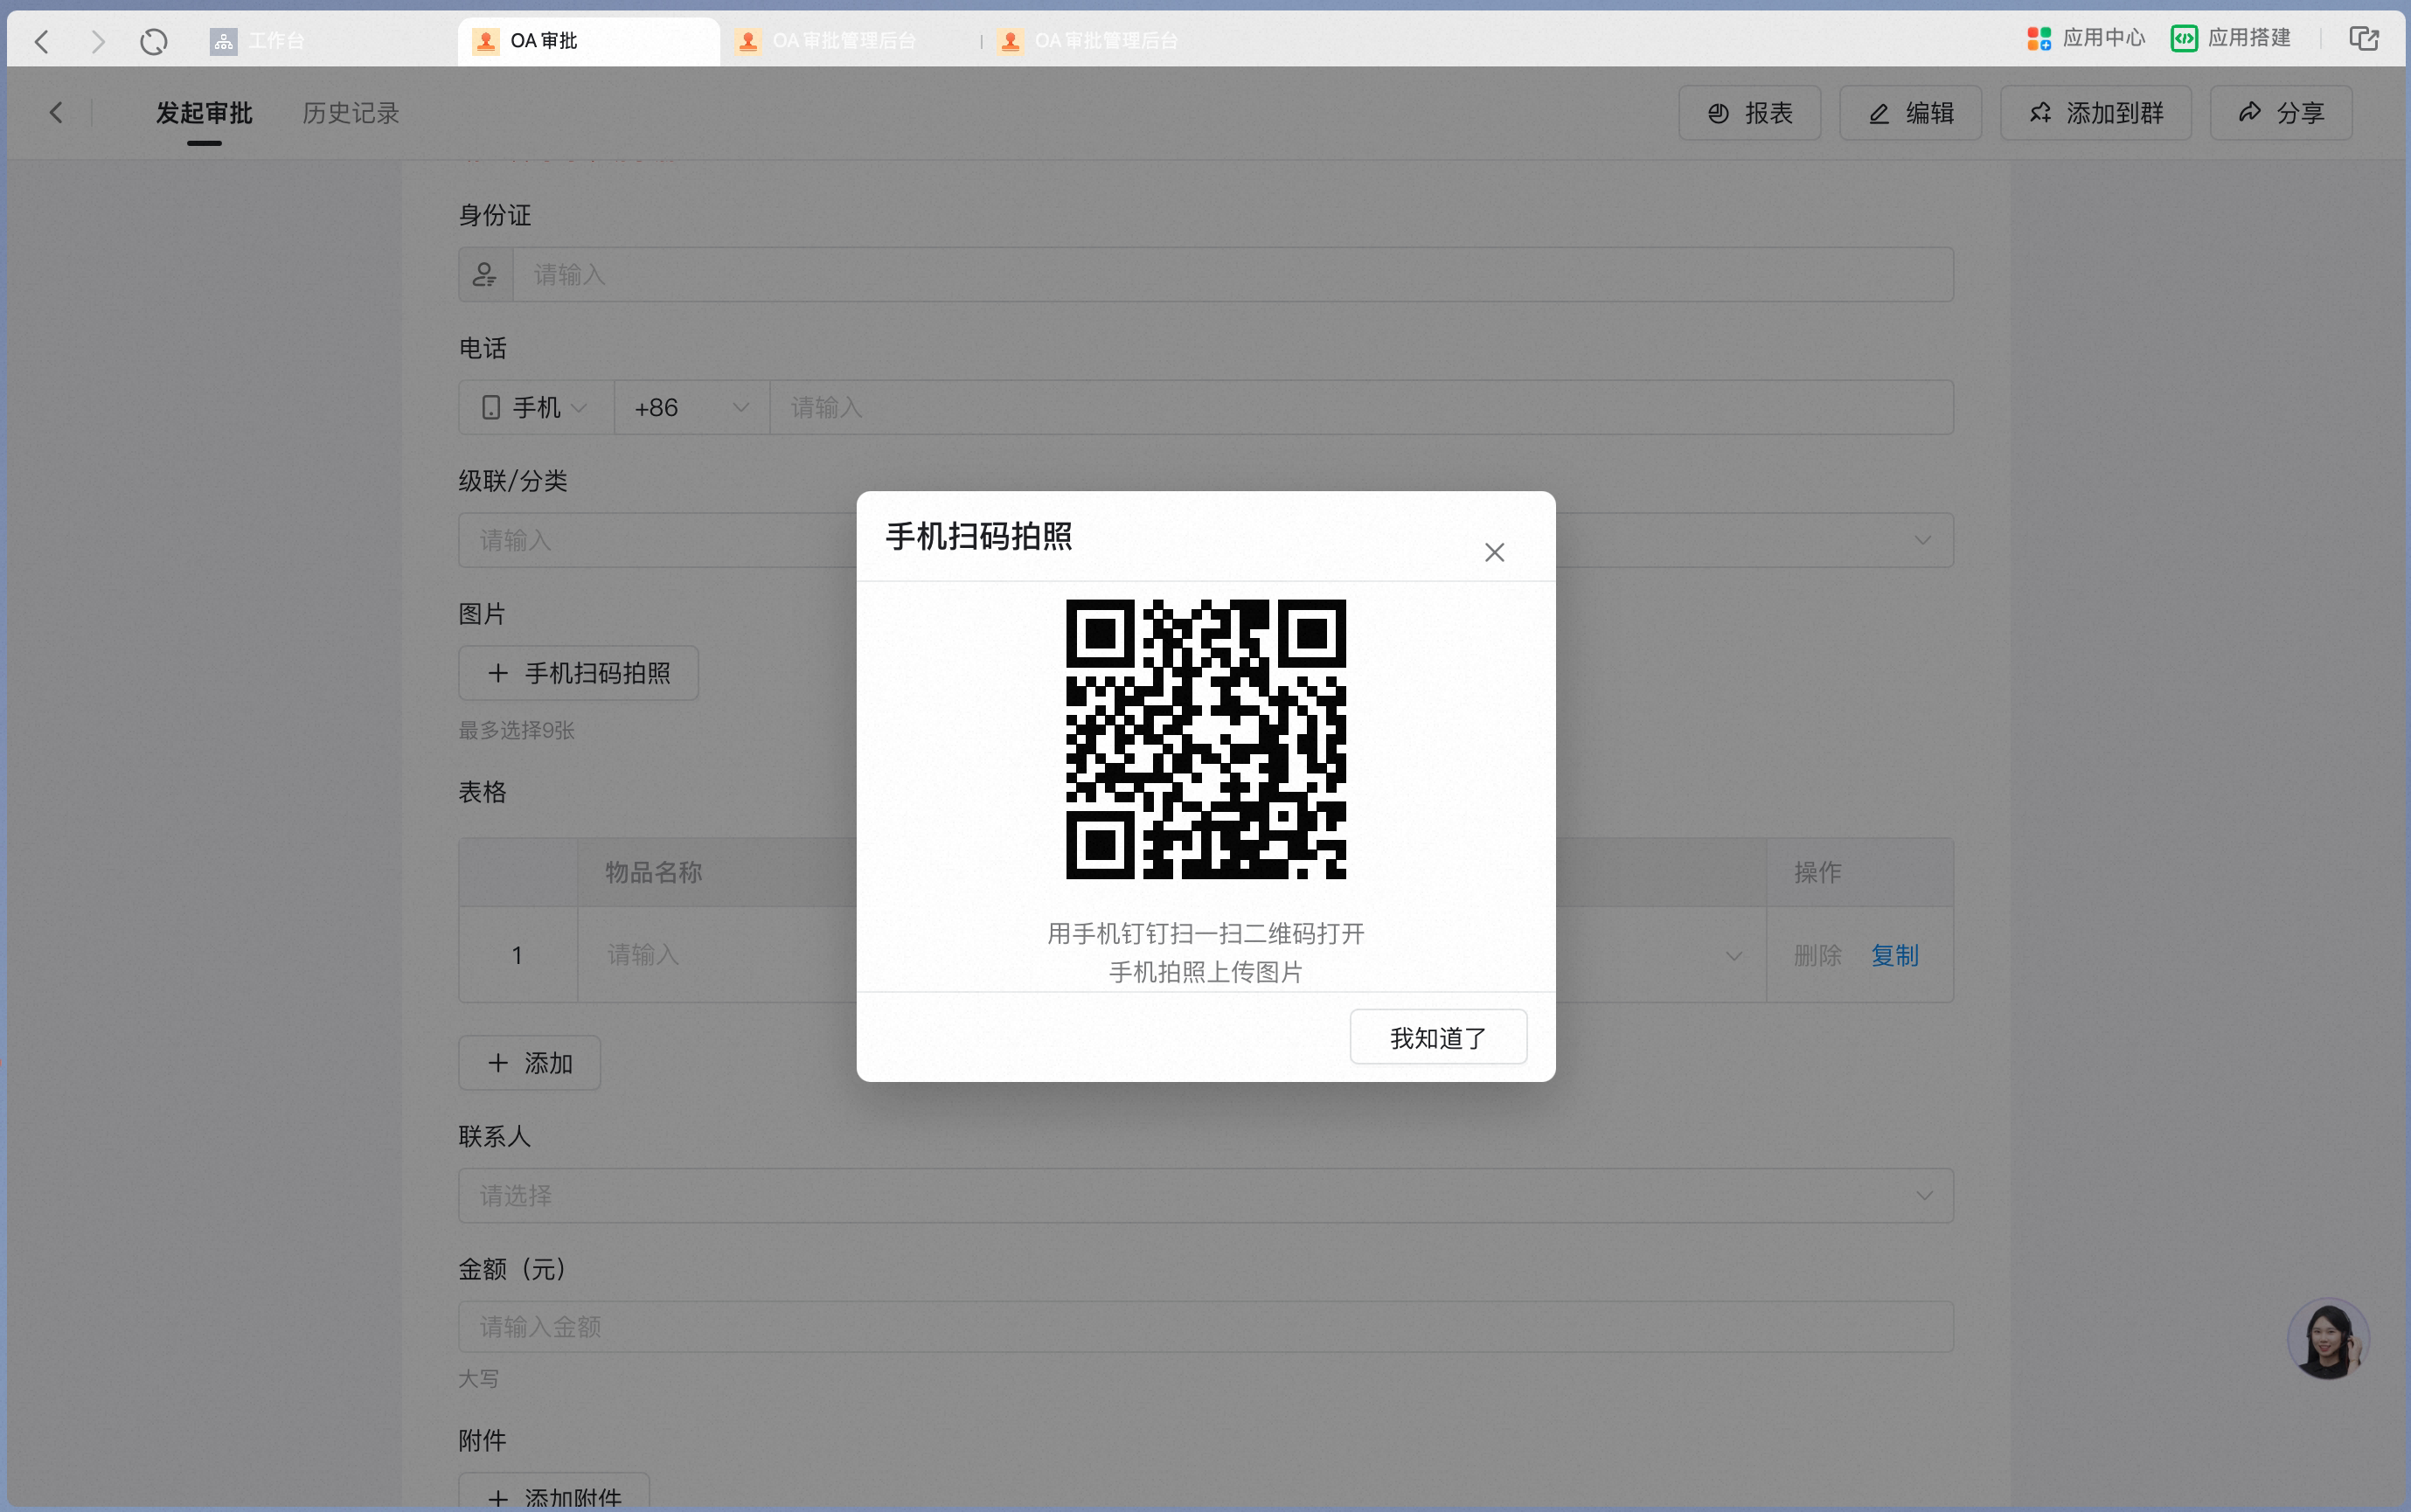
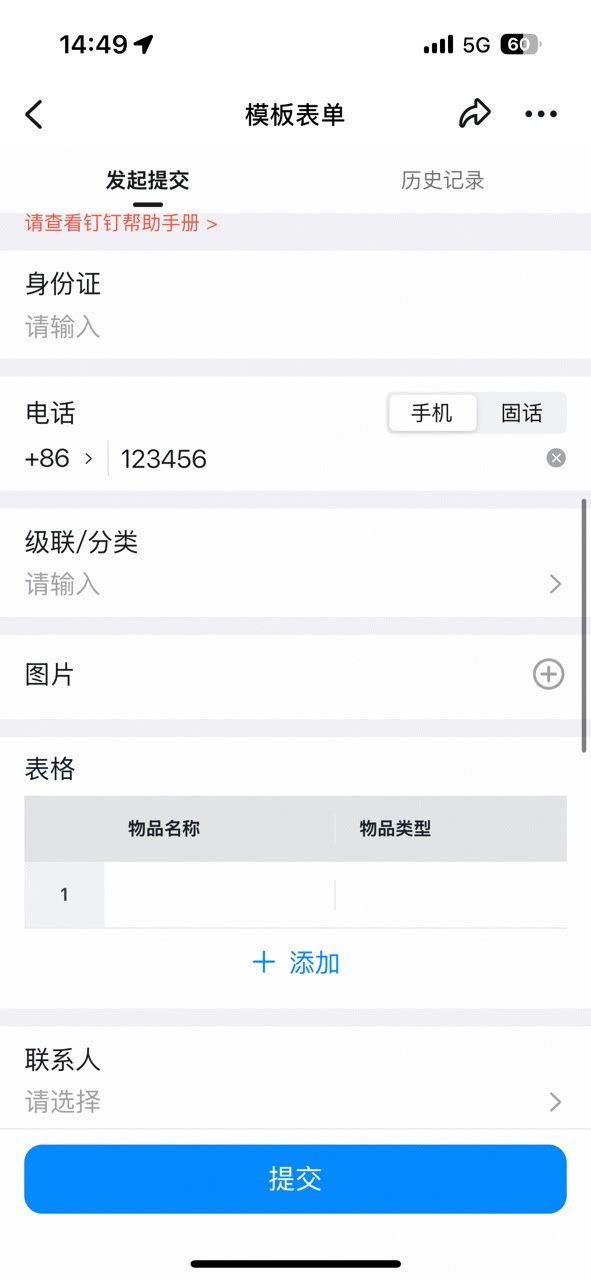
Data constraints and Search
3. Details/Spreadsheet
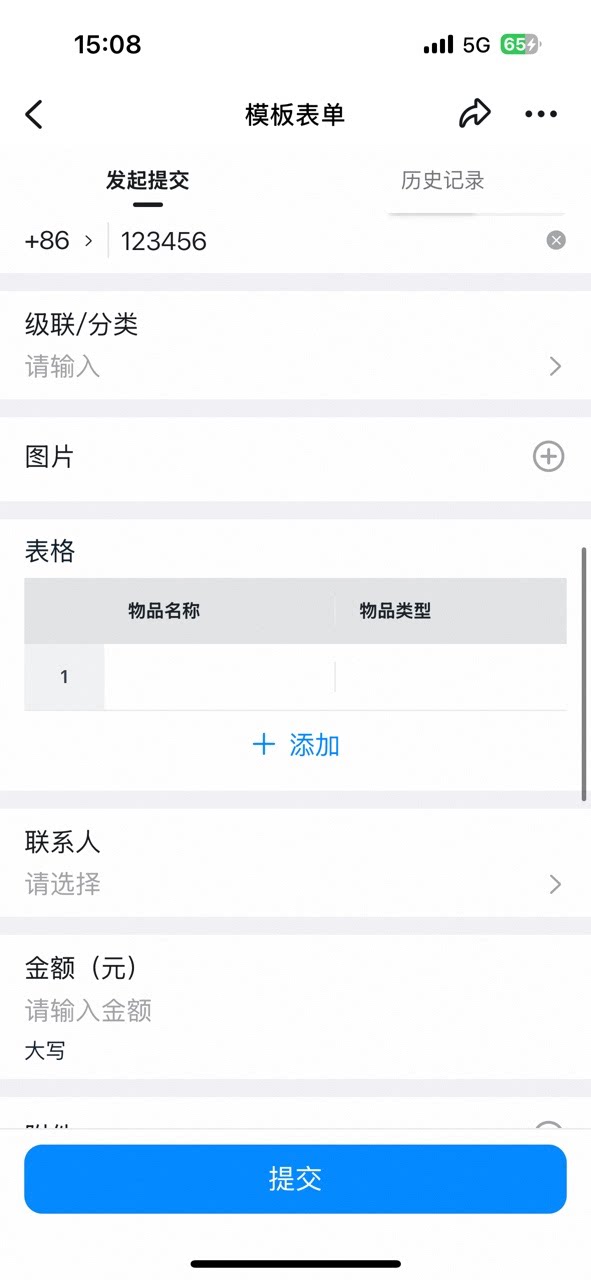
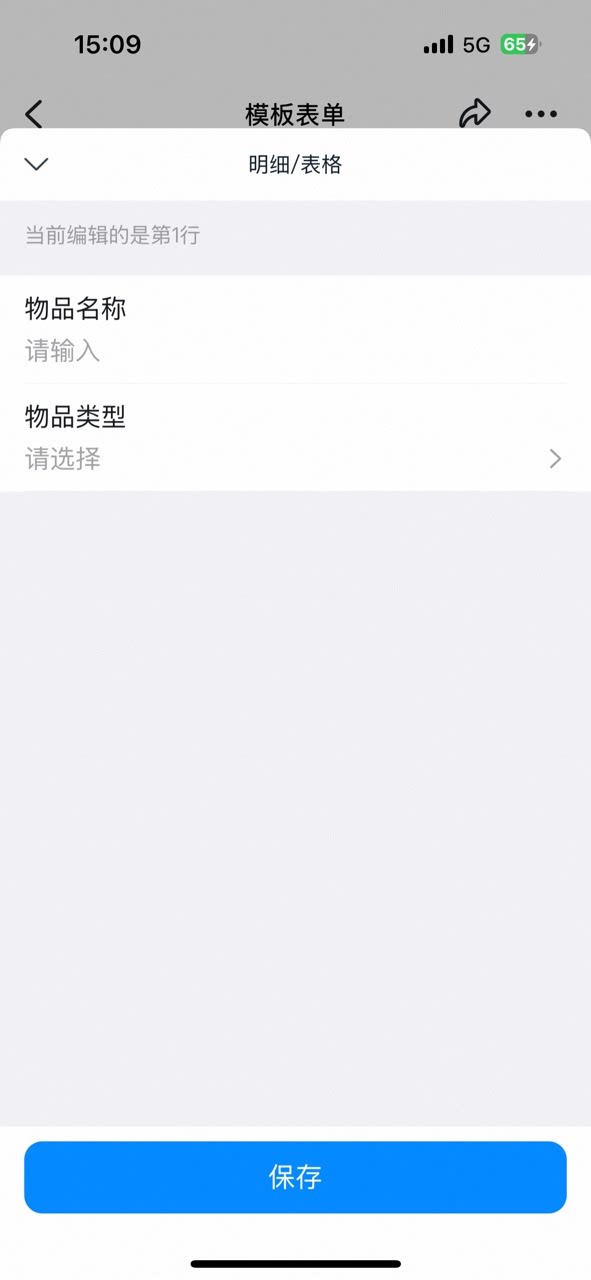
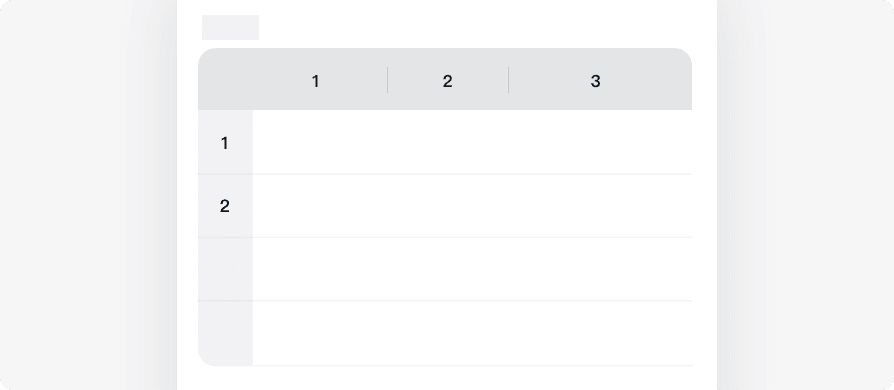
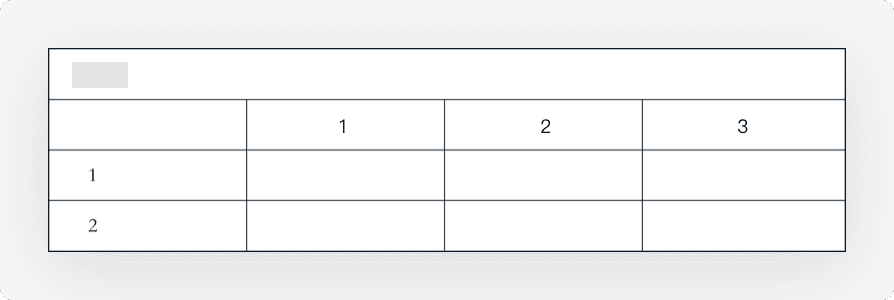
Details/Spreadsheet is a control that organizes Data and information as Records and Columns. It is primarily used for collecting repeated Data that shares the same header — for example, inventory-inbound details or reimbursement details.- The control itself carries no Data. Think of it as a block into which Data can be repeatedly added, or as an empty Table
- The Data items you fill in (that is, the header of the Spreadsheet) are defined by placing the required controls (such as single-line inputs, single Select, and so on) into the detail control
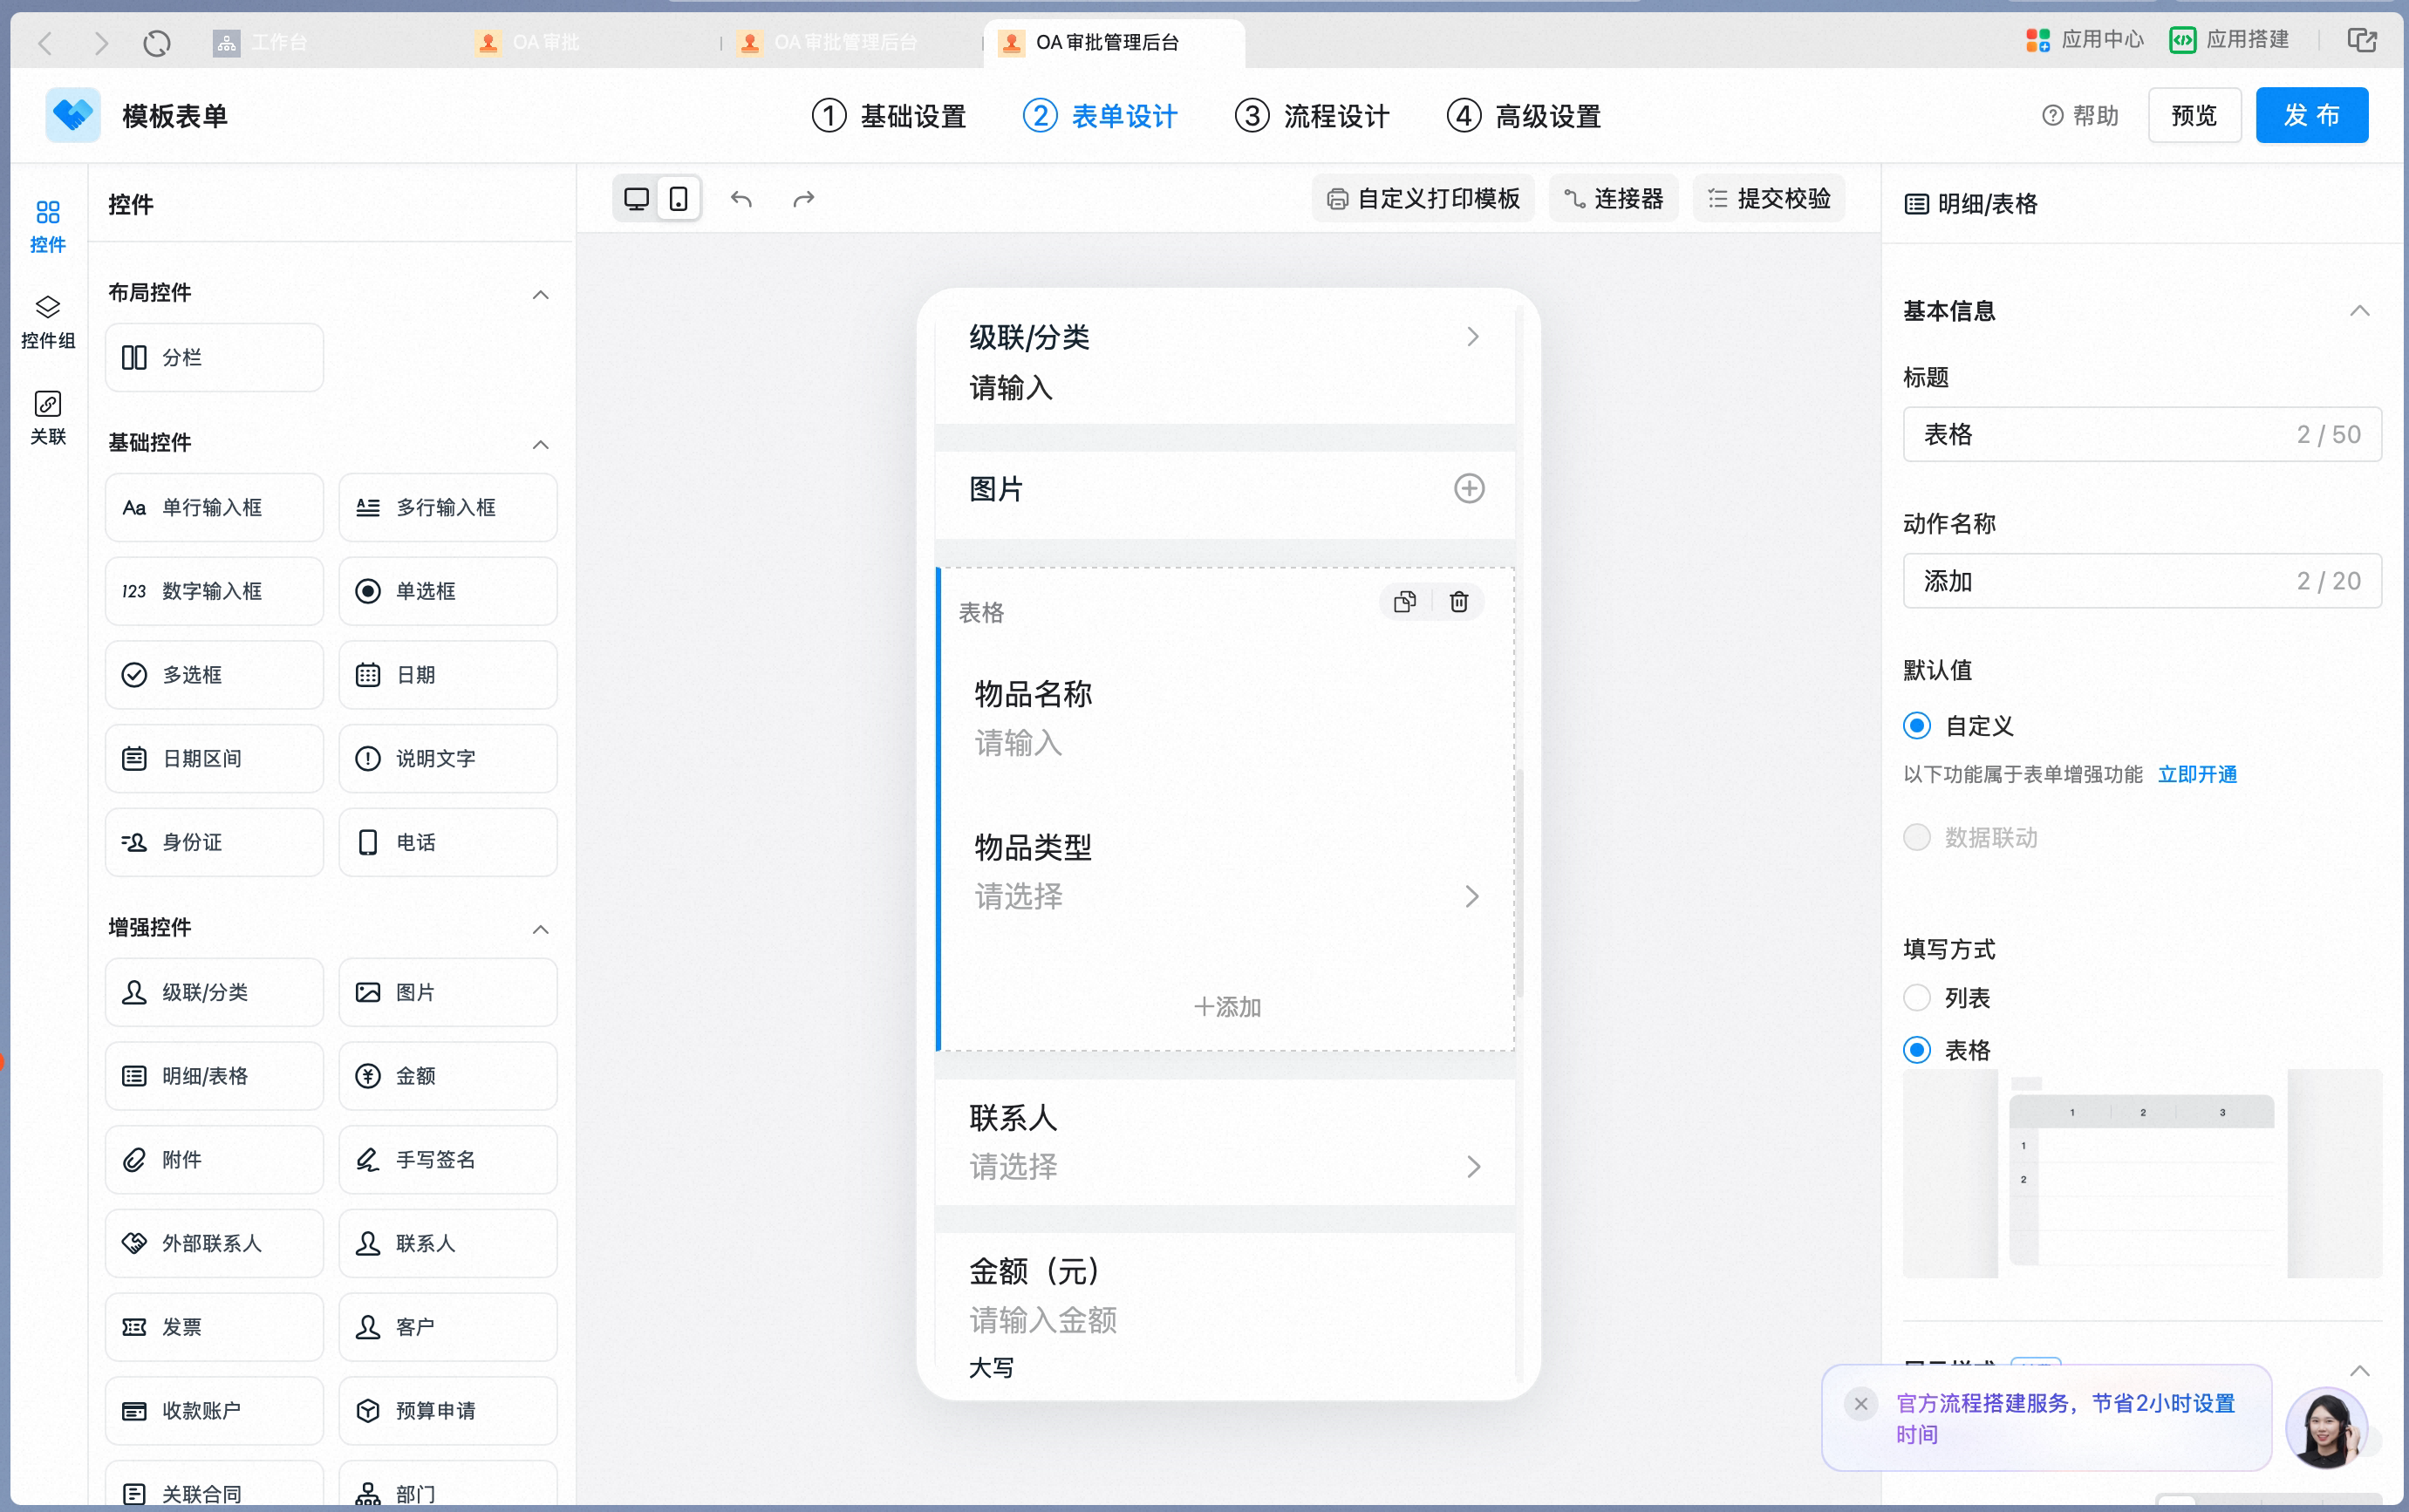
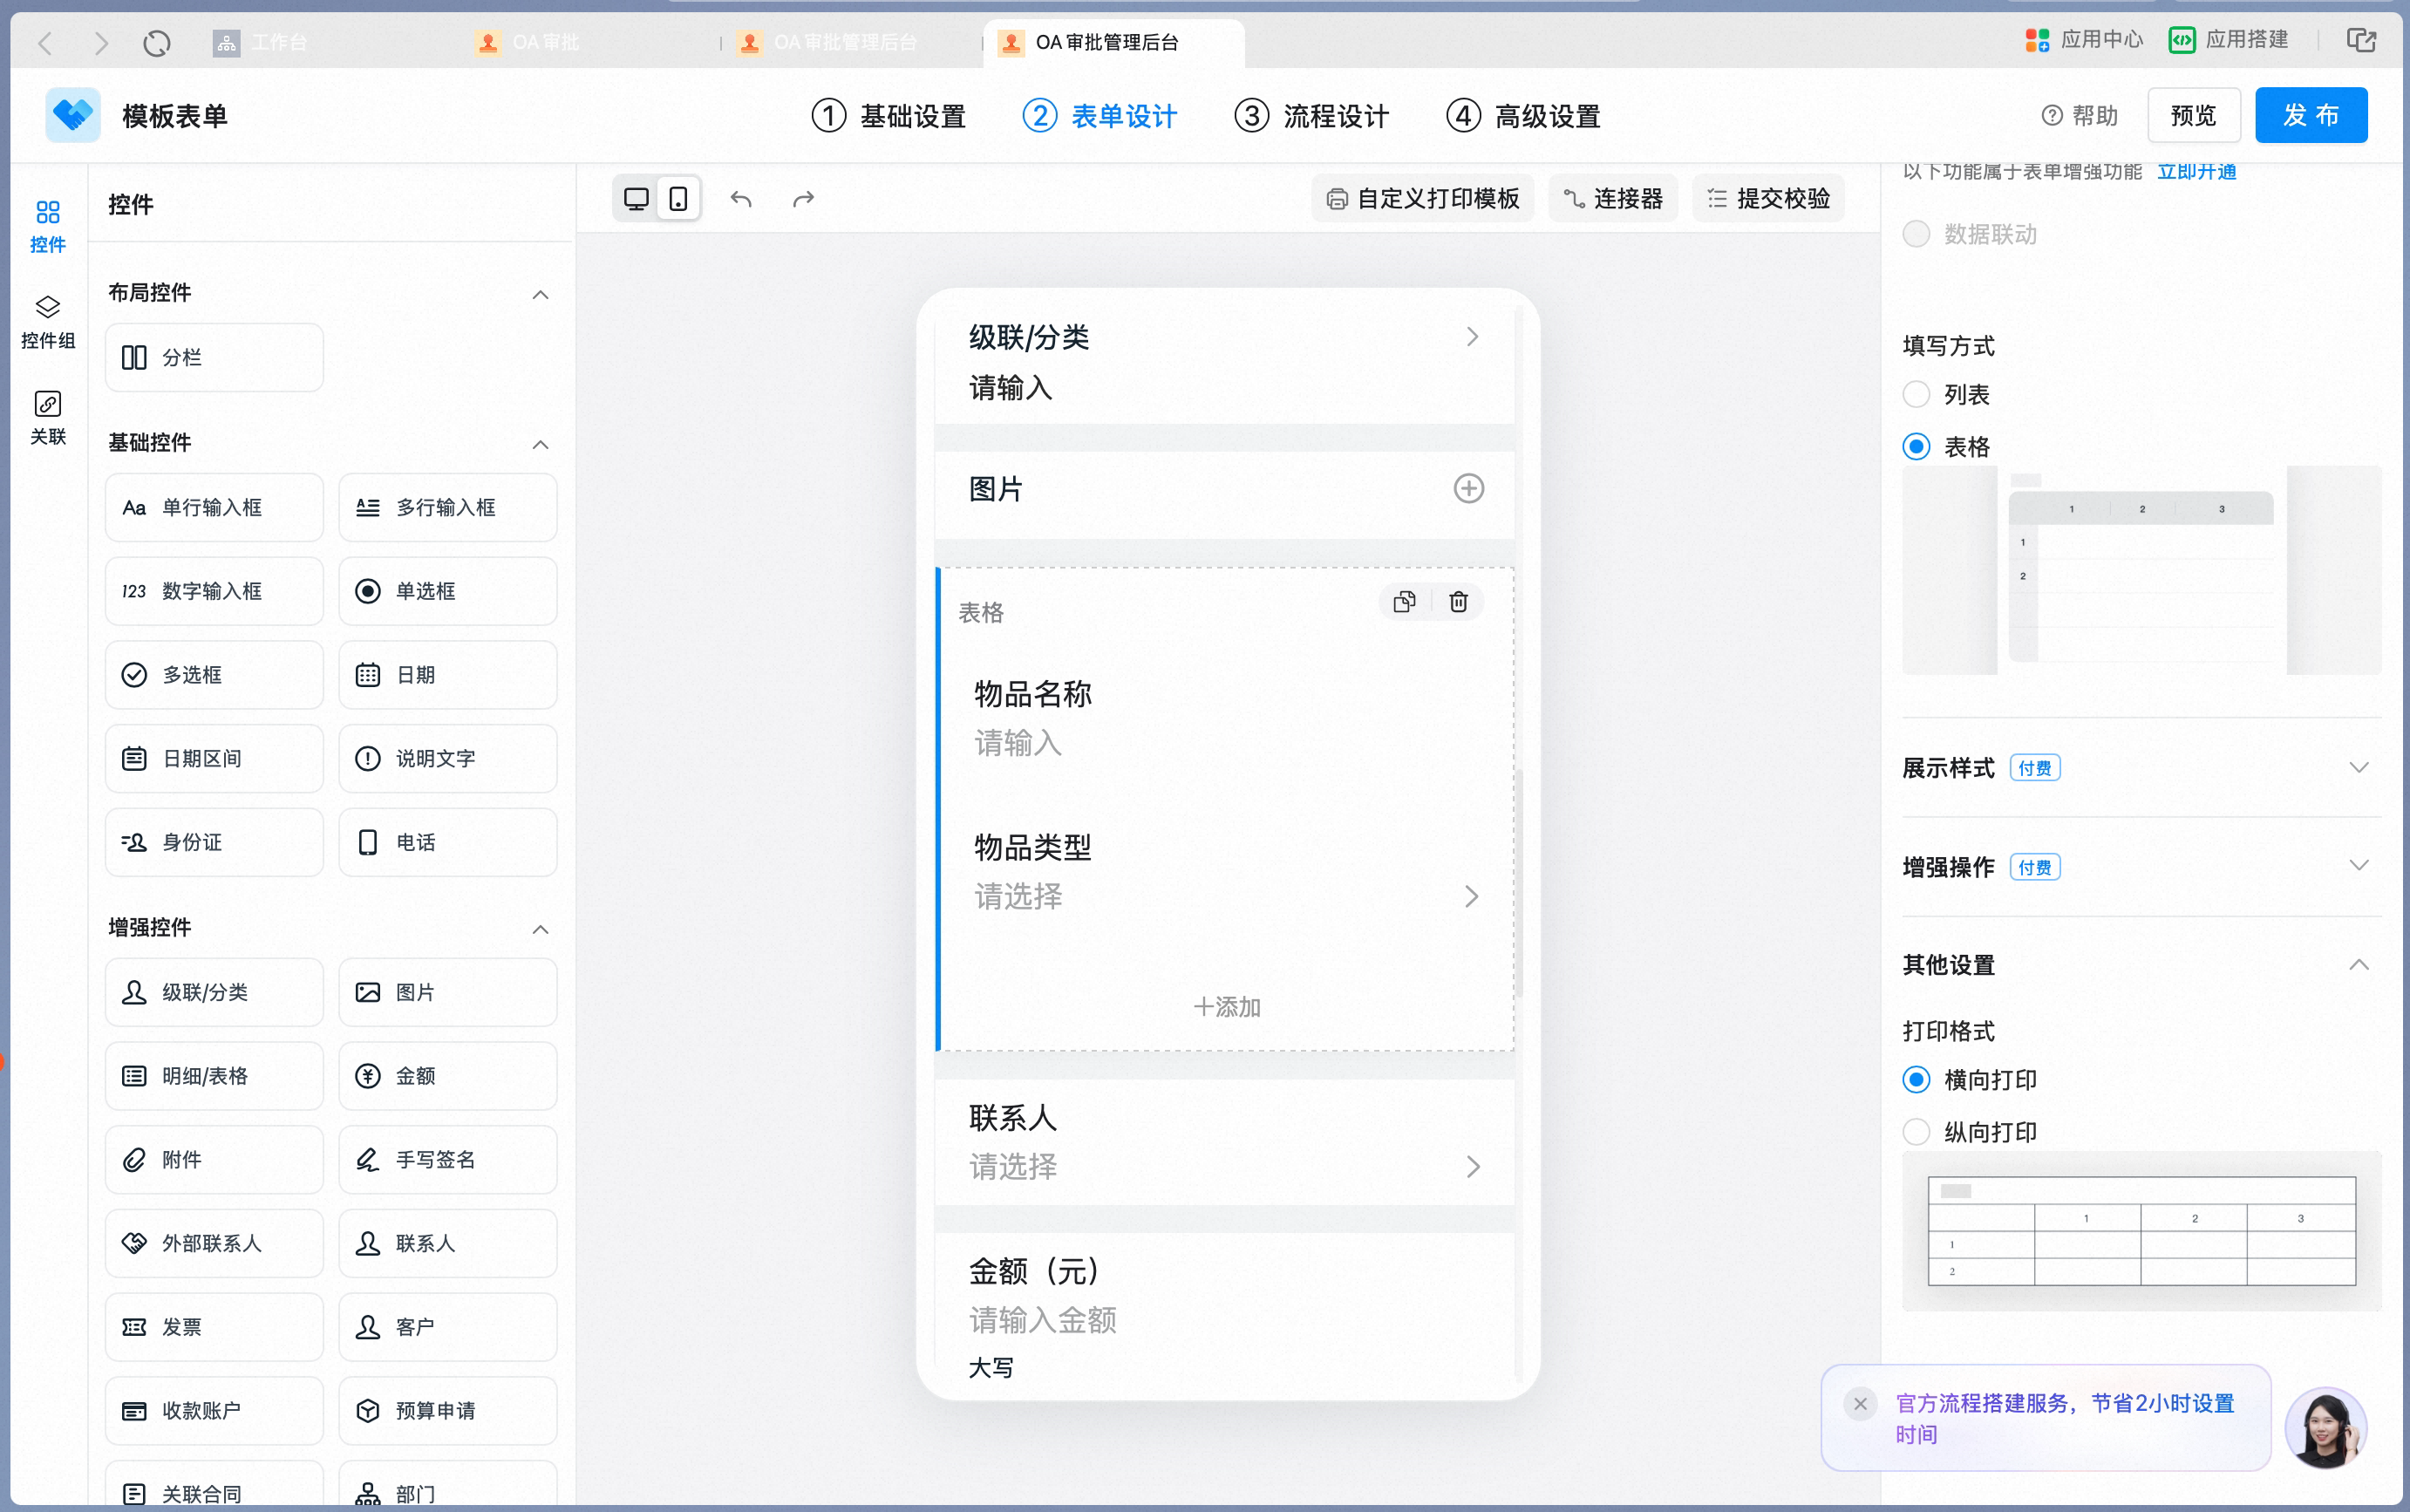
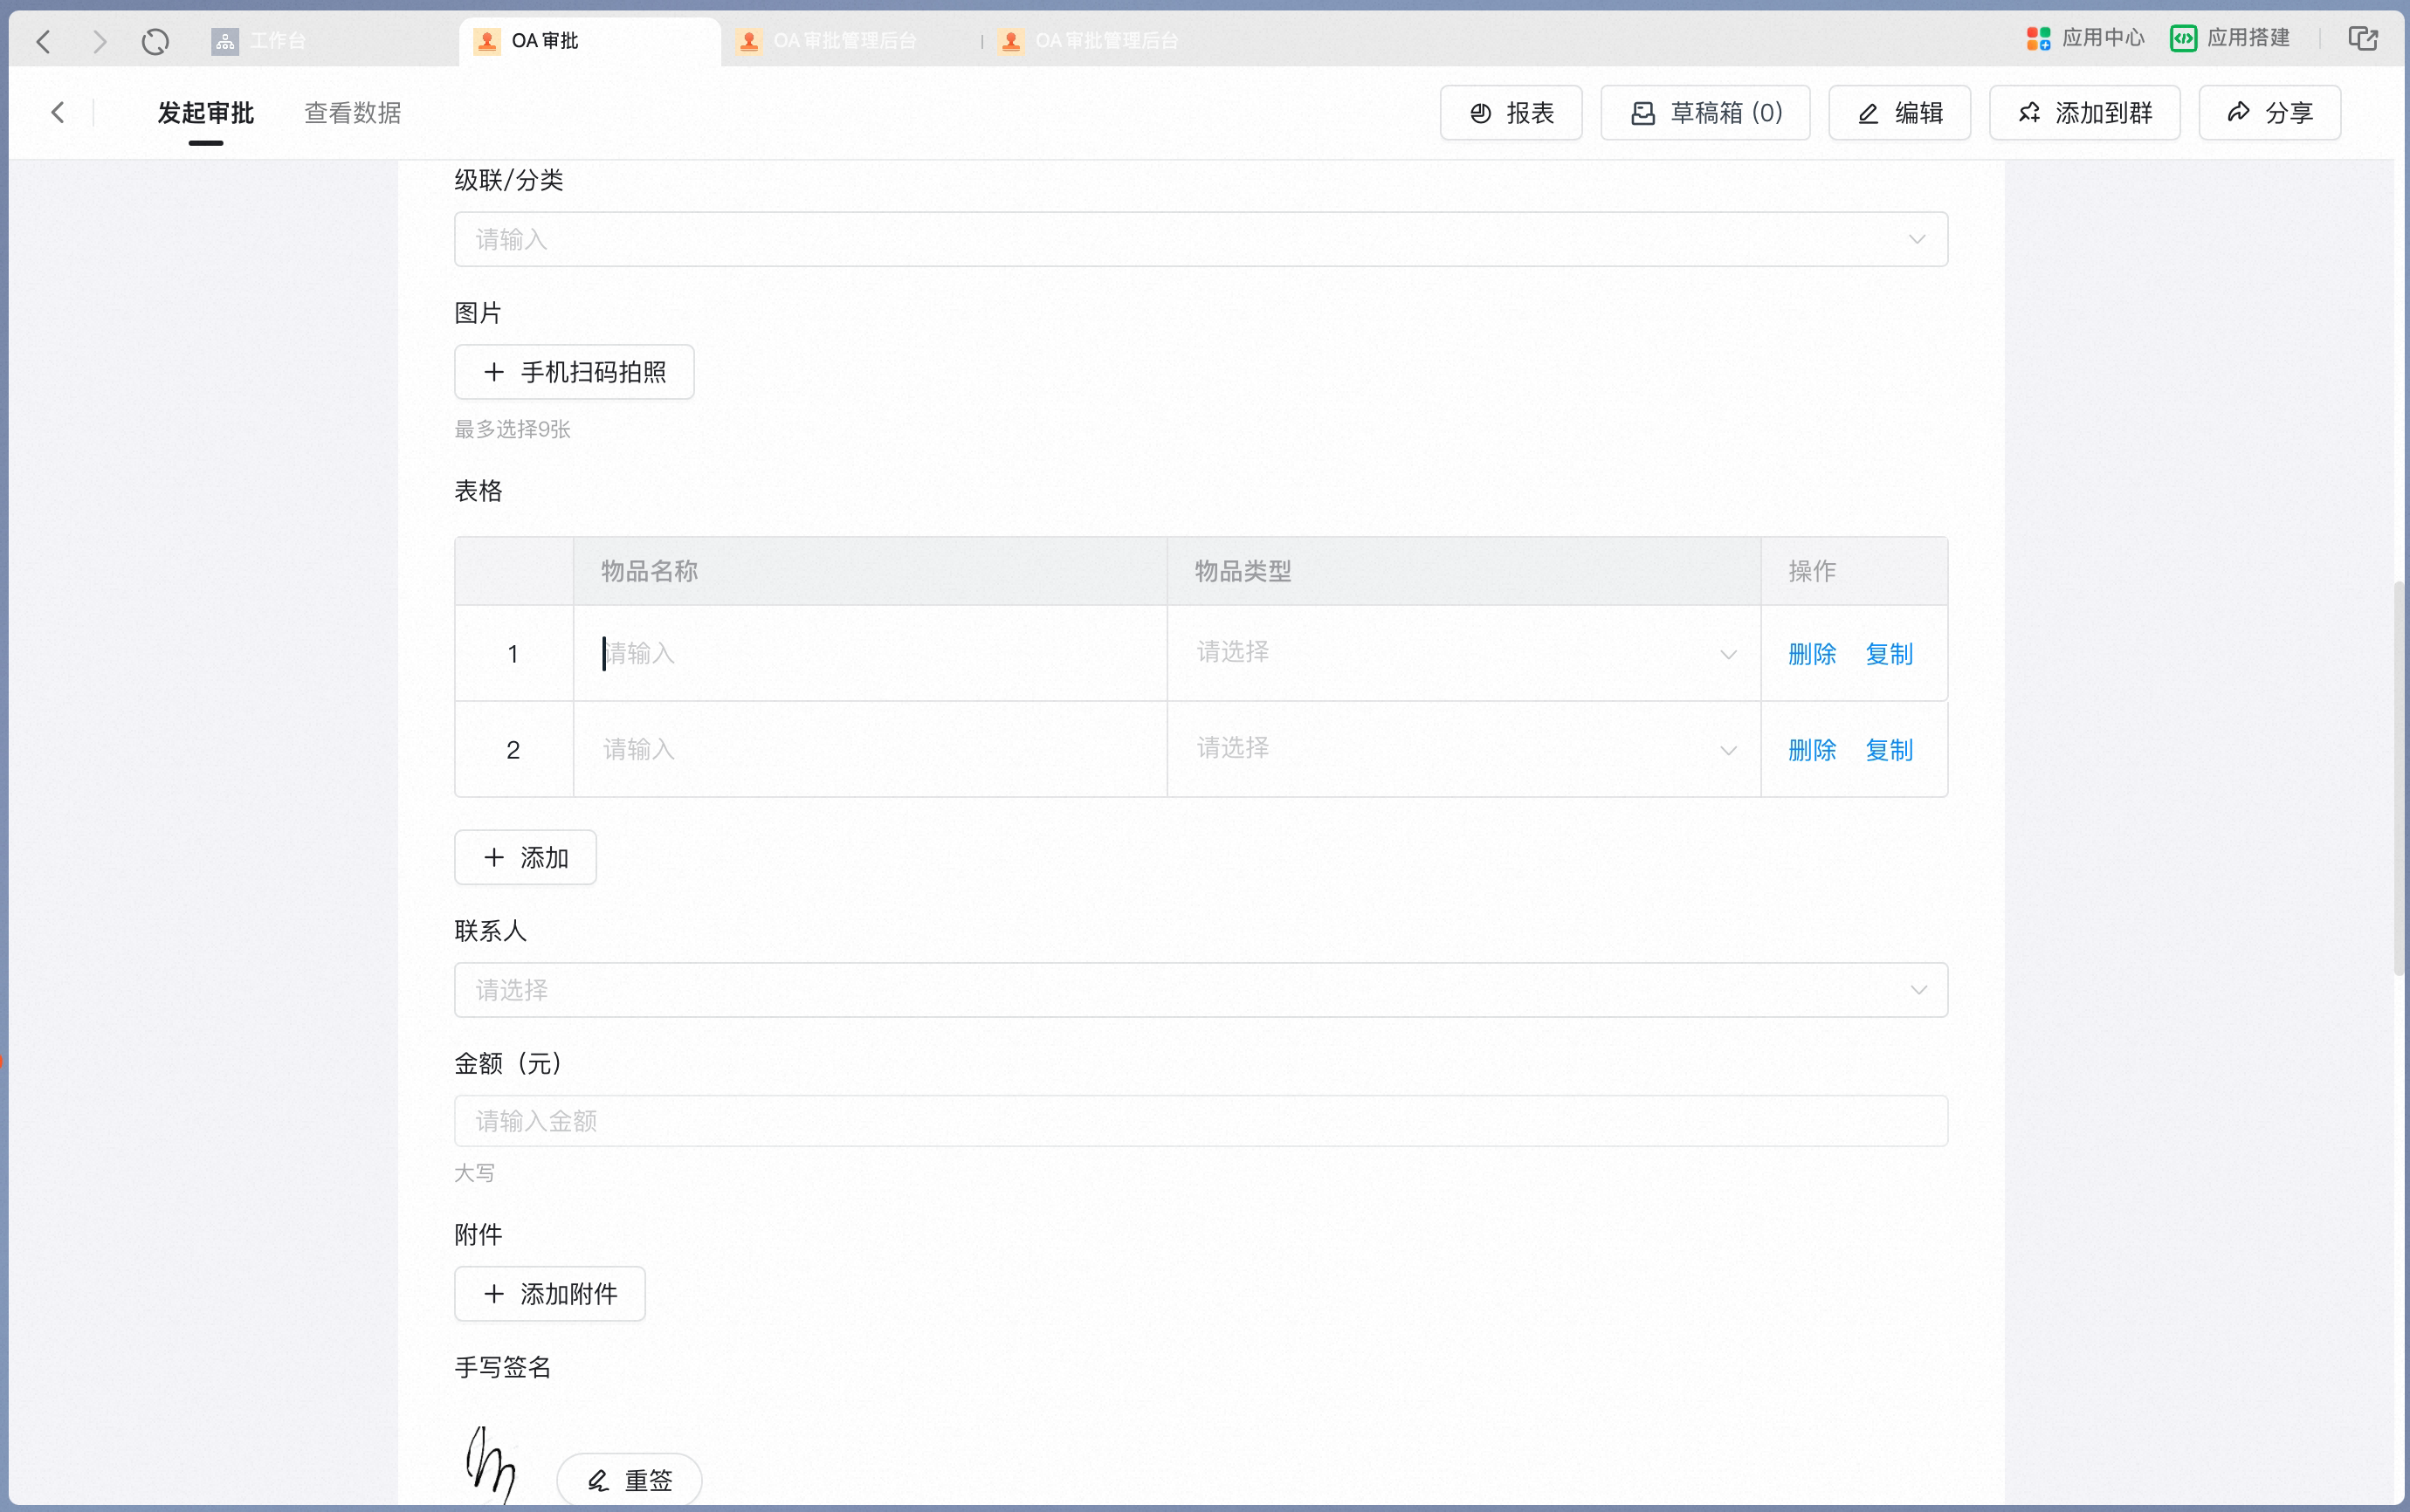
Configuration steps for Data linkage:
Turn on Data linkage in the Details attribute panel:

4. Amount
Use this control in scenarios that require Chinese uppercase Amount, or that need Linked payment. Settings interface Add an Amount control in the form designer: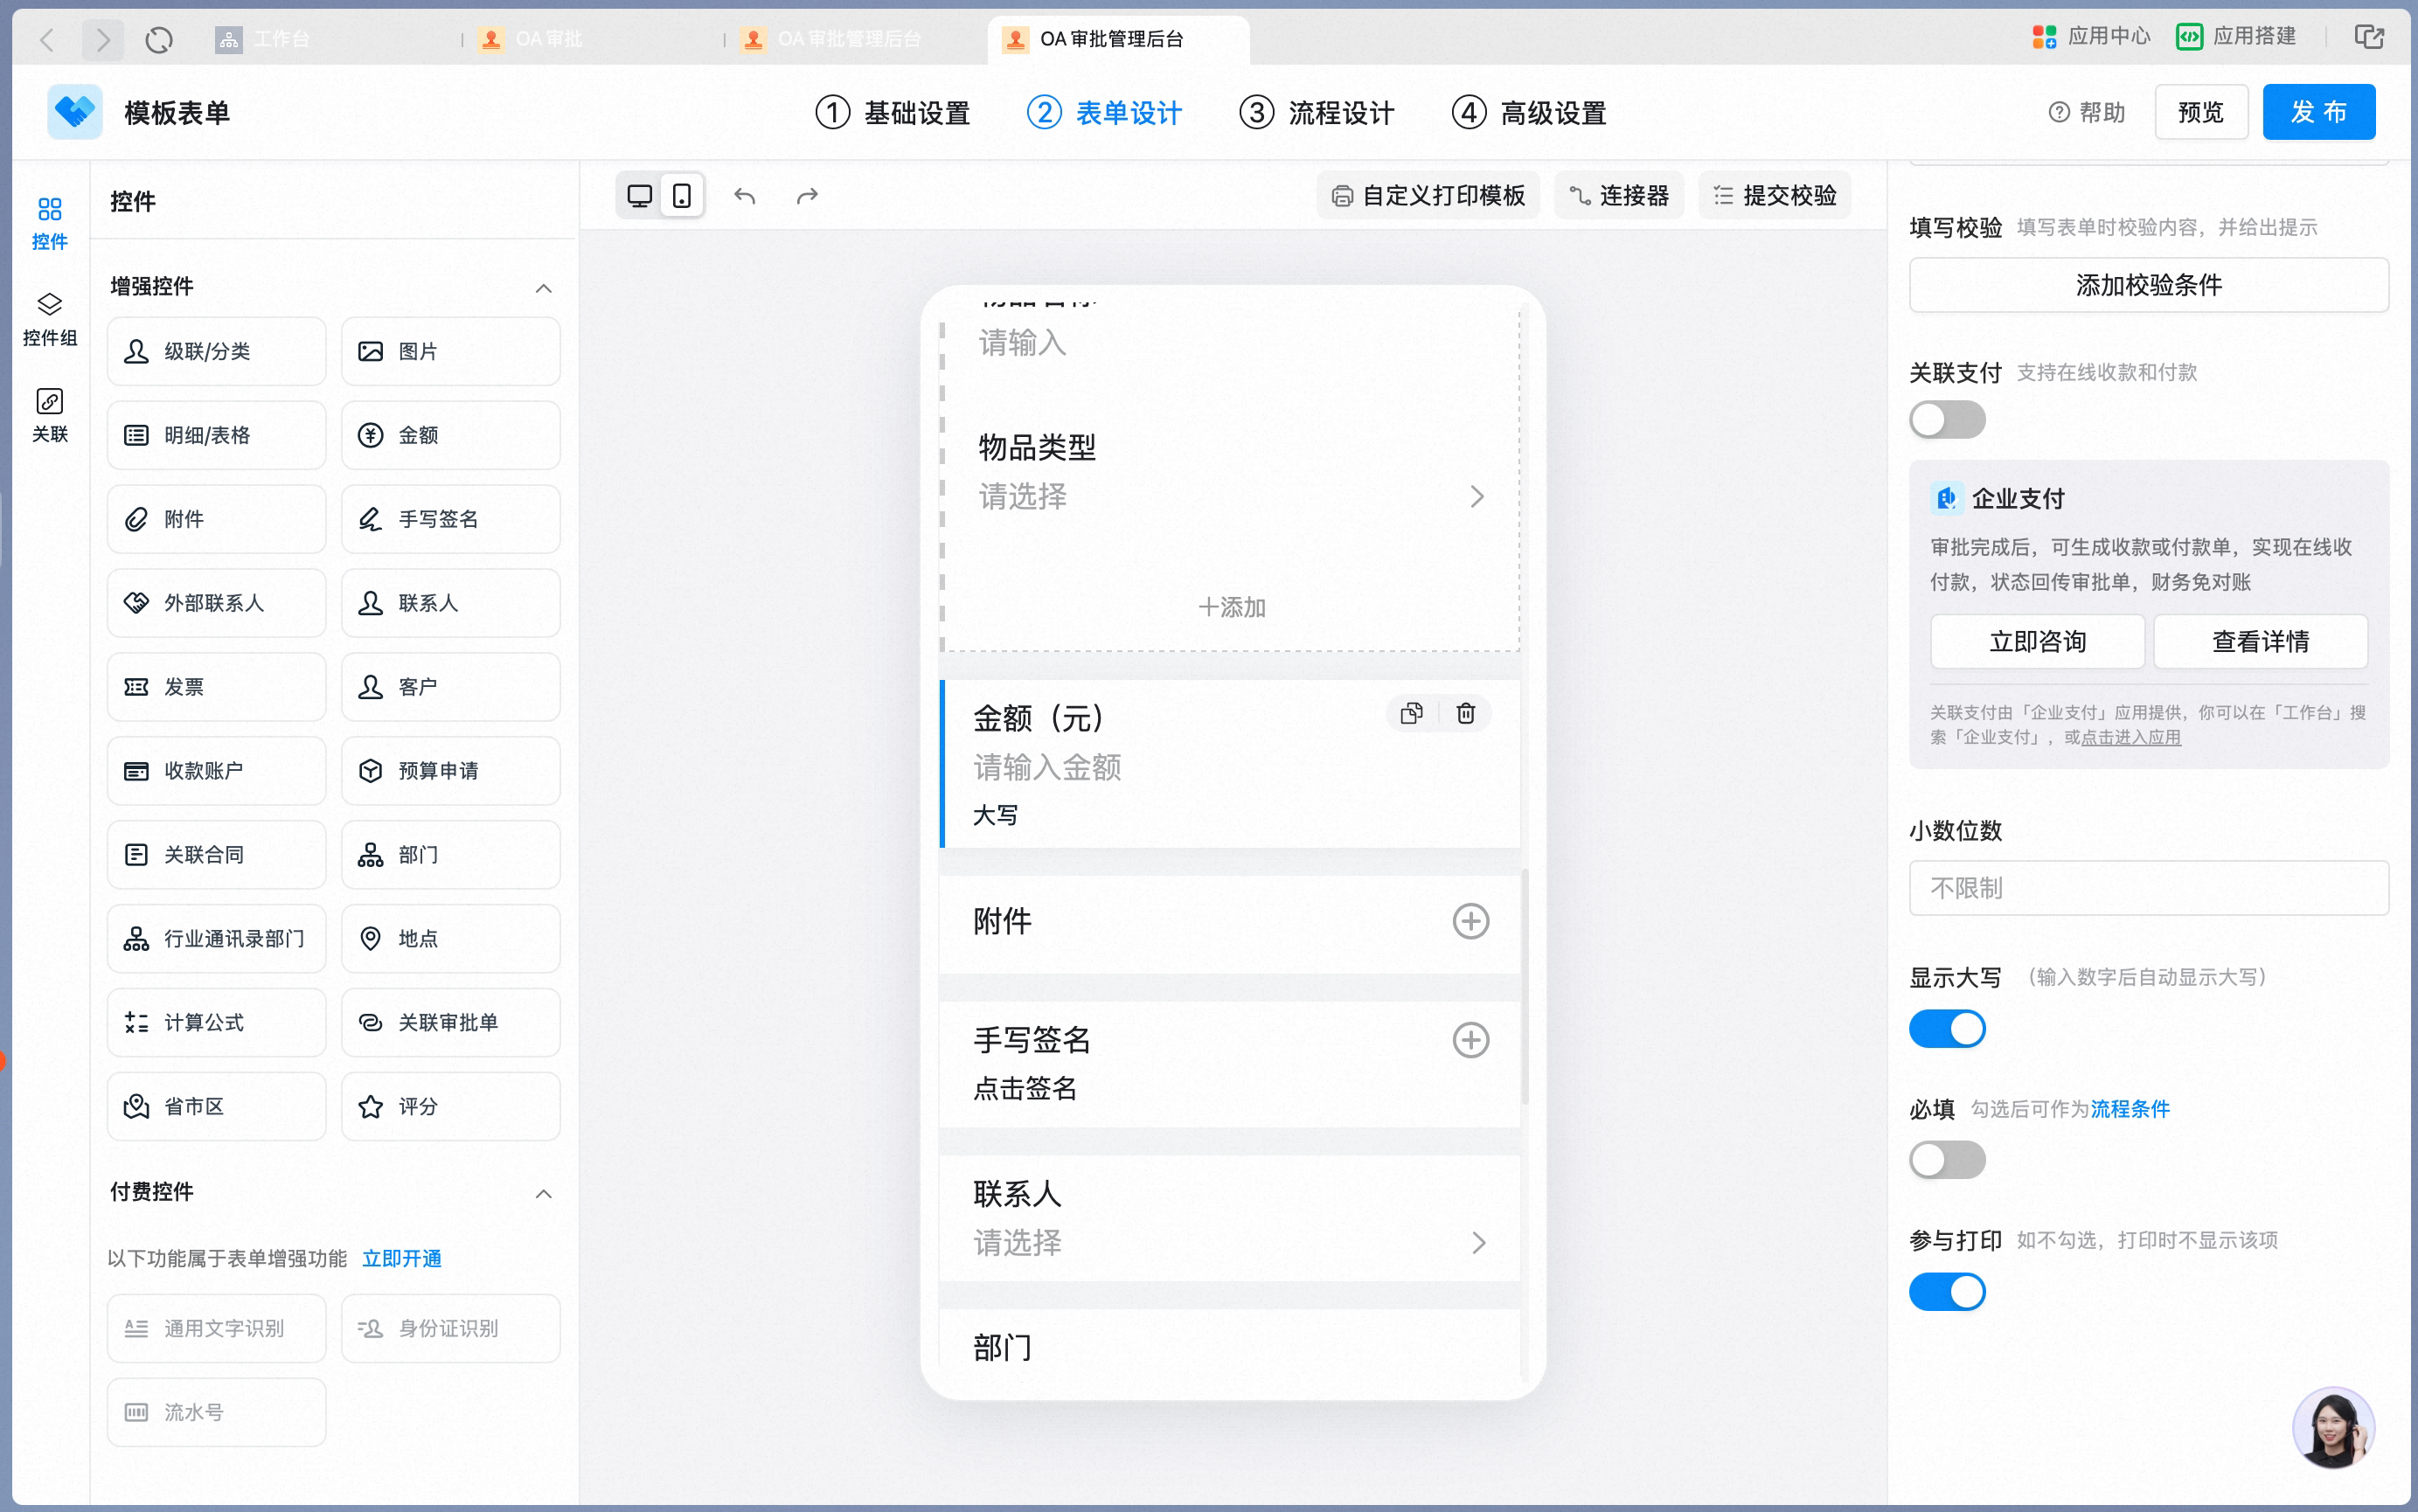
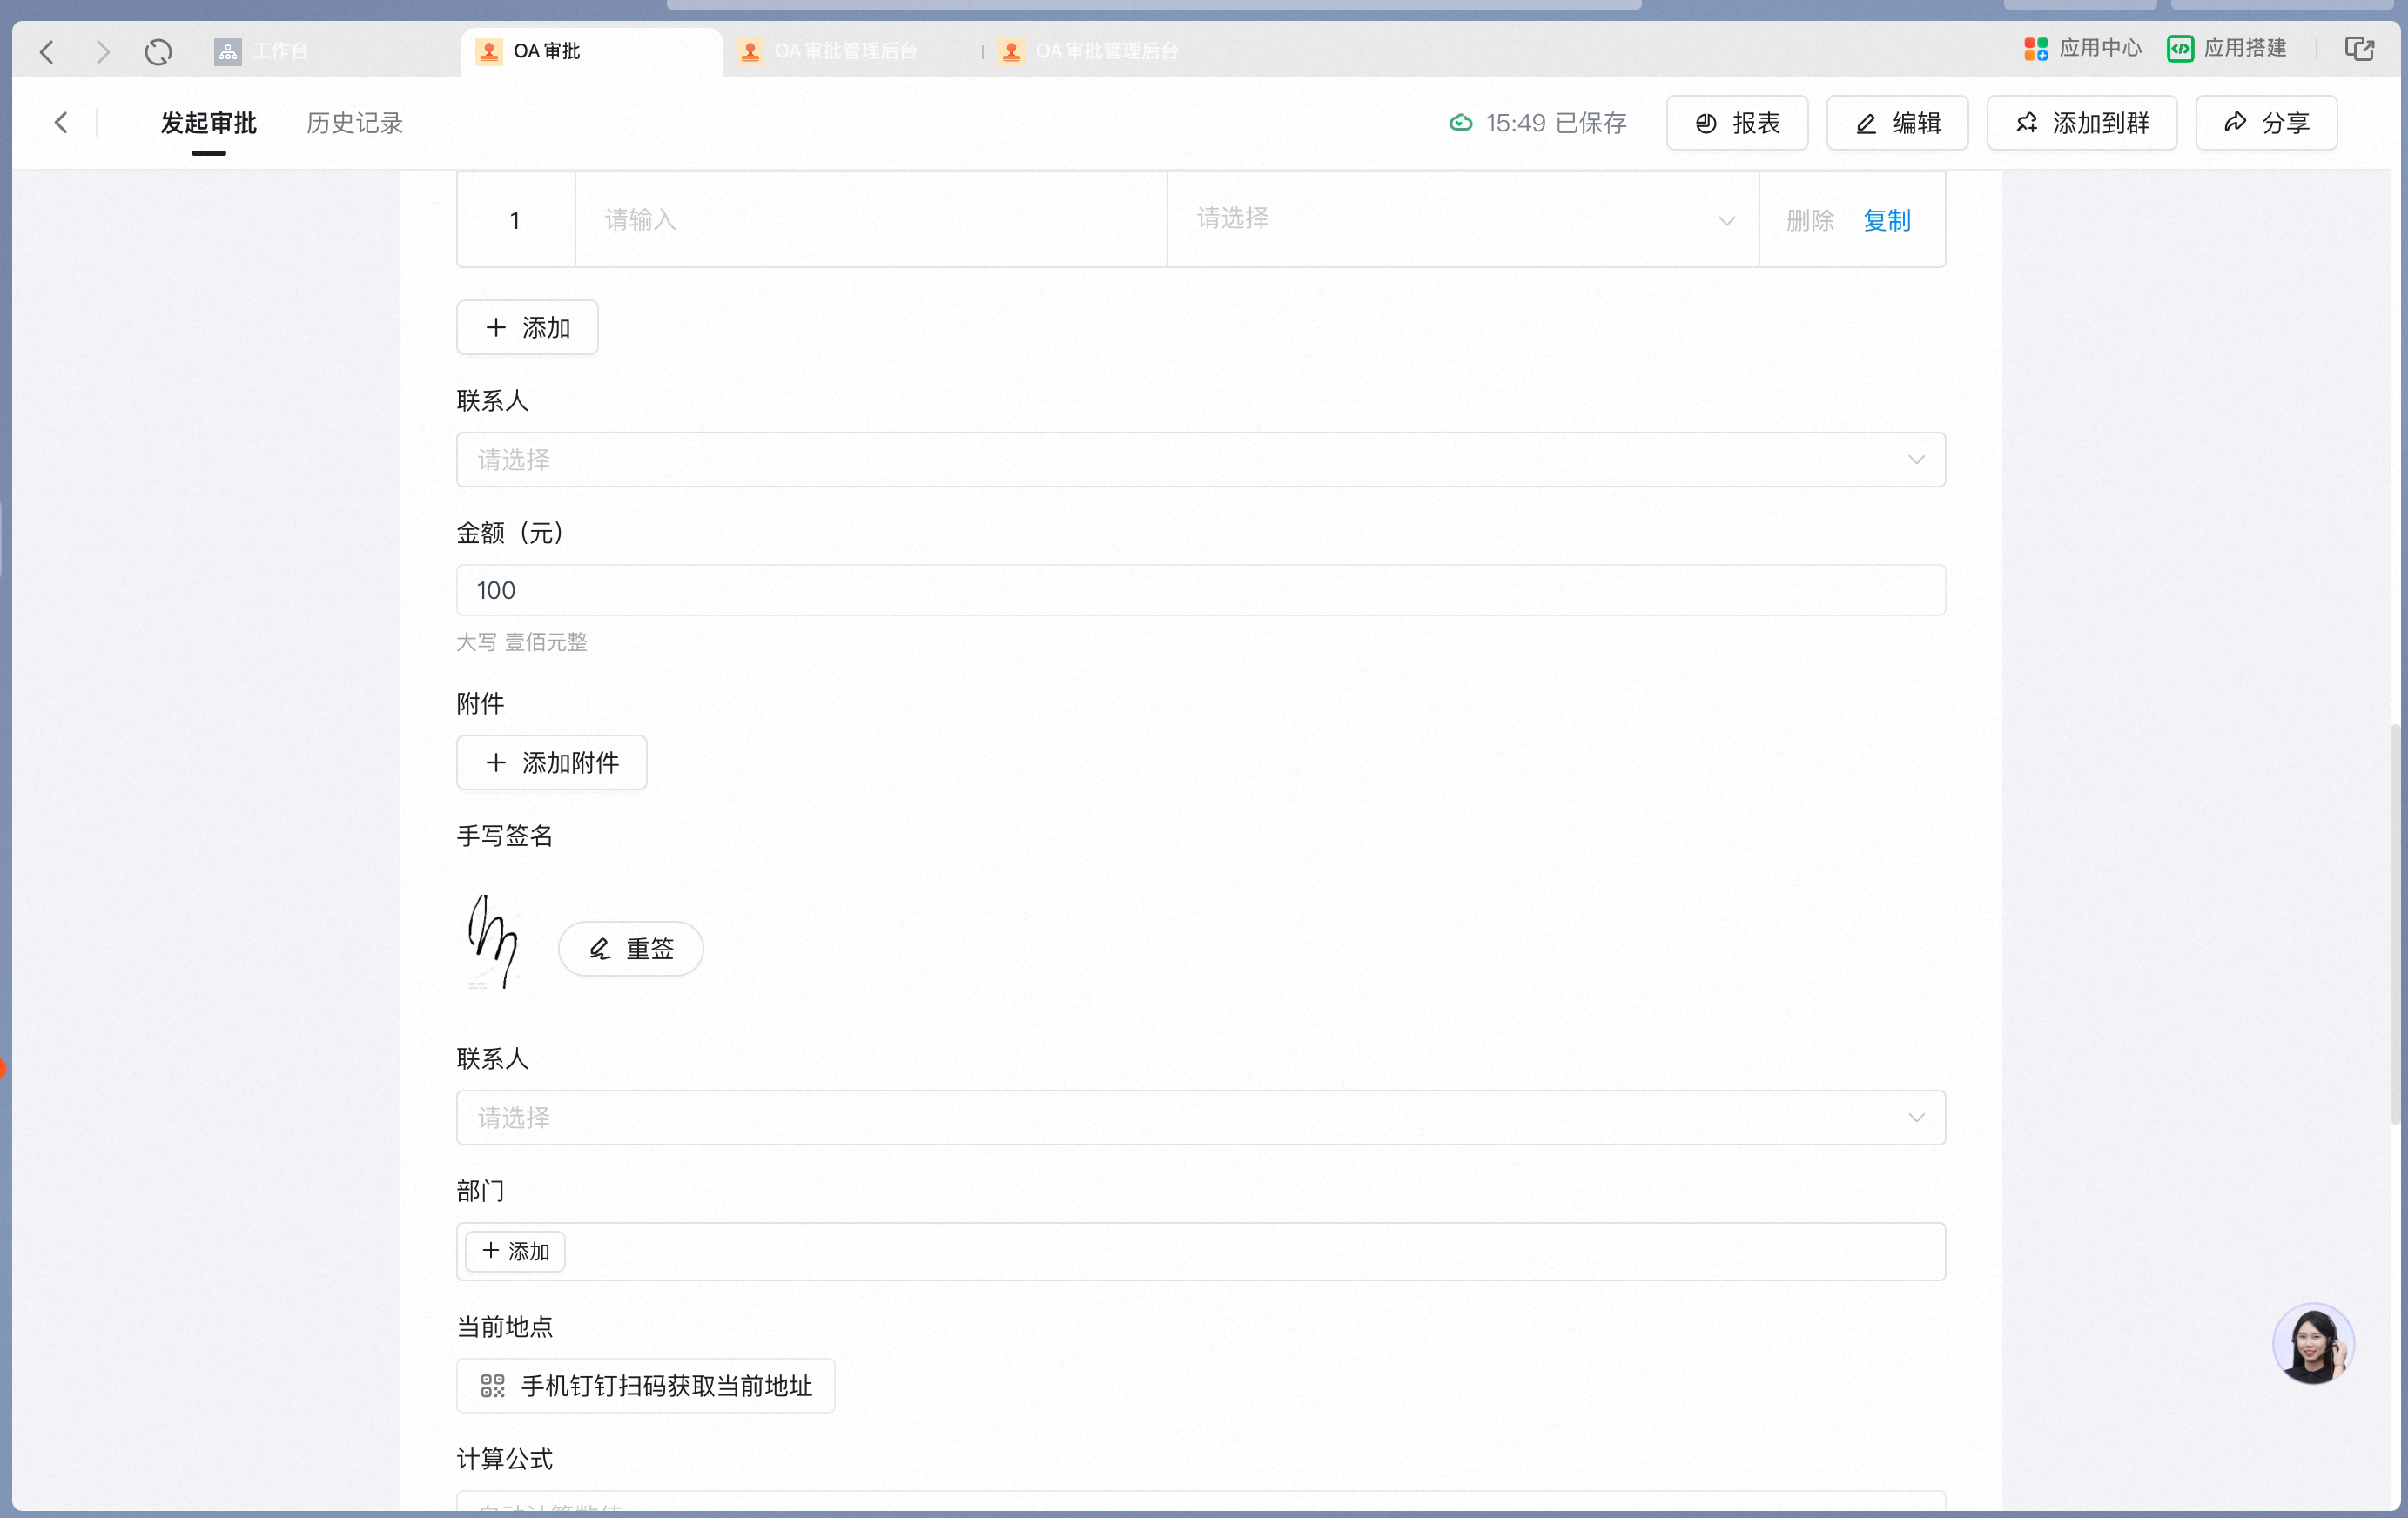
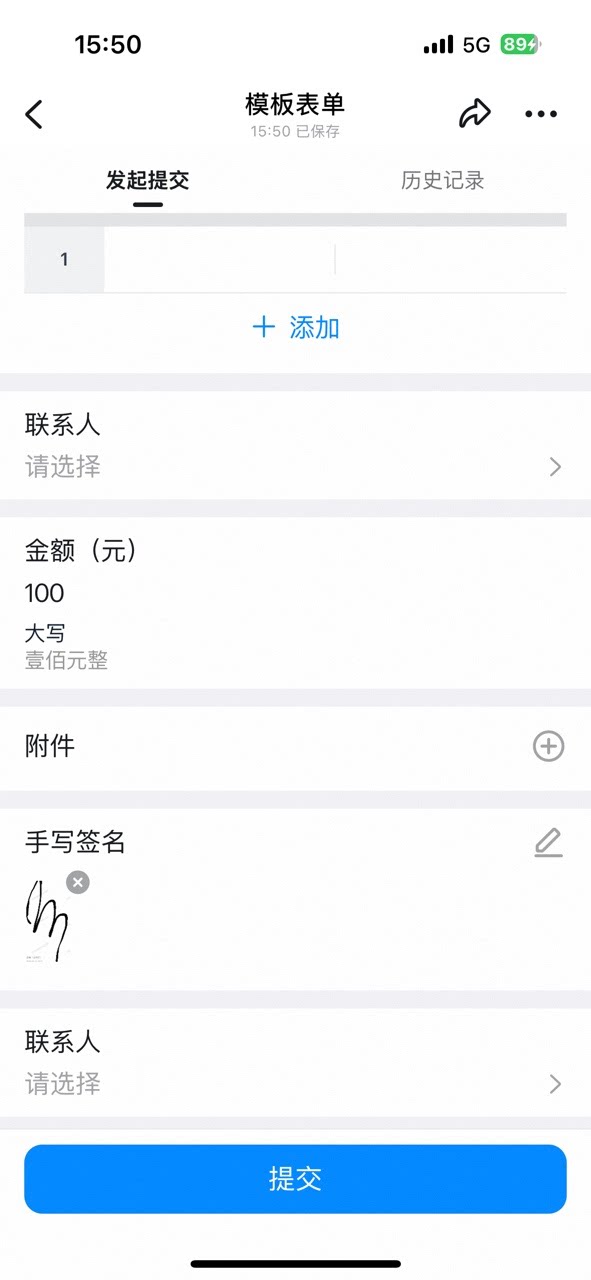
With Show uppercase On, the Amount is automatically converted to Chinese uppercase:

5. Attachment
Use this control to Upload File information. It supports previewing common Text formats such as docx, doc, and pdf, as well as Video-format files. For example, in a contract scenario, use the Attachment control to Upload the contract file; in a procurement scenario, use it to Upload an Excel file. Settings interface Add an Attachment control in the form designer: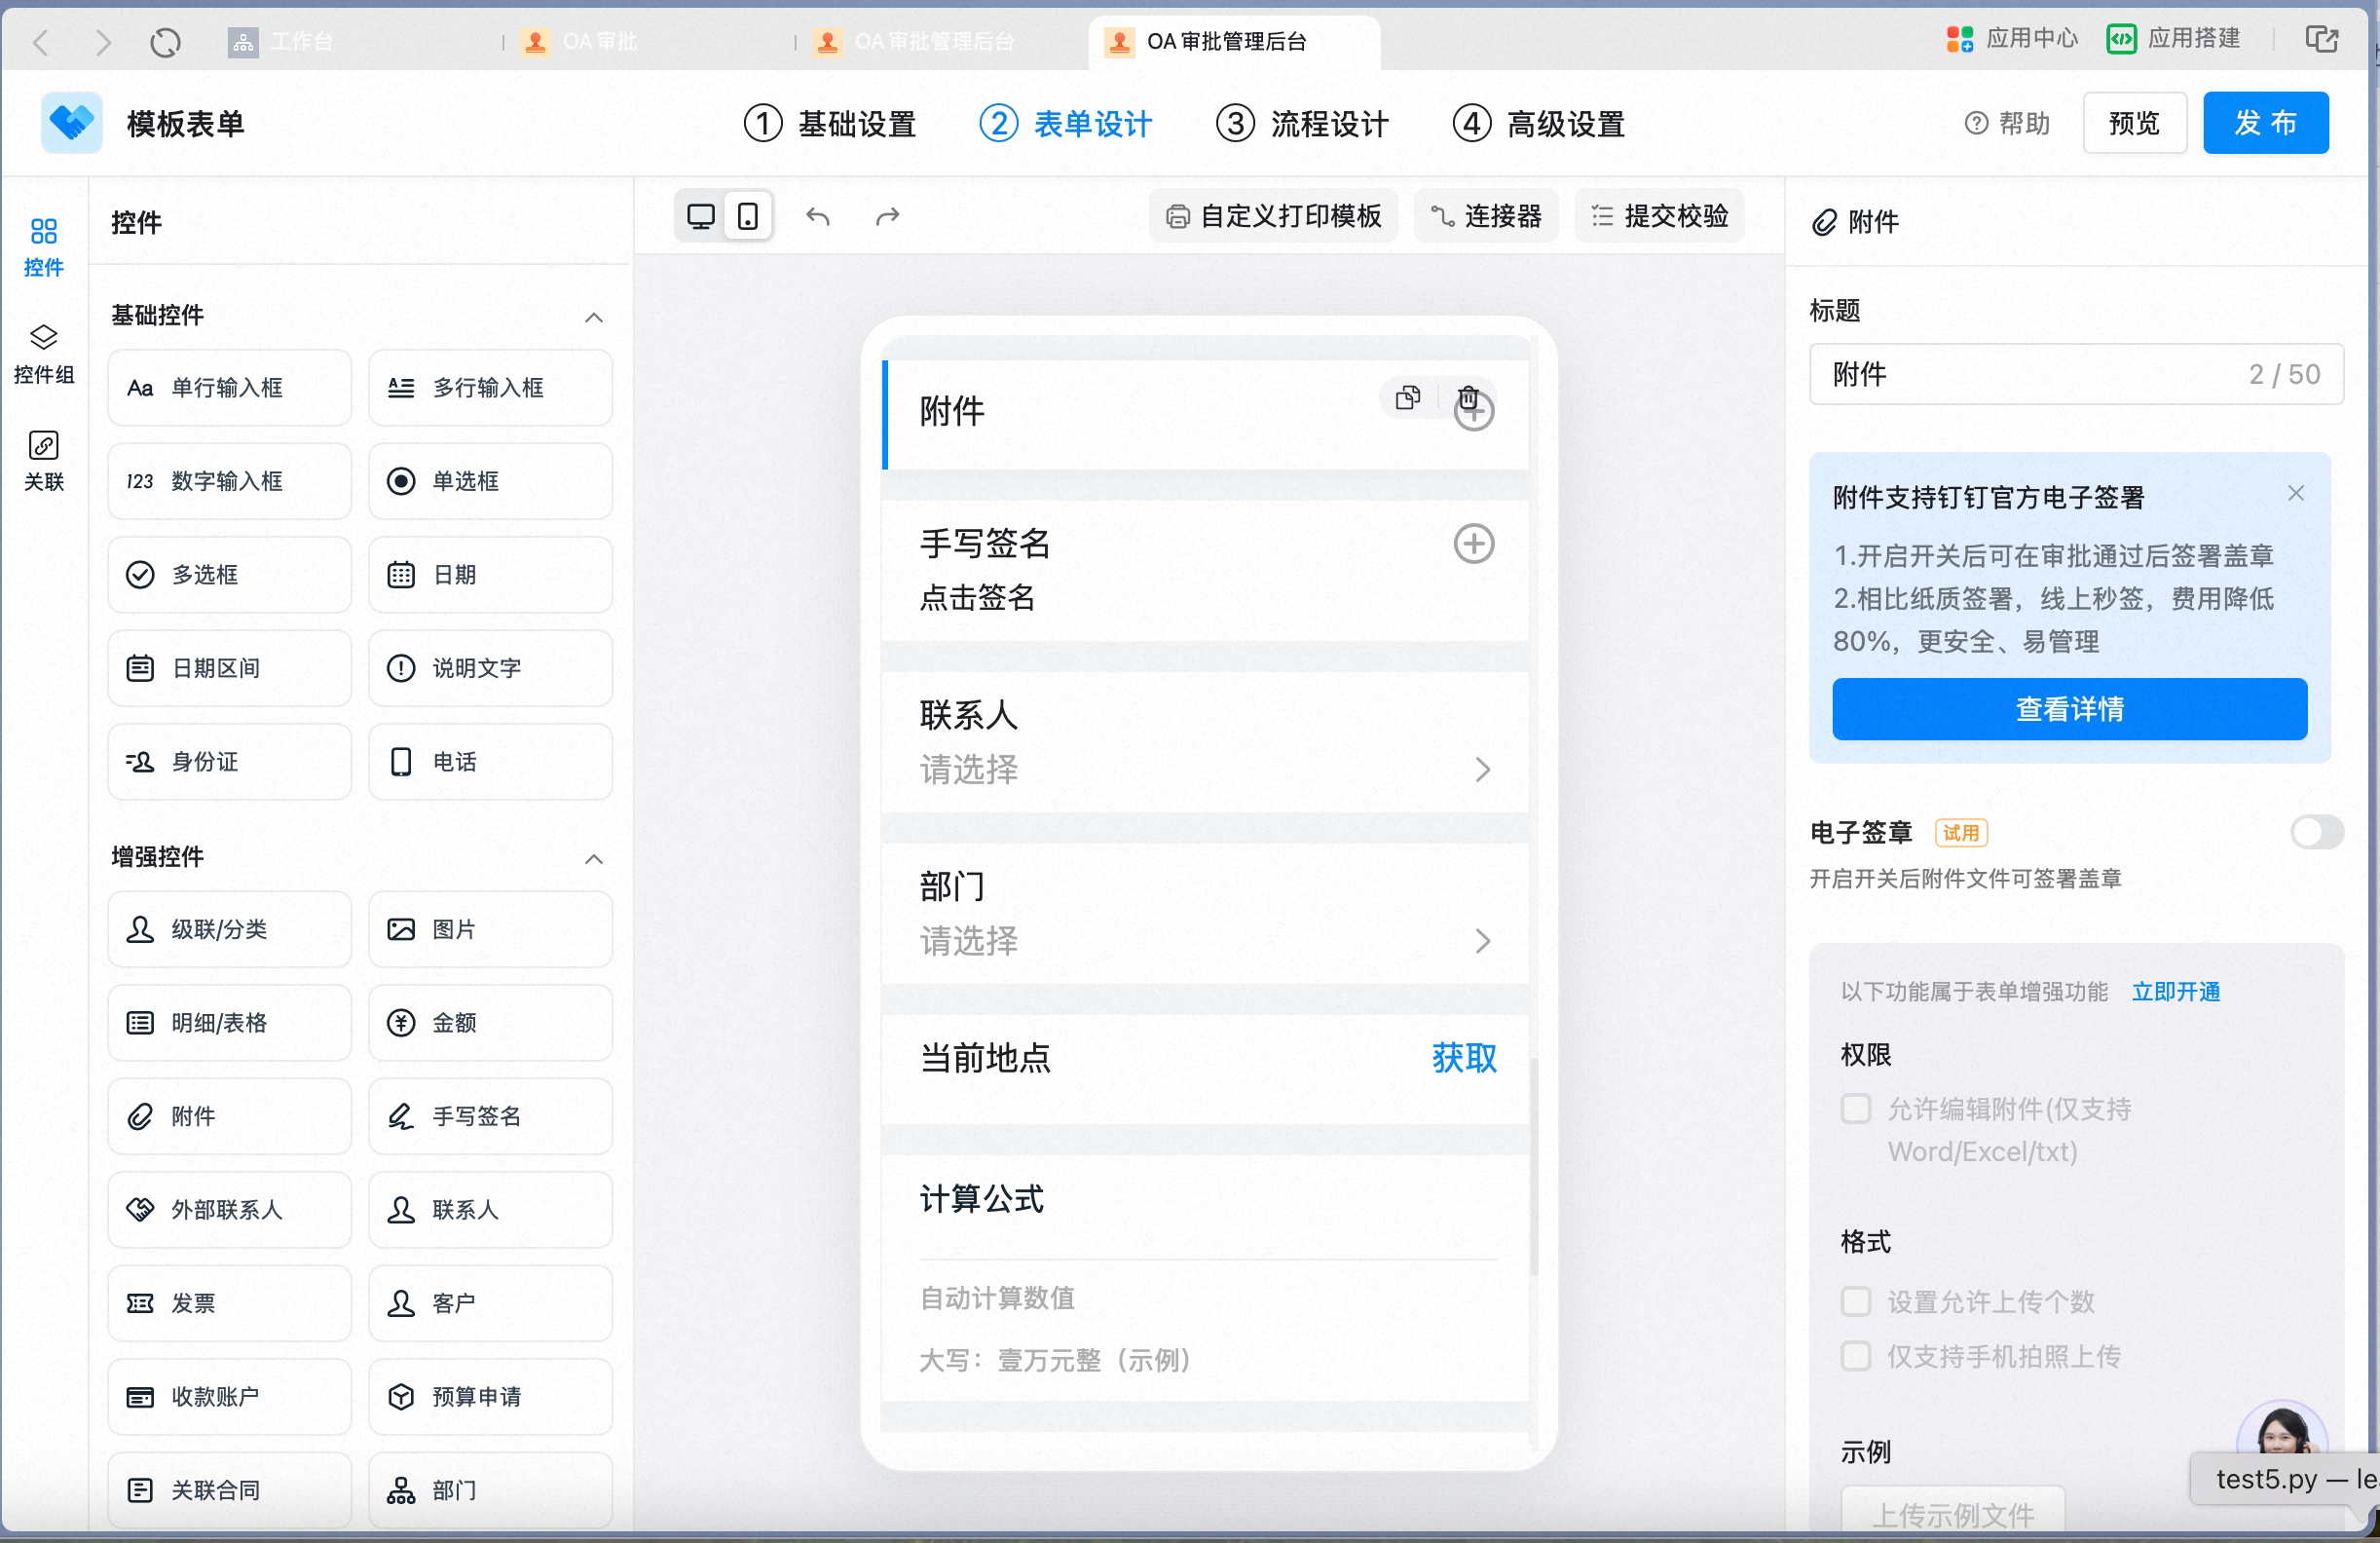
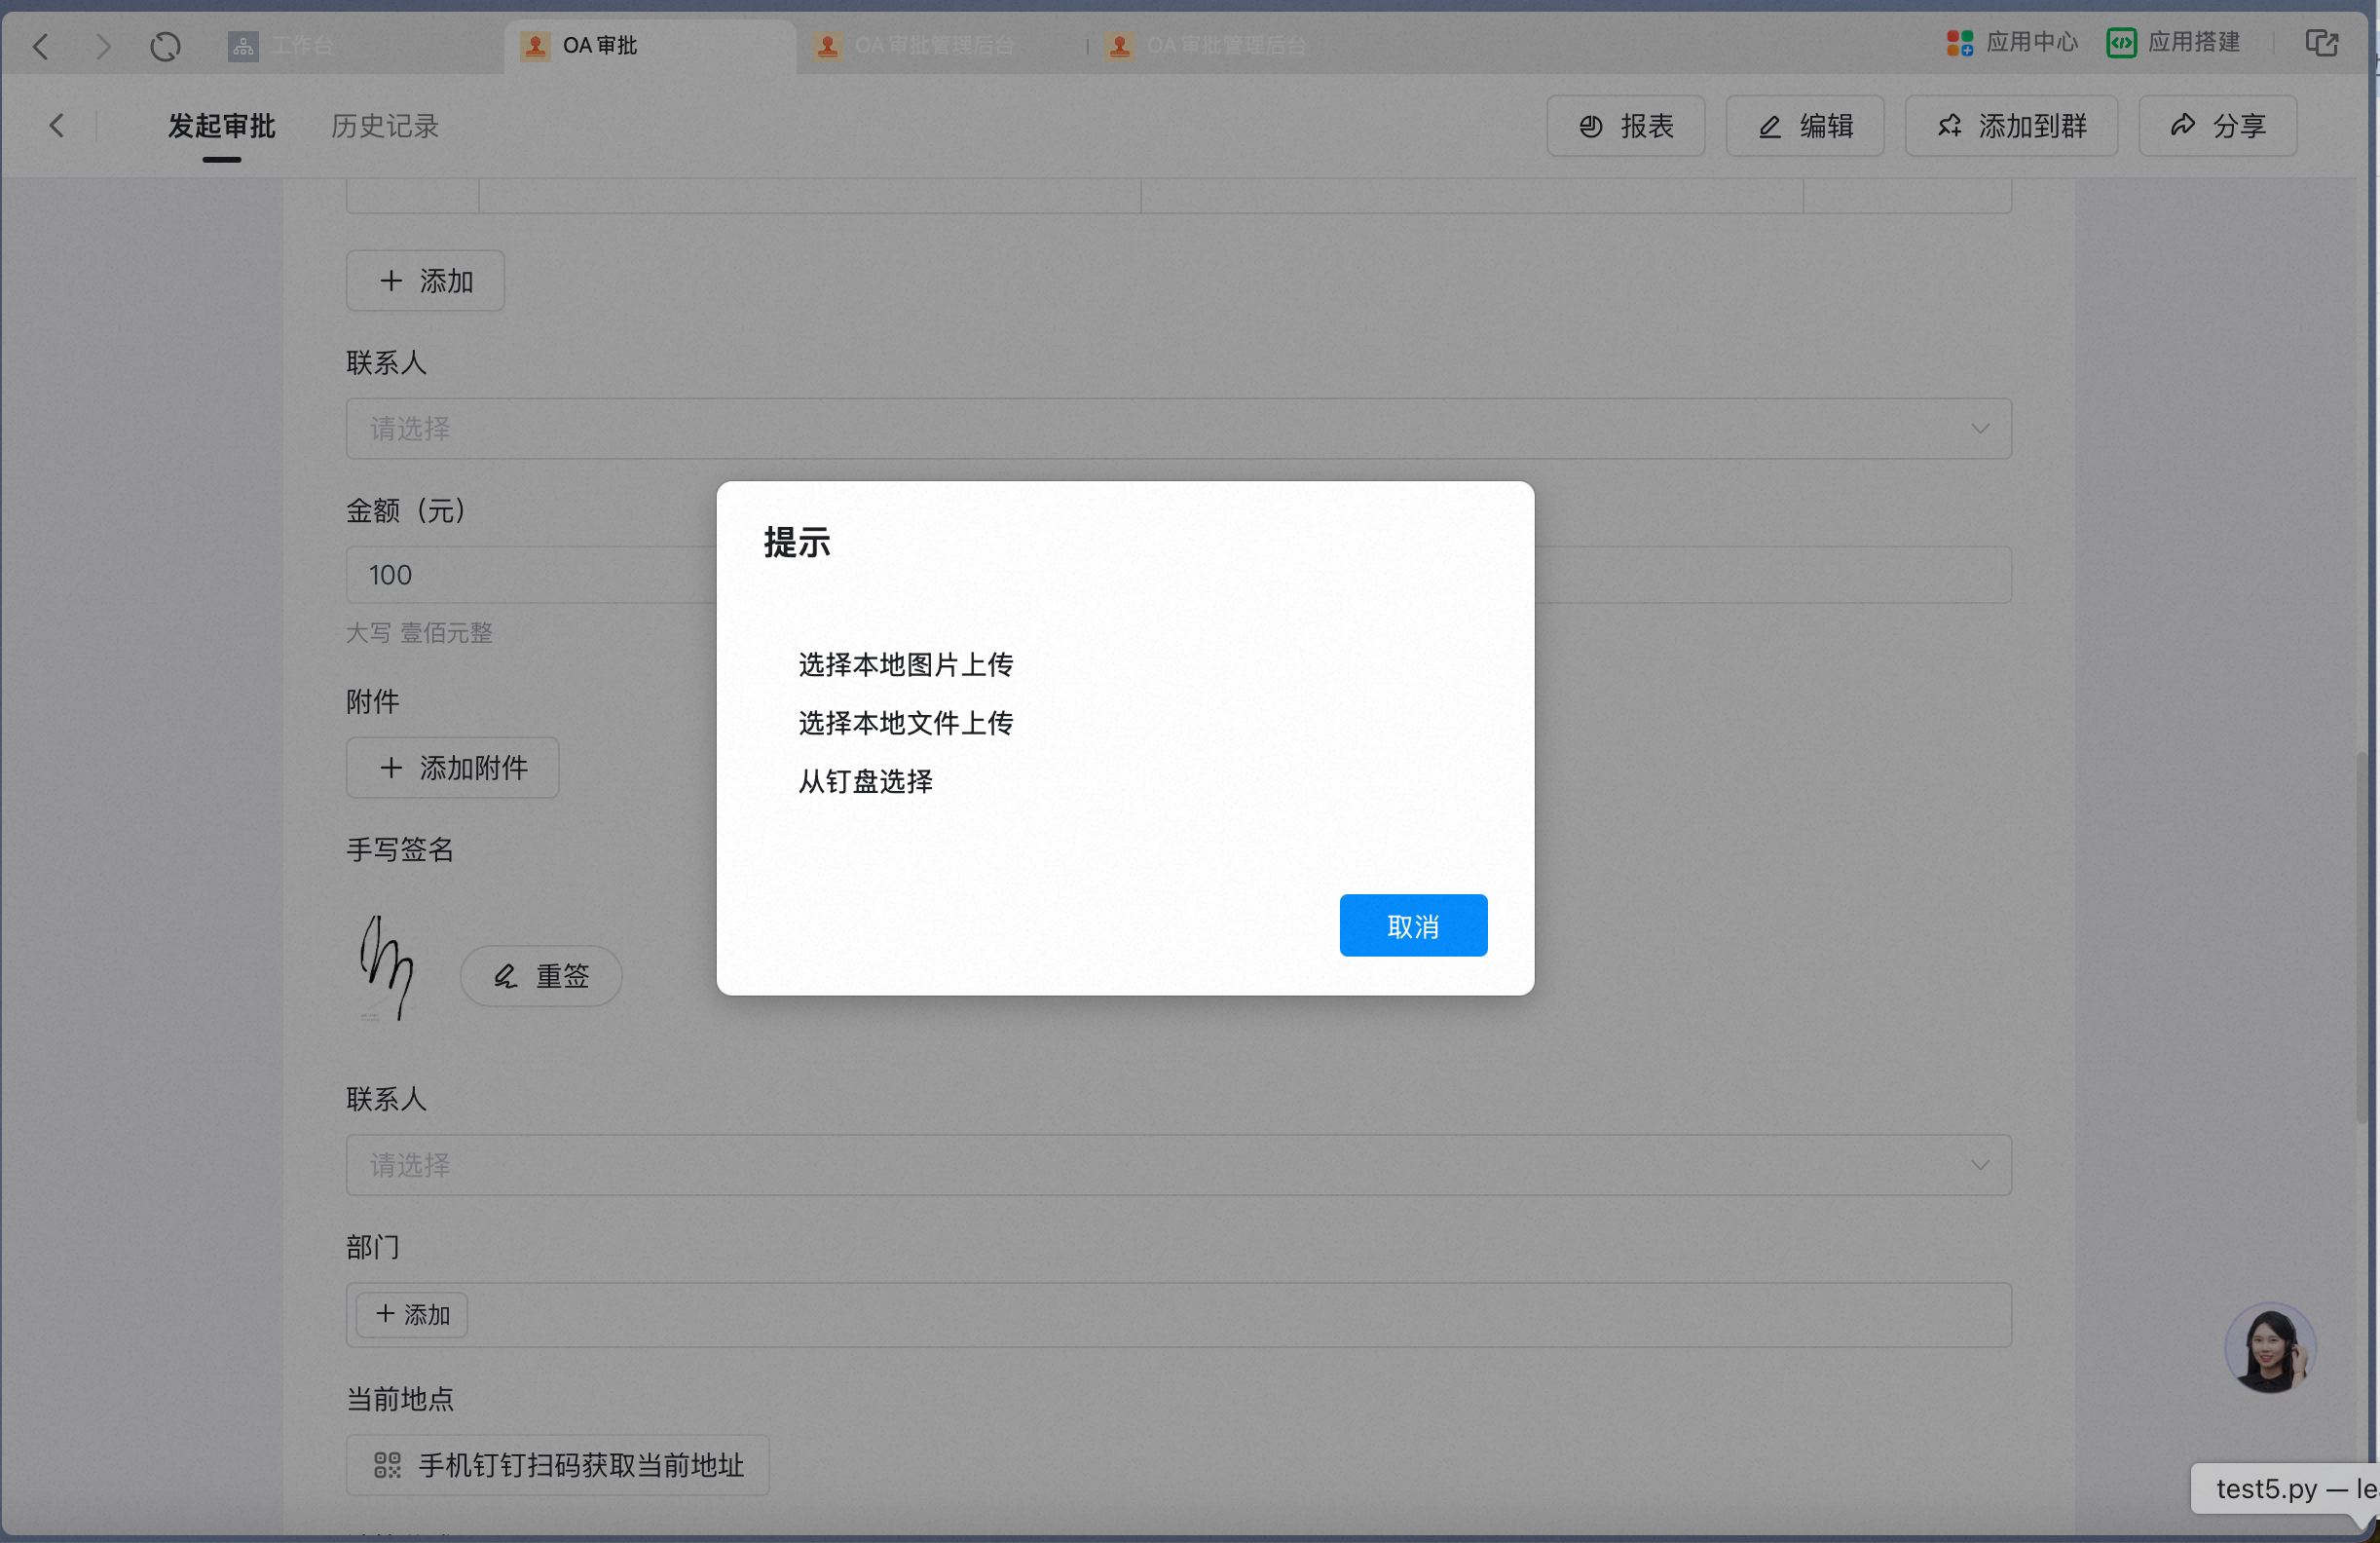
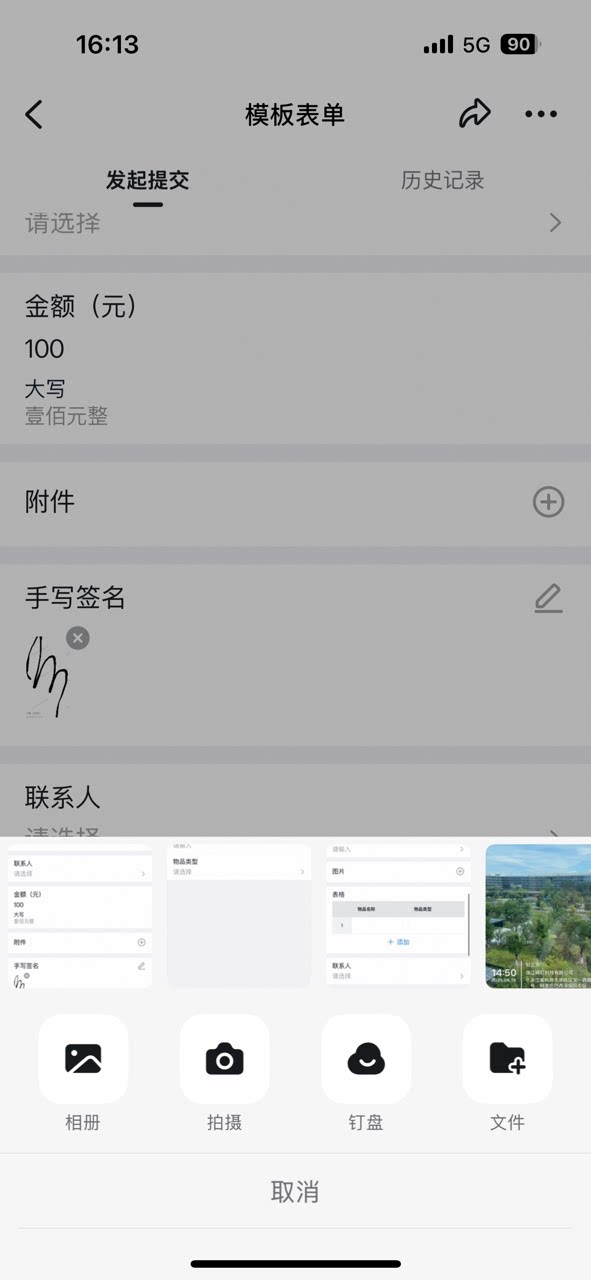
Data constraints and Search
6. Signature
This control adds a Signature to the form. On Submit or on change, adding a Signature creates a confirmation step to ensure formality — for scenarios such as letters of commitment. Settings interface Add a Signature control in the form designer: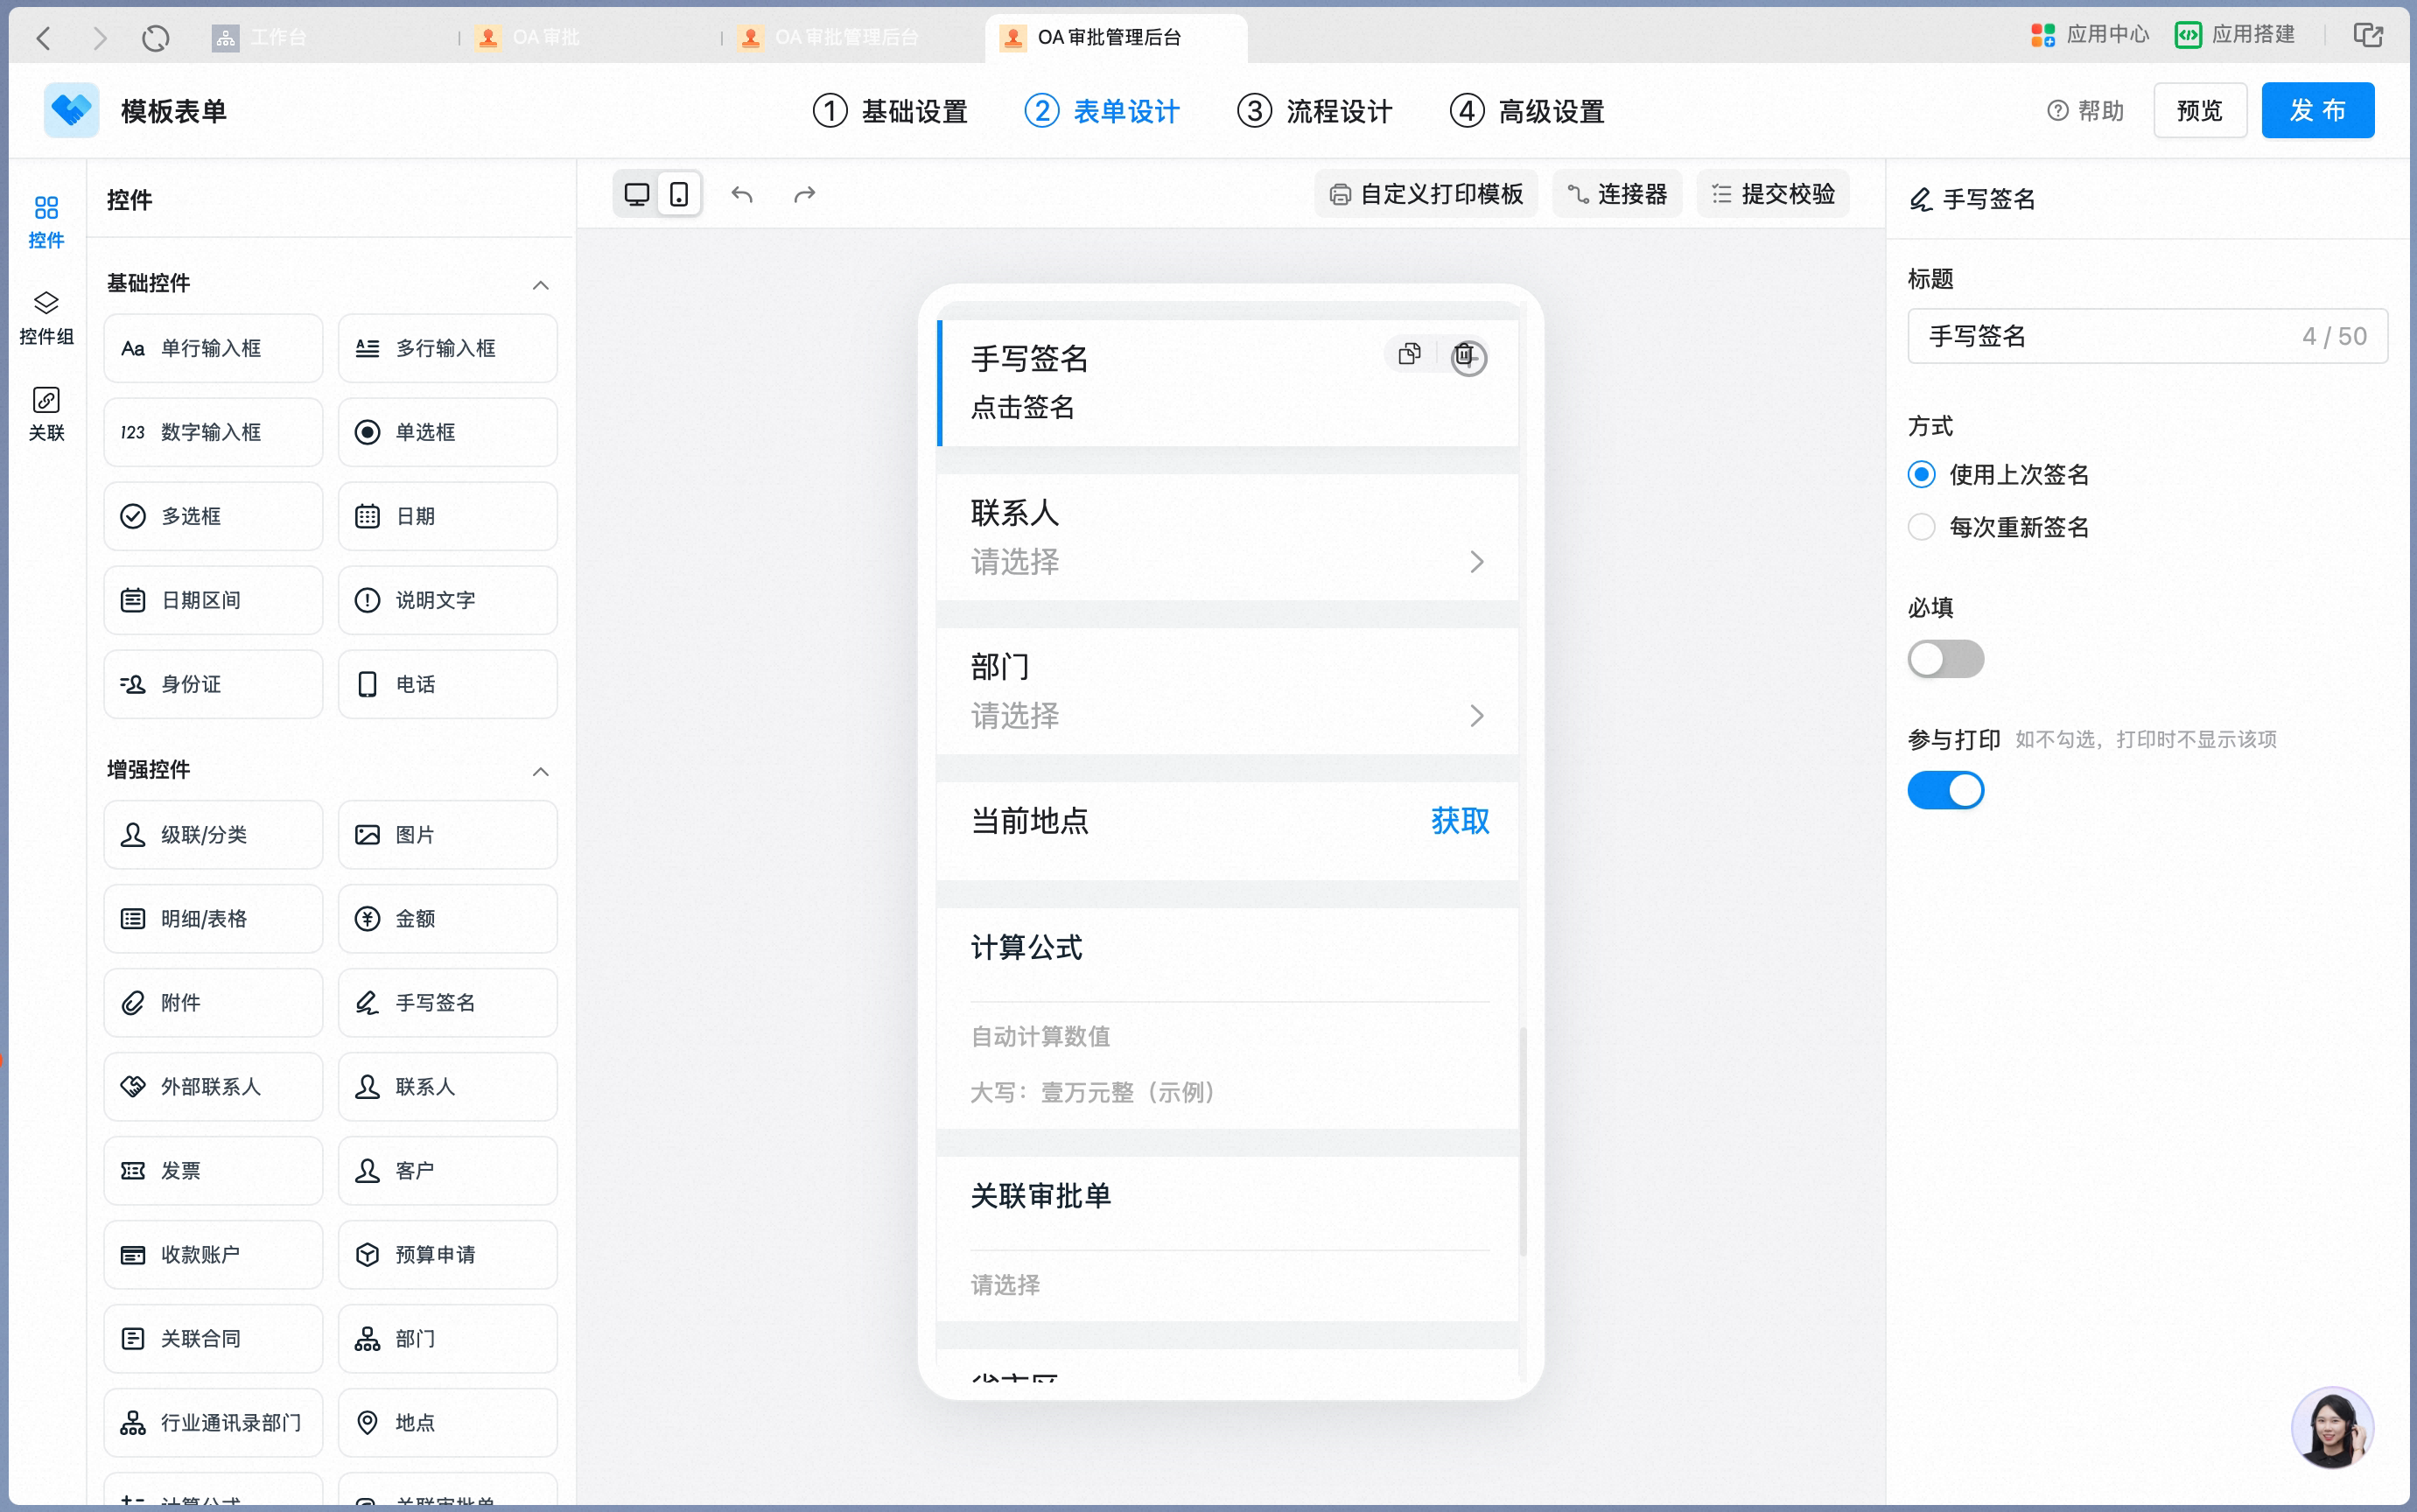
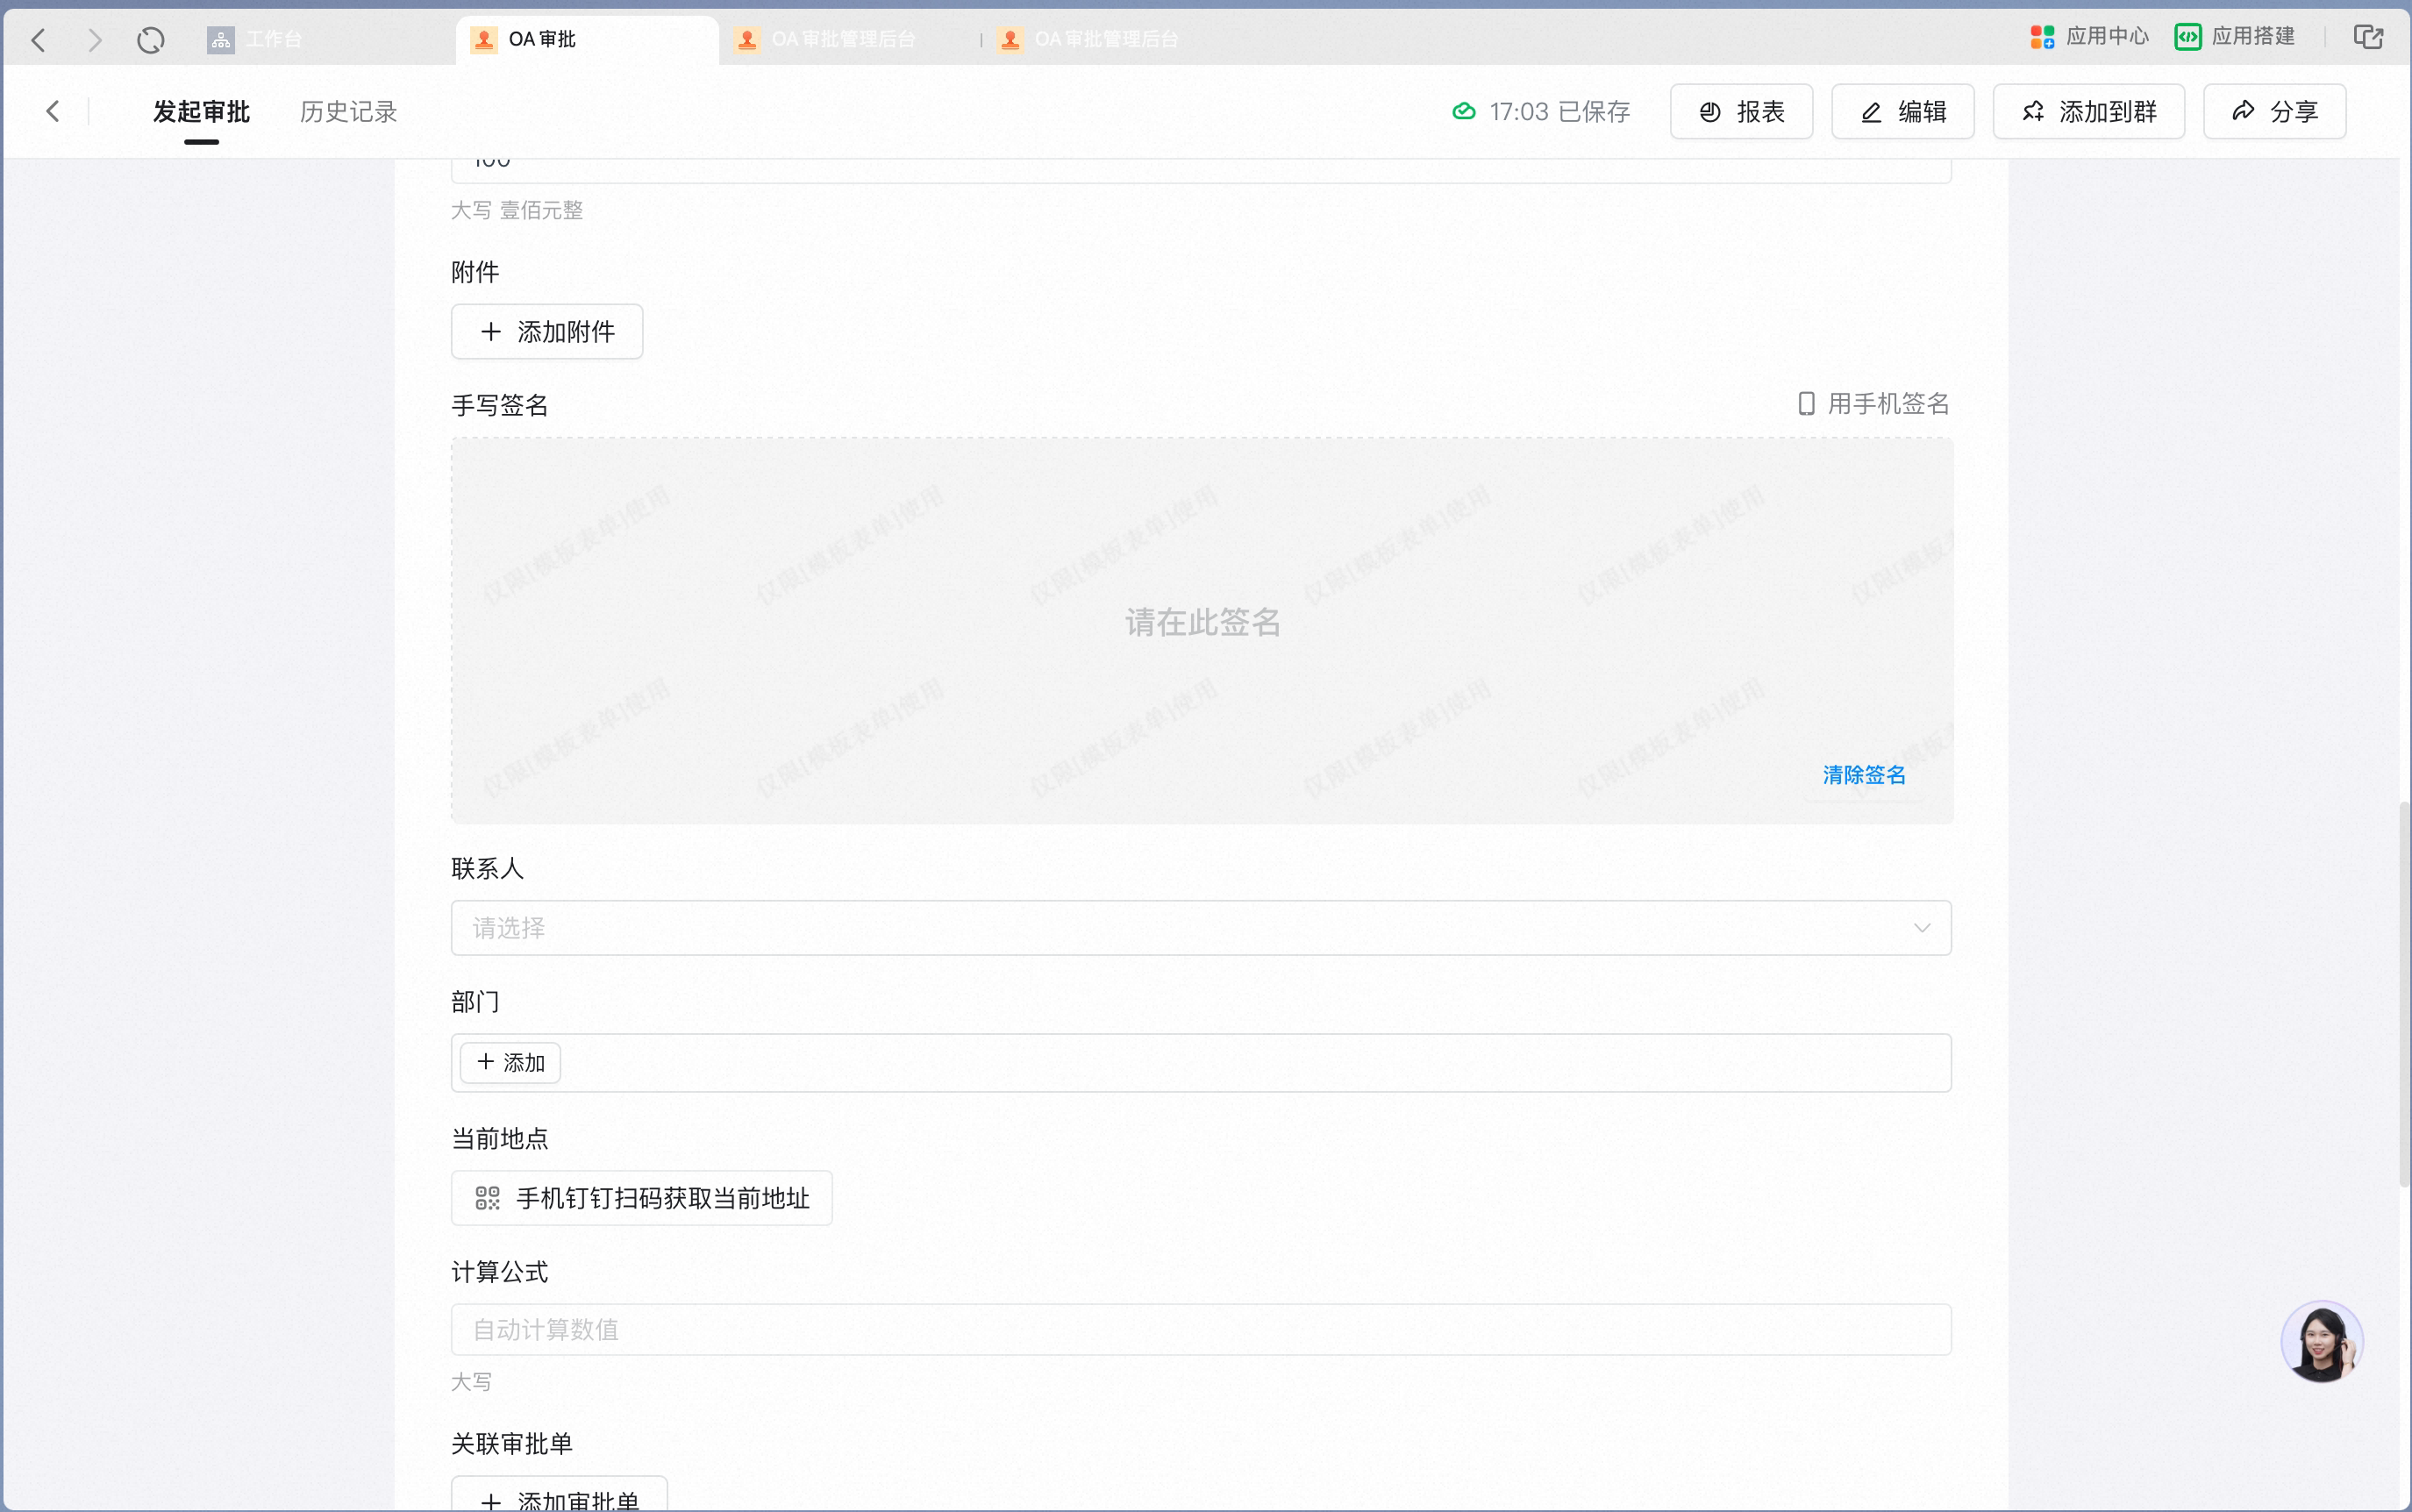
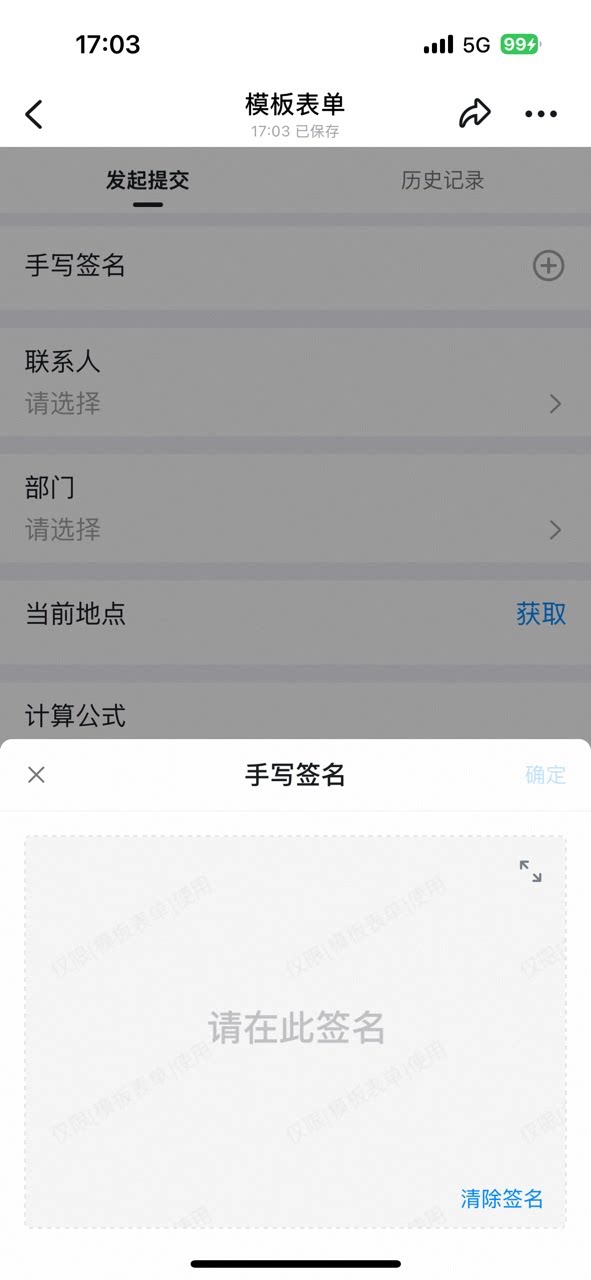
Data constraints and Search
7. Contact
Use this control to select a User from the Contacts. Use the Contact control when the owner of a specific item needs to be shown; a Contact on a form can also be set as an approver — for step-by-step instructions, see How to set a form-internal Contact as the approver. Settings interface Add a Contact control in the form designer: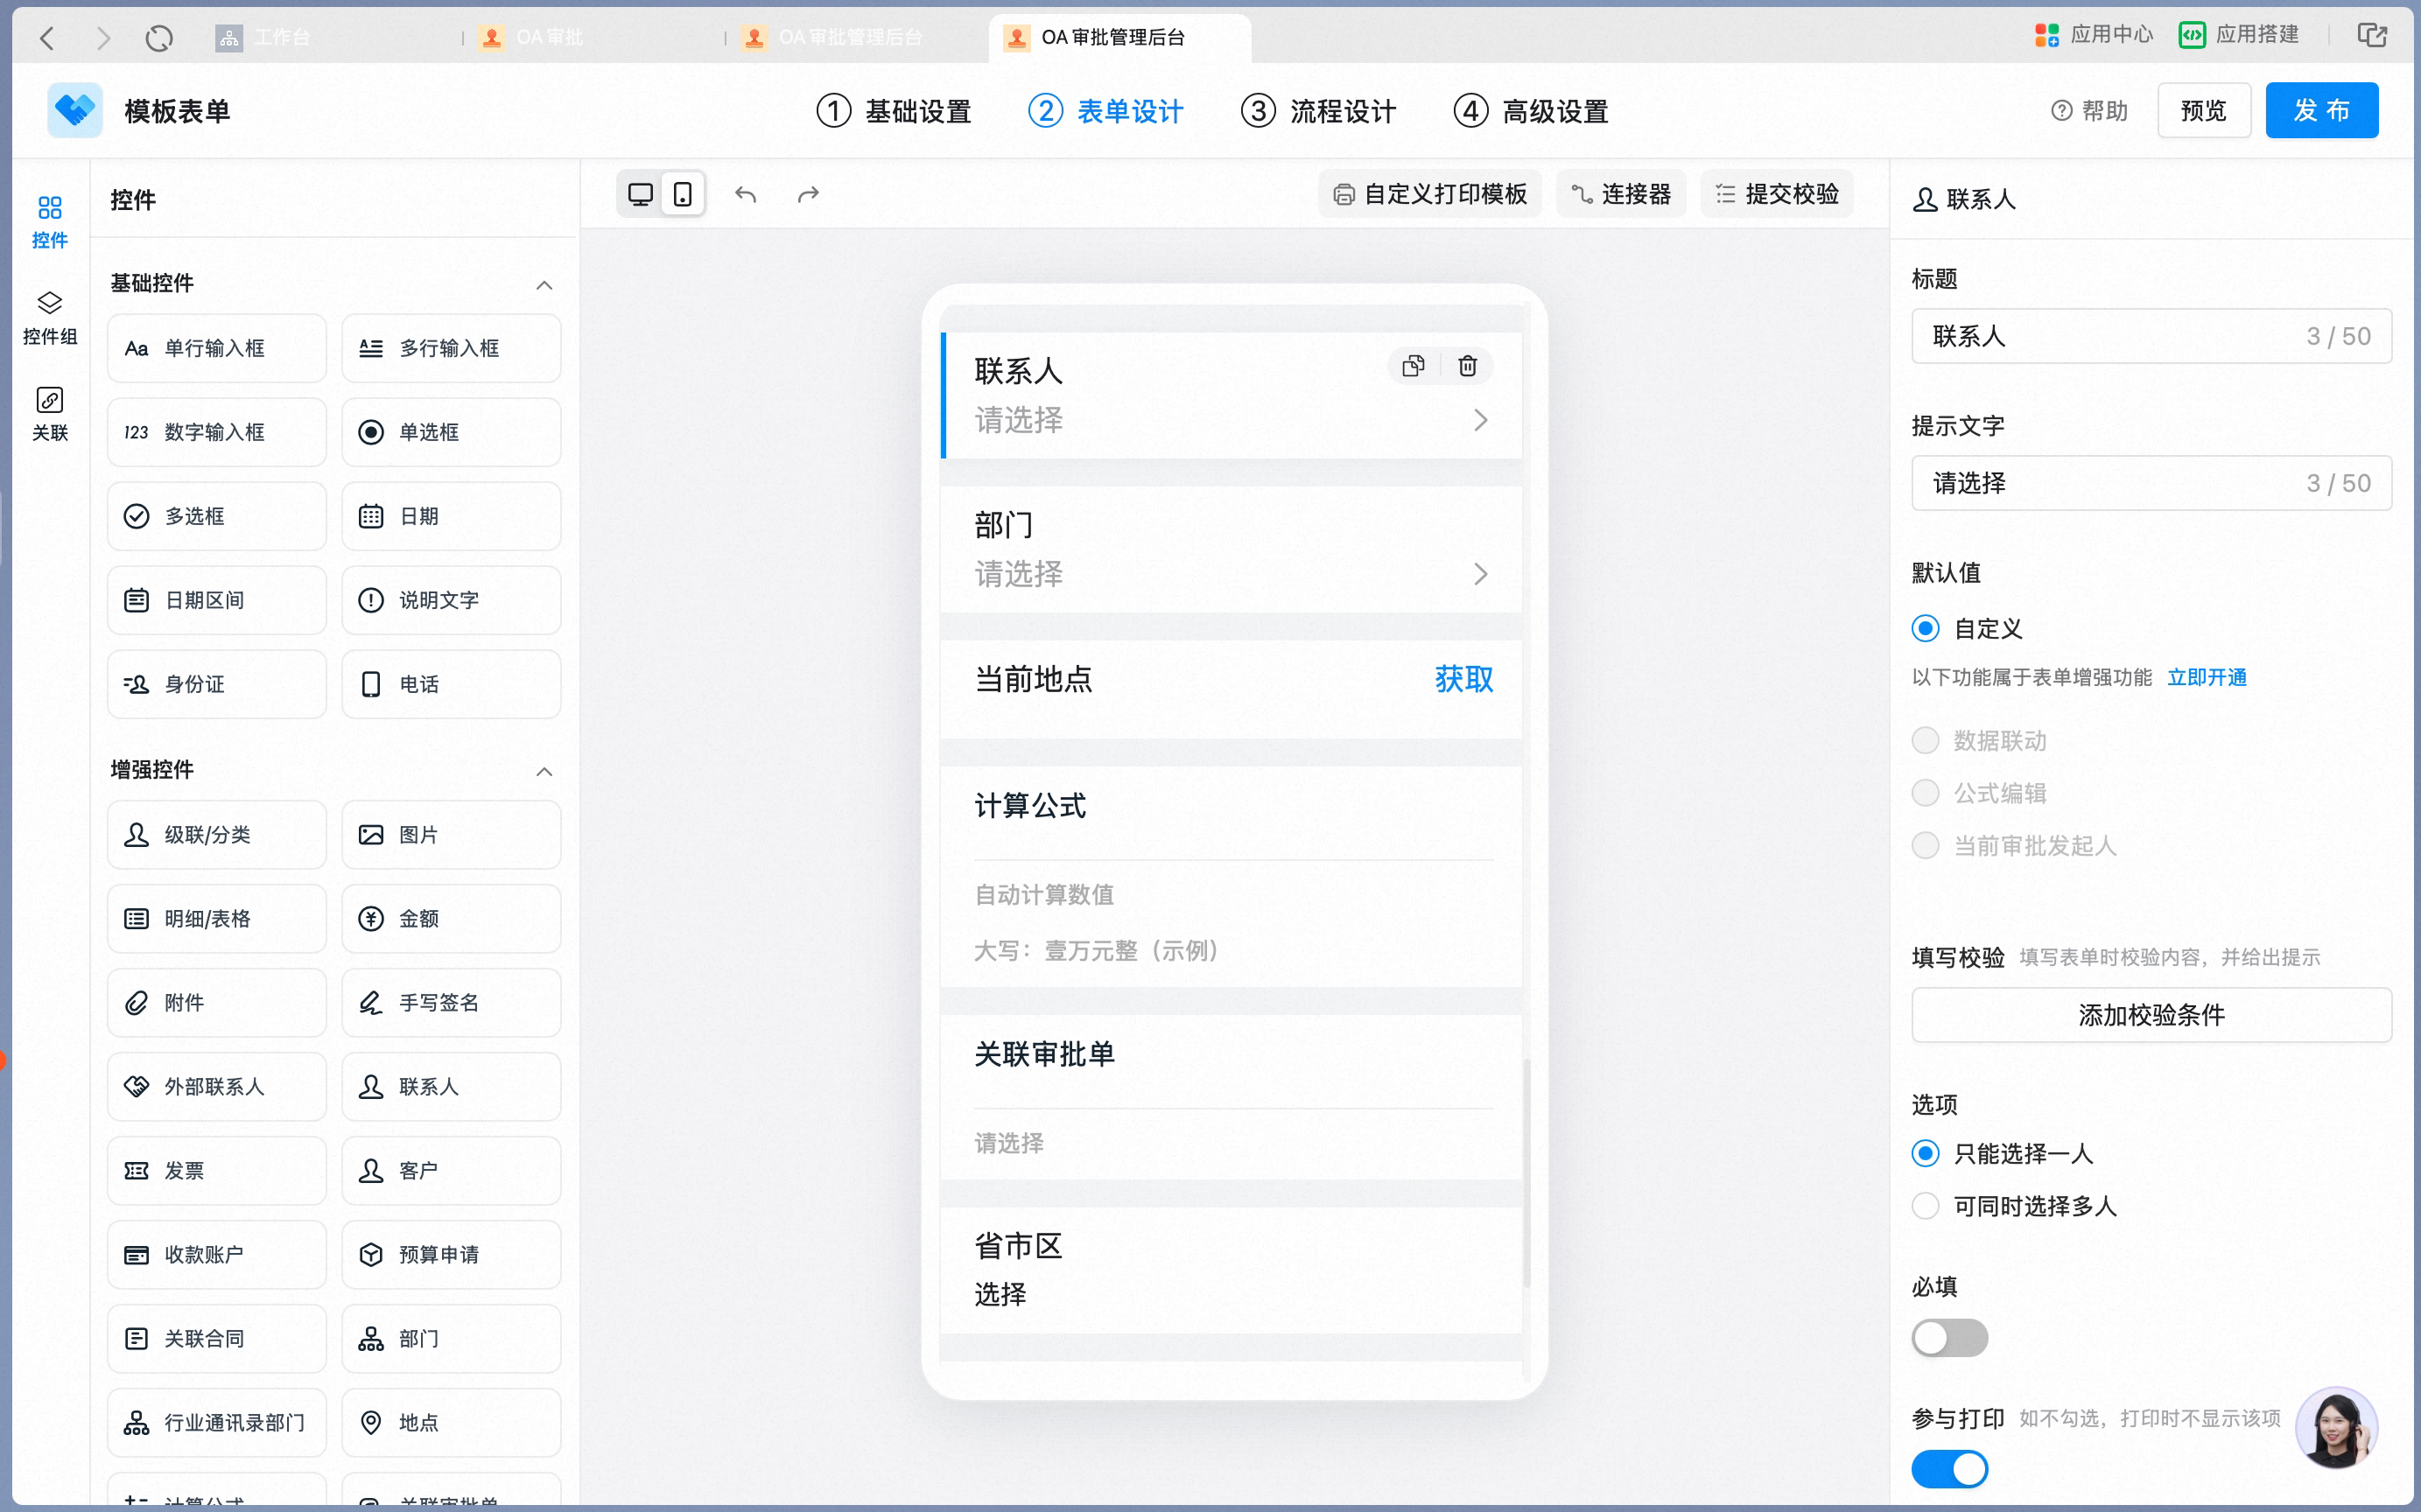
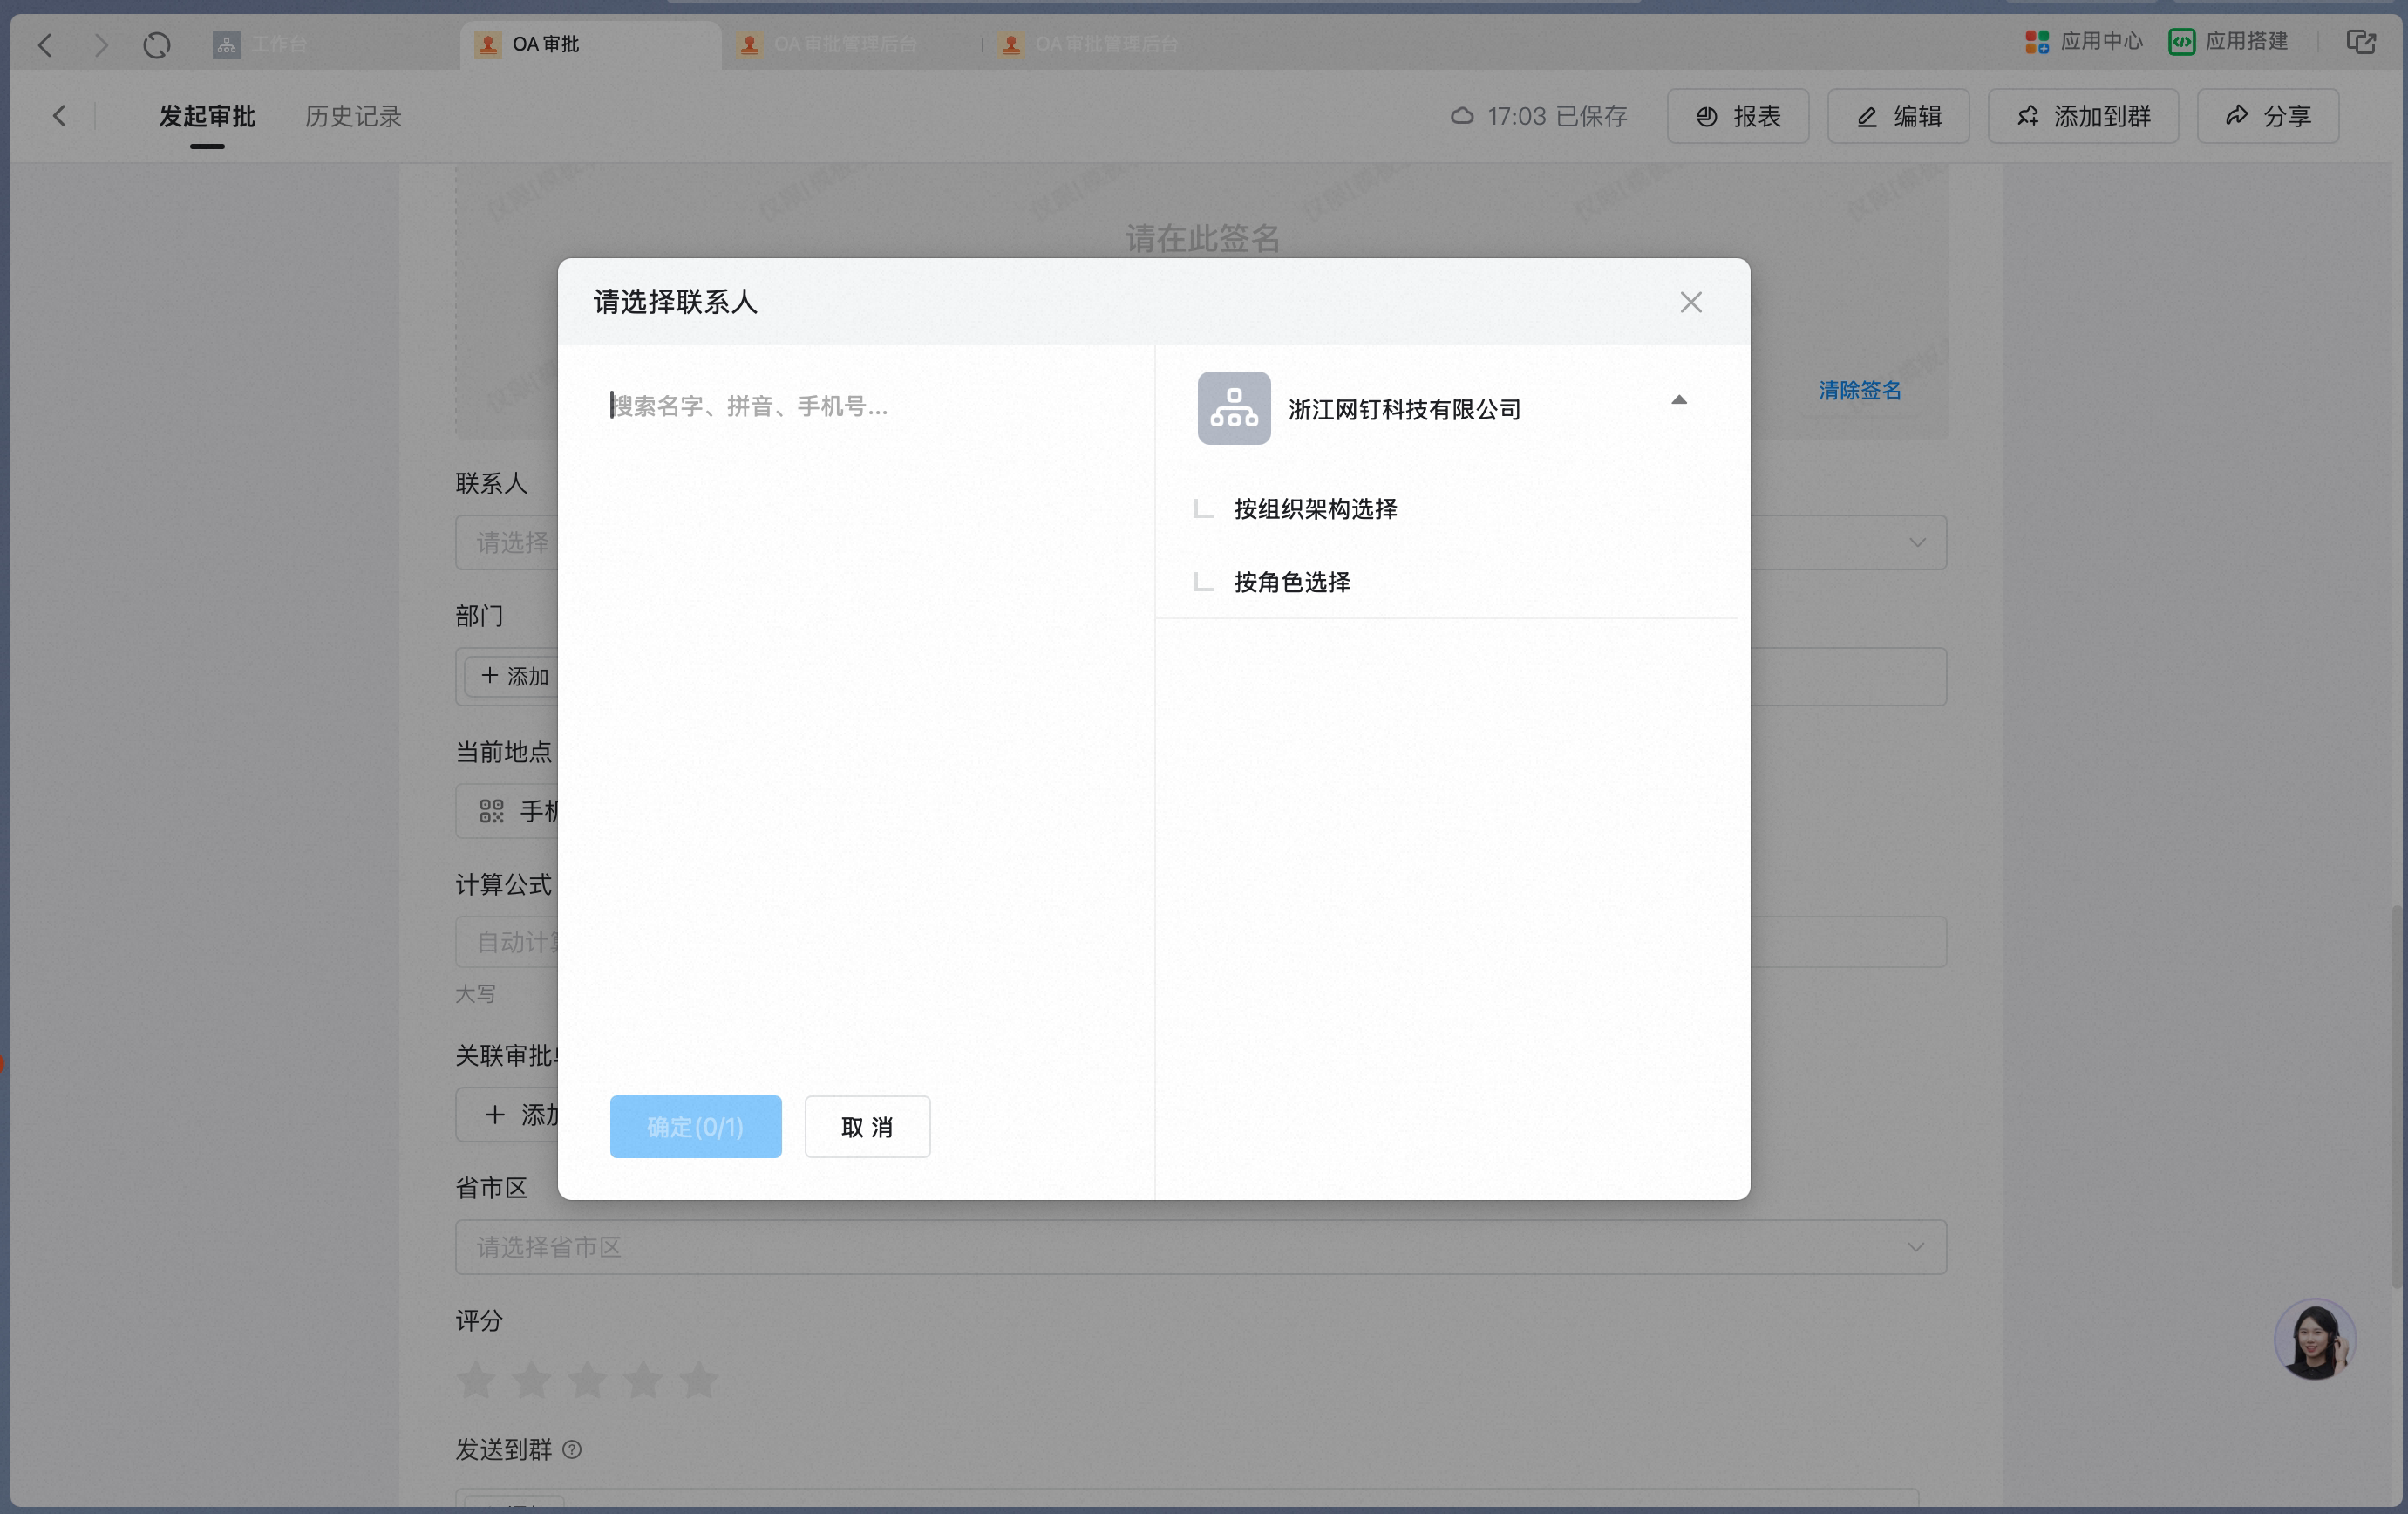
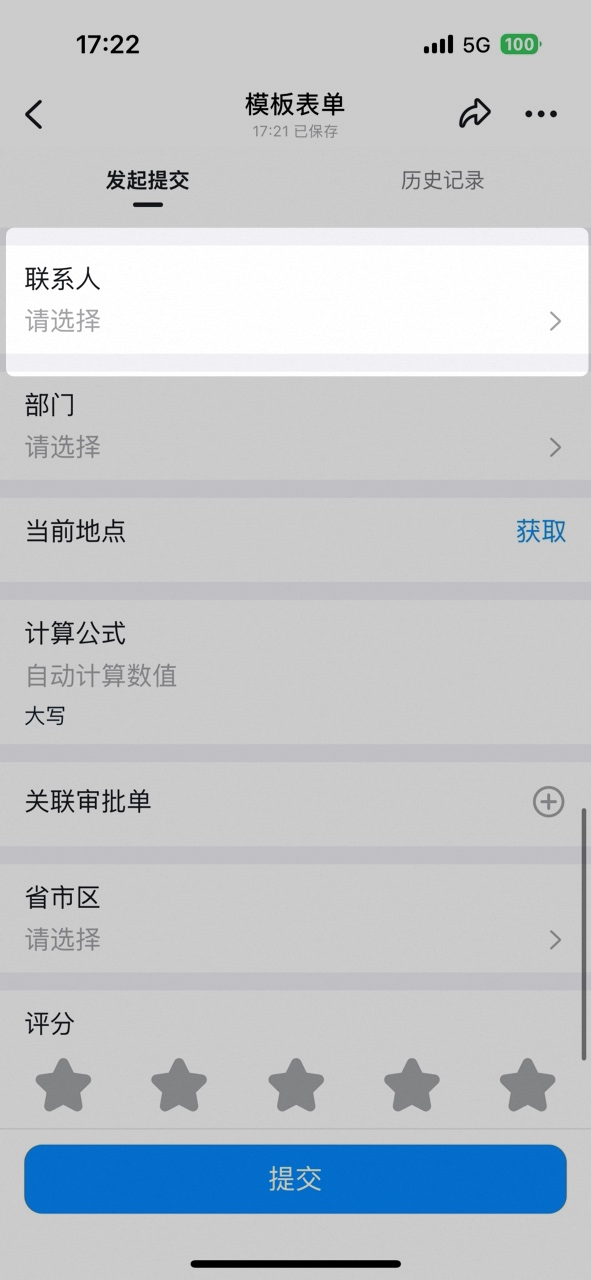

Data constraints and Search
8. Department
Supports selecting an already-created Department from the Contacts. Use the Department control when the owning Department for a specific item needs to be shown. The manager or Role corresponding to a Department on a form can be set as an approver — commonly used in role-transfer and handover scenarios. Settings interface Add a Department control in the form designer: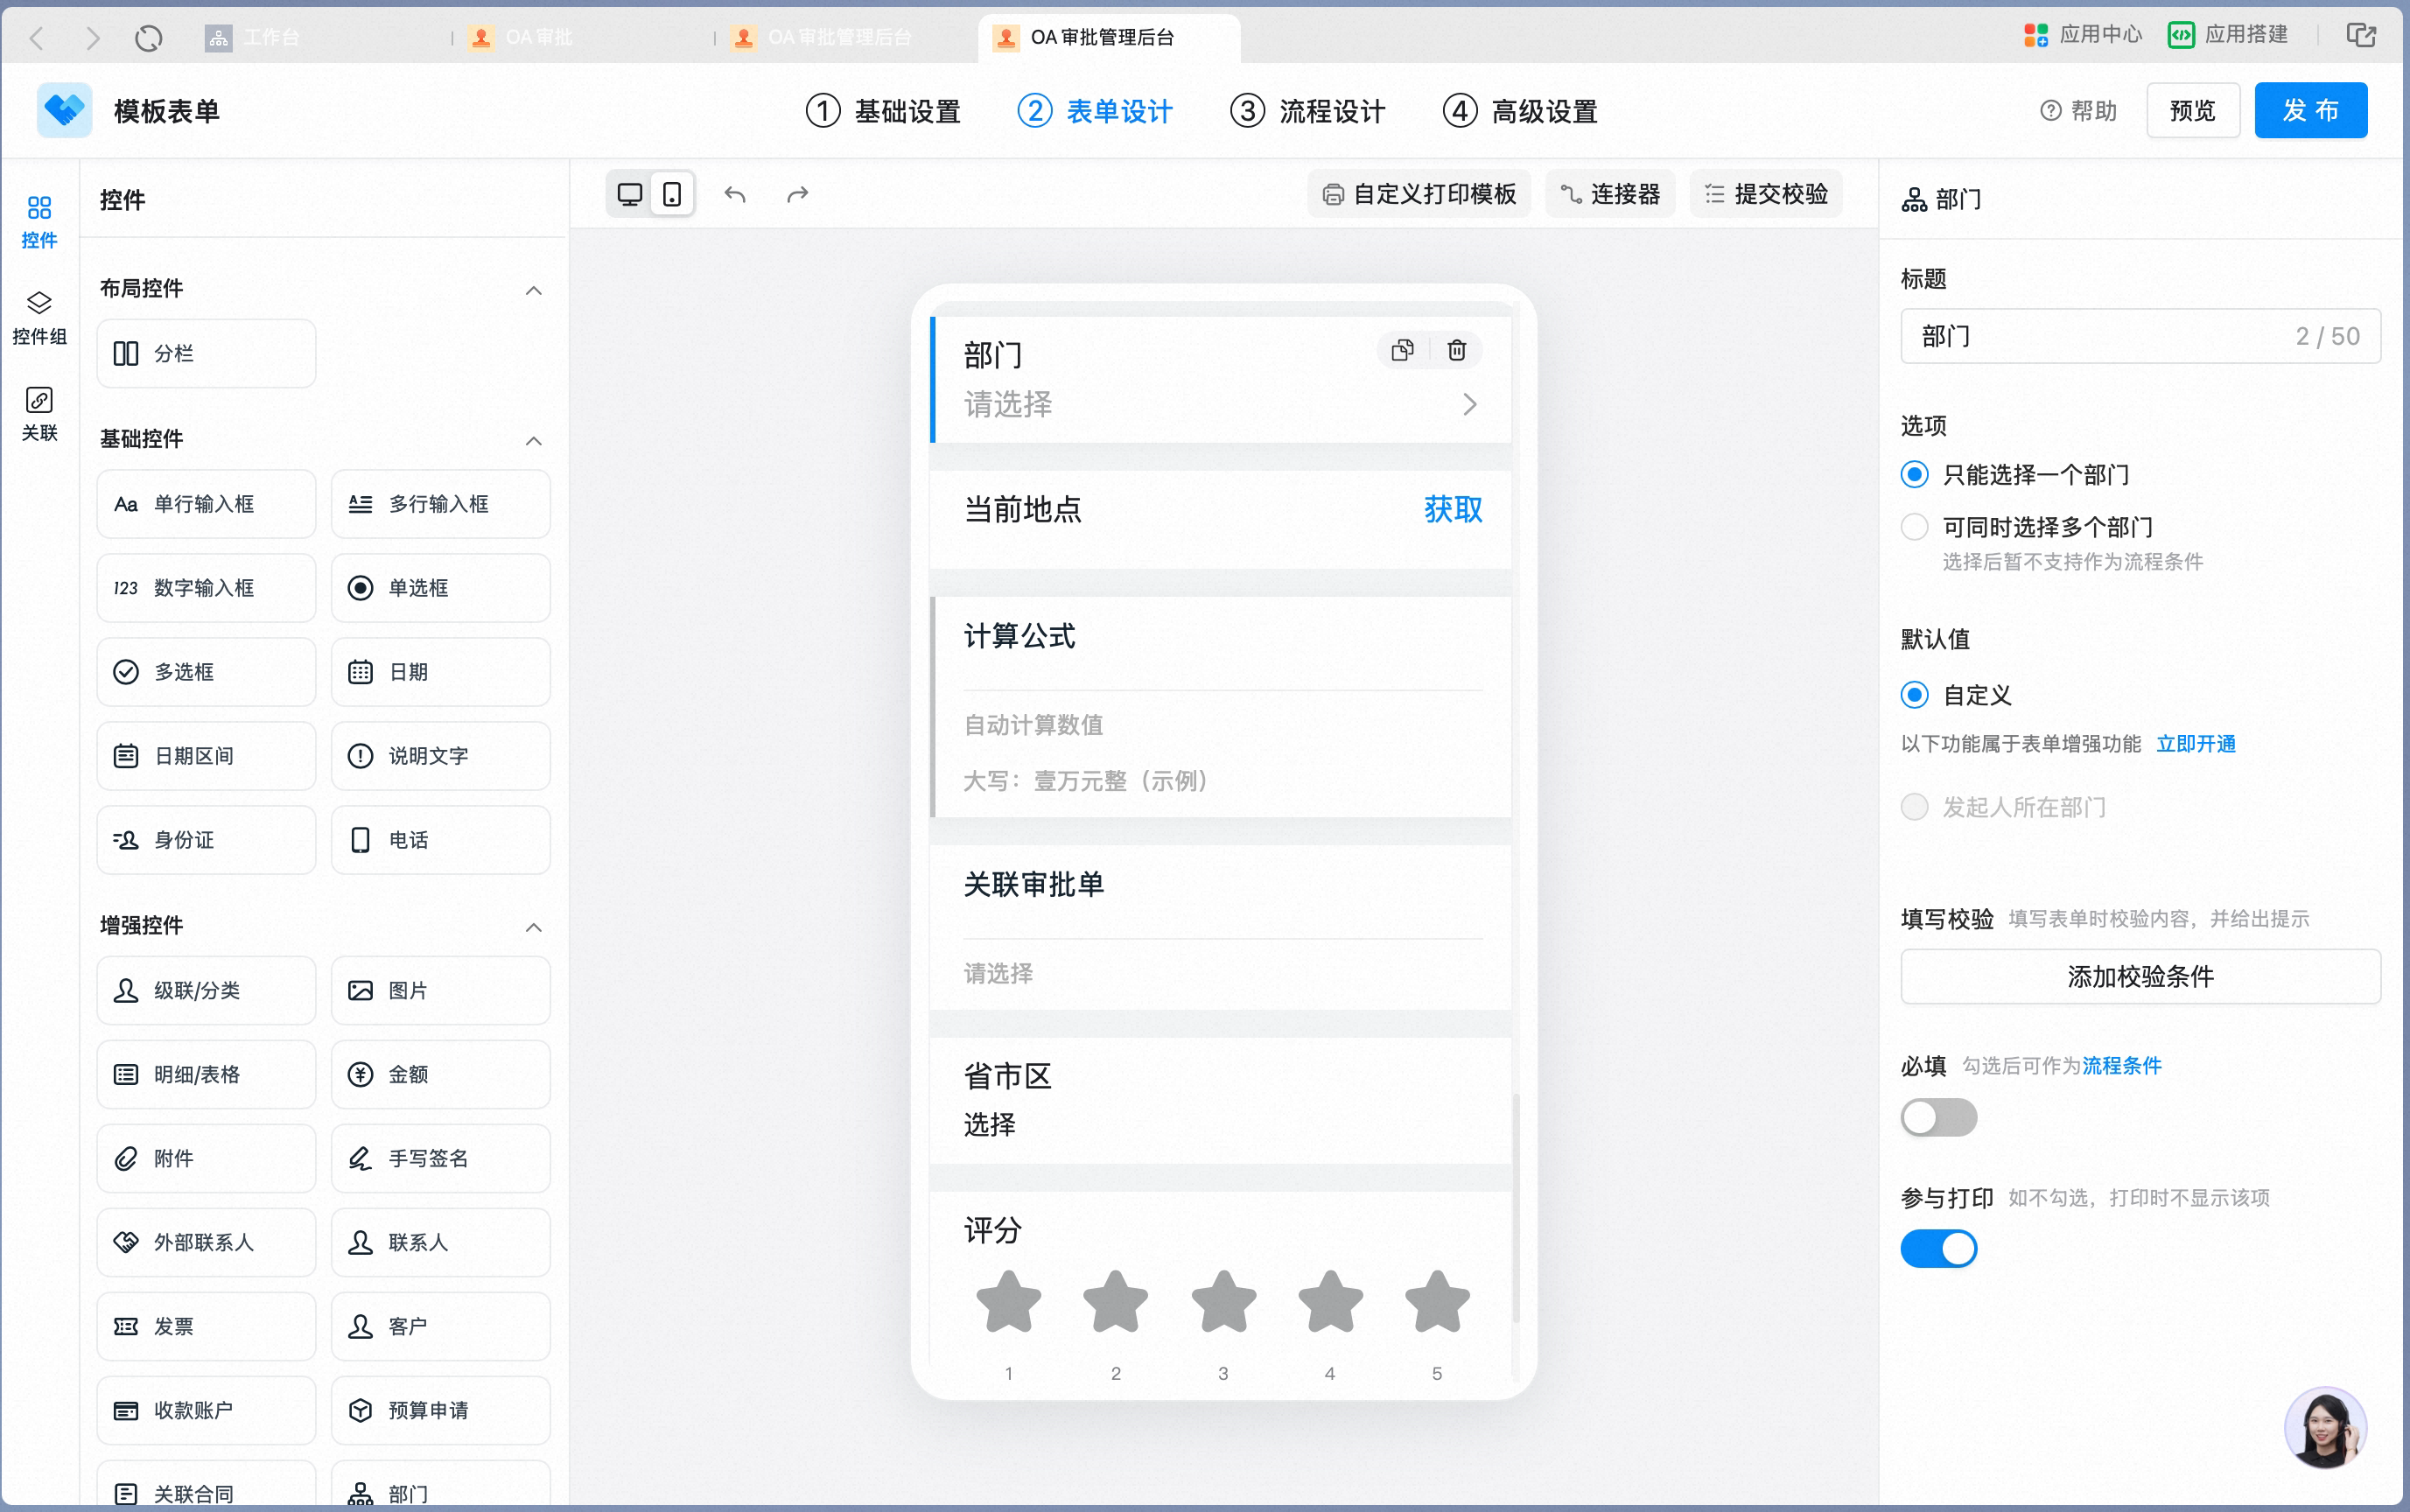
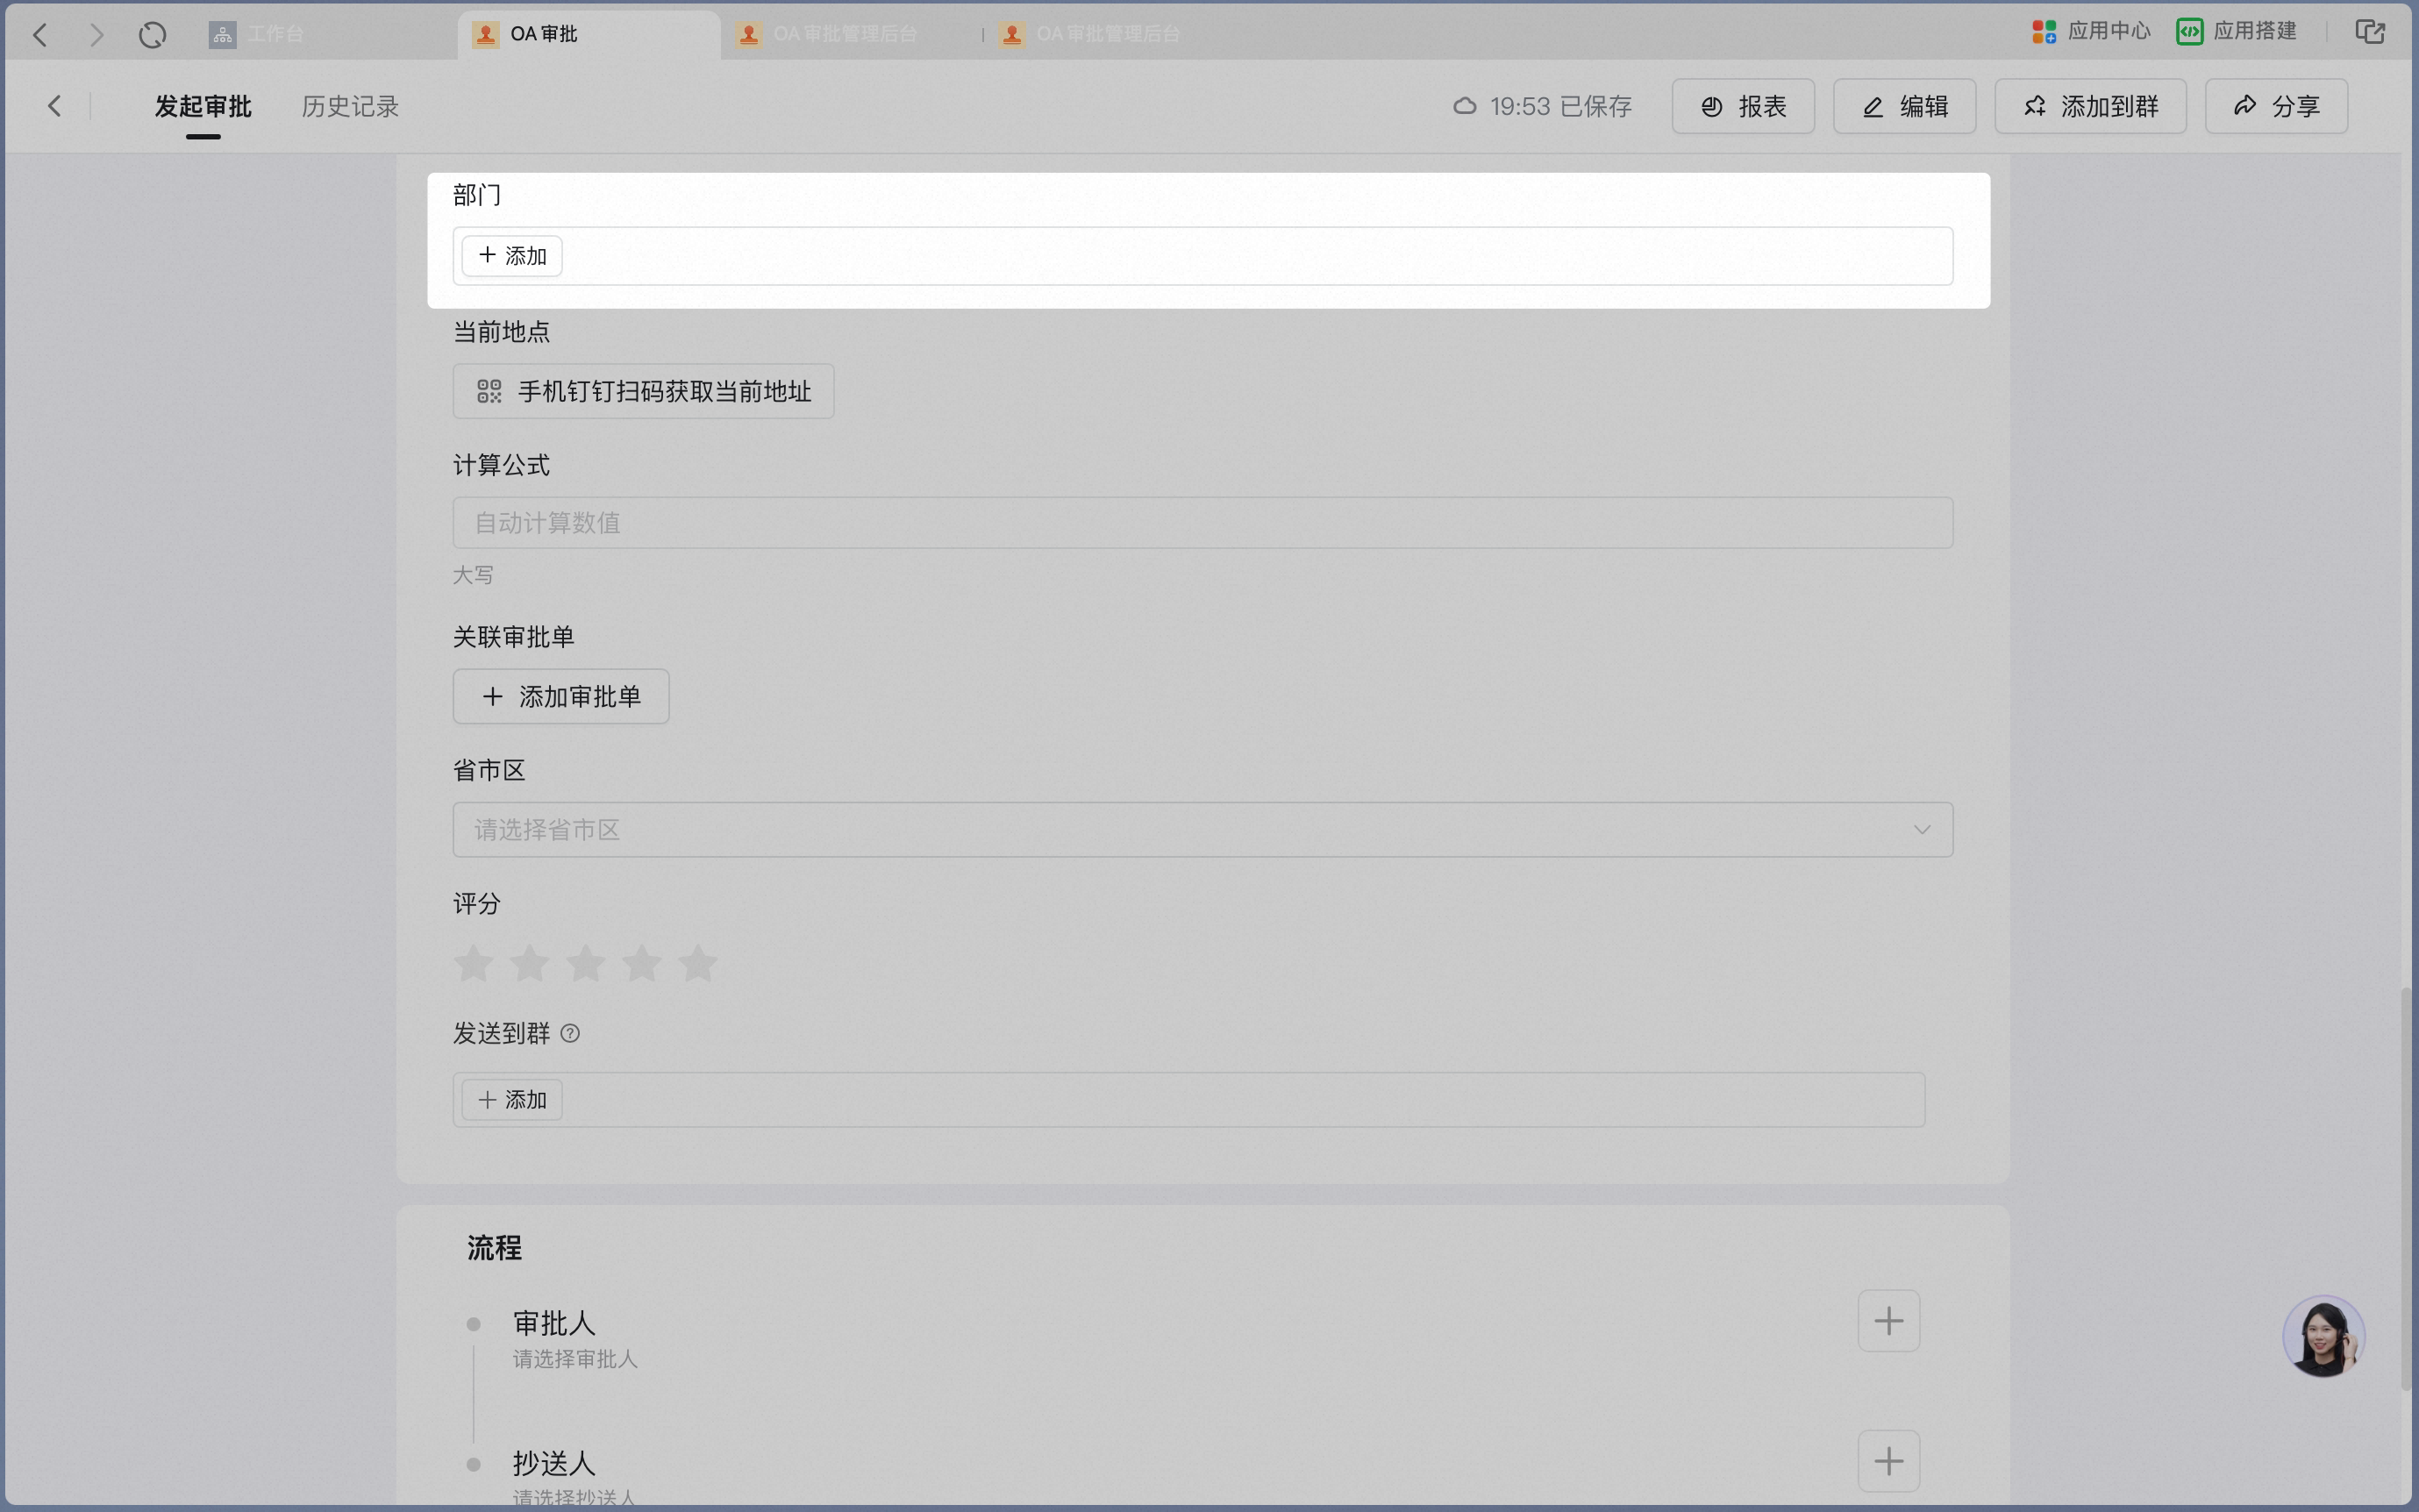
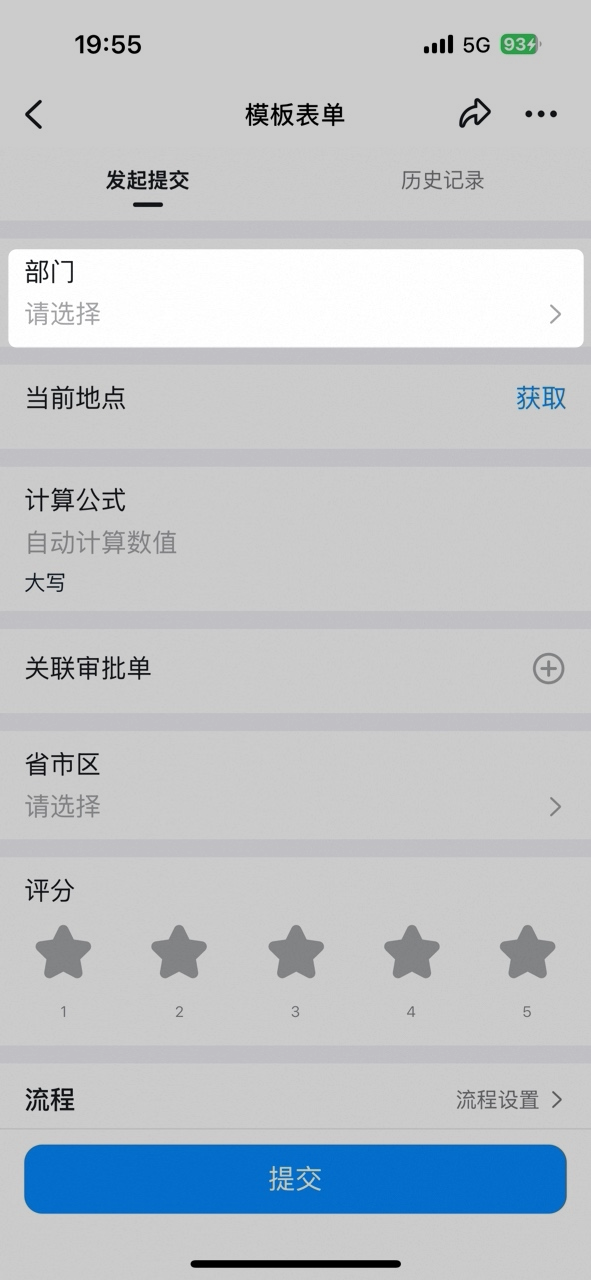
Data constraints and Search
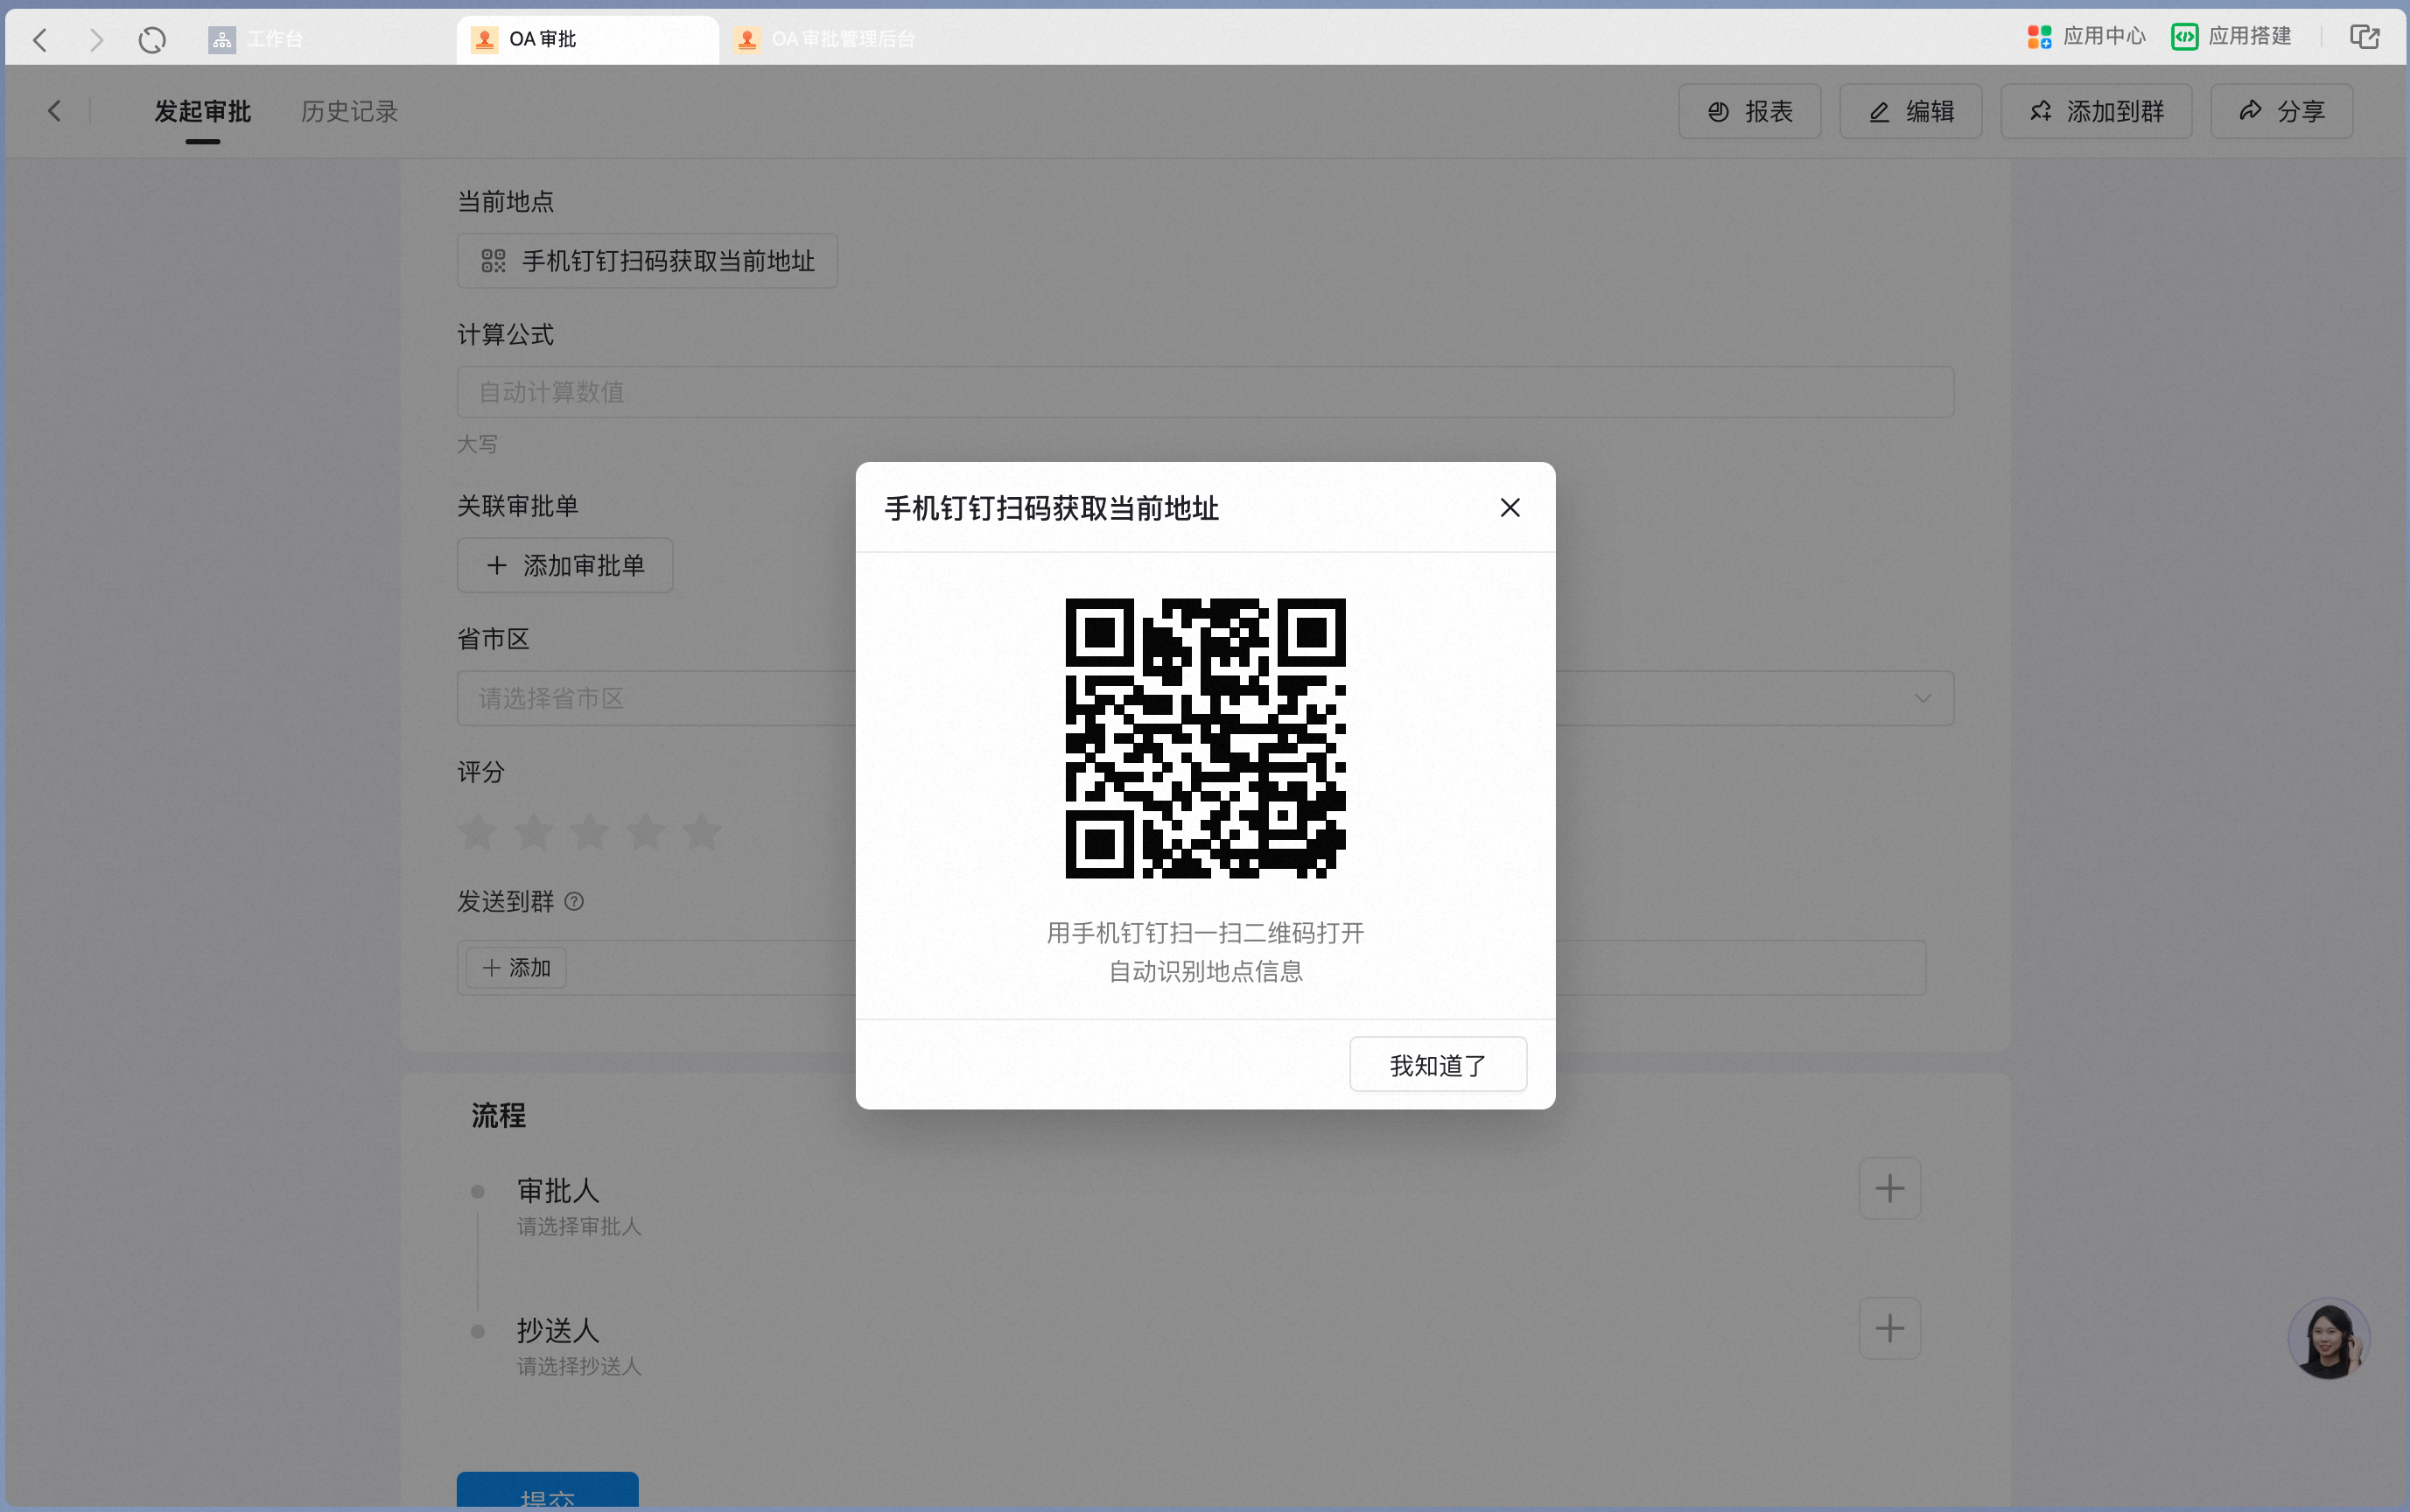
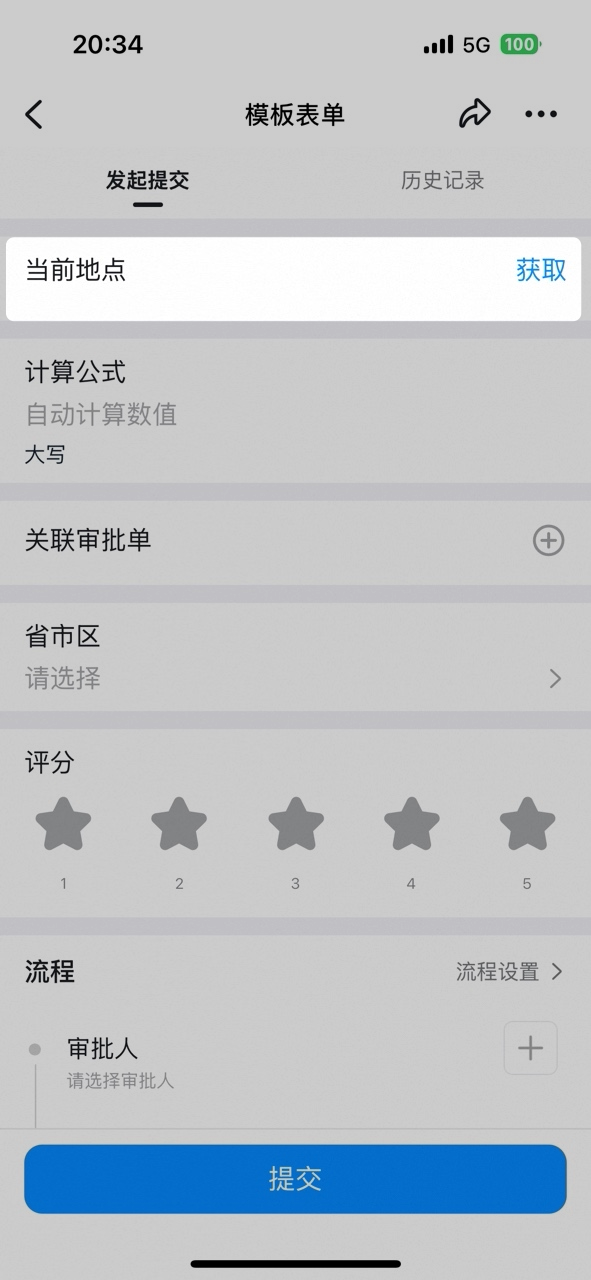
9. Current location
Supports capturing the User’s current Location. In scenarios such as customer visits, Location info must be captured in real time, and the User can also fine-tune the Location manually. Settings interface Add a Current location control in the form designer: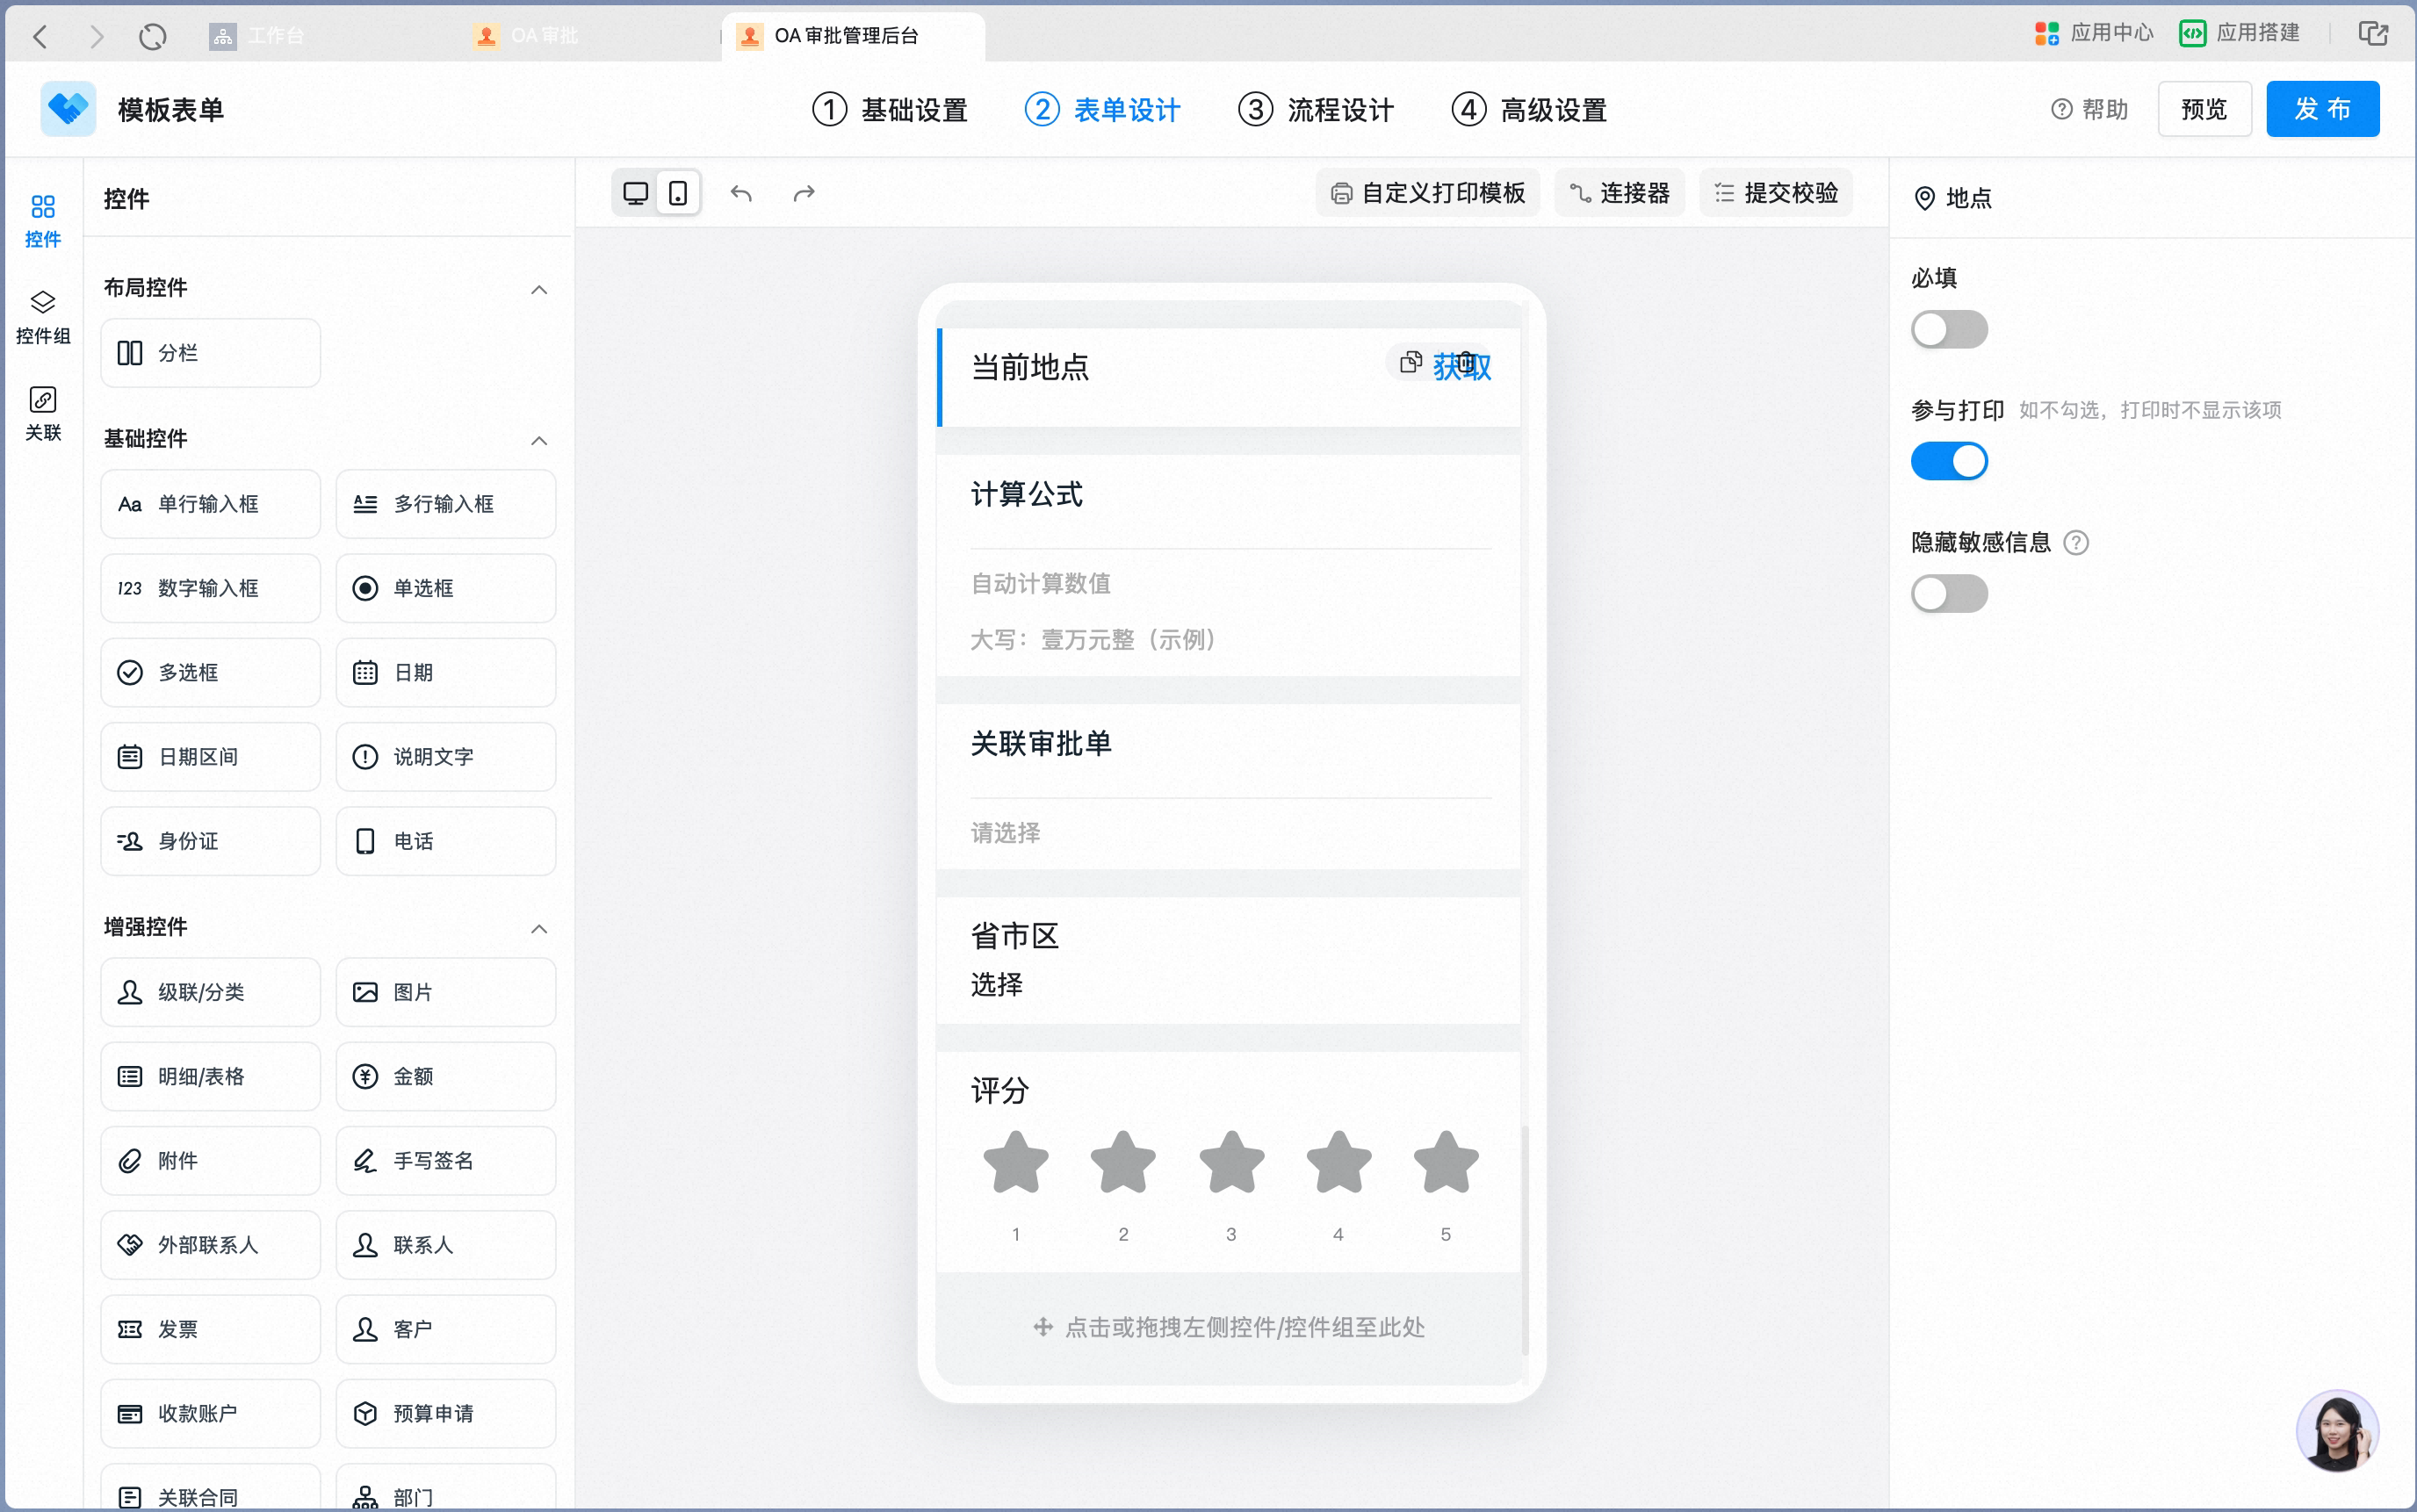
Data constraints and Search
Desktop Tips prompt the user to scan with mobile DingTalk to capture the current Location:


10. Calculate Formula
Supports simple arithmetic such as addition, subtraction, multiplication, and division. Use this control in scenarios that need automatic numeric Calculation — such as orders and finance — for example, computing the total price from a unit price and a quantity. Settings interface Add a Calculate Formula control in the form designer: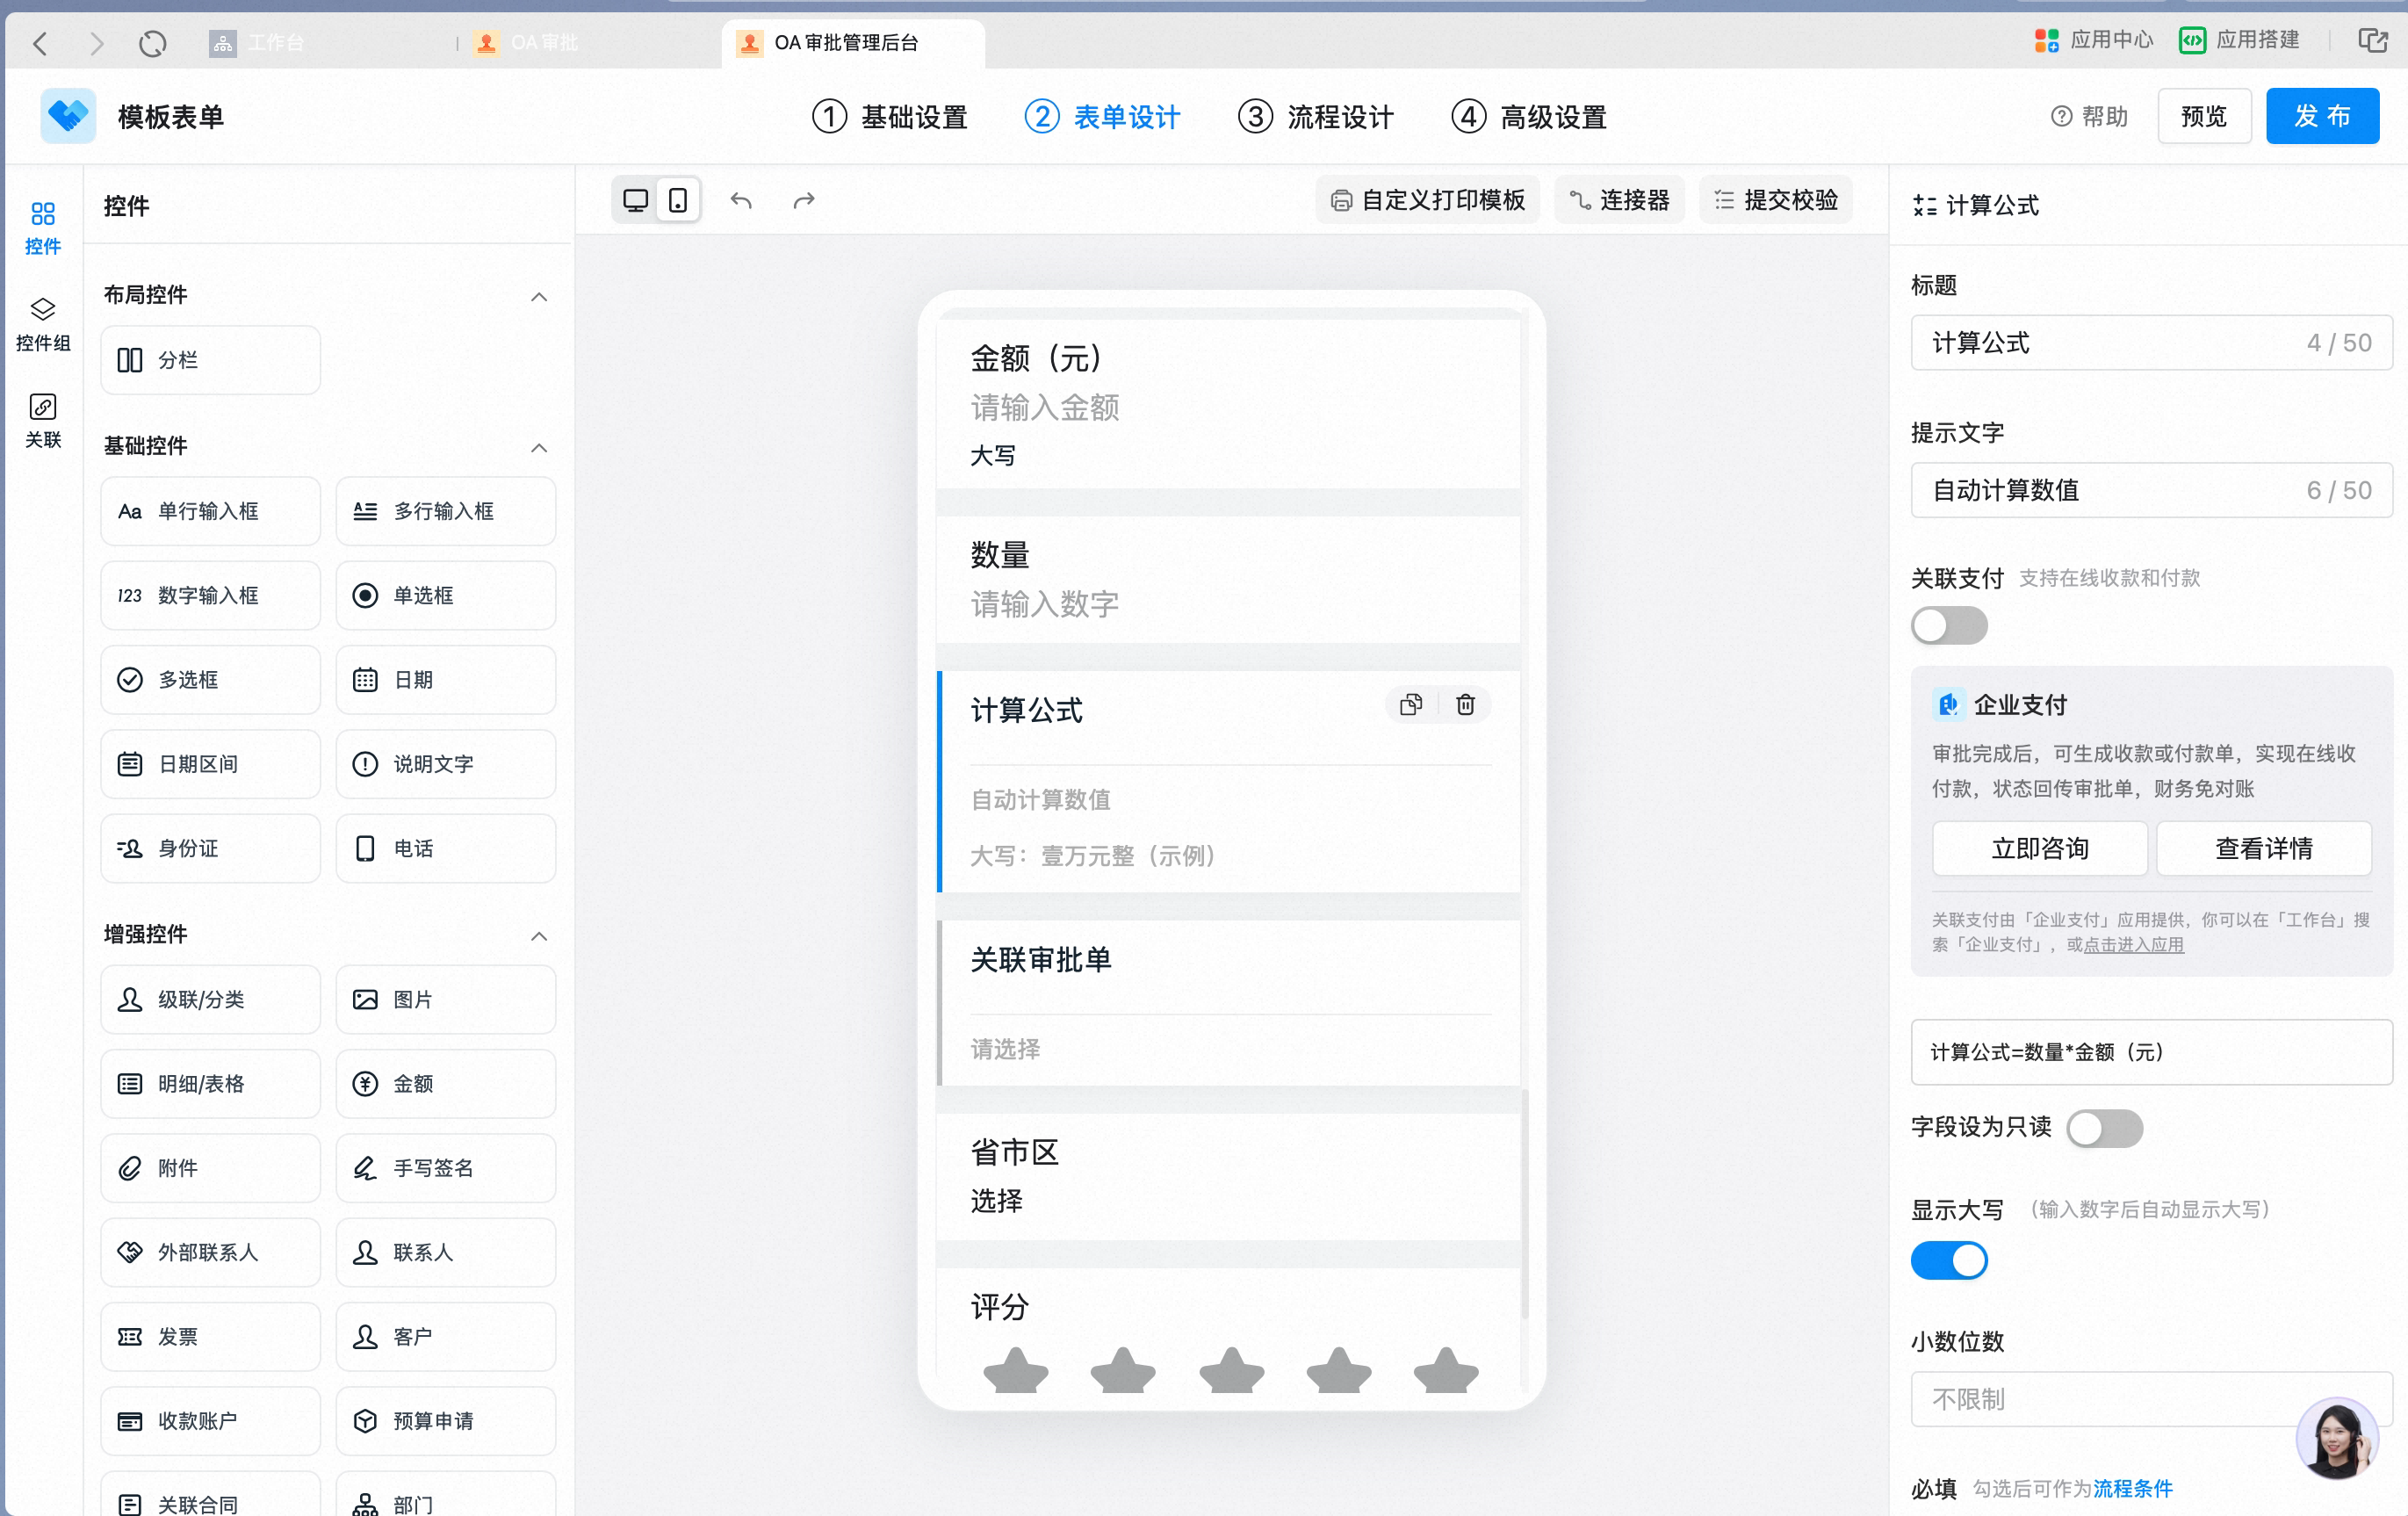
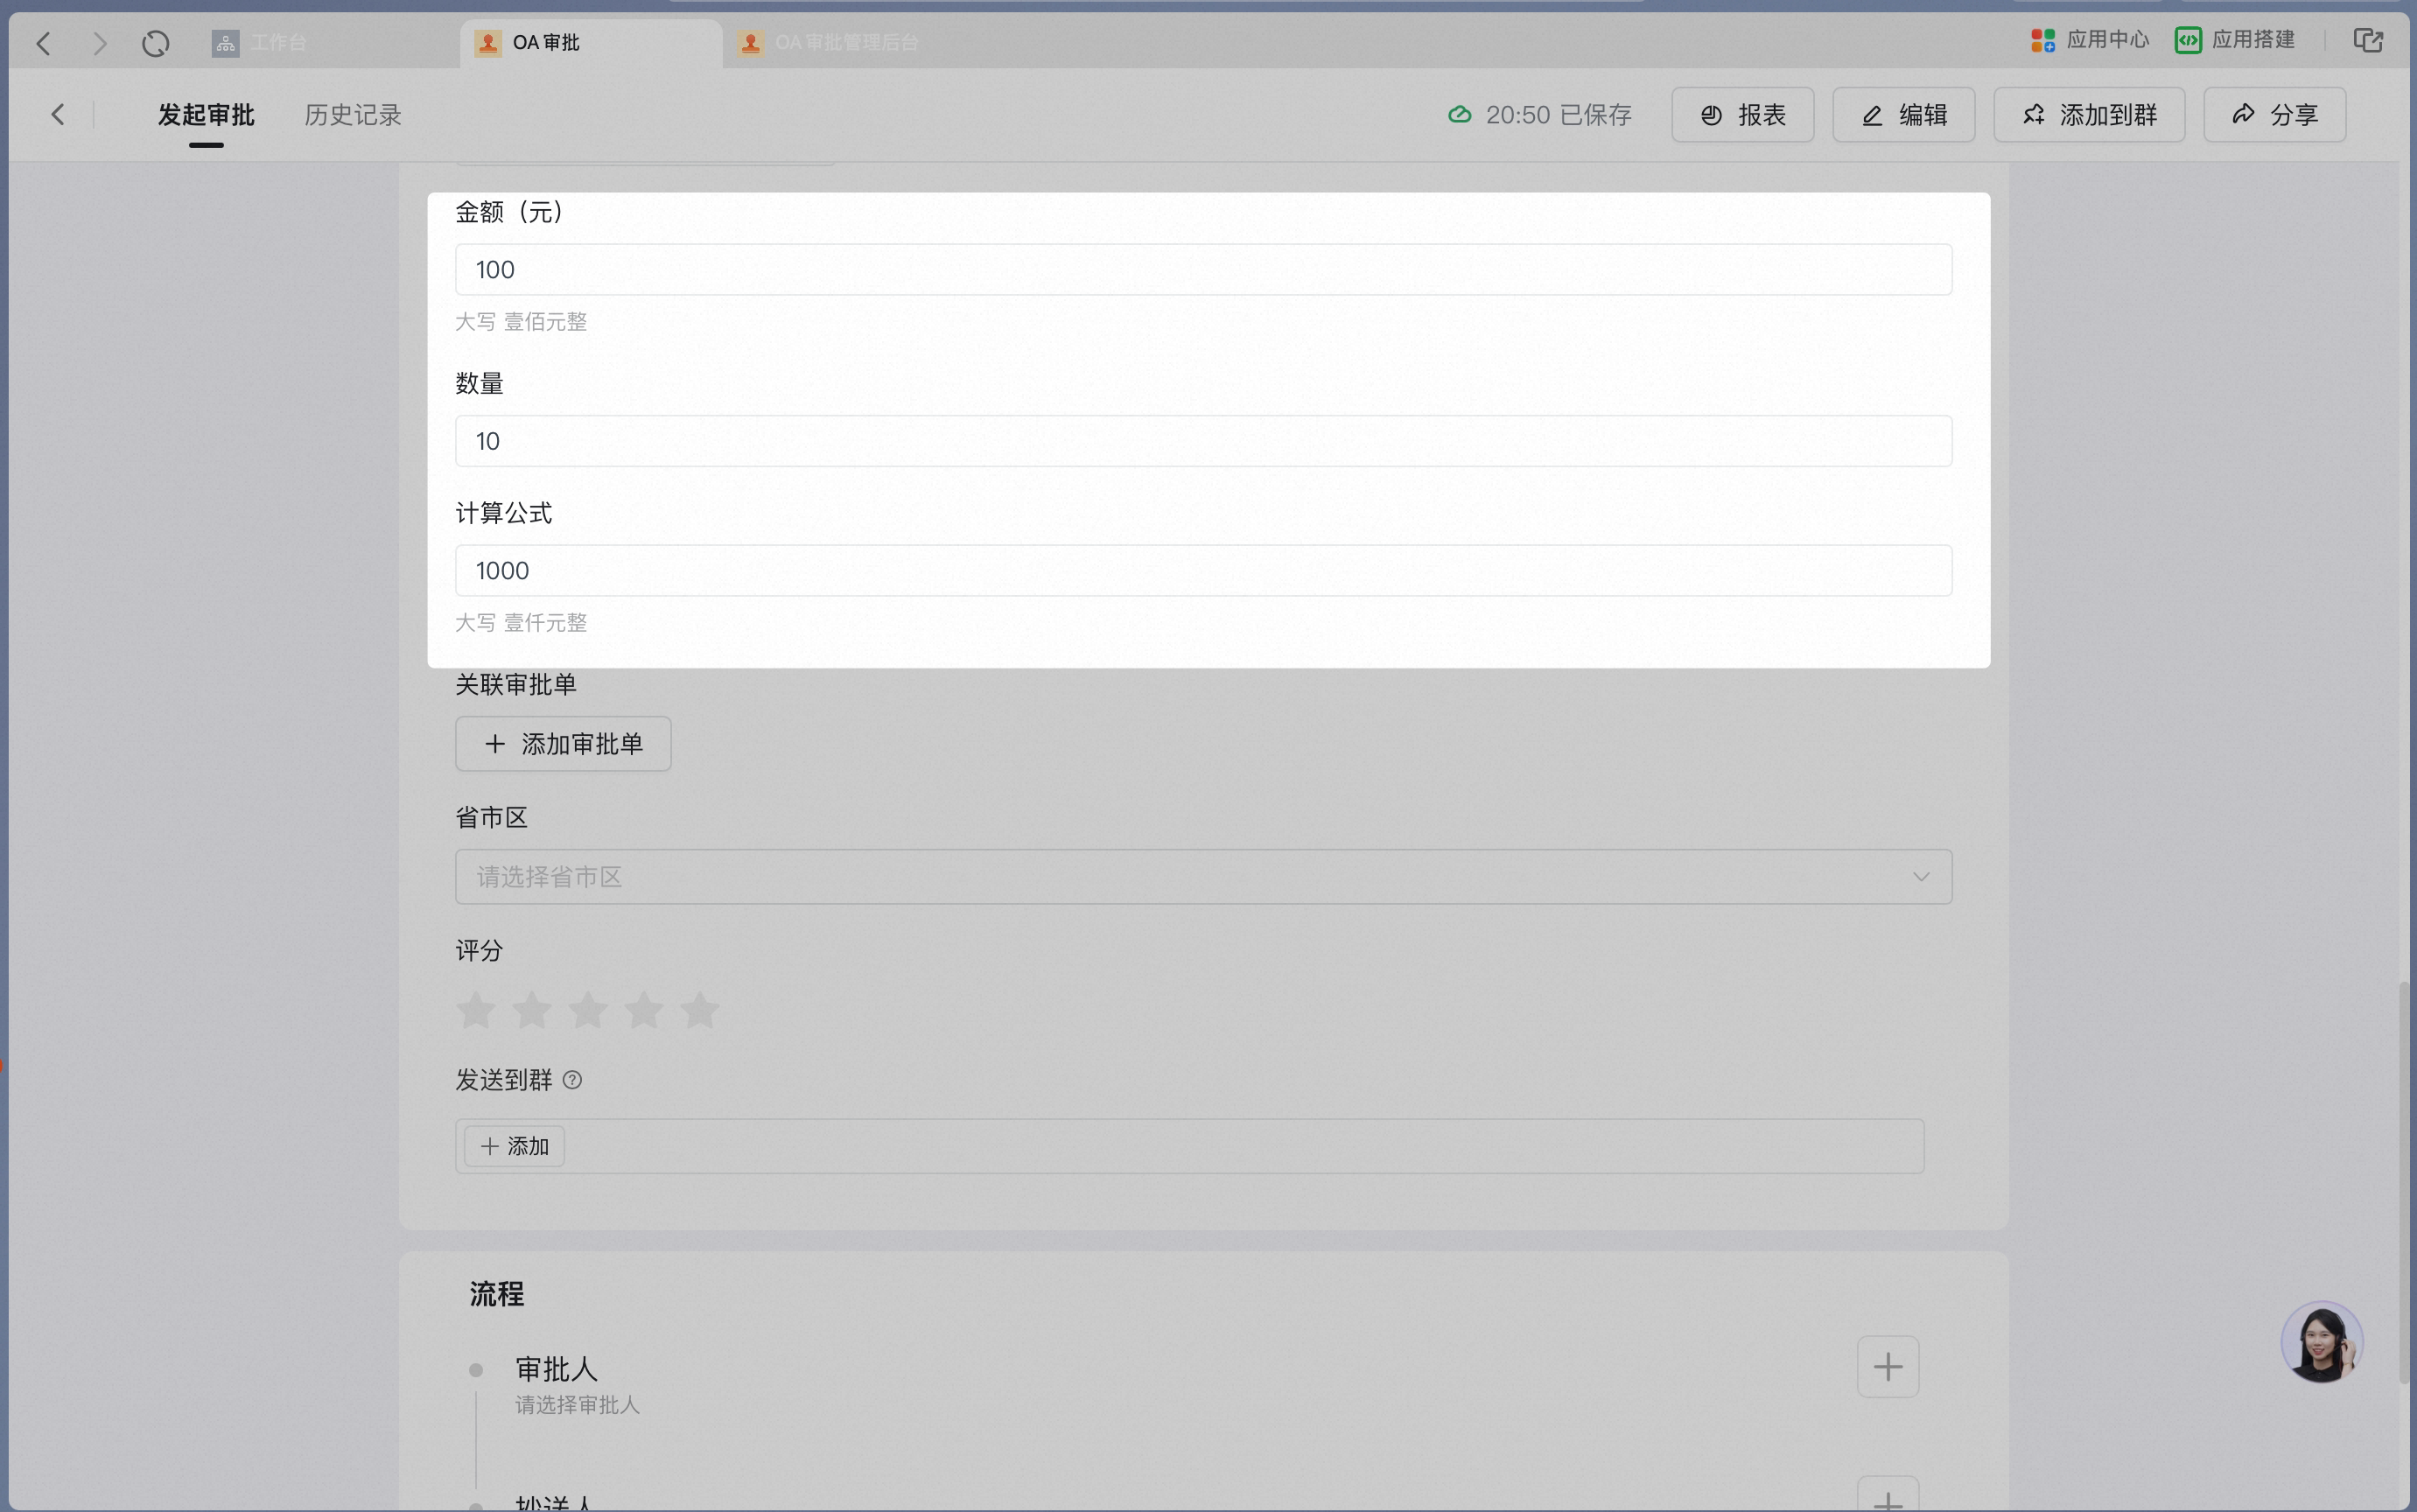
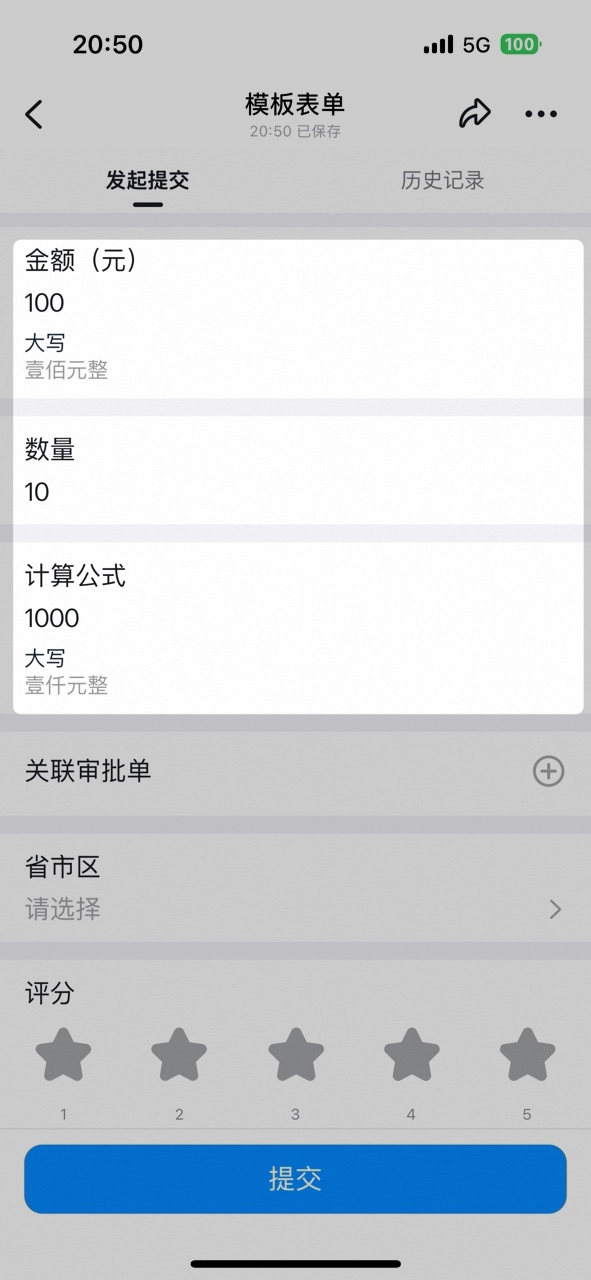
Data constraints and Search
11. Associated Approval form
Supports selecting one Record from an Approval form within the Organization — for example, linking a procurement form or a business-trip form from a reimbursement form. Settings interface Add an Associated Approval form control in the form designer: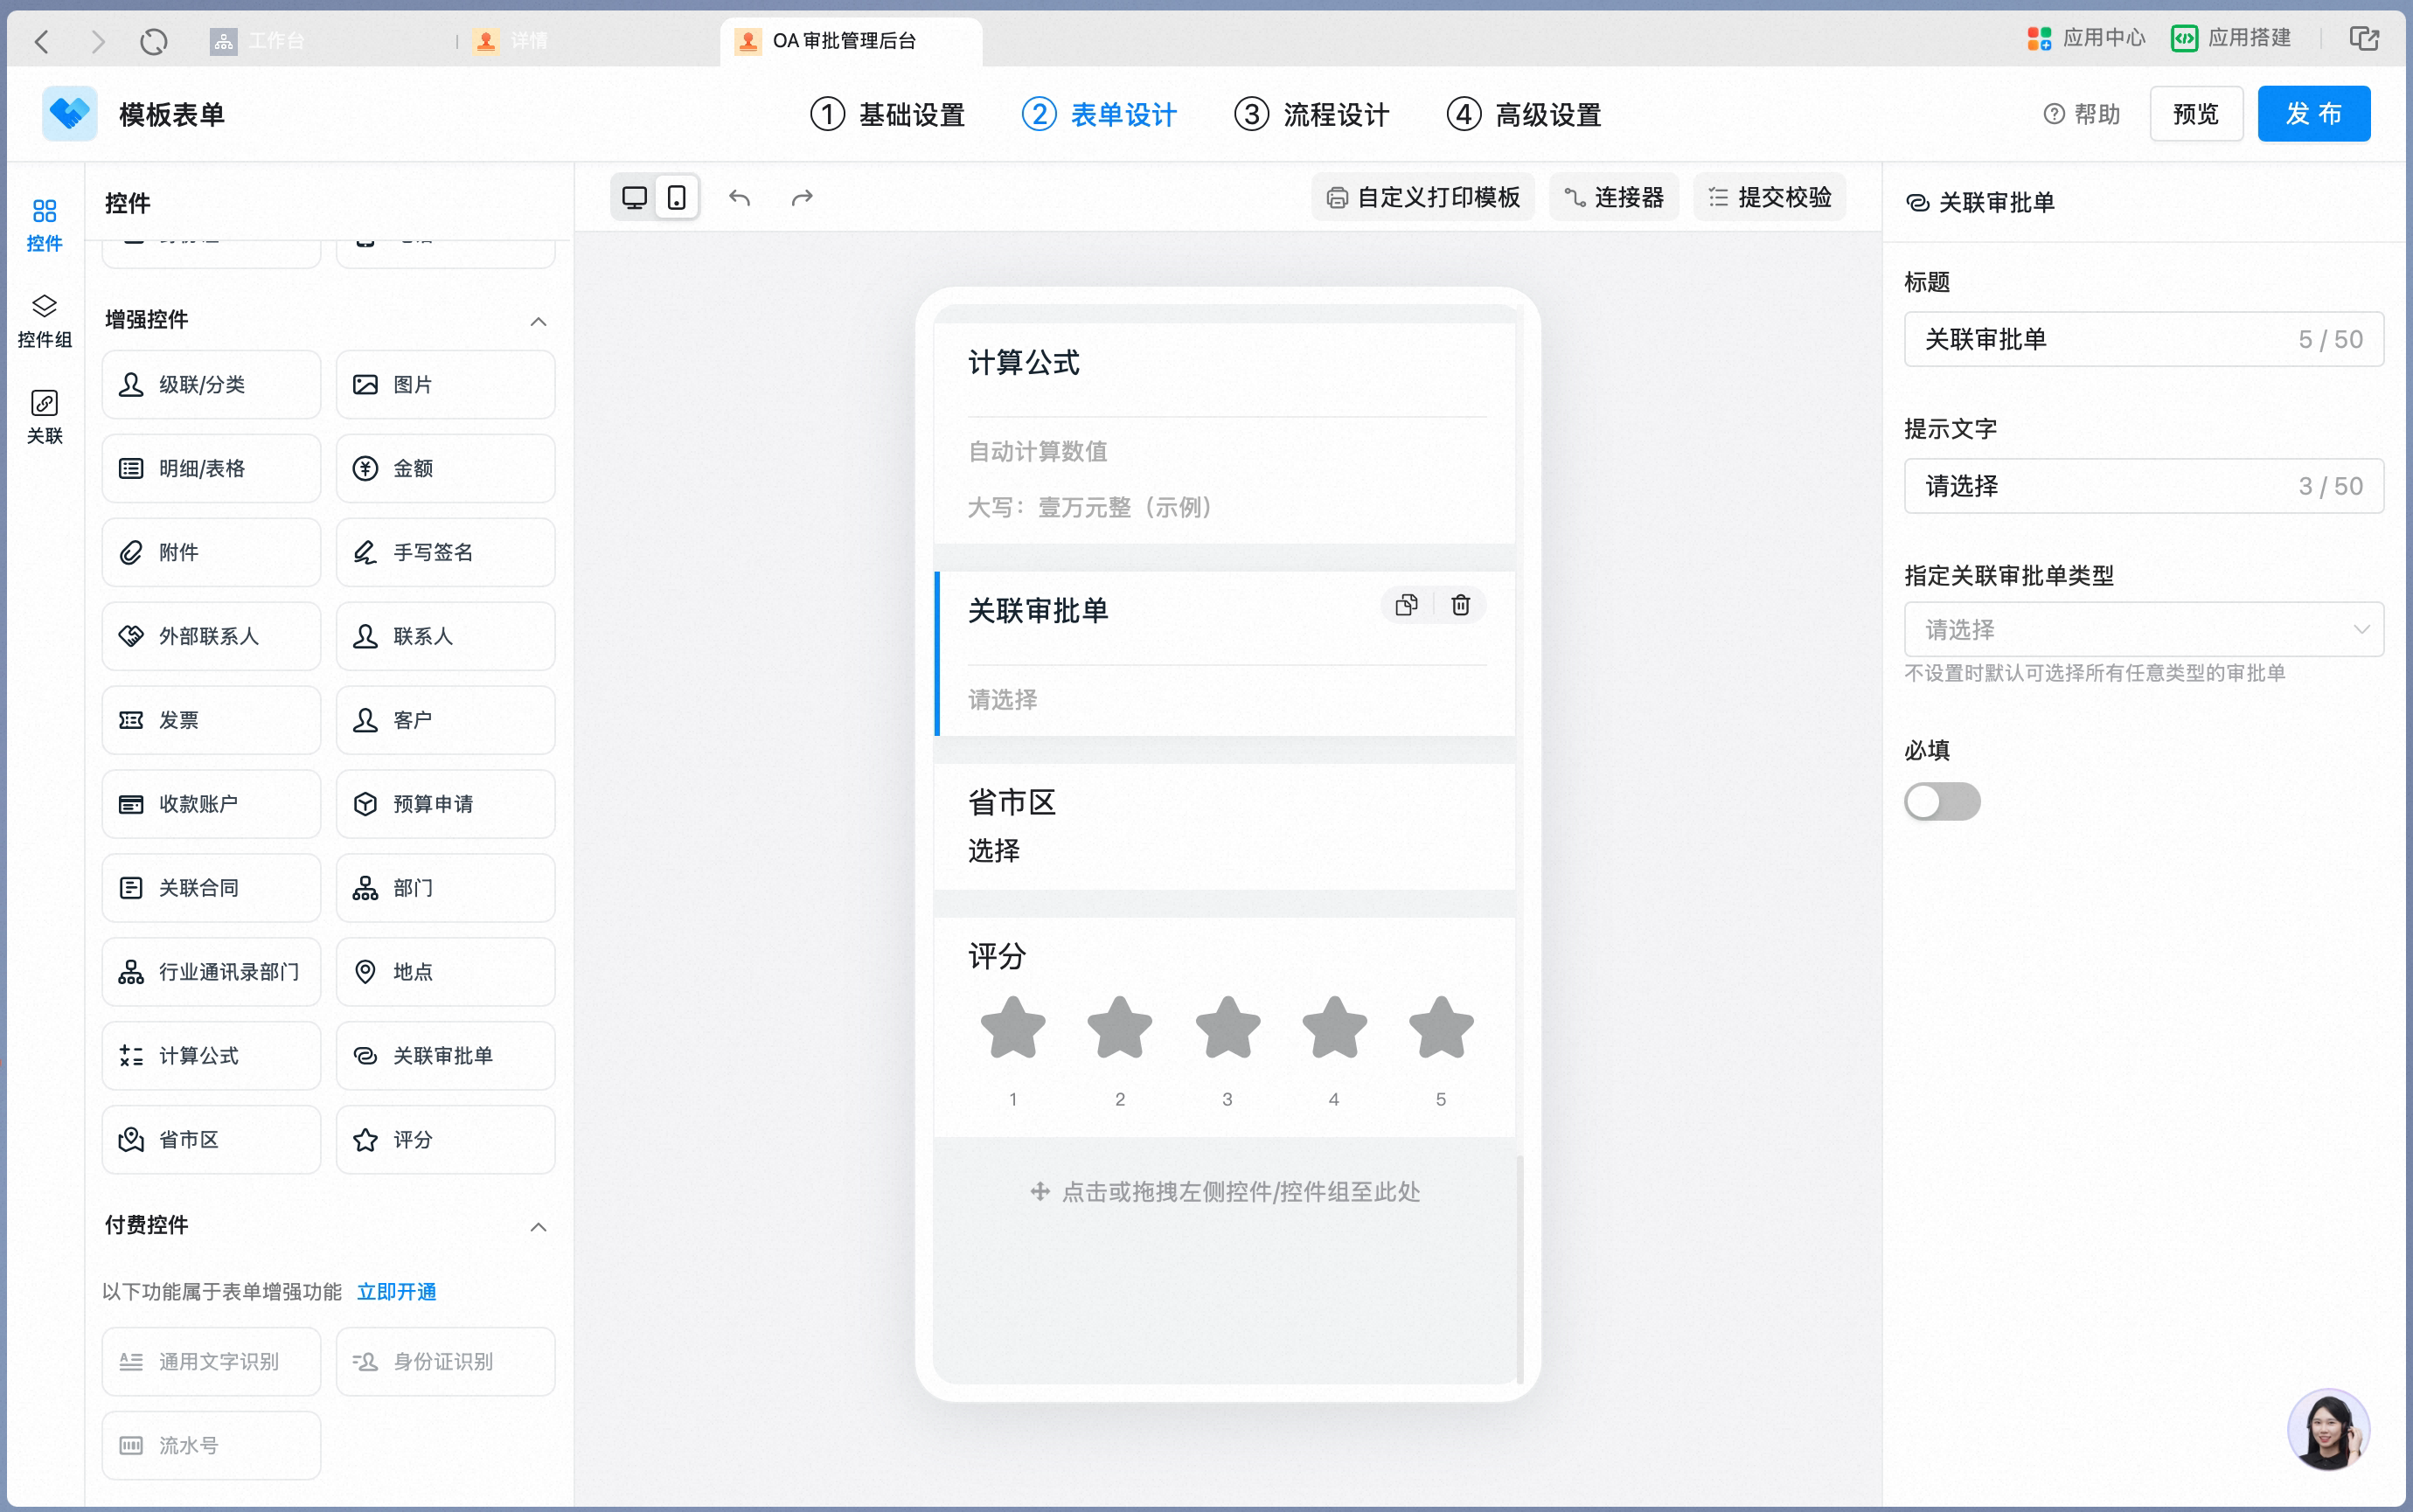
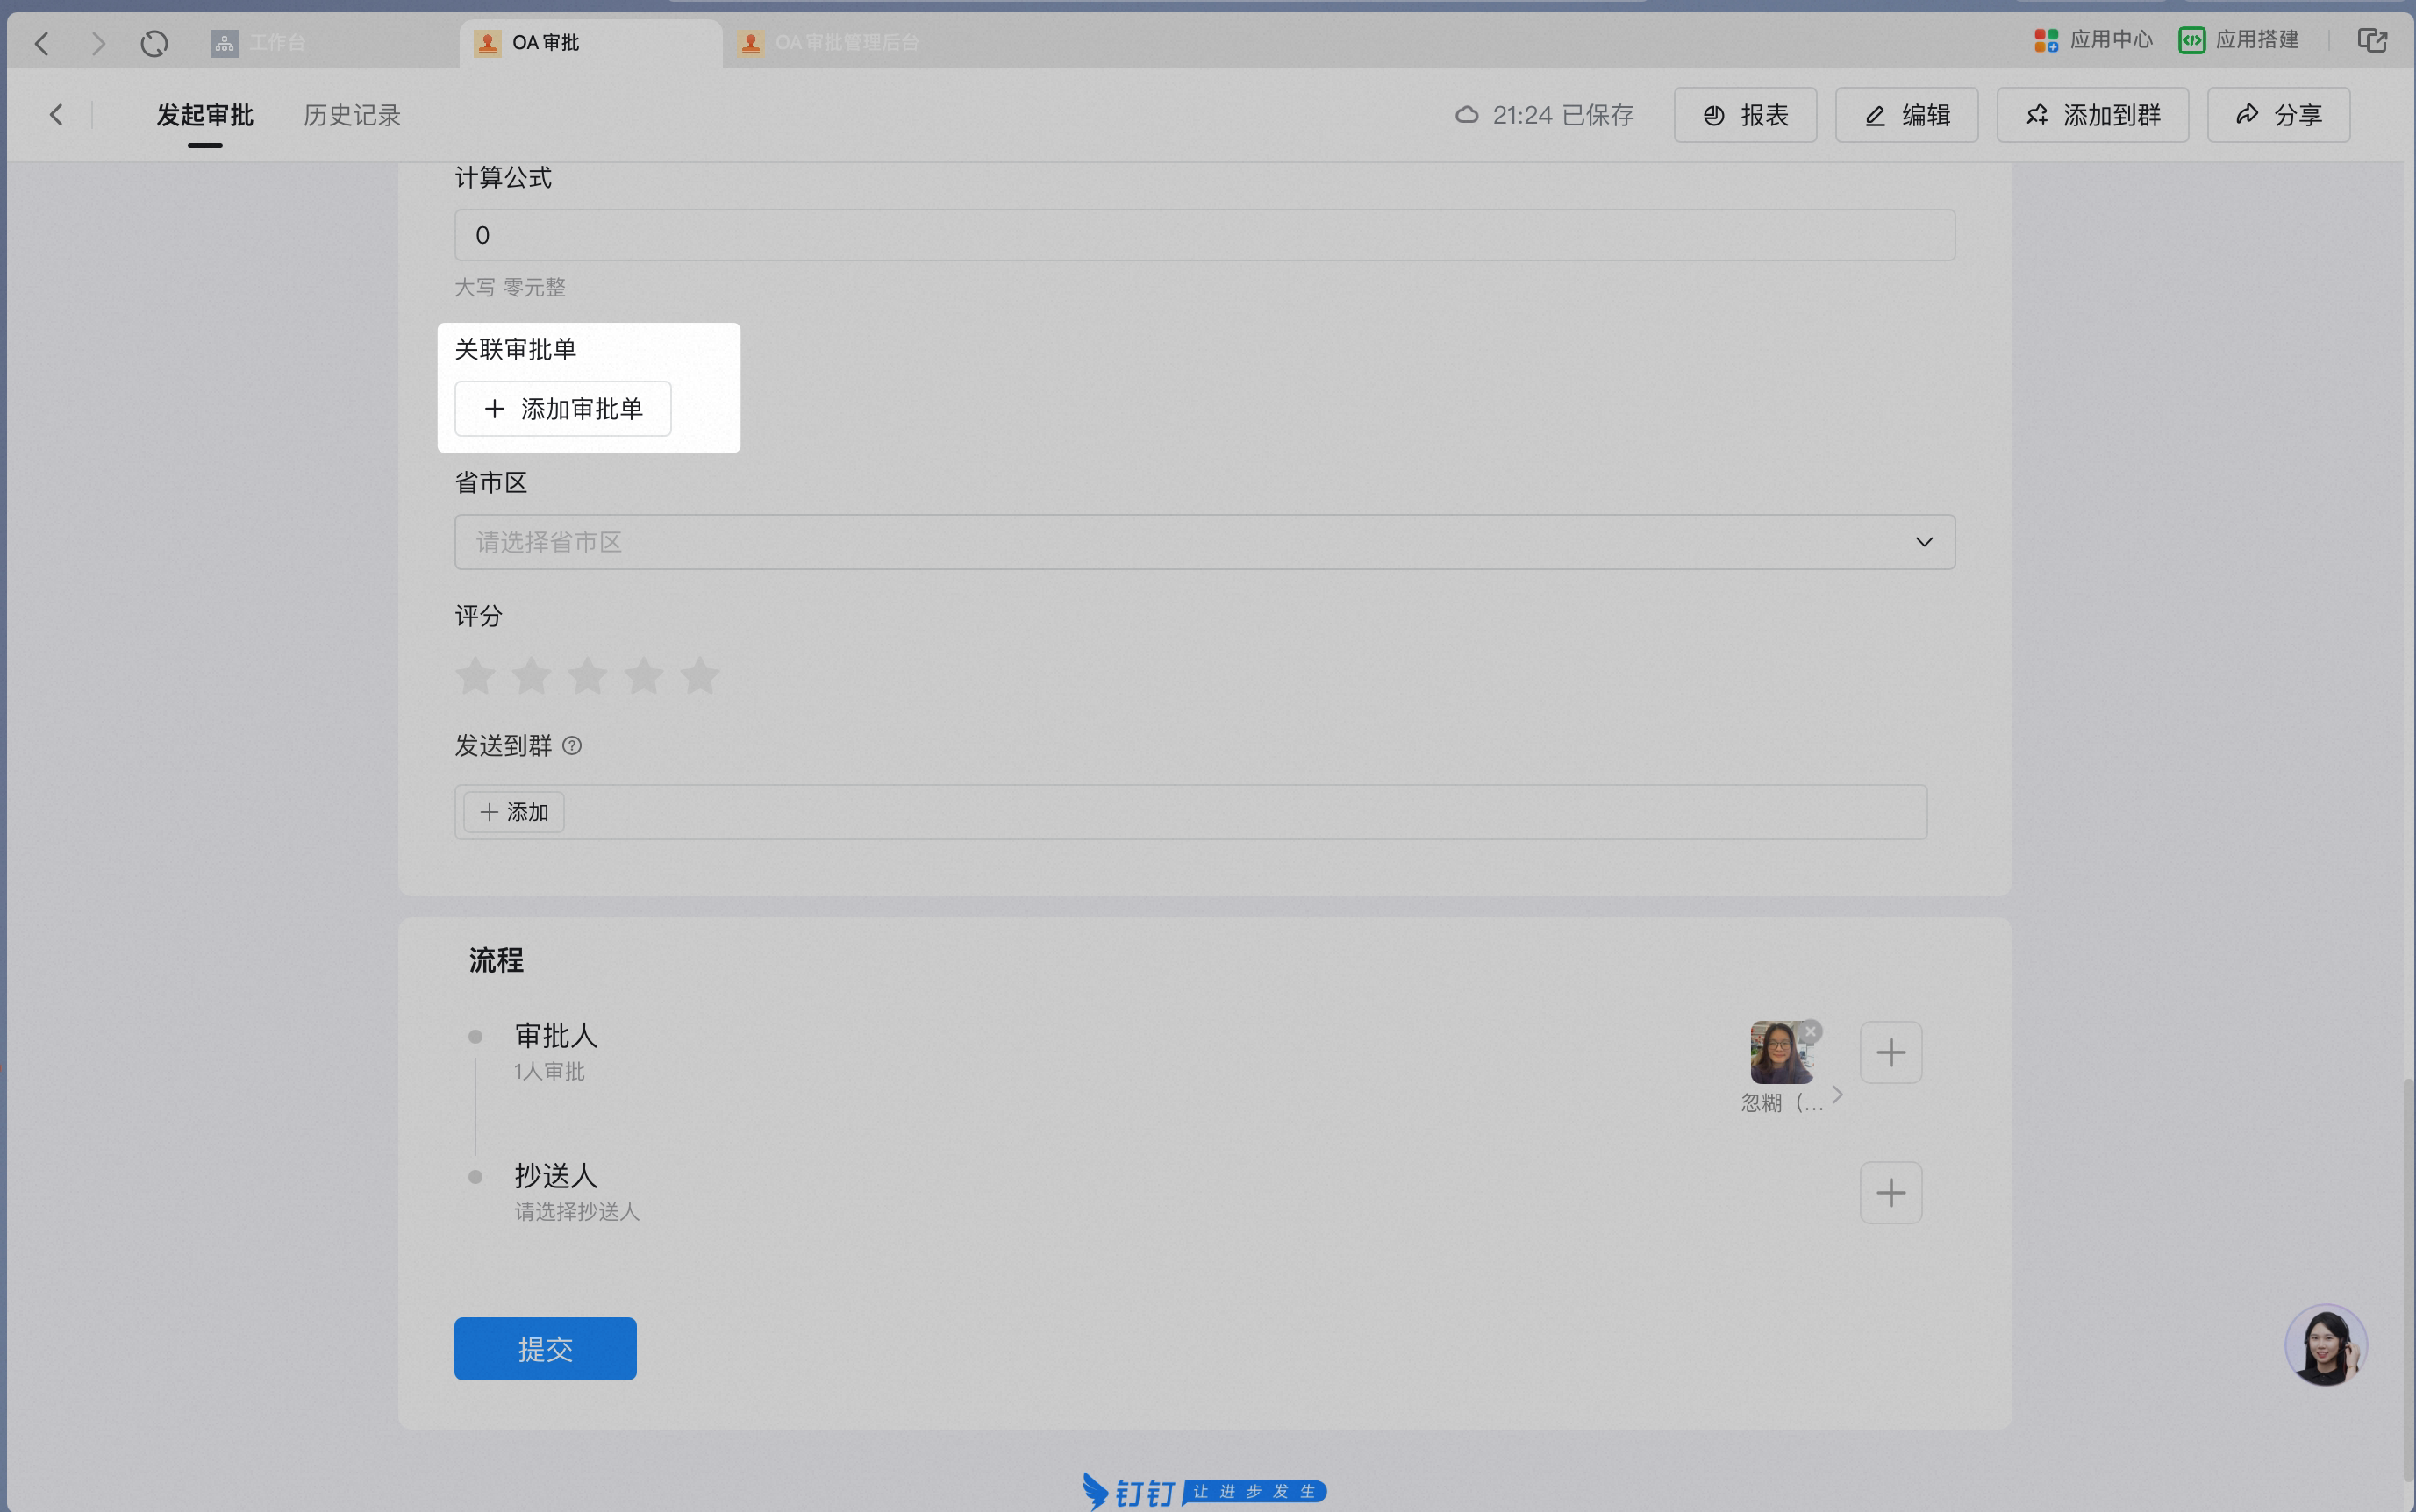
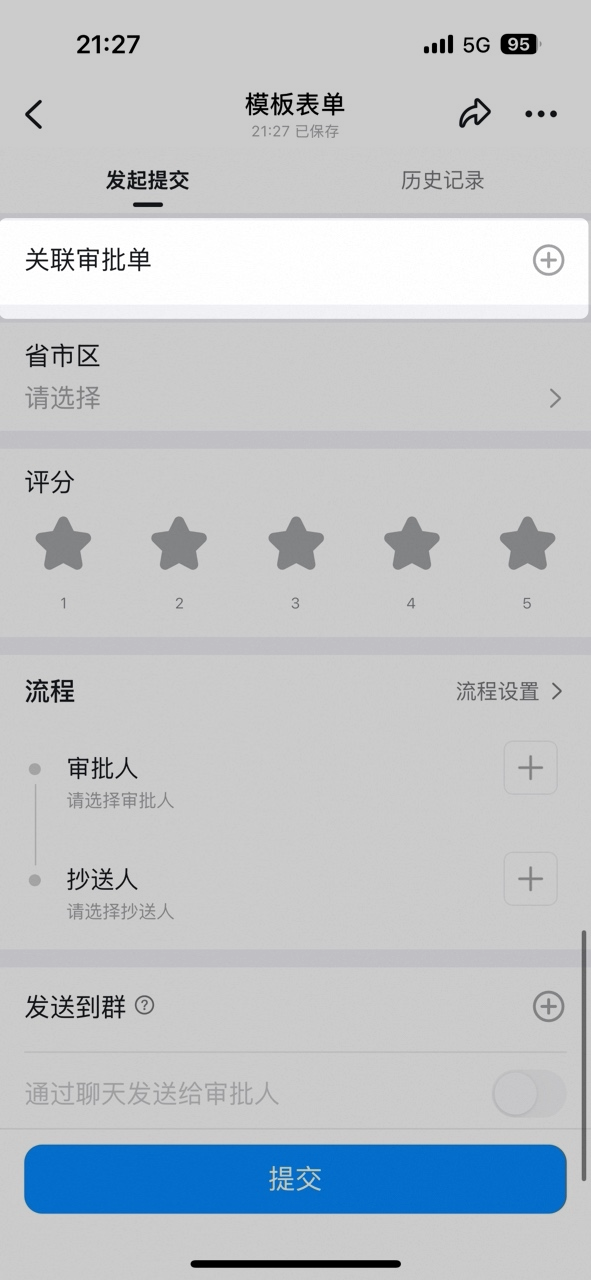
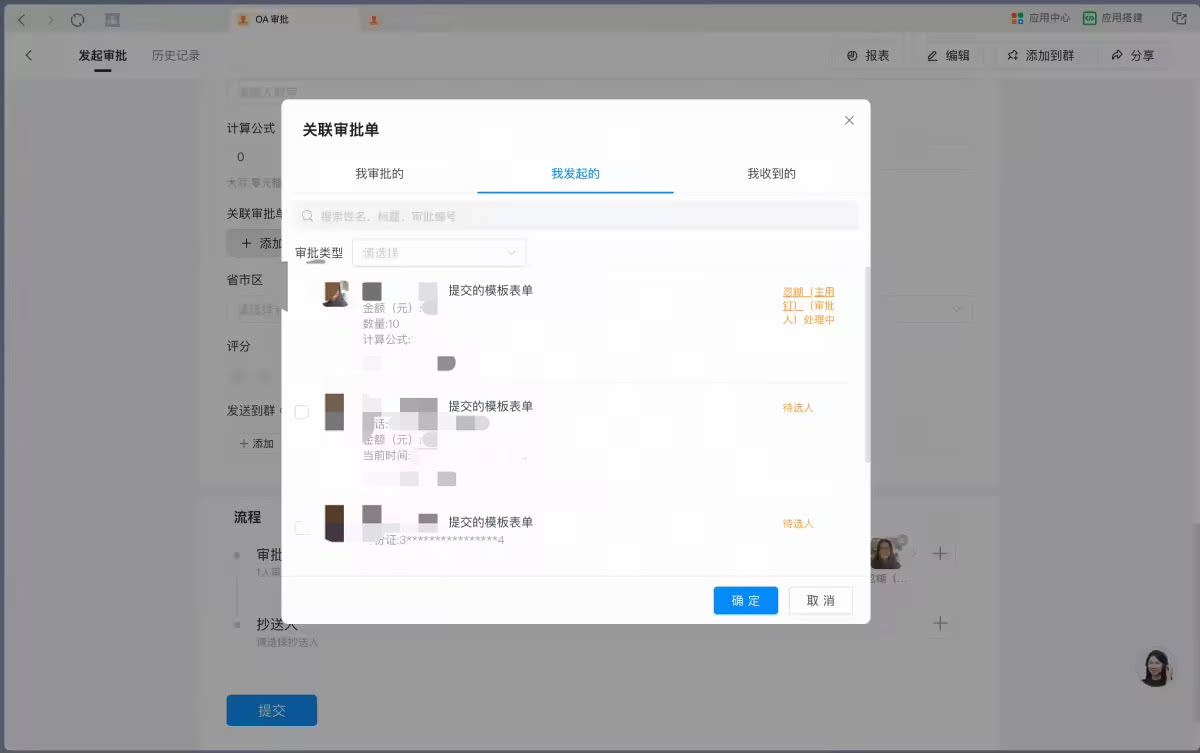
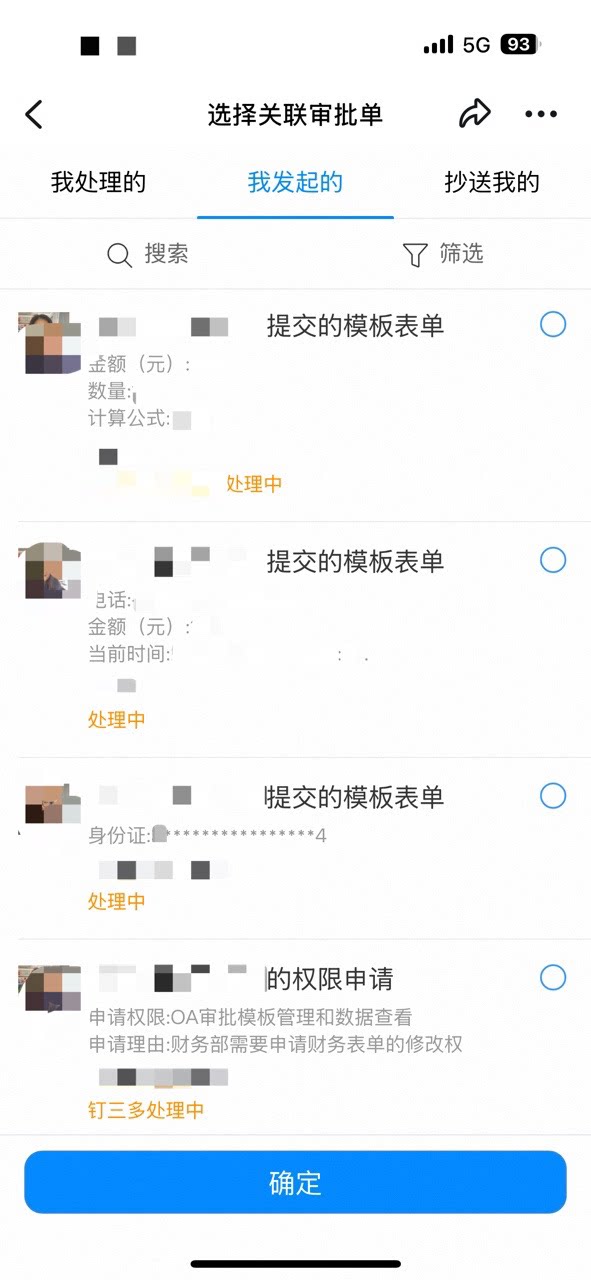
Data constraints and Search
12. Province/City/District
Supports the User selecting address information — Province/City/District, street, and a free-form detailed address. It is typically used in scenarios where the User must provide address information, helping the User fill in the address quickly and accurately, and avoiding errors or omissions. Settings interface Add a Province/City/District control in the form designer: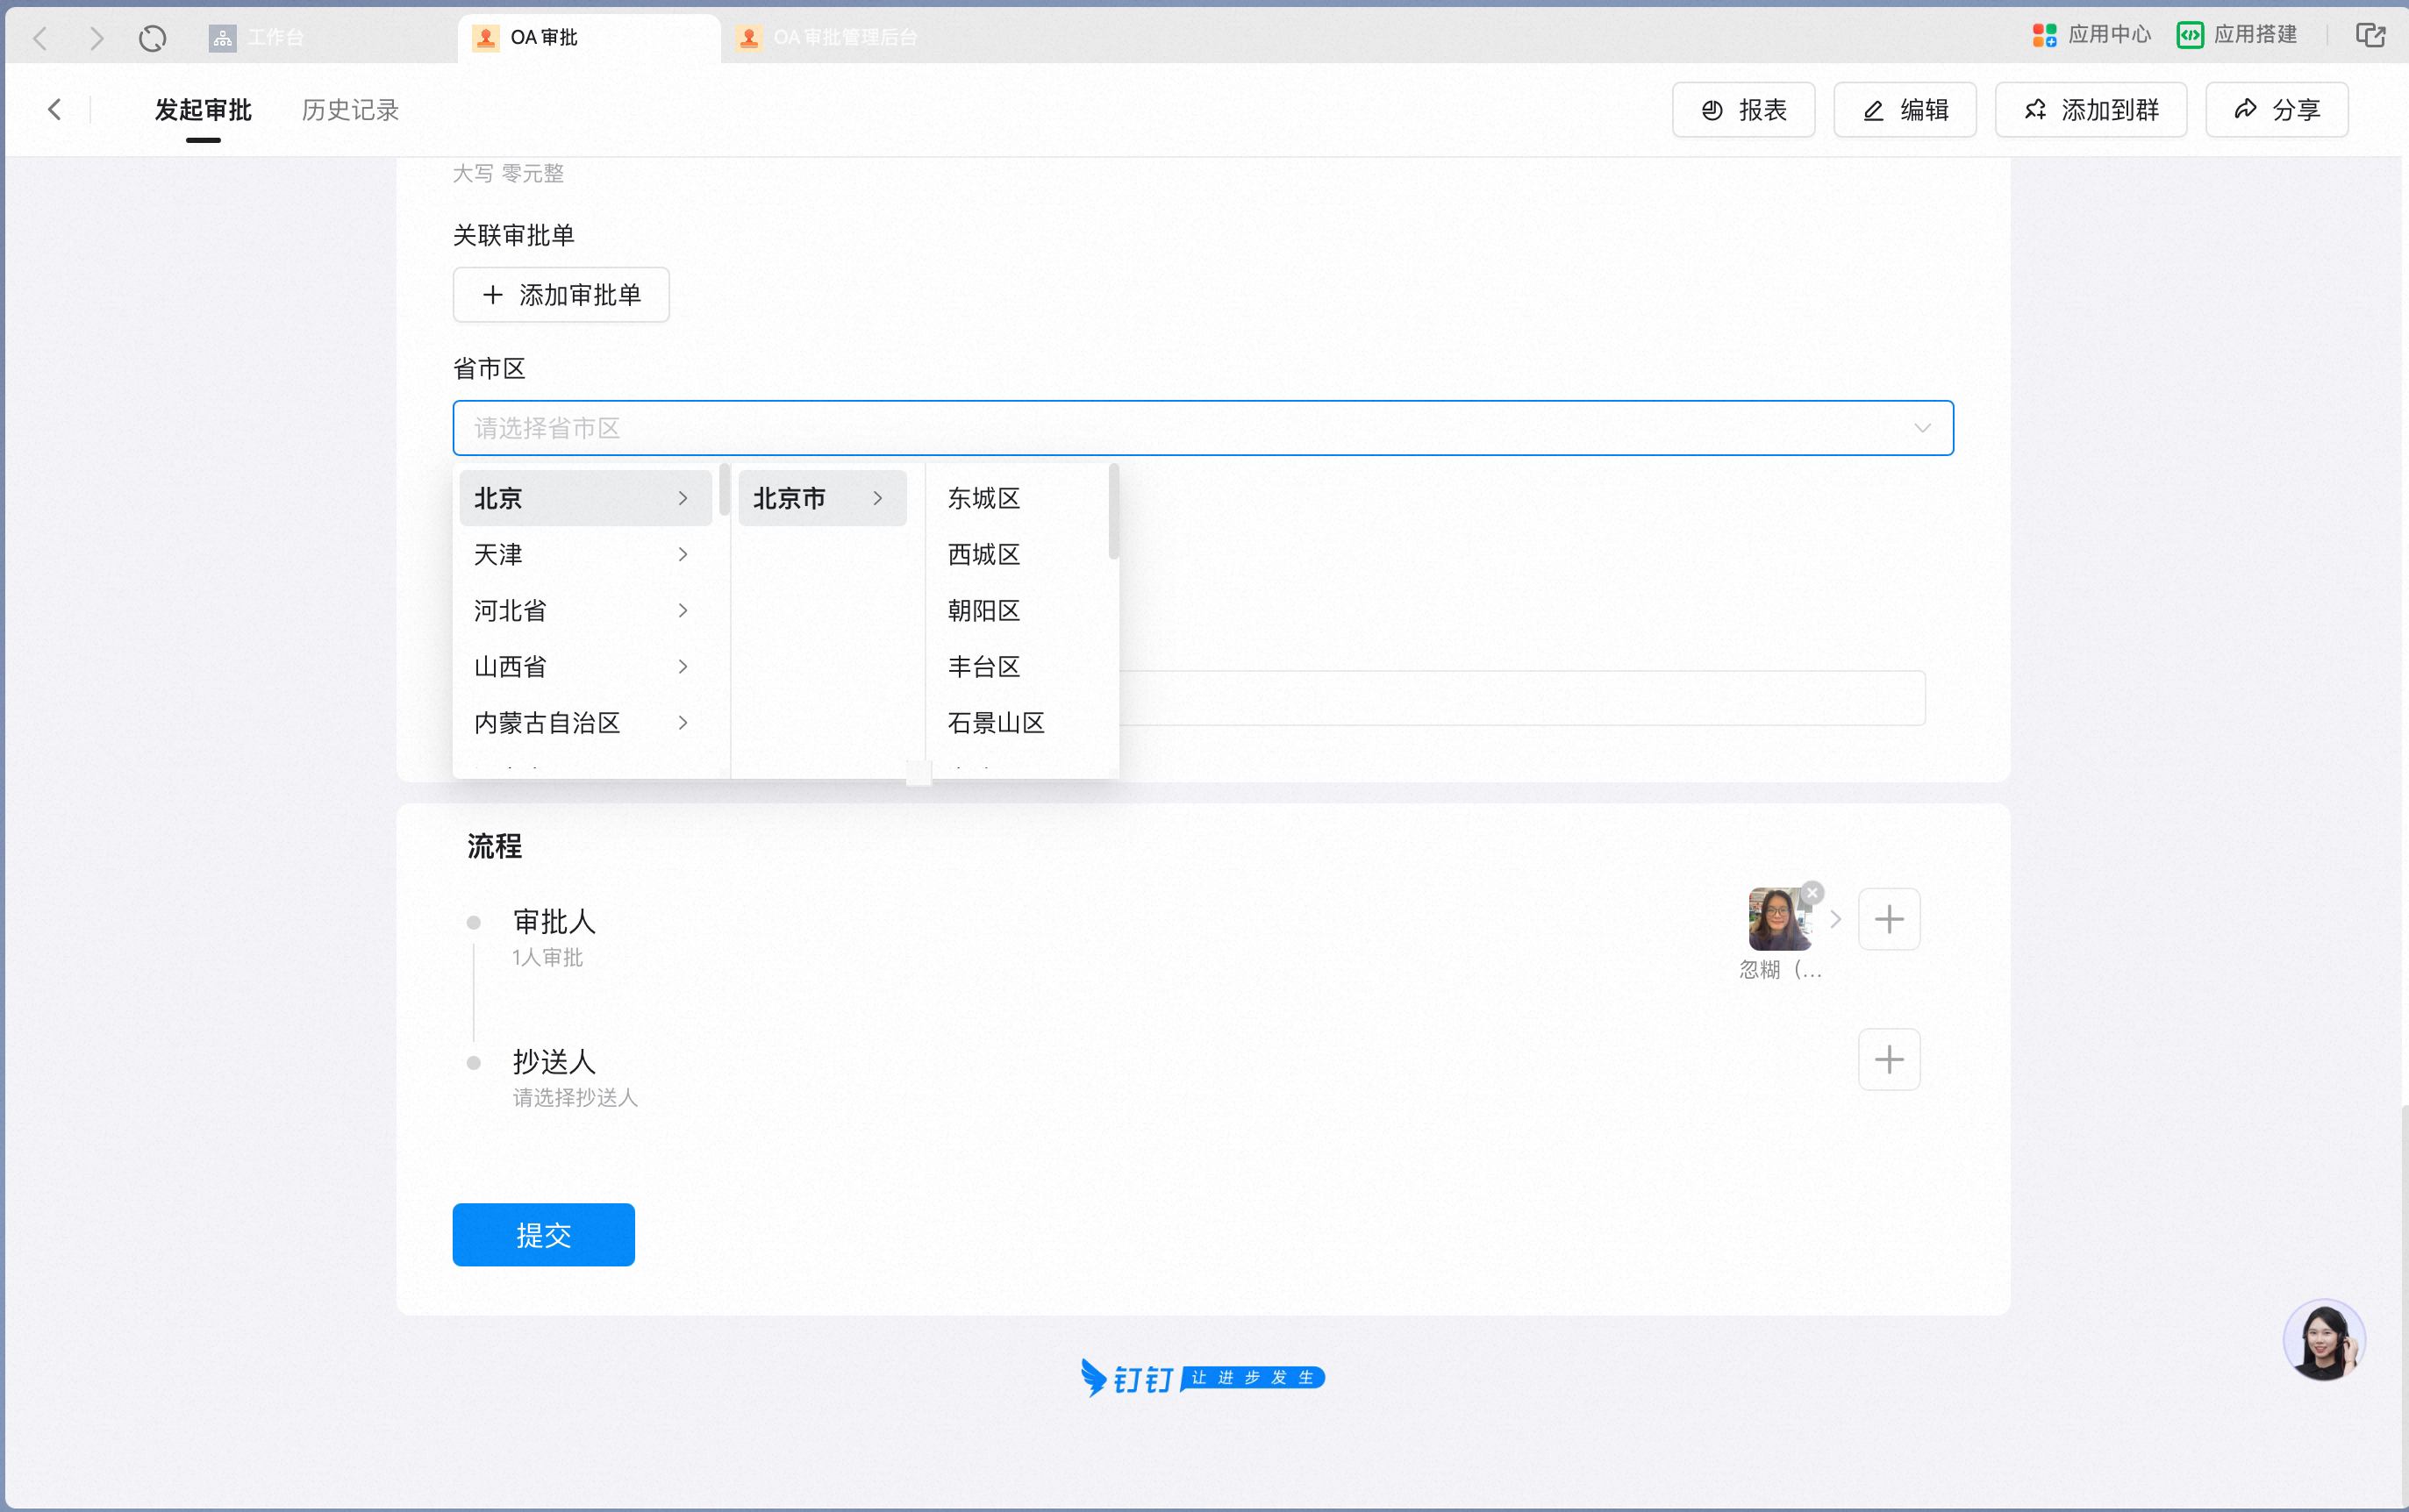
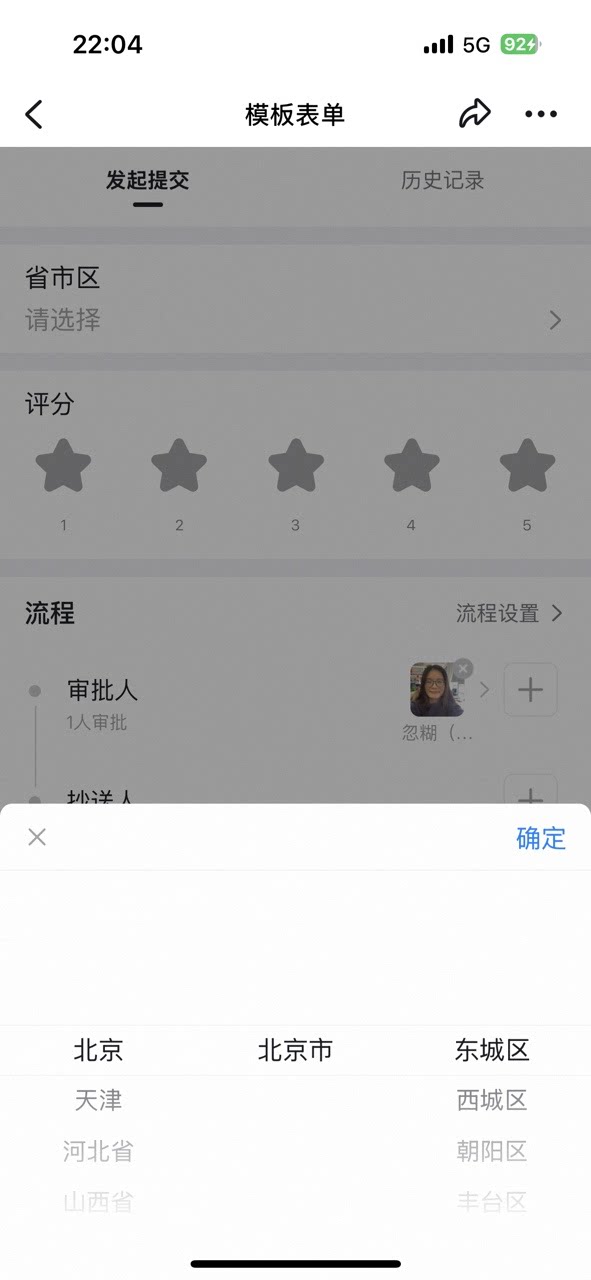
With Hide sensitive info On, the detailed address is masked on the Approval detail Page:

13. Rating
Pick a number of stars as the Rating. Both 5-star and 10-star scales are supported — for example, satisfaction surveys, experience Feedback, and other scenarios where the User must provide a Rating. Settings interface Add a Rating control in the form designer: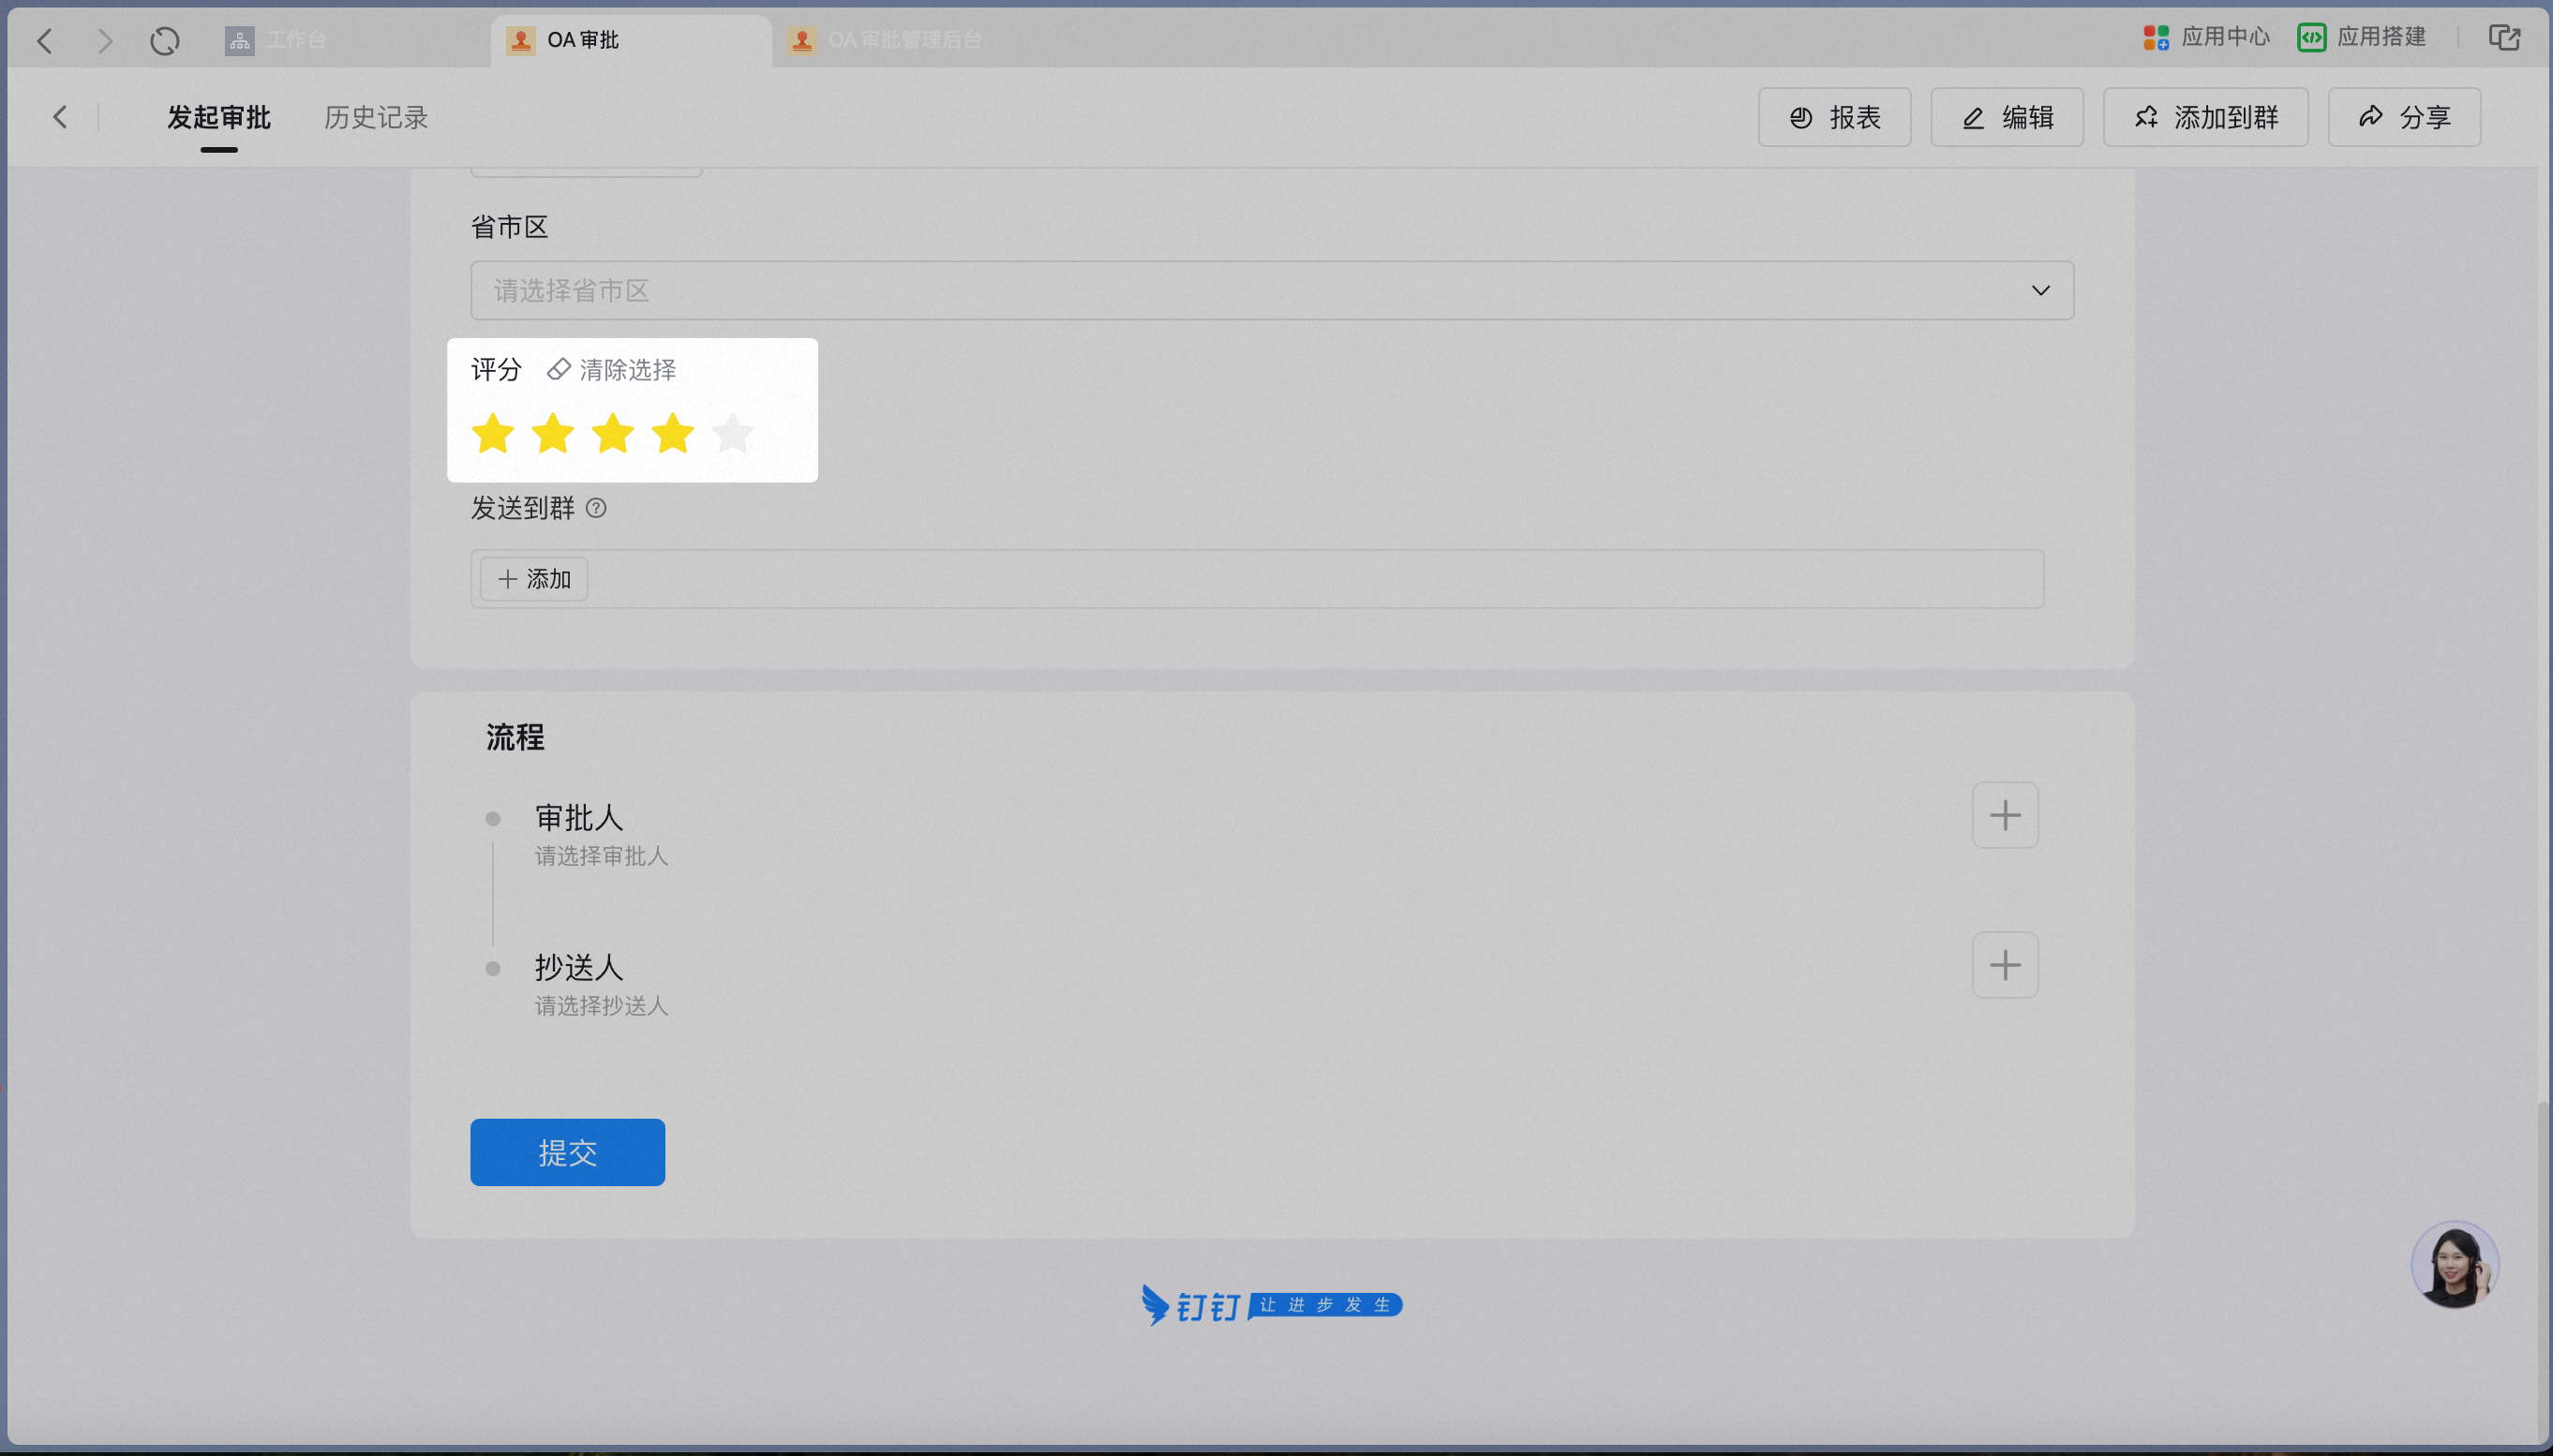
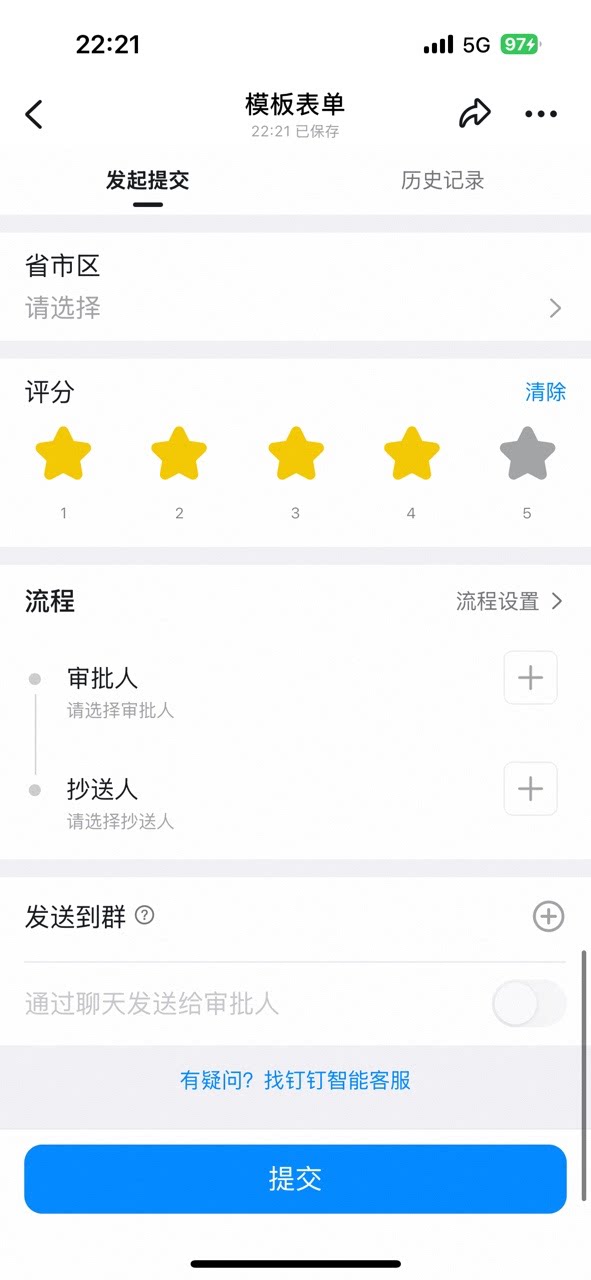
Selecting 4 stars shows 4 points on the Approval detail Page:

2. Related documents
Option linkage
Set up linked display between single Select options and other controls
Detail control
Use the Details/Spreadsheet control to collect multiple Records with the same fields
Process design
Design Approval process Steps and conditional branches
AI controls
Use AI controls to improve form-filling and Approval efficiency