
 Chats
 Calendar
 Meetings
 Contacts
 Mail
 Docs
 Drive
 AI Table
 AI Minutes
 Attendance
 Approval
 YiDA
 Admin Console
DingTalk Enterprise Mail accounts can be created and assigned in two ways:
- Manually through Directory > Members in the DingTalk admin console. This article explains this method.
- Automatically in bulk by the system, based on rules configured in mail management. For details, see Bulk Account Assignment.
Prerequisites
Sign in to the admin console with an administrator account or a sub-administrator account with the required permissions, then go to App Management > Mail. Verify domain ownership before assigning accounts.Procedure
1
Open the member's information editor
Sign in to the DingTalk admin console as an admin and go to Directory > Members. Find the member who needs a DingTalk Enterprise Mail account. The Enterprise Email field initially shows Unassigned. Open the action menu on the right and click Edit information.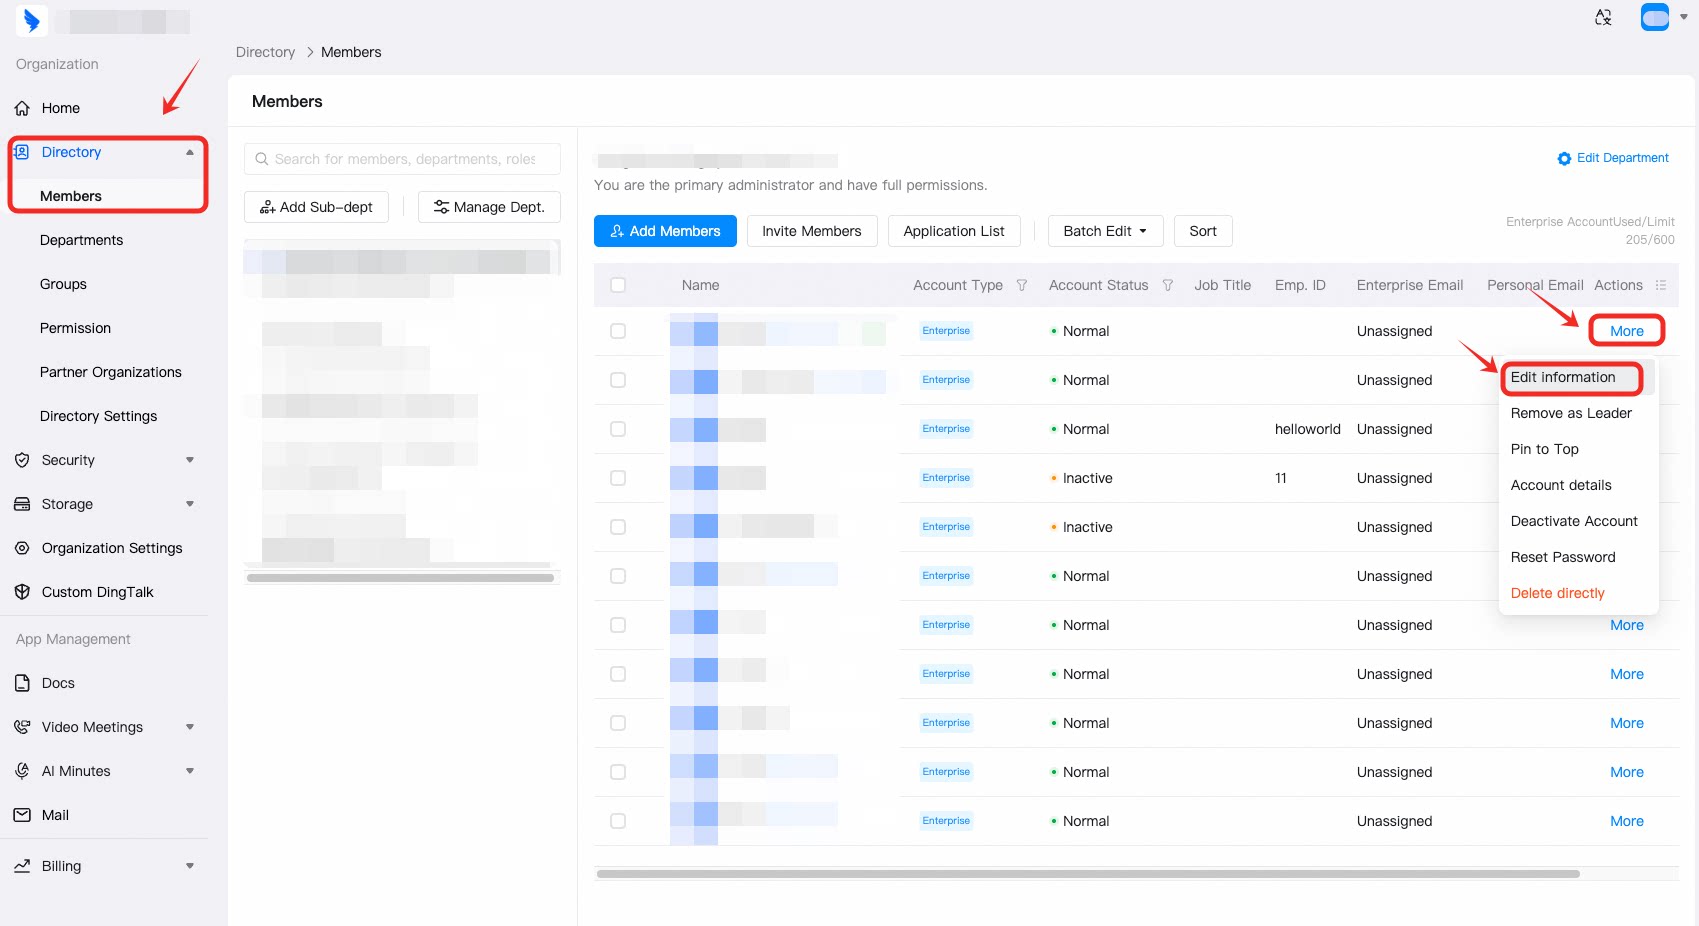
2
Enter the email prefix and confirm
Enter the email address prefix (the part before ”@”) in Enterprise Email. Check that the information is correct, then click OK to create the DingTalk Enterprise Mail account.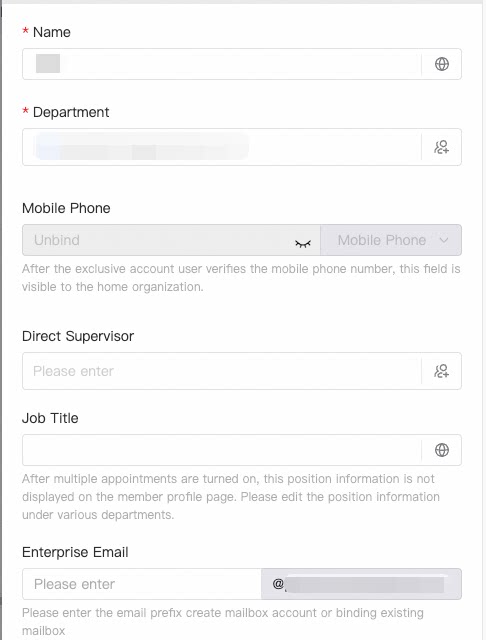
3
The employee receives a work notification
Once the account is created, the employee receives a work notification in DingTalk.
4
View the new email address
On the Members page, admins can view the newly created DingTalk Enterprise Mail address in Enterprise Email.
For an account with a DingTalk Enterprise Mail address activated for the first time, refresh the entire page to display the address.
5
(Optional) Configure advanced settings
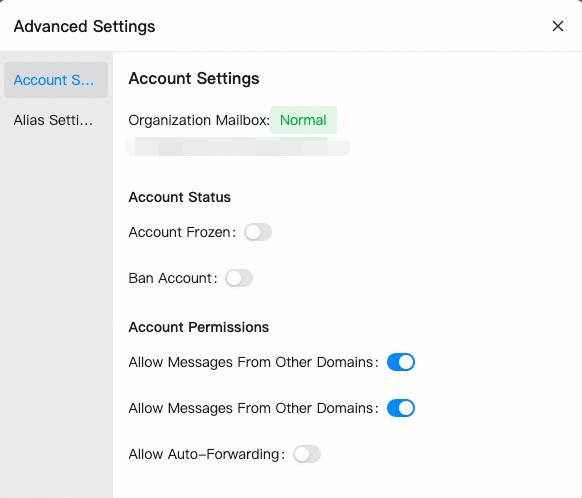
For members whose DingTalk Enterprise Mail accounts are already activated, admins can click Advanced Settings below Enterprise Email on the member information page to configure account settings and aliases.