
 Chats
 Calendar
 Meetings
 Contacts
 Mail
 Docs
 Drive
 AI Table
 AI Minutes
 Attendance
 Approval
 YiDA
 Admin Console
Procedure
1
Open Bulk Account Assignment
Sign in to the DingTalk admin console with an admin account or a sub-admin account that has the required permissions. Go to App Management > Mail > Email Tools > Bulk Account Assignment.
2
Set the email naming rules
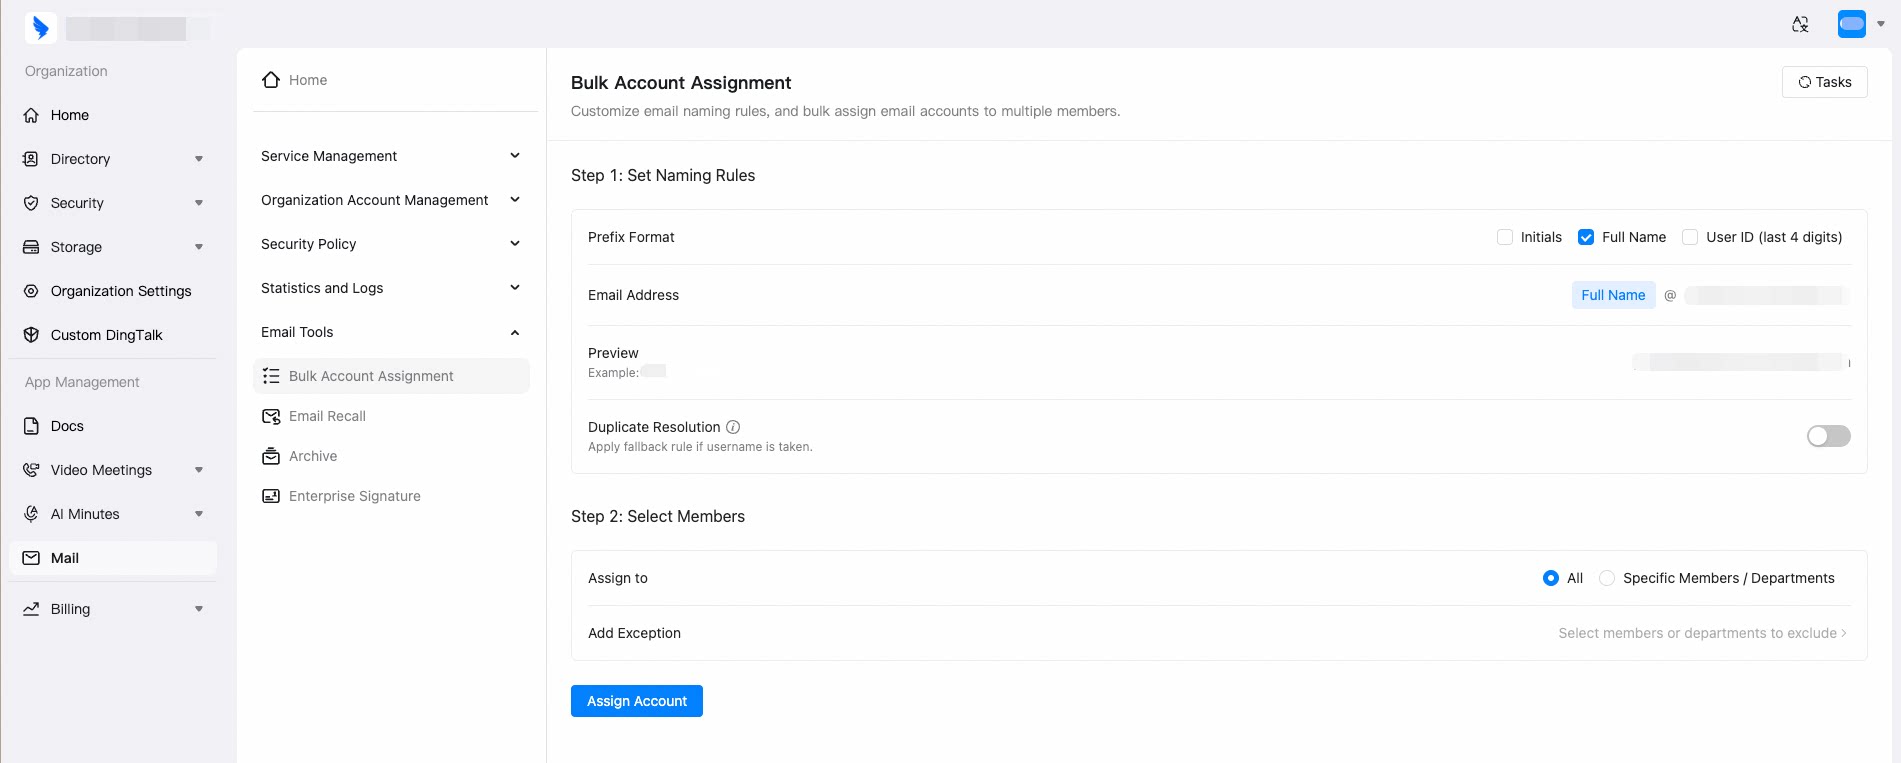
- Naming Rules
- Duplicate Resolution
Under Prefix Format, select one or more of the three available options: Initials, Full Name, and User ID (last 4 digits). You can use one option or combine multiple options.Under Email Address, if your organization has multiple domains, select the domain you want to use.Preview: 
lihua@example.com
3
Set the account assignment rules
Under Assign to, select All or Specific Members / Departments. The naming rules configured above apply to members within the selected scope.Click Assign Account, then wait for the task to finish.
- All
- Specific Members / Departments
If some members already have DingTalk Enterprise Mail accounts, they are identified in the result file after the task is complete. You can use Add Exception to exclude specific members or departments.

4
View the results
Use Tasks to view account creation results and logs. After running the assignment, click Tasks in the upper-right corner.Find the task with the corresponding operation time, then download the result file. Open the bulk account assignment result file and review any failure messages.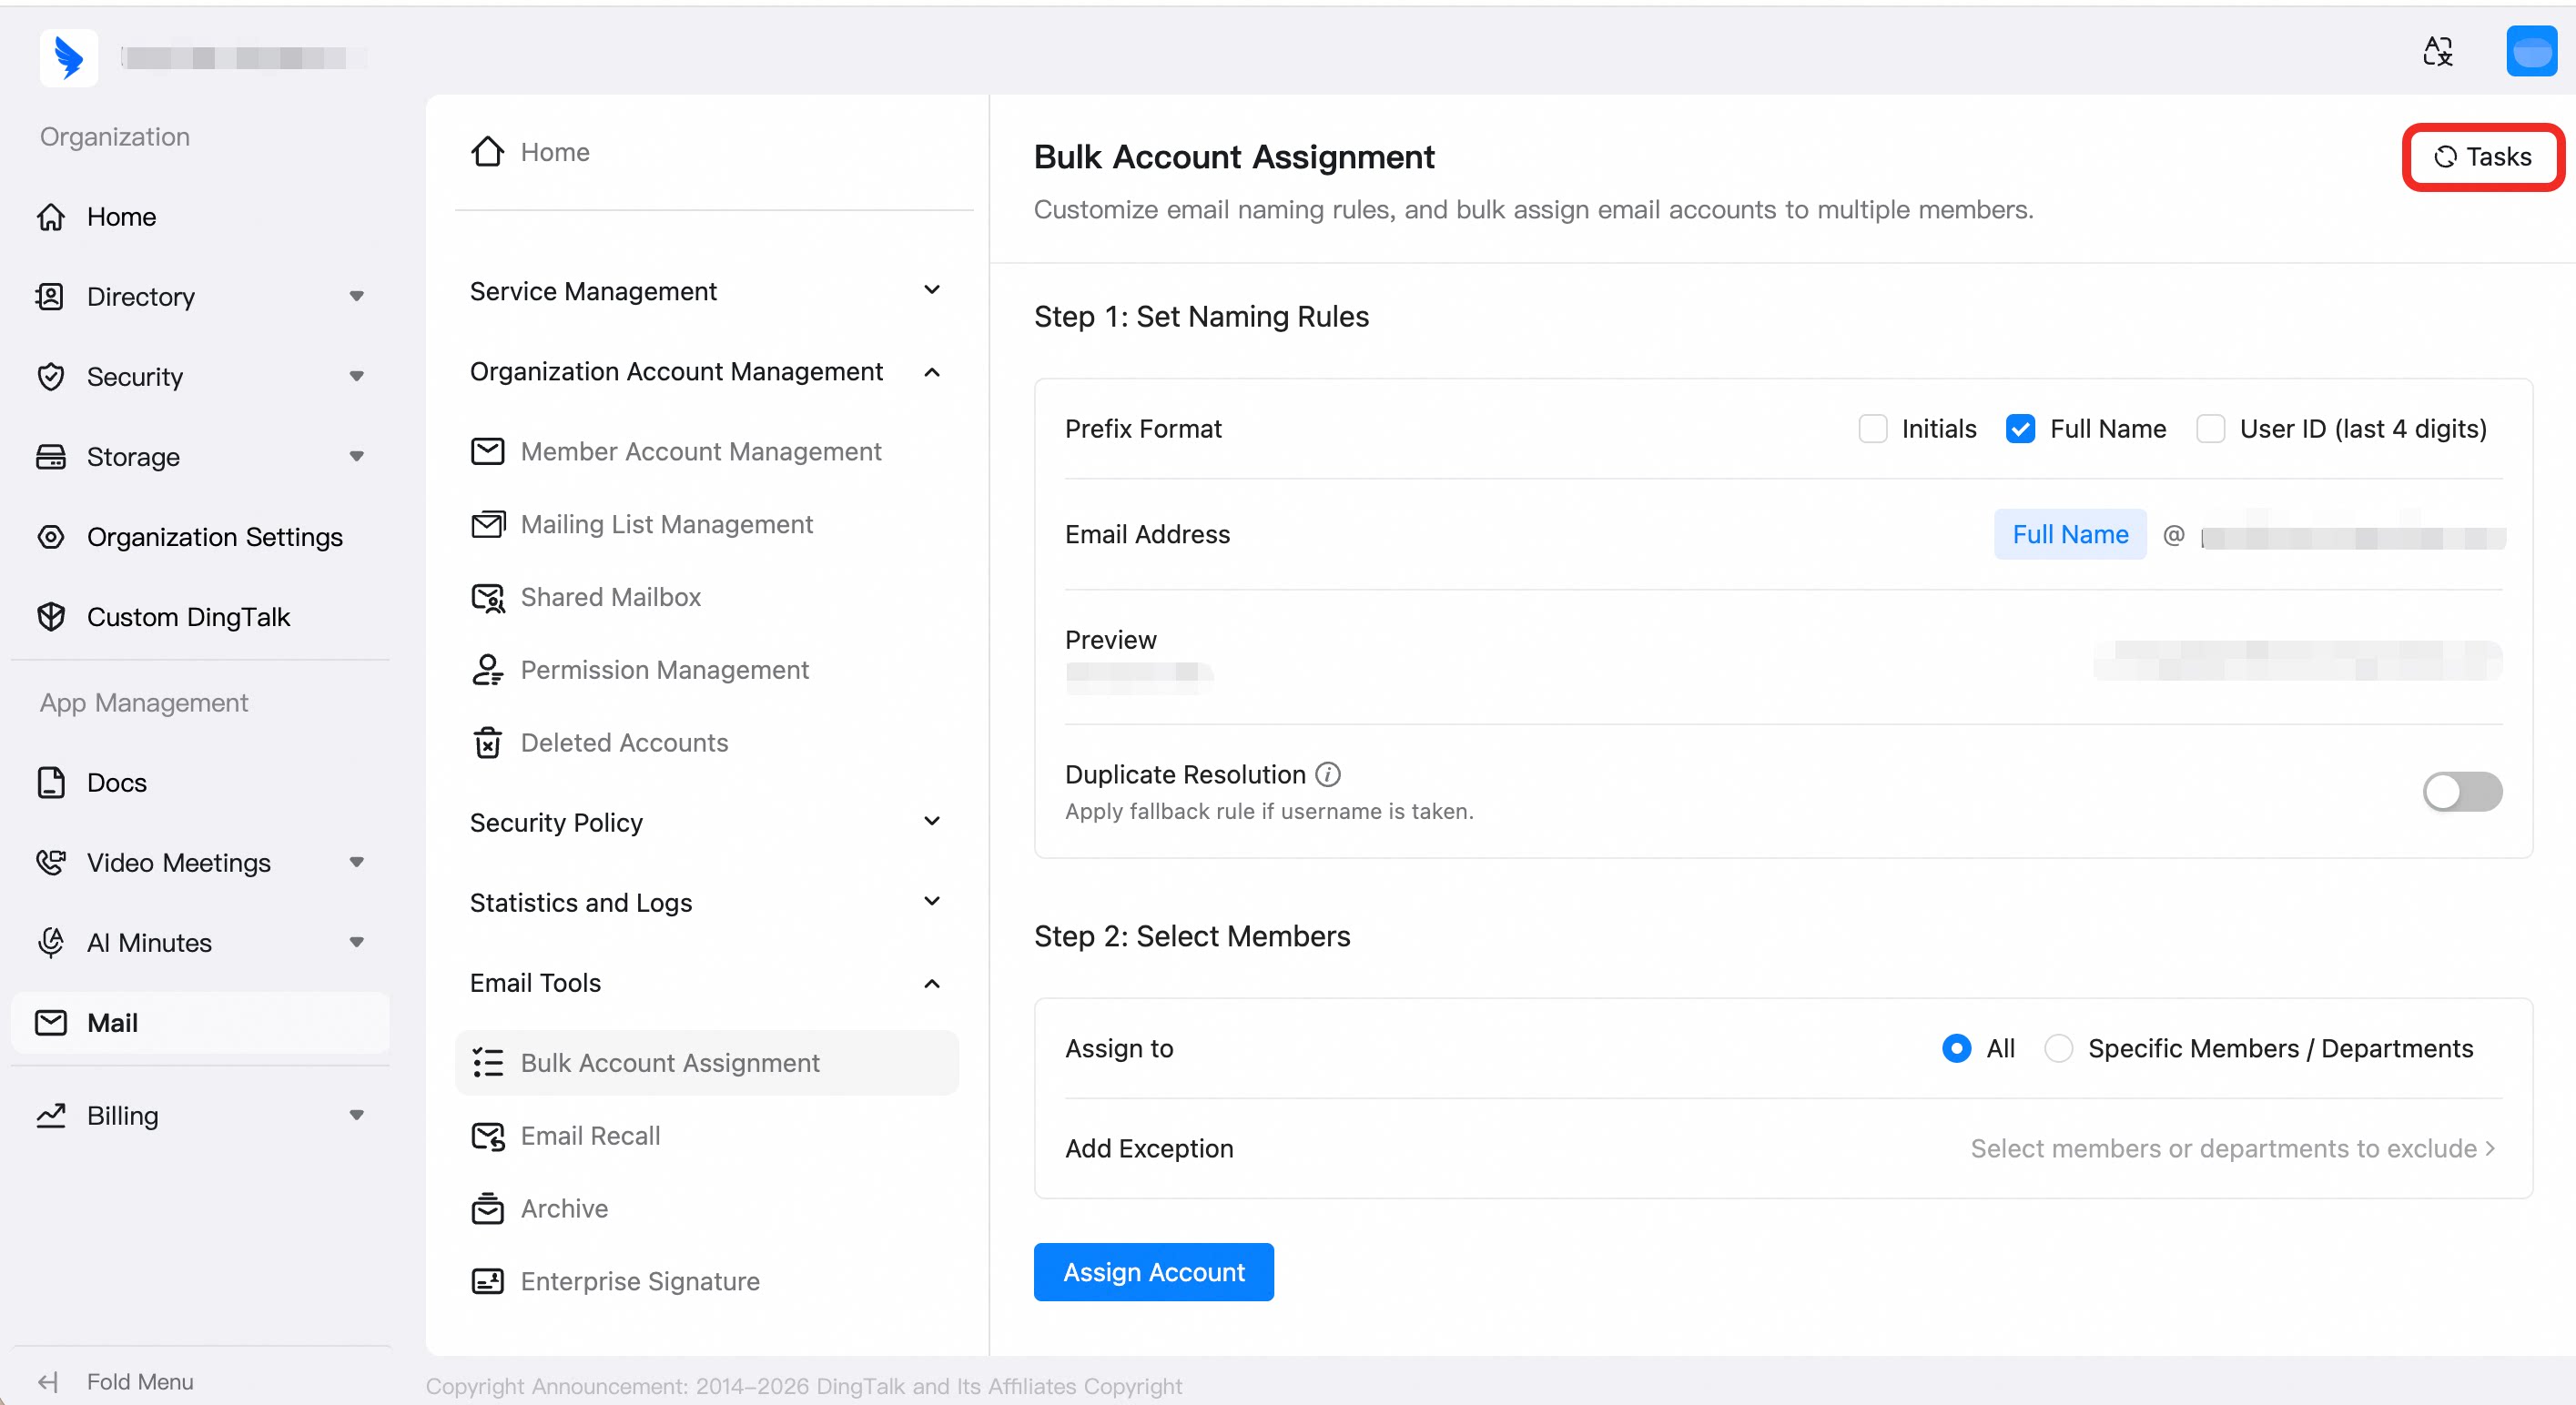
About the Results
What is shown if the new address matches the assigned address?
What is shown if the new address matches the assigned address?
If the new address is exactly the same as the address already assigned to the member, the result is shown as Success, not Already assigned.
What if another Enterprise Mail account is already linked?
What if another Enterprise Mail account is already linked?
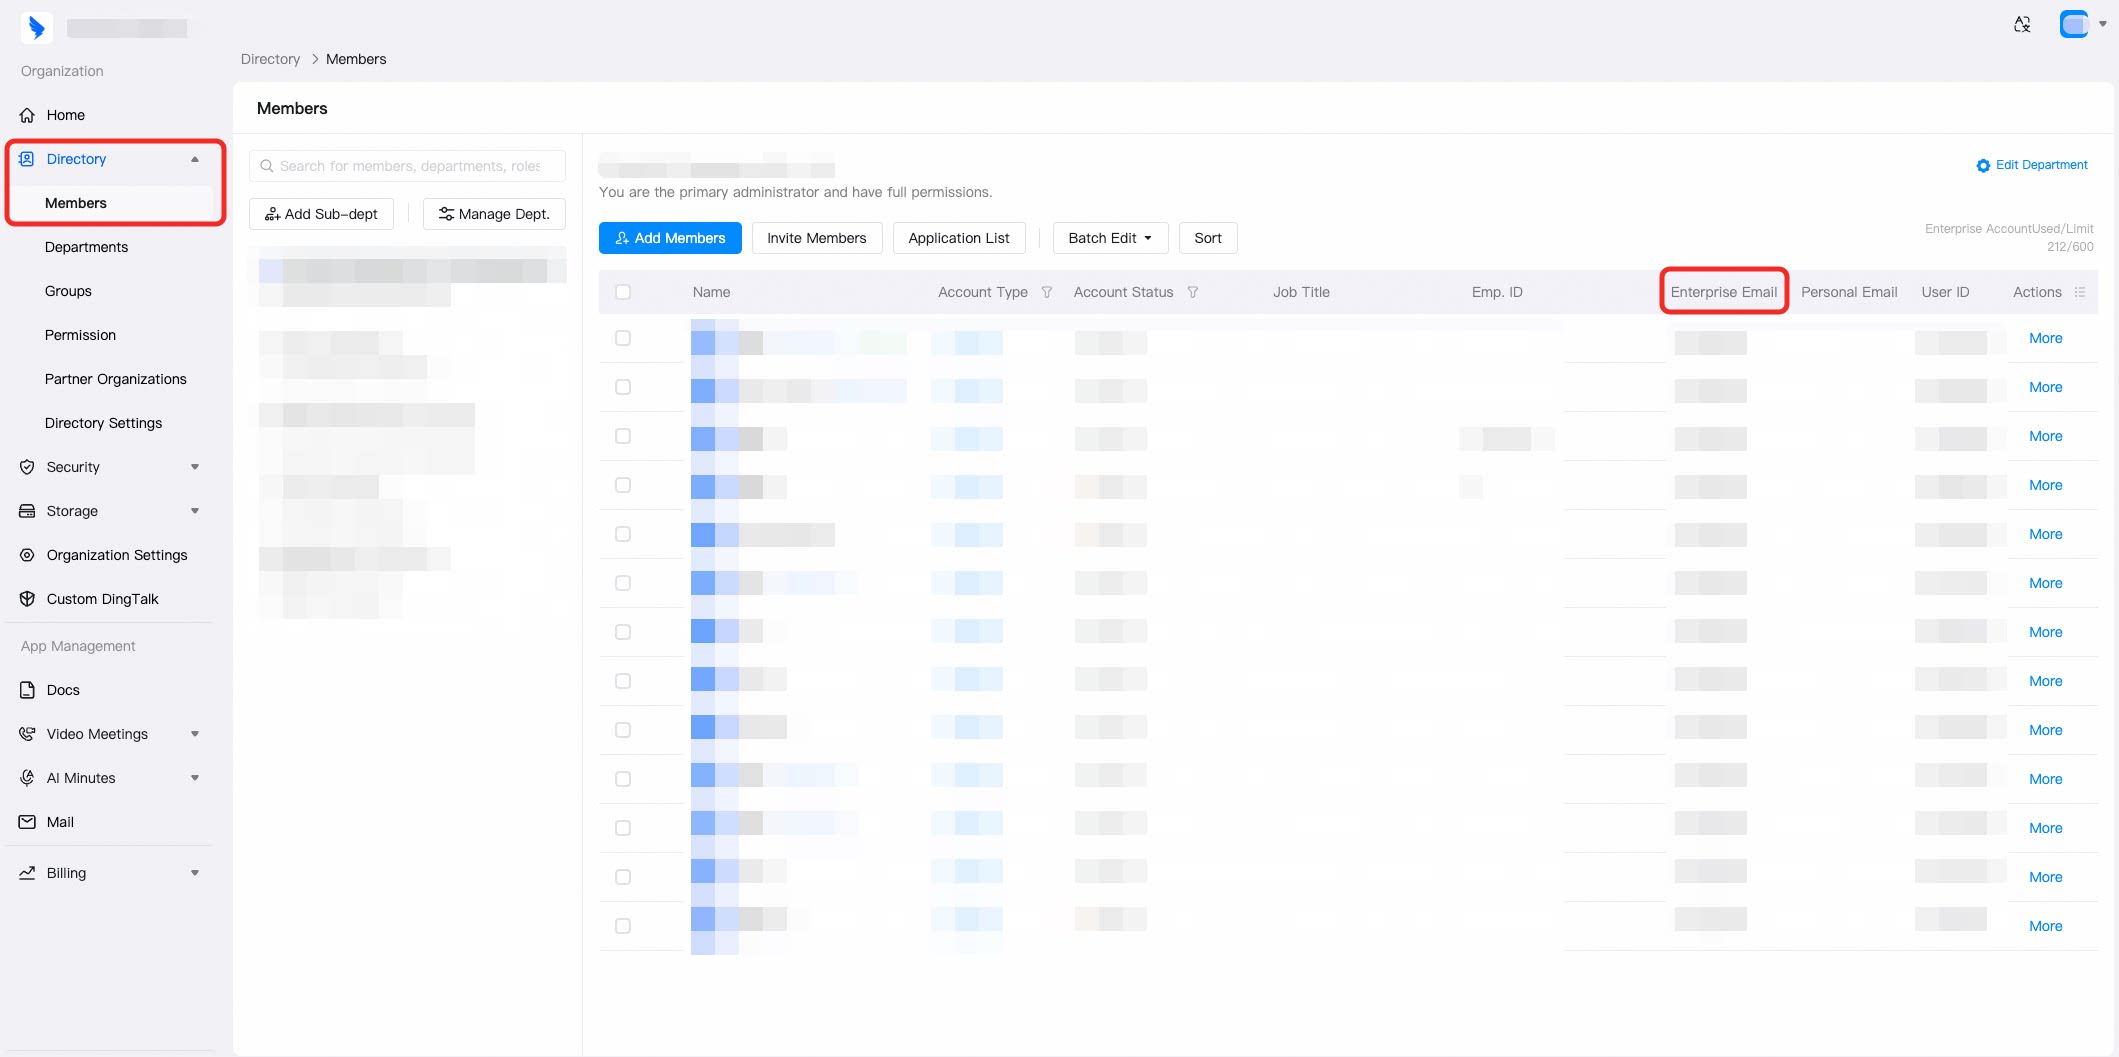
If the result indicates that another DingTalk Enterprise Mail account is already linked, an email account has already been assigned to that employee. Go to Directory > Members and view the Enterprise Email field for the employee.