

 Chats
Chats Calendar
 Meetings
 Contacts
 Mail
Mail Docs
Docs Drive
Drive AI Table
 AI Minutes
 Attendance
 Approval
 YiDA
YiDA Admin Console
Steps
1
Step 1
Sign in to the YiDA workbench as an admin.
2
Step 2
Click the platform management button  in the upper-right corner to open the Basic Information page of platform management.
in the upper-right corner to open the Basic Information page of platform management.3
Step 3
Select Mail Management and click Create Mail Account.
4
Step 4
Enter the mail account information and click Confirm to complete the setup.
Steps to Obtain the Authorization Code
| Mail Type | Description |
|---|---|
| Alibaba Mail Business plan | Obtain the authorization code: https://help.aliyun.com/document_detail/444380.html?spm=a2c4g.438201.0.0.13d34a97D1XWmN 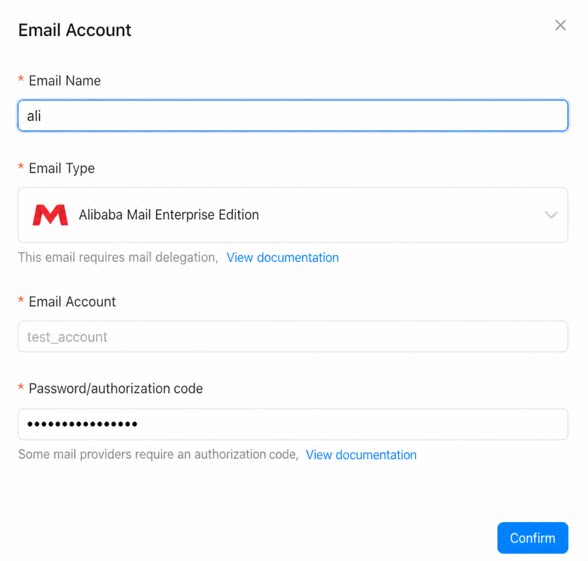 |
| Alibaba Mail Personal plan | Obtain the authorization code: https://help.aliyun.com/document_detail/444269.html?spm=a2c4g.444380.0.i1 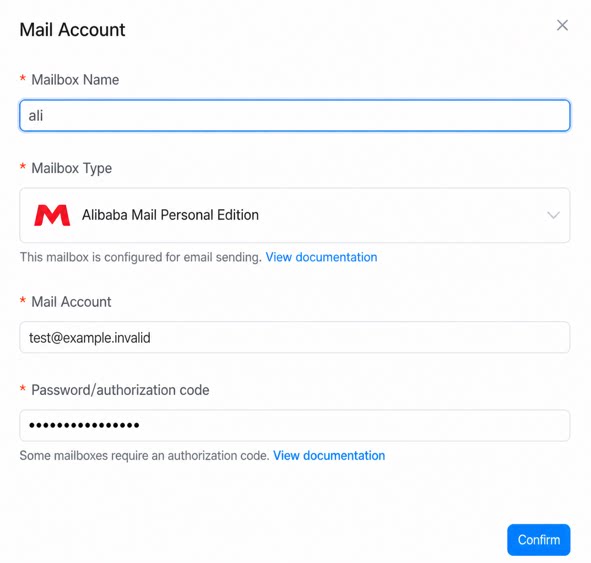 |
| DingTalk Enterprise Mail | 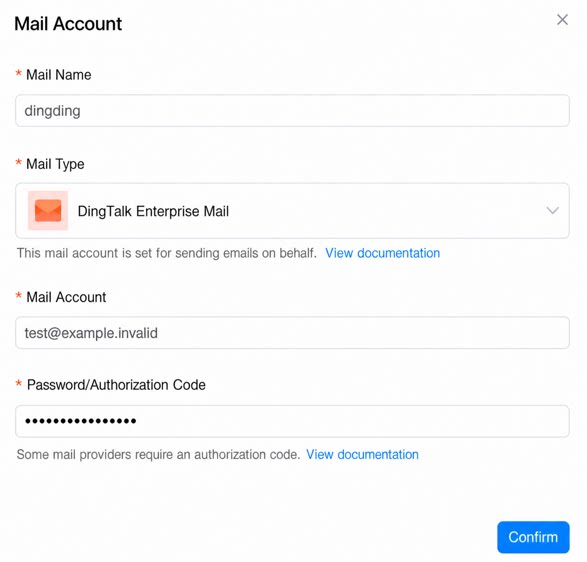 |
| Tencent Enterprise Mail | 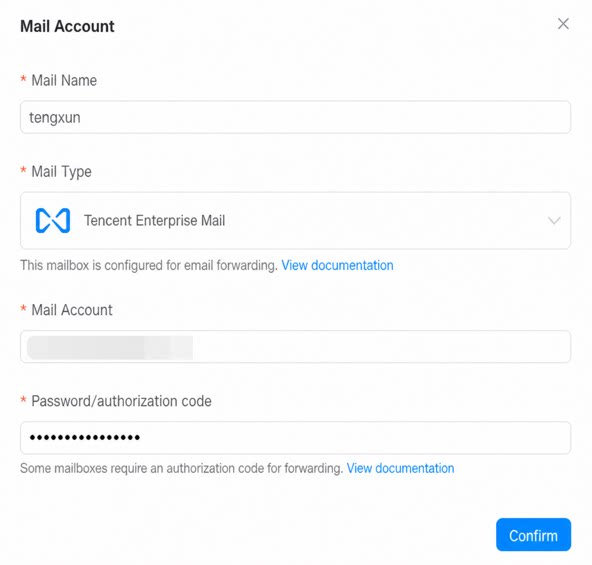 |
| NetEase Enterprise Mail | 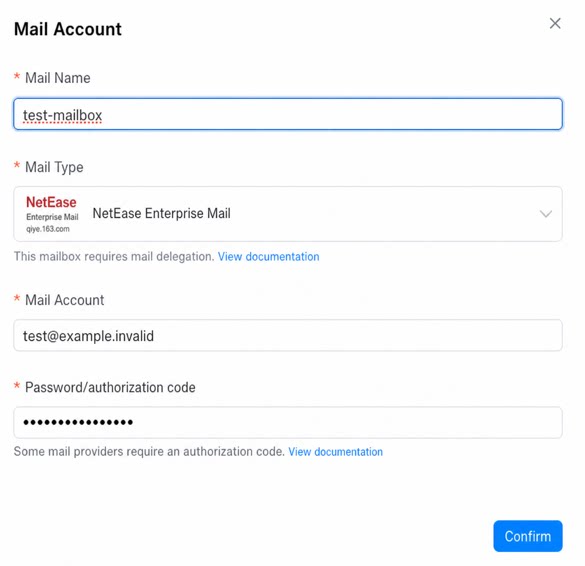 |
| QQ Mail | 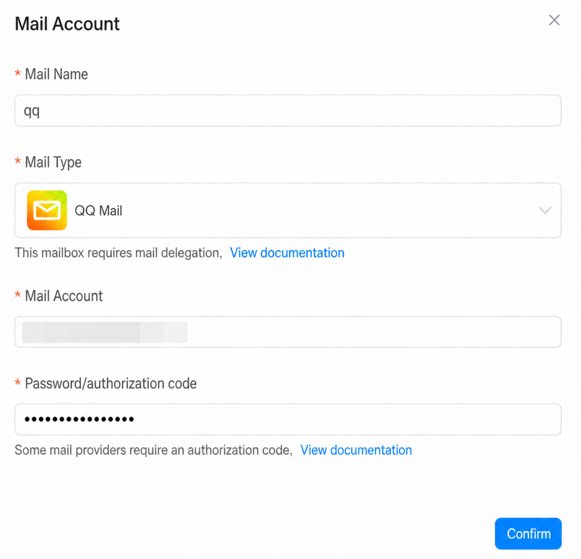 |
| 163 Mail | 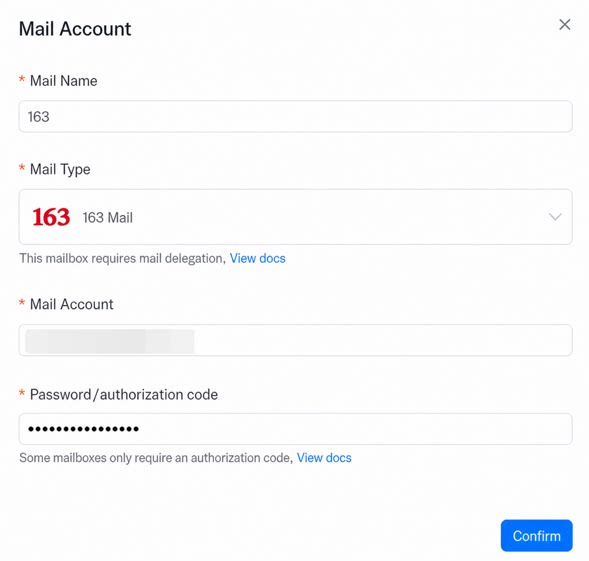 |
| 126 Mail | 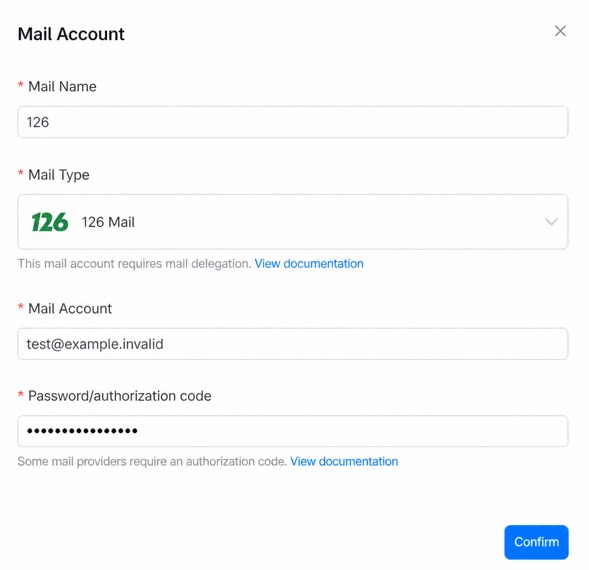 |
| Gmail | How to obtain a Gmail account / authorization code 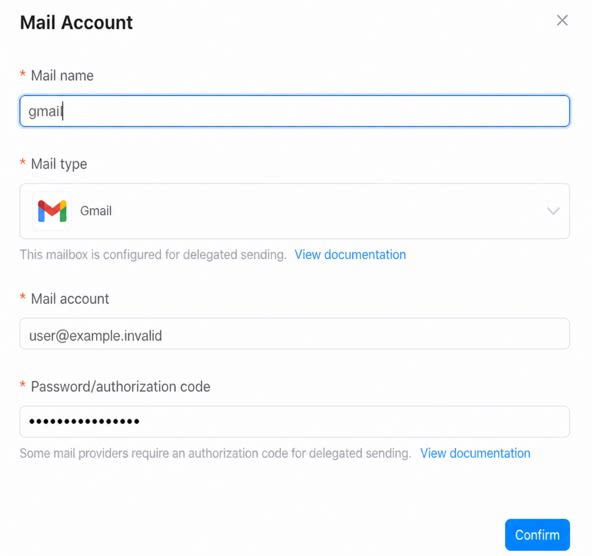 |
| Outlook Mail | See this document for details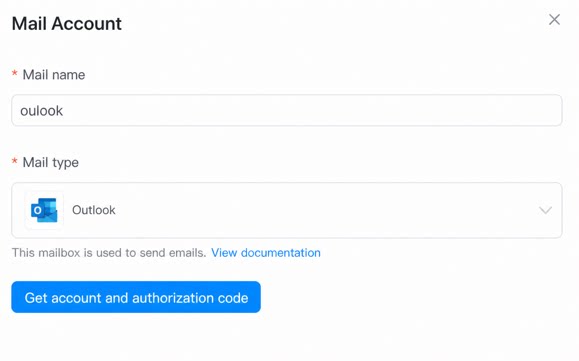 |
1. Obtain the Authorization Code for Alibaba Mail Business Plan
To obtain the authorization code for Alibaba Mail Business plan, follow these steps:Step 1: Sign in to the Web Version of Alibaba Mail
- Open the Alibaba Mail sign-in page.
- Sign in with your Enterprise Mail account and password.
Step 2: Open the “Settings” Screen
- After signing in, find the “Settings” button (usually a gear icon) in the upper-right corner and click it.
- Select “Client-side authorization code” or a similarly named option in the left-hand menu.
Step 3: Generate the Authorization Code
- On the “Client-side authorization code” page, click “Obtain authorization code” or “Generate authorization code”.
- Follow the on-screen tips to obtain or set an authorization code.
- Save this authorization code. You will need it when configuring the Enterprise Mail in a client-side app such as Outlook or Foxmail.
Notes:
- The mail account password and the authorization code are not the same. Third-party clients usually require the authorization code to send and receive mail.
- If you cannot find the authorization code entry, contact the Enterprise Mail admin to confirm that the feature is enabled. Some organizations require the admin to enable it manually.
- If you use WeCom or DingTalk one-click sign-in, you can also find the entry to generate the authorization code in the account security settings.
2. Obtain the DingTalk Authorization Code
DingTalk Business plan generally does not require an “authorization code” to sign in and use, unlike mail, which does. However, if you need the authorization code used to send and receive external mail (for example, when Alibaba Mail Business plan is bound to DingTalk and you use a third-party client-side to send and receive mail), or the AccessToken / authorization code used for Open platform development, the scenarios differ.Step 1: [Mail Authorization Code]
To obtain the authorization code for a third-party client-side to send and receive mail in the Alibaba Enterprise Mail bound to DingTalk, follow these steps:- Open the DingTalk web version (DingTalk admin console).
- Click the “Mail” module in the left-hand apps and open the mail page (usually Alibaba Enterprise Mail).
- You will be redirected to the web version of Alibaba Mail. The remaining steps are the same as obtaining the Alibaba Mail Business plan authorization code (see the previous section).
The authorization code is generated and managed by Alibaba Mail. DingTalk simply serves as the entry point or integration point.
Step 2: [Authorization Code for the DingTalk Open Platform / API]
If you are a developer who needs an “authorization code” to call the API on the DingTalk Open Platform (such as an OAuth 2.0 authorization code or AccessToken), follow these steps:- Open the DingTalk Open Platform.
- Sign up, create your app, and fill in the organization information.
- Configure “App Development” and select the corresponding API permissions.
- Develop according to the platform documentation. The “authorization code” usually refers to the loginTmpCode (obtained after the user signs in by Scan QR Code), which developers exchange for information such as the “access_token”.
- For details, see the DingTalk Open Platform - Identity Verification documentation.
3. Obtain the Tencent Enterprise Mail Authorization Code
To obtain the Tencent Enterprise Mail authorization code (used in place of the mail account password when signing in from third-party mail clients such as Outlook and Foxmail), follow these steps:Step 1: Sign in to the Web Version of Tencent Enterprise Mail
- Open the Tencent Enterprise Mail official website and sign in with your mail account and password.
Step 2: Open the “Settings” Page
- After signing in, click “Settings” in the upper-right corner of the page.
- Select “Account information” or “Client-side settings” in the left-hand menu.
Step 3: Obtain the Authorization Code
- Under “Client-side settings”, find the “Generate authorization code” option.
- Follow the on-page instructions to set and obtain the authorization code.
- You usually need to enter the mail account password for verification before the authorization code is displayed or generated.
4. Obtain the NetEase Enterprise Mail Authorization Code
Step 1: Sign in to the Web Version of NetEase Enterprise Mail
- Visit the NetEase Enterprise Mail official website.
- Sign in to the web version with your Enterprise Mail account and password.
Step 2: Open the “Settings” Page
- After signing in, click “Settings” (gear icon) in the upper-right corner.
Step 3: Find the “Client-Side Authorization Code” Setting
- On the Settings page, find “Security Settings” / “Client-side authorization code”. The exact location varies slightly between mail interfaces.
- In some cases, it may be under “Account and Security” or the “POP3/SMTP/IMAP Service” section.
Step 4: Obtain or Generate the Authorization Code
- Find the “Client-side dedicated password” or “authorization code” section and click “Generate authorization code”.
- Follow the on-page tips to complete the action. This usually requires the sign-in password or a mobile verification code.
Step 5: Save the Authorization Code
- Use the authorization code in place of the password when configuring the mail account in a third-party client-side such as Outlook or Foxmail.
5. Obtain the Alibaba Mail Personal Plan Authorization Code
Step 1: Sign in to the Web Version of Alibaba Mail
- Open the Alibaba Mail sign-in page and sign in with your mail account and password.
Step 2: Open “Settings”
- After signing in, find the Settings (gear) icon (usually in the upper-right corner) and click it to open the Settings page.
Step 3: Open “Account and Security” or “POP3/SMTP Settings”
- On the Settings page, find “Account and Security” or, in some interfaces, “POP3/SMTP/IMAP Settings”.
Step 4: Generate or Obtain the Authorization Code
- Find the “Client-side dedicated password” or “authorization code” option.
- Next to it, there is usually a “Generate” or “Obtain authorization code” button.
- After the on-page tips prompt you to enter the sign-in password and a mobile verification code for secondary verification, an authorization code is generated.
Step 5: Fill It in on the Client-Side
- In Outlook, Foxmail, mobile mail clients, and similar apps, enter the authorization code in the sign-in password field for sending and receiving mail. Do not use the mail sign-in password directly.
6. Obtain the QQ Mail Authorization Code
Step 1: Sign in to the Web Version of QQ Mail
- Open the QQ Mail official website.
- Sign in with your QQ number and password.
Step 2: Open “Account Settings”
- After signing in, click “Settings” in the upper-right corner of the page.
- Then click “Account” in the top menu.
Step 3: Enable the POP3/SMTP Service
- On the “Account” page, find the “POP3/IMAP/SMTP/Exchange/CardDAV/CalDAV Service” section.
- Select “Enable service”. If it is not enabled, you must enable it first.
- Once enabled, a security verification prompt (usually a mobile SMS verification) appears.
Step 4: Obtain the Authorization Code
- After the POP3/SMTP service is enabled, the page prompts you to generate an “authorization code”.
- Follow the instructions to complete the mobile verification. The system automatically generates a dedicated authorization code.
7. Obtain the 163 Mail Authorization Code
Step 1: Sign in to the Web Version of 163 Mail
- Open the 163 Mail official website.
- Enter your 163 mail account and password to sign in to the web version.
Step 2: Open the “Settings” Page
- After signing in, click “Settings” (usually a gear icon) in the upper-right corner of the page.
- In the menu that appears, find and click “POP3/SMTP/IMAP” or “Account and Security”.
Step 3: Enable the POP3/SMTP Service
- On the relevant Settings page, find the POP3/SMTP service toggle and enable this service.
- If you are enabling it for the first time, the system may require a mobile SMS verification.
Step 4: Generate the Authorization Code
- Once the service is enabled, the page prompts you to generate a client-side authorization code or dedicated password.
- Follow the on-page tips to complete mobile or mail verification, then click “Generate authorization code”.
- The generated authorization code is displayed on the page.
8. Obtain the 126 Mail Authorization Code
Step 1: Sign in to the Web Version of 126 Mail
- Open the 126 Mail official website.
- Enter your 126 mail account and password to sign in.
Step 2: Open the “Settings” Page
- After signing in, click “Settings” (gear icon) in the upper-right corner of the page.
Step 3: Open the “Account and Security” or “POP3/SMTP/IMAP” Settings
- In the Settings menu, find the “Account and Security” or “POP3/SMTP/IMAP” option.
Step 4: Enable the POP3/SMTP Service
- Find the POP3/SMTP service (sometimes shown as “Client-side service”) and enable it.
- The system requires a mobile SMS security verification. If no mobile phone is bound, complete the binding first.
Step 5: Generate the Authorization Code
- Once the service is enabled, an entry for “Generate authorization code” or “Client-side dedicated password” appears on the page.
- Follow the on-page tips to complete verification, then click Generate to obtain the authorization code.
To use a mail account to send mail in integration & automation and workflow forms, refer to integration & automation.