Chats
Chats Calendar
 Meetings
 Contacts
 Mail
Mail Docs
Docs Drive
Drive AI Table
 AI Minutes
 Attendance
 Approval
 YiDA
YiDA Admin Console
1. Steps
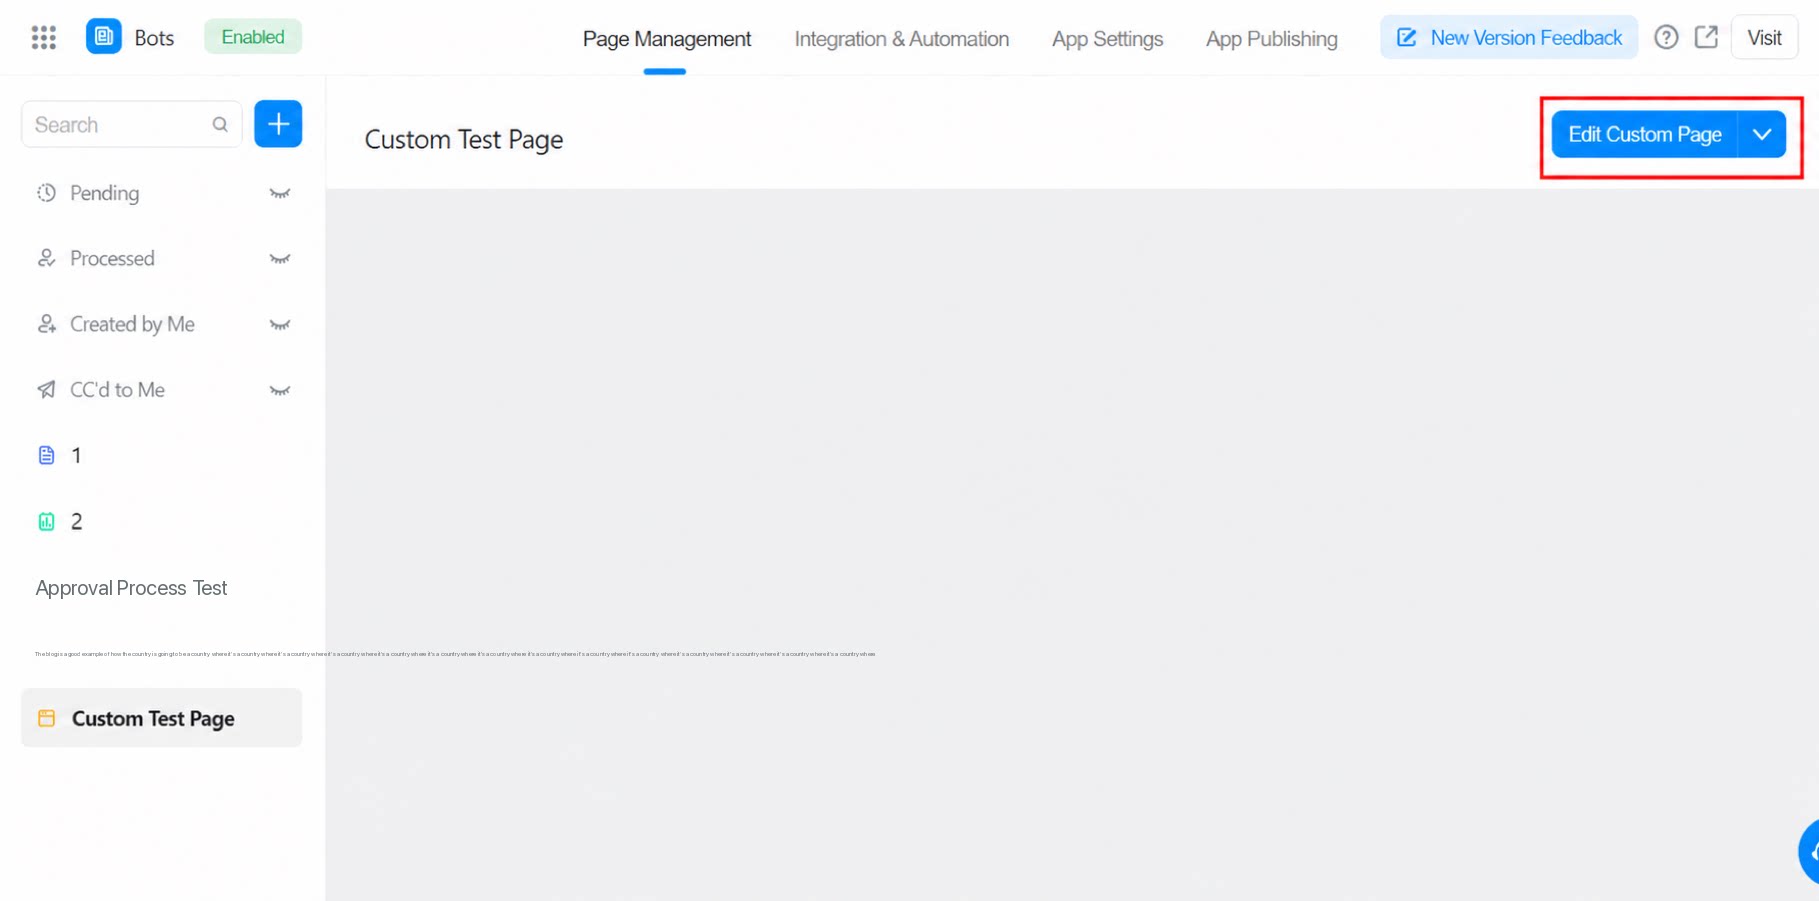
Choose one of the following two entries to create a custom page.1.1 Create from the Create Page Dropdown Menu
In the top-left corner, click Create page, and then select Create custom page (Beta) from the dropdown menu to get started.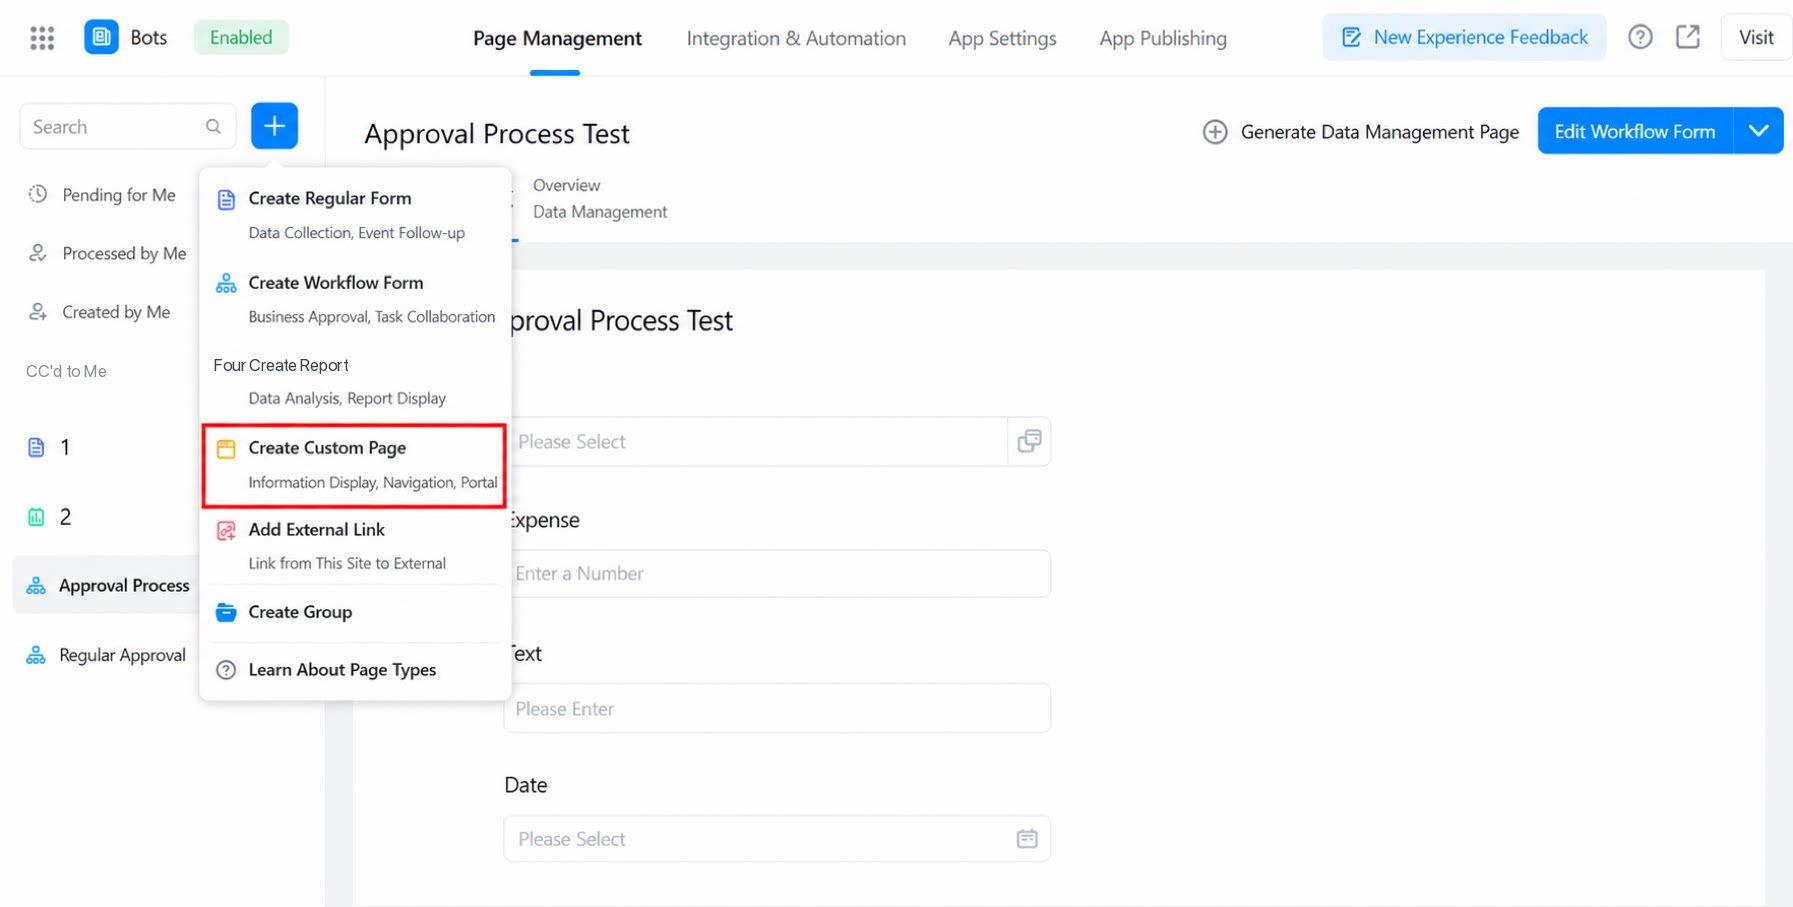
1.2 Create from the Quick Creation Entry
When no specific page is selected, a quick page creation entry appears on the right side of App Management. Click Create custom page (Beta) to get started.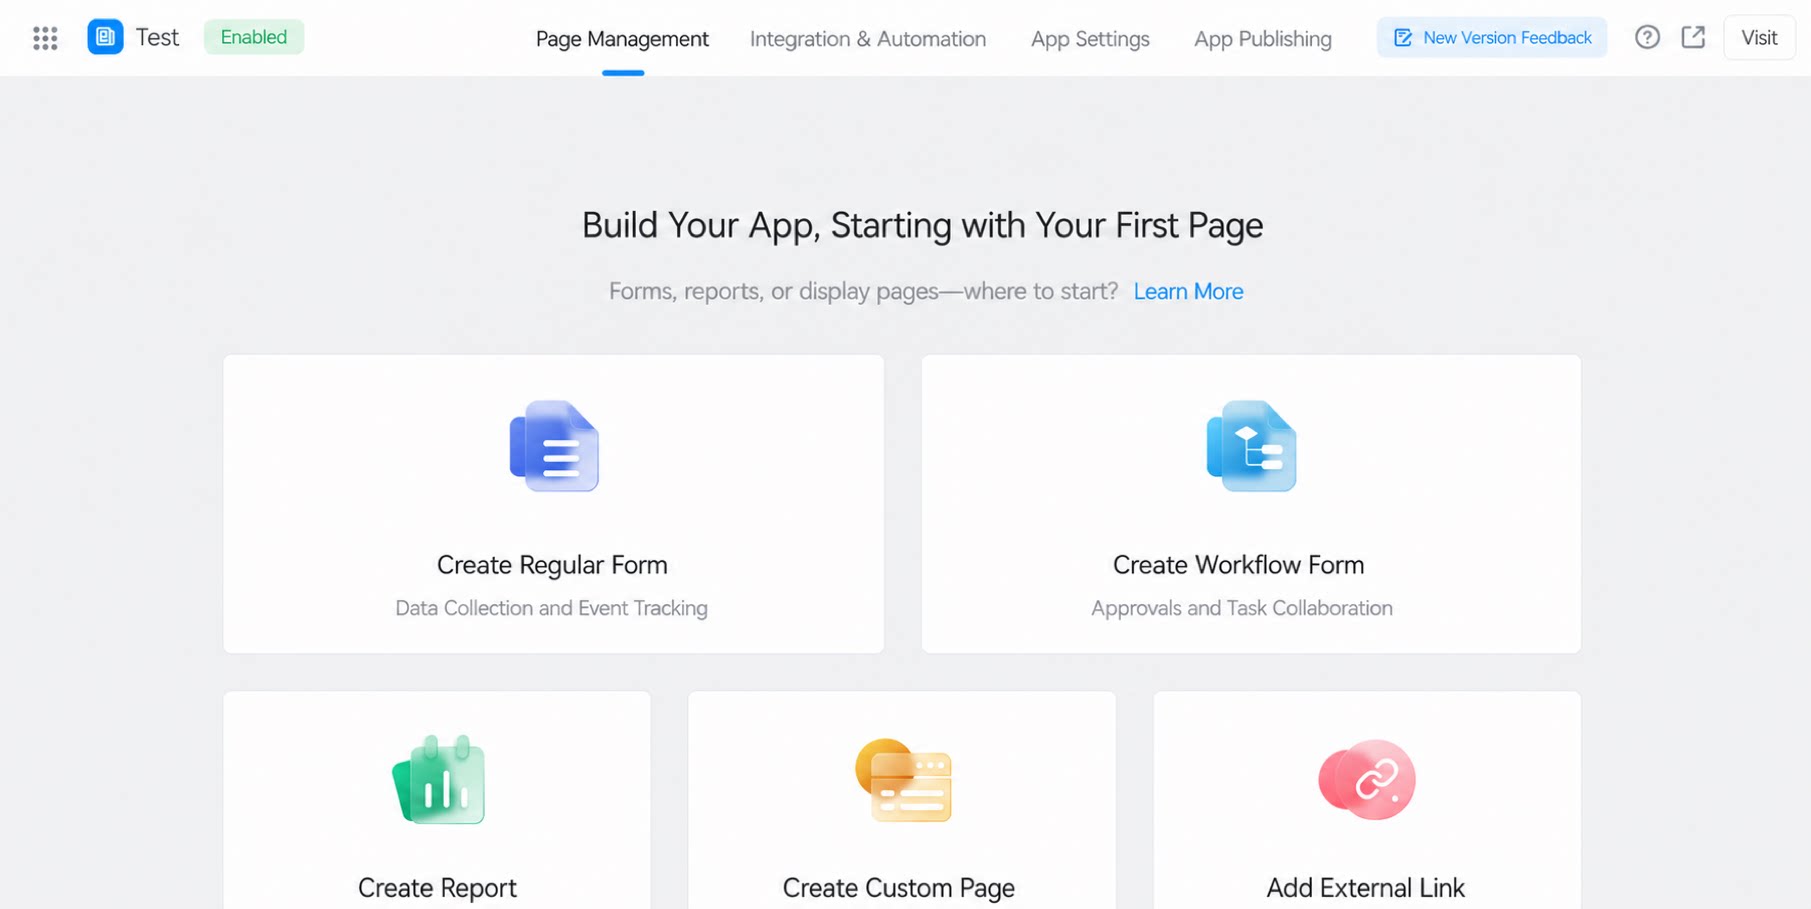
2. Configure Page Attributes
2.1 Page Name
Enter the page name. To set an English name, click the General internationalization settings icon on the right.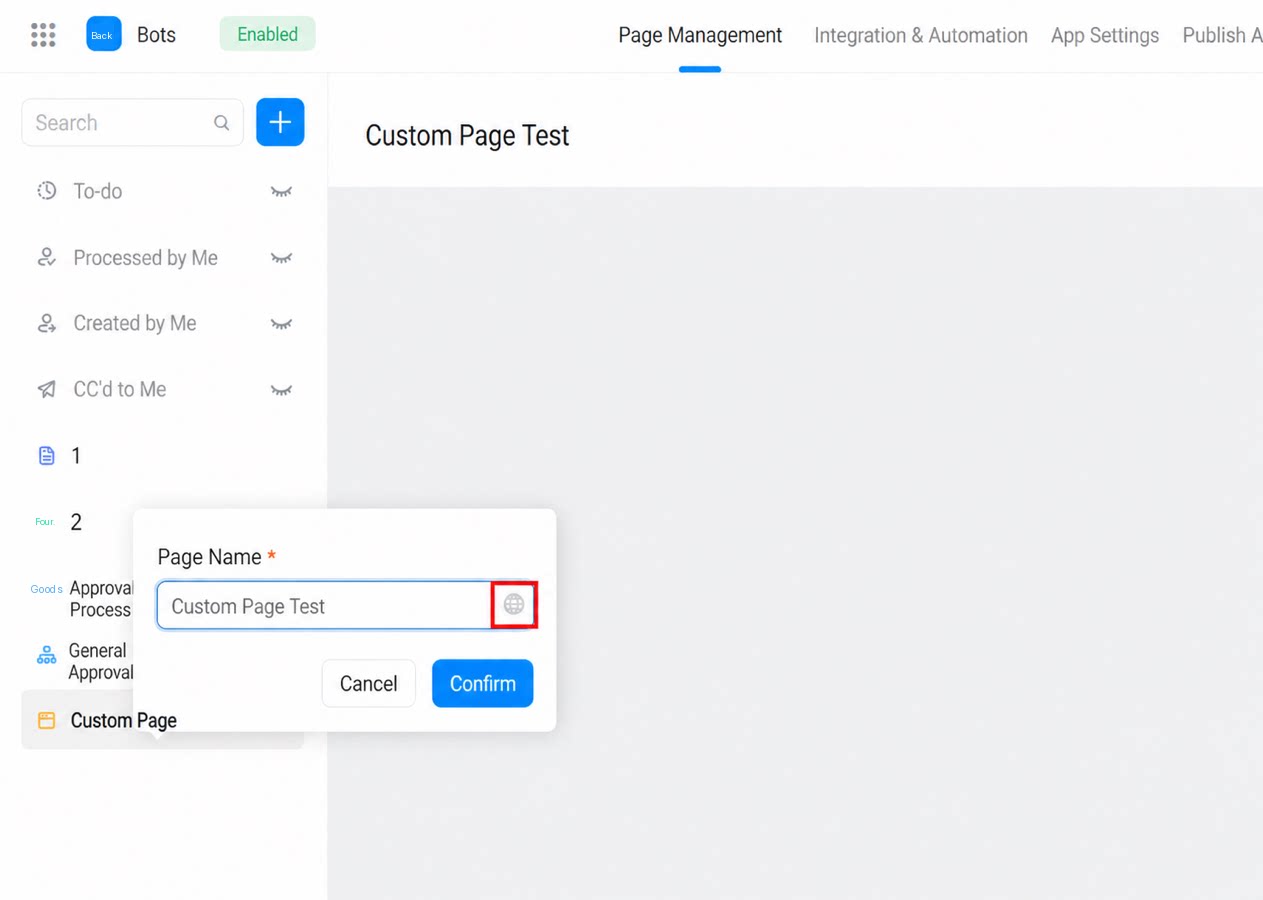
2.2 Select a Page Template
To simplify page design, YiDA provides a set of commonly used page templates. Choose one that fits your needs.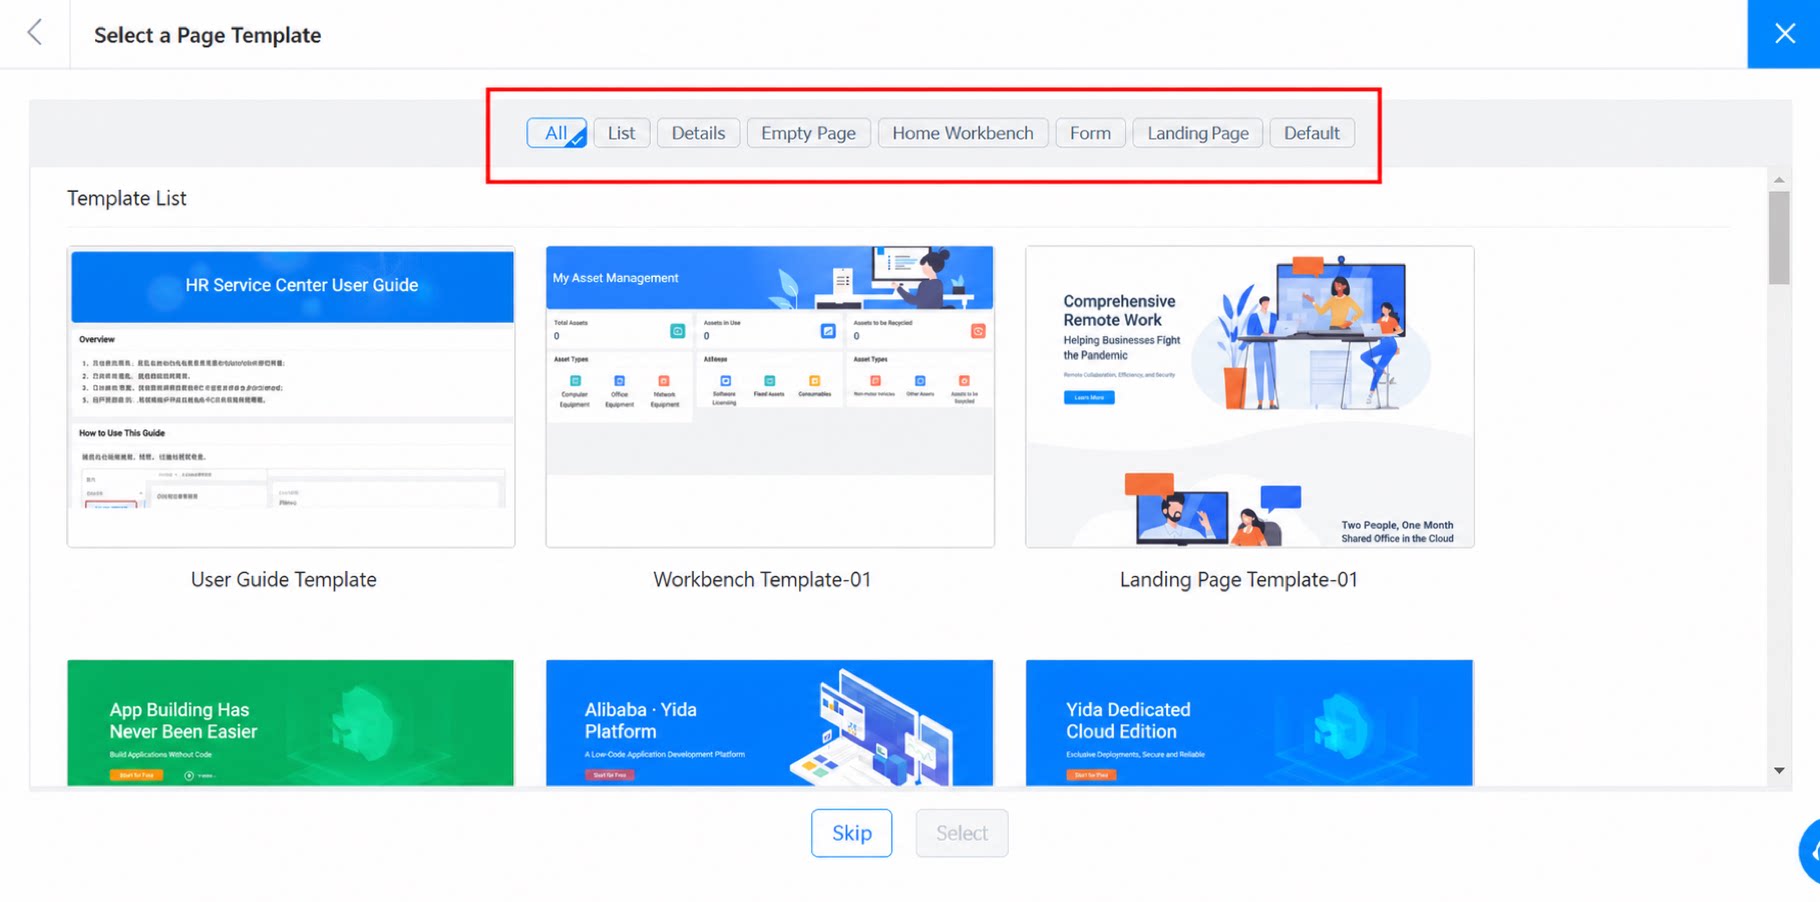
2.3 Browse and Filter Templates
By default, the All category is selected and shows the full template list. Use the filter at the top to switch between template lists by category.2.4 Select a Template and Confirm
After finding the right template, click it to select it, and then click Use this one below to confirm your selection.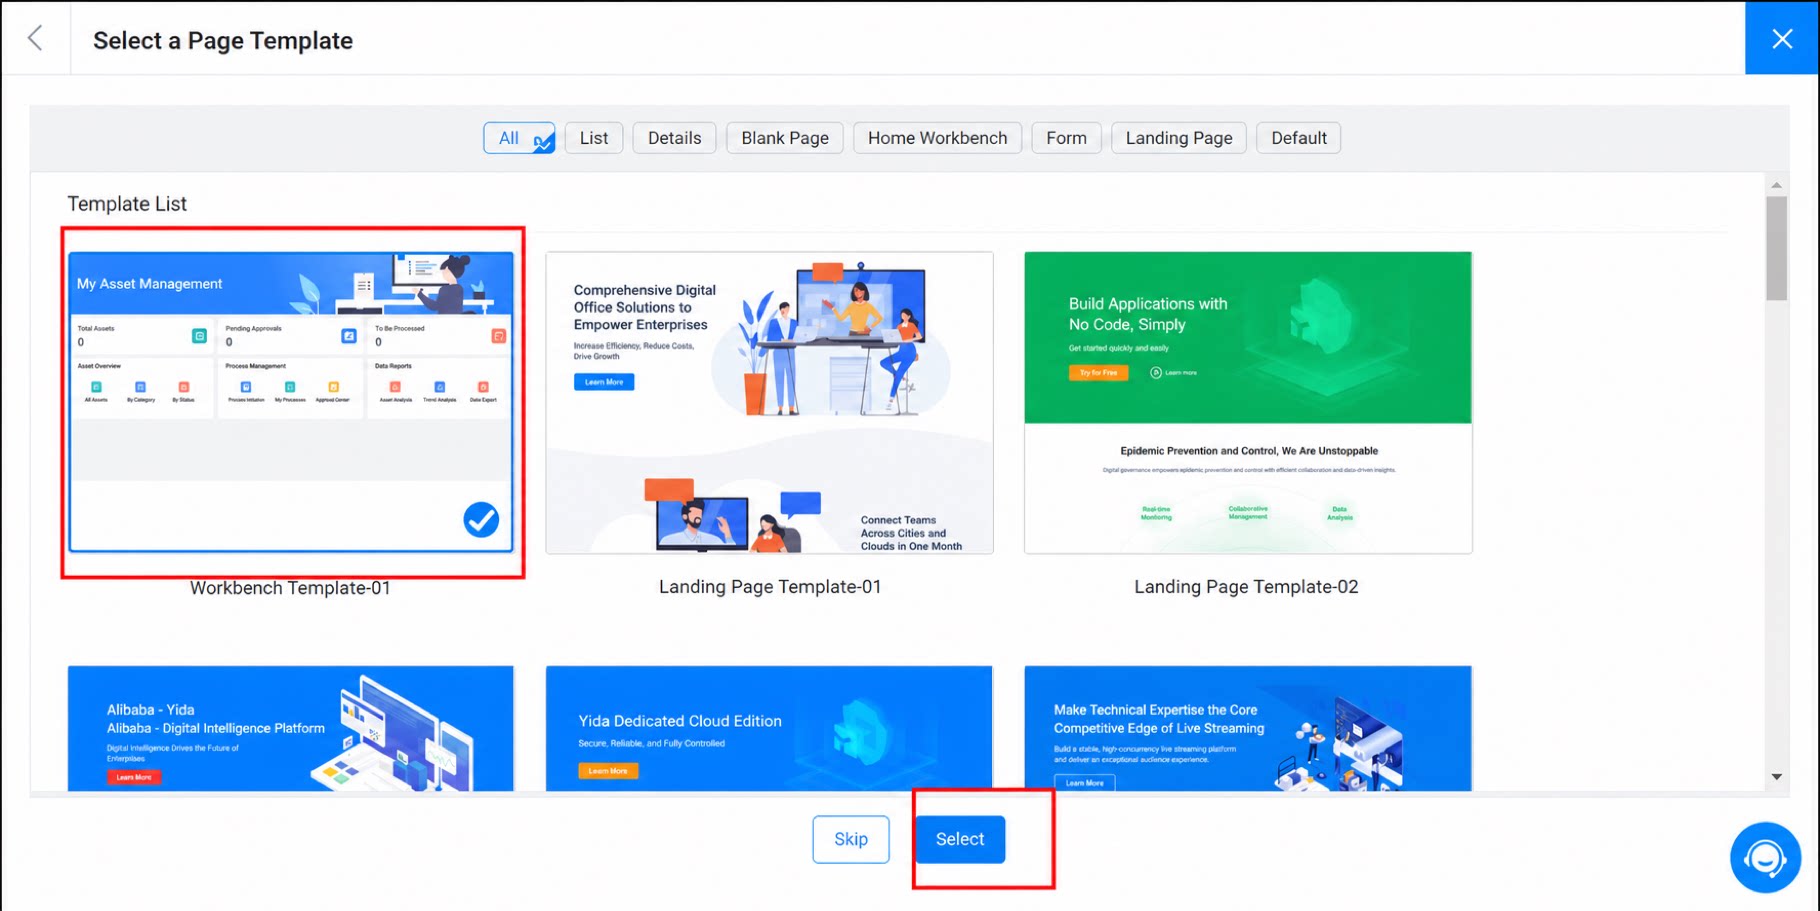
2.4.1 Skip Template Selection
If no suitable template is available, or if you do not need one, click Skip below to create a blank page.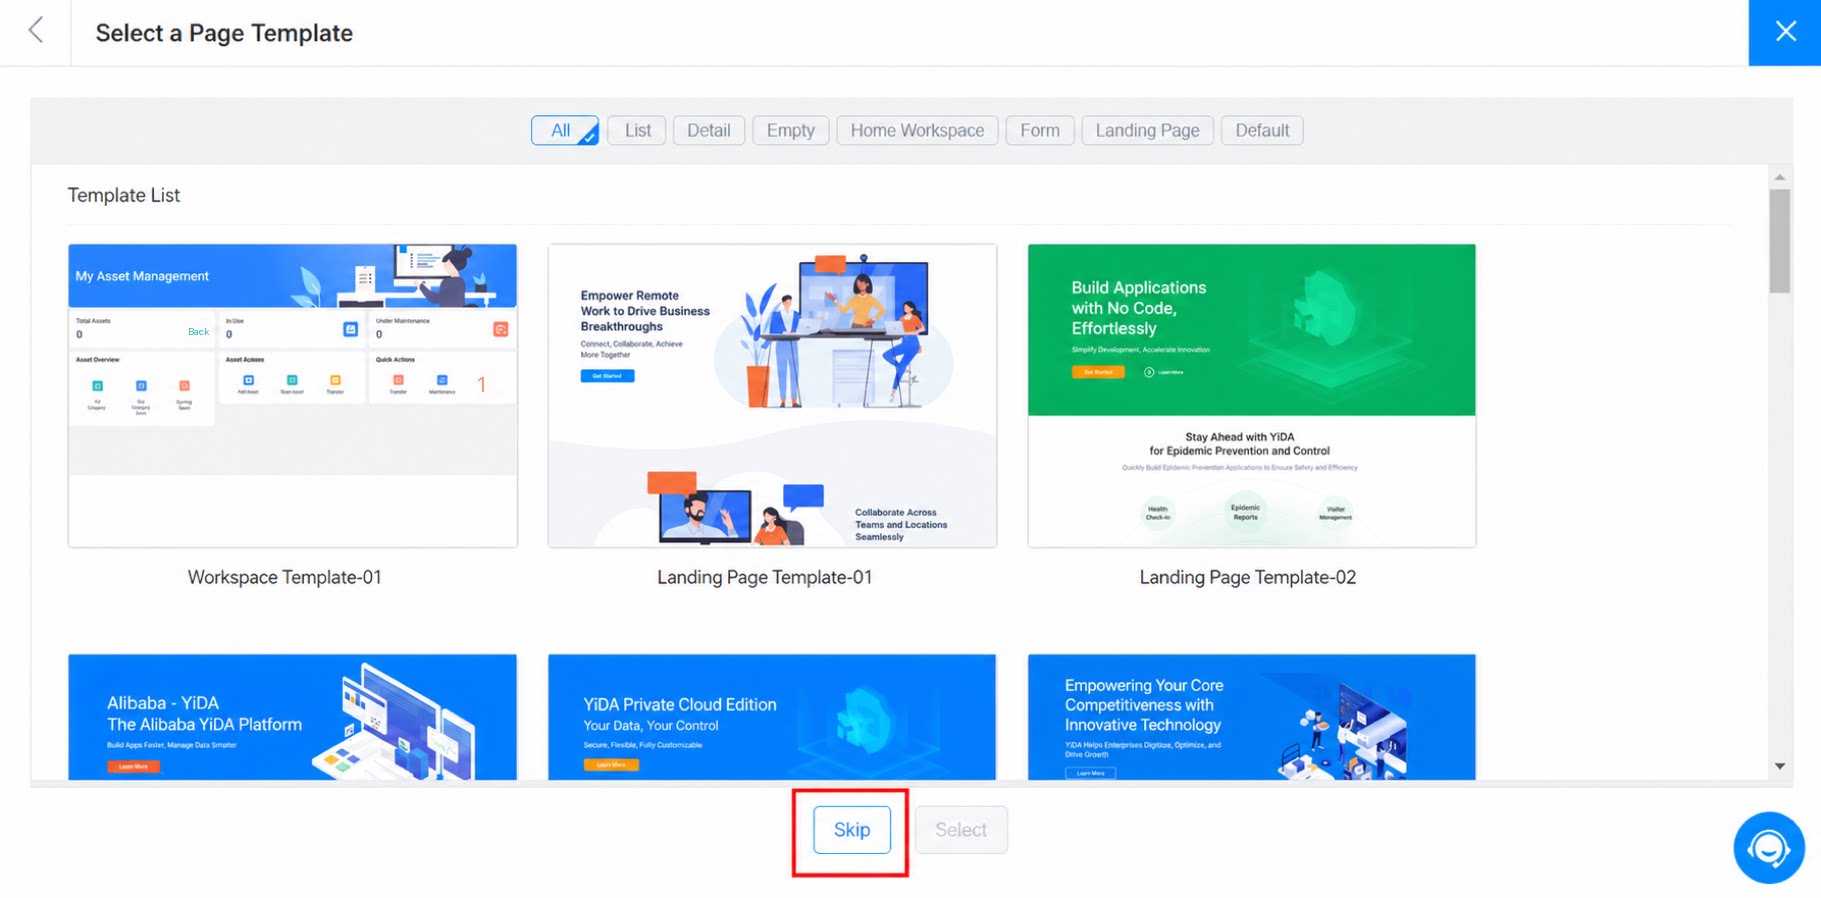
2.4.2 Cancel Page Creation
To abandon page creation partway through, click the Close button in the top-right corner.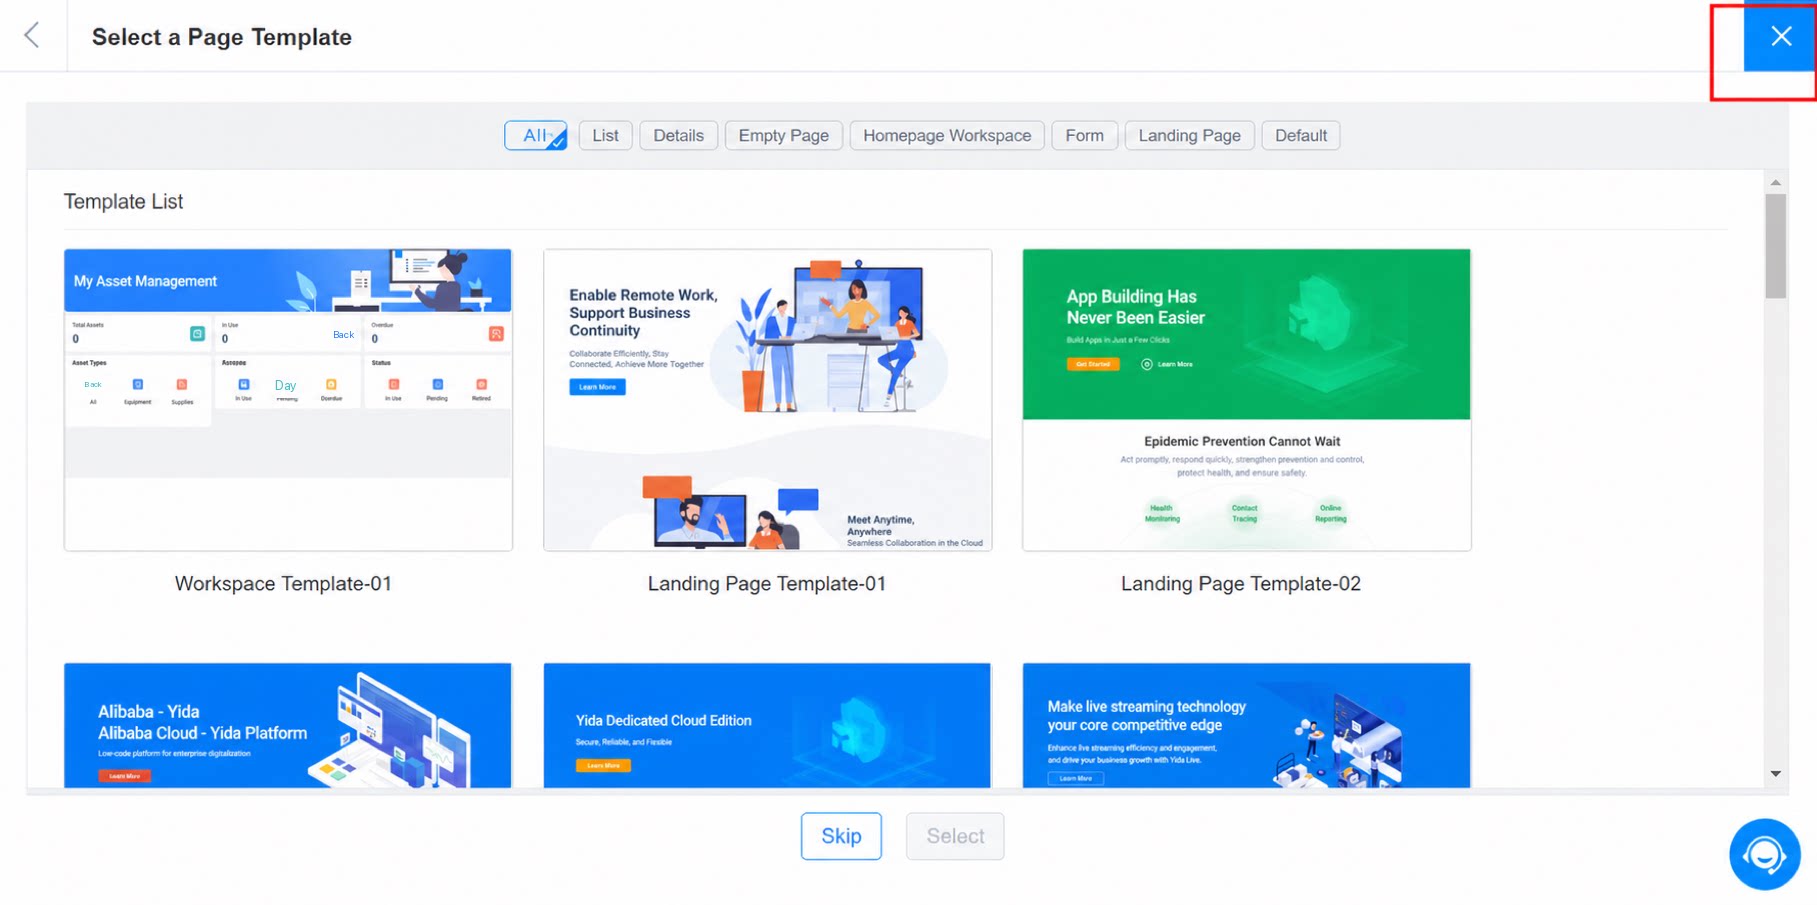
2.5 Enter the Page Designer
Once the page is created, it appears in the menu list on the left, and the page designer opens automatically. For the next steps, see Custom page designer.