Chats
Chats Calendar
 Meetings
 Contacts
 Mail
Mail Docs
Docs Drive
Drive AI Table
 AI Minutes
 Attendance
 Approval
 YiDA
YiDA Admin Console
1. Overview
The page component sits in the designer by default. It is the root component of a YiDA page, and every other component on the page is nested inside it. Each page contains only one page component. For this reason, the page component does not appear in the component library on the left, and it cannot be copied or deleted.2. Settings Entry
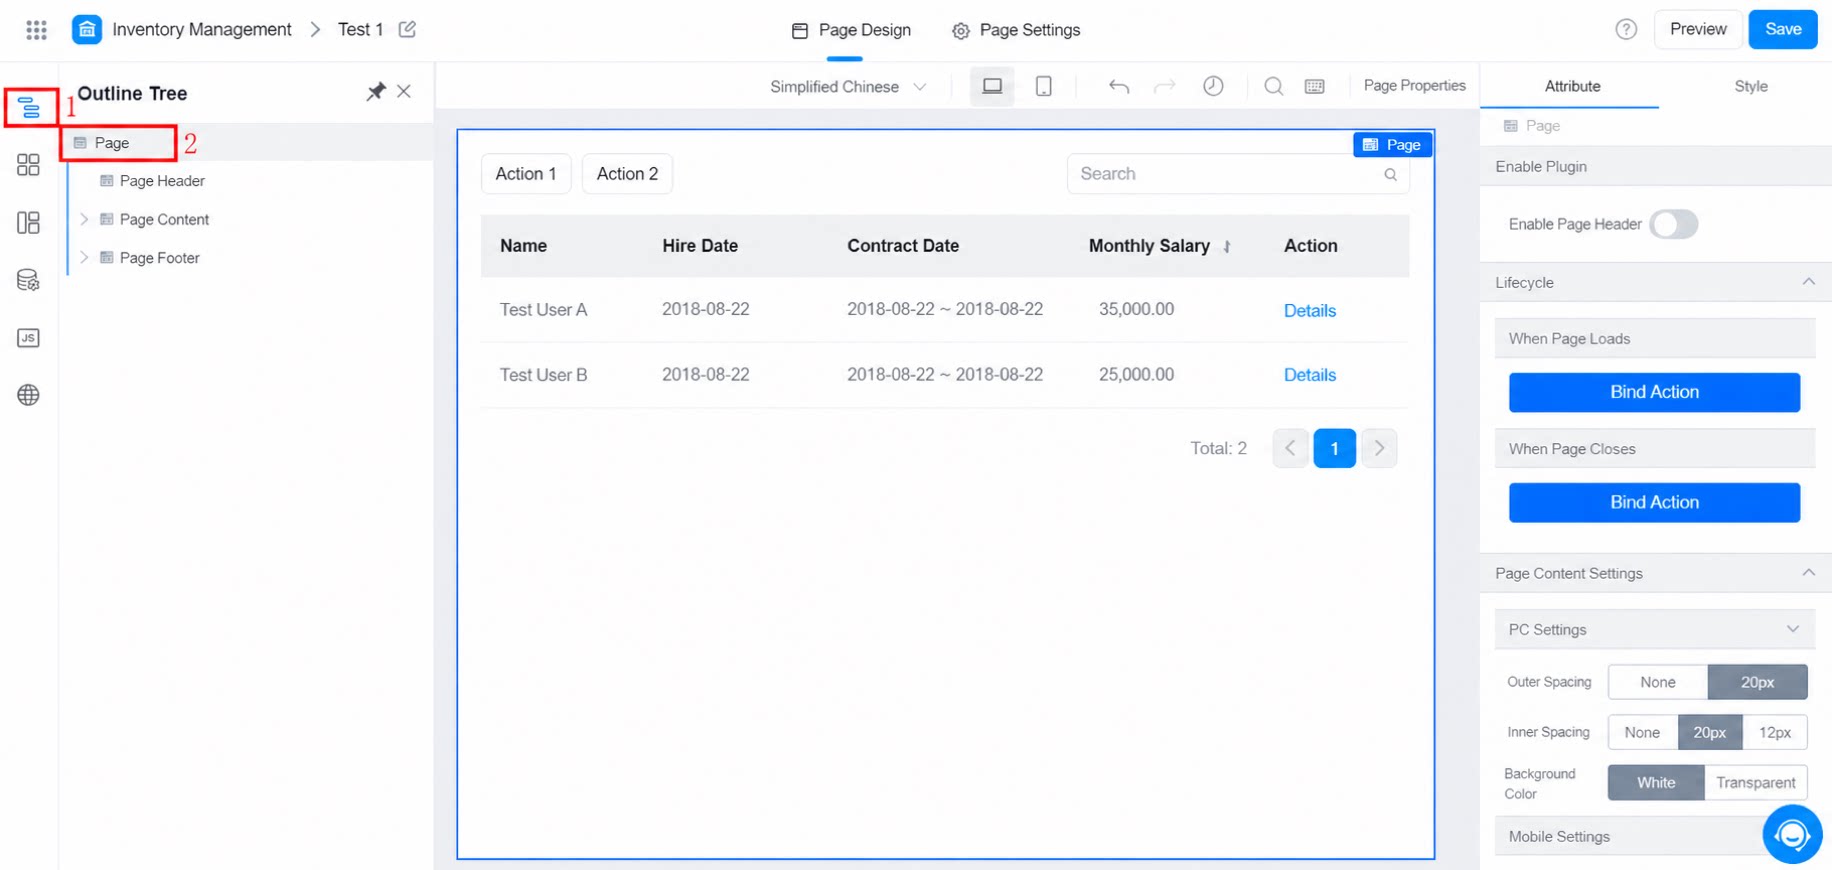
2.1 Click Page Settings at the Top
On the top toolbar of the designer, click Page settings. The page component is selected in the designer, and its settings appear on the right.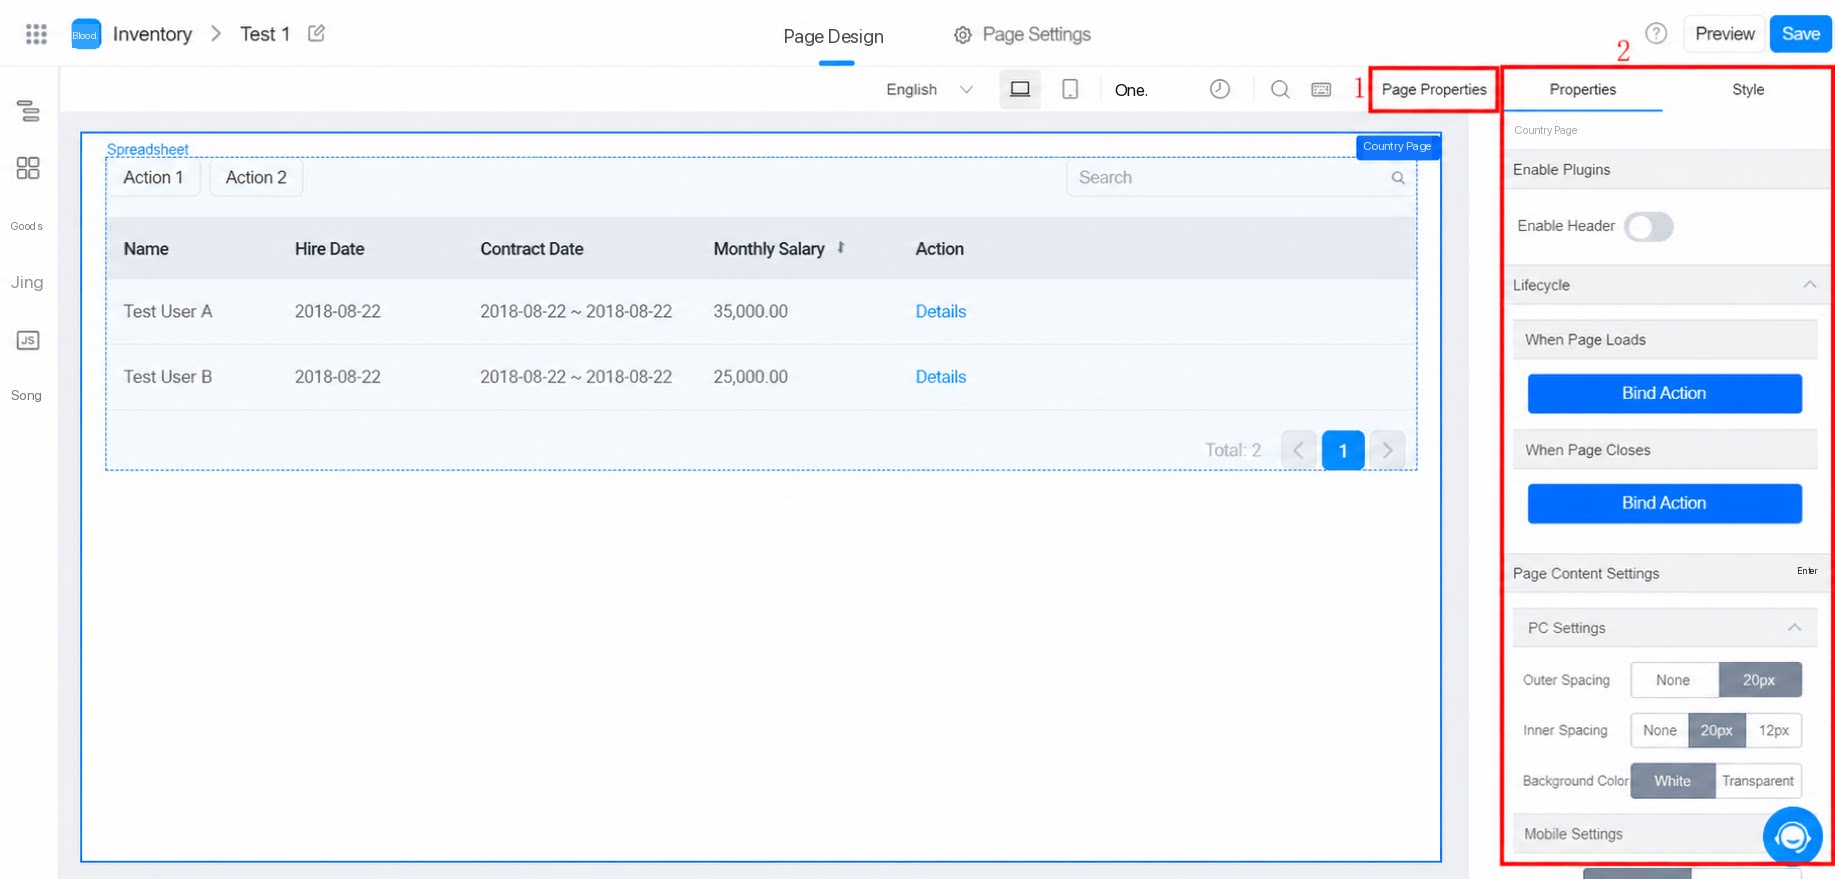
3. Attributes
Attribute settings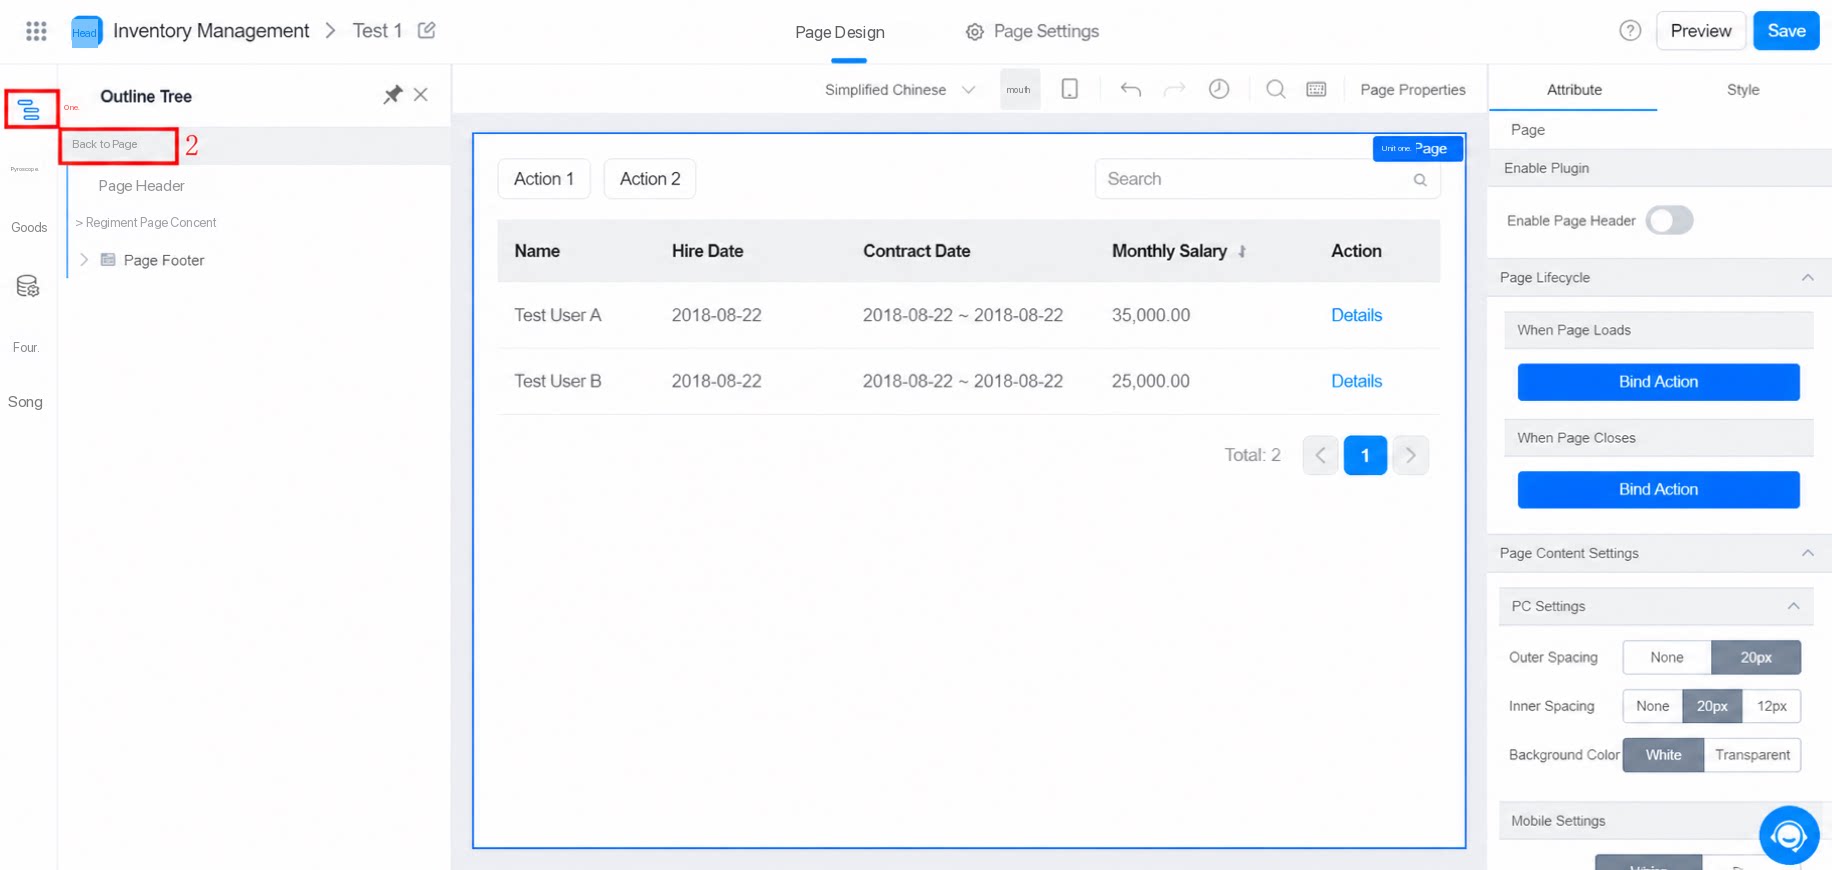
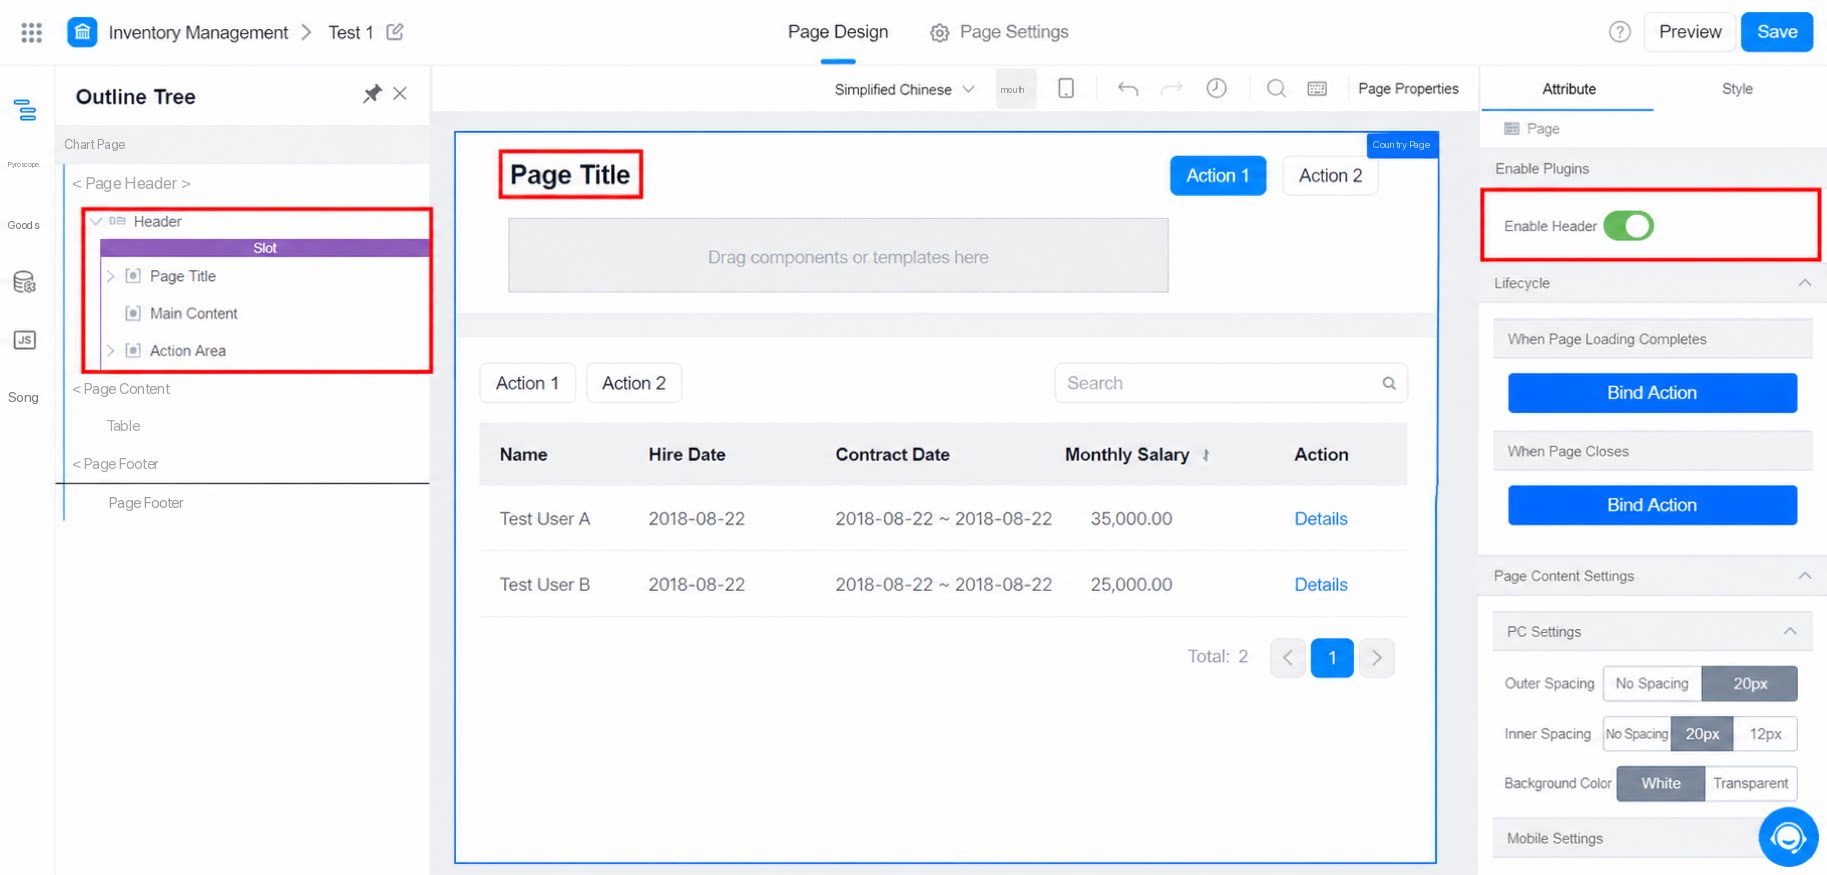
3.1 Enable Page Header
Once the page header is enabled, a fixed header area appears at the top of the page. You can add other components to the preset slots in this area.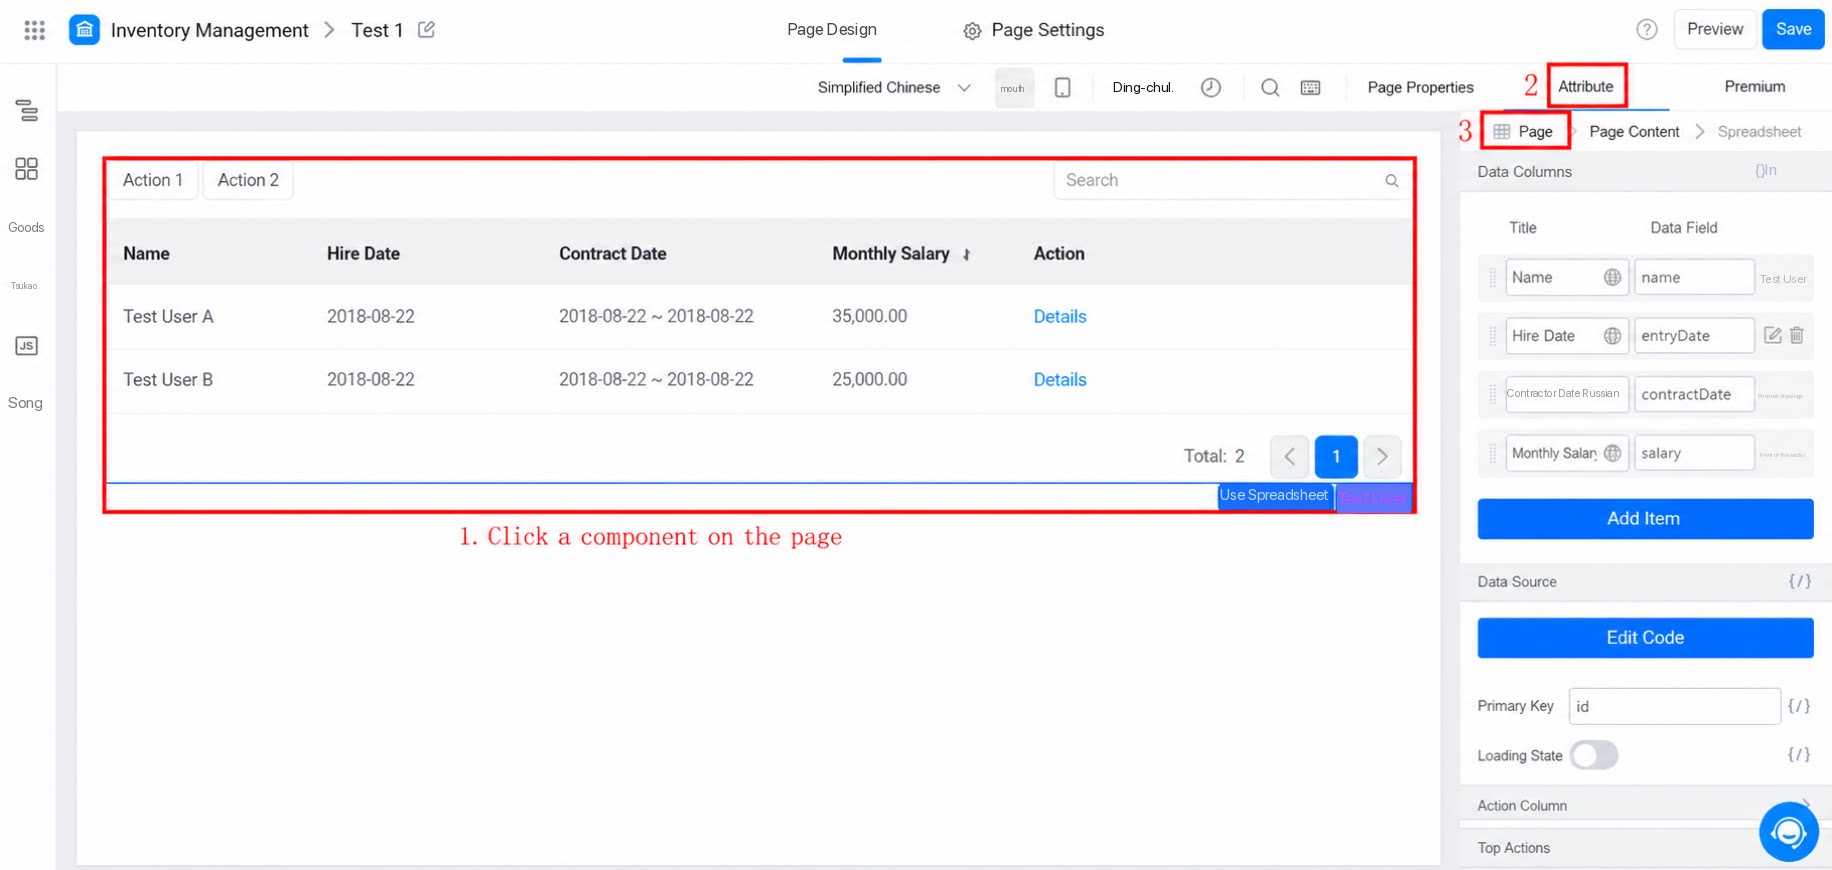
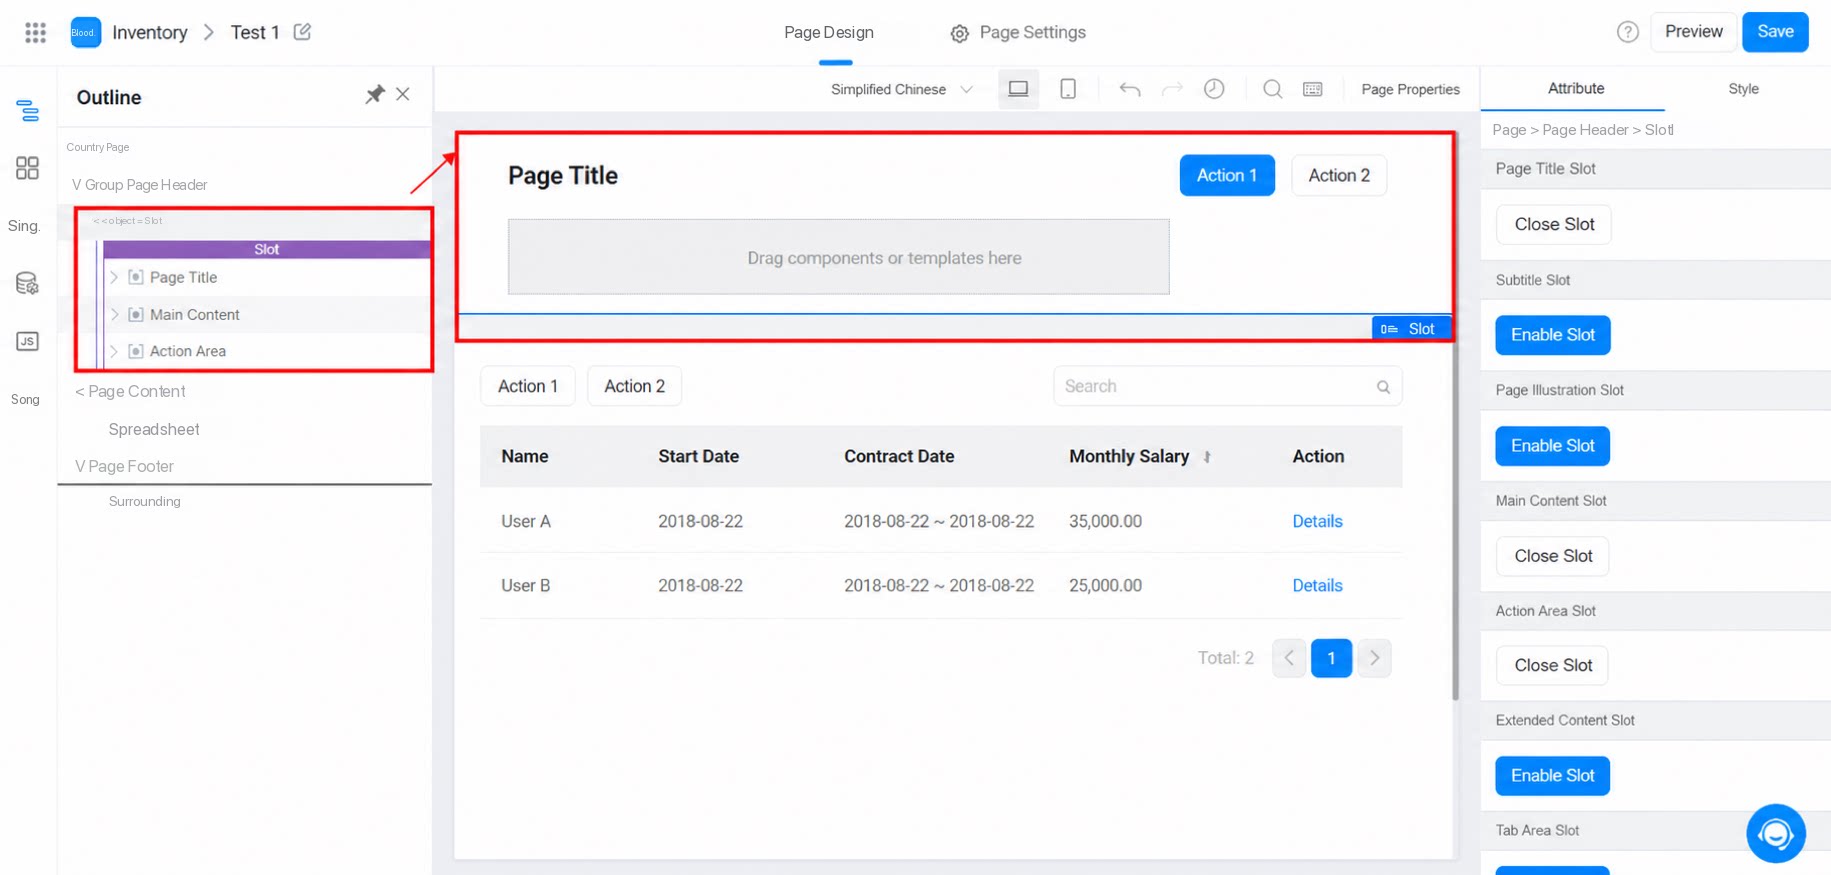
3.1.1 Header Attributes
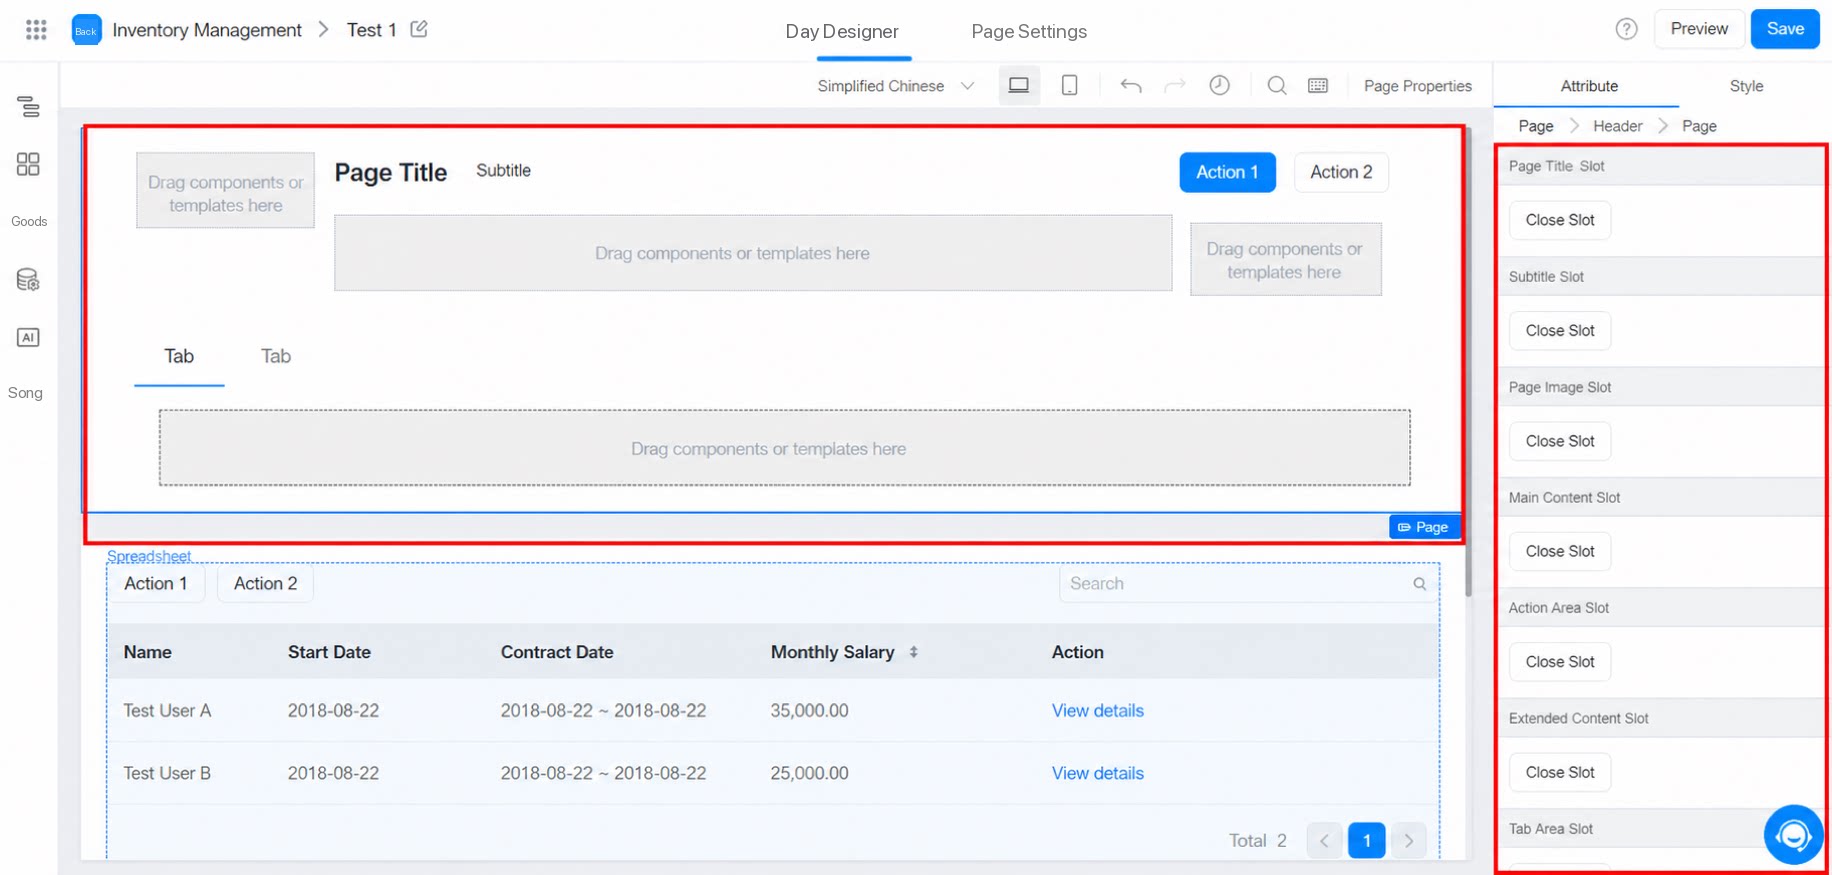
The header is a collection of slots. Several built-in slots are available, which you can enable or disable as needed.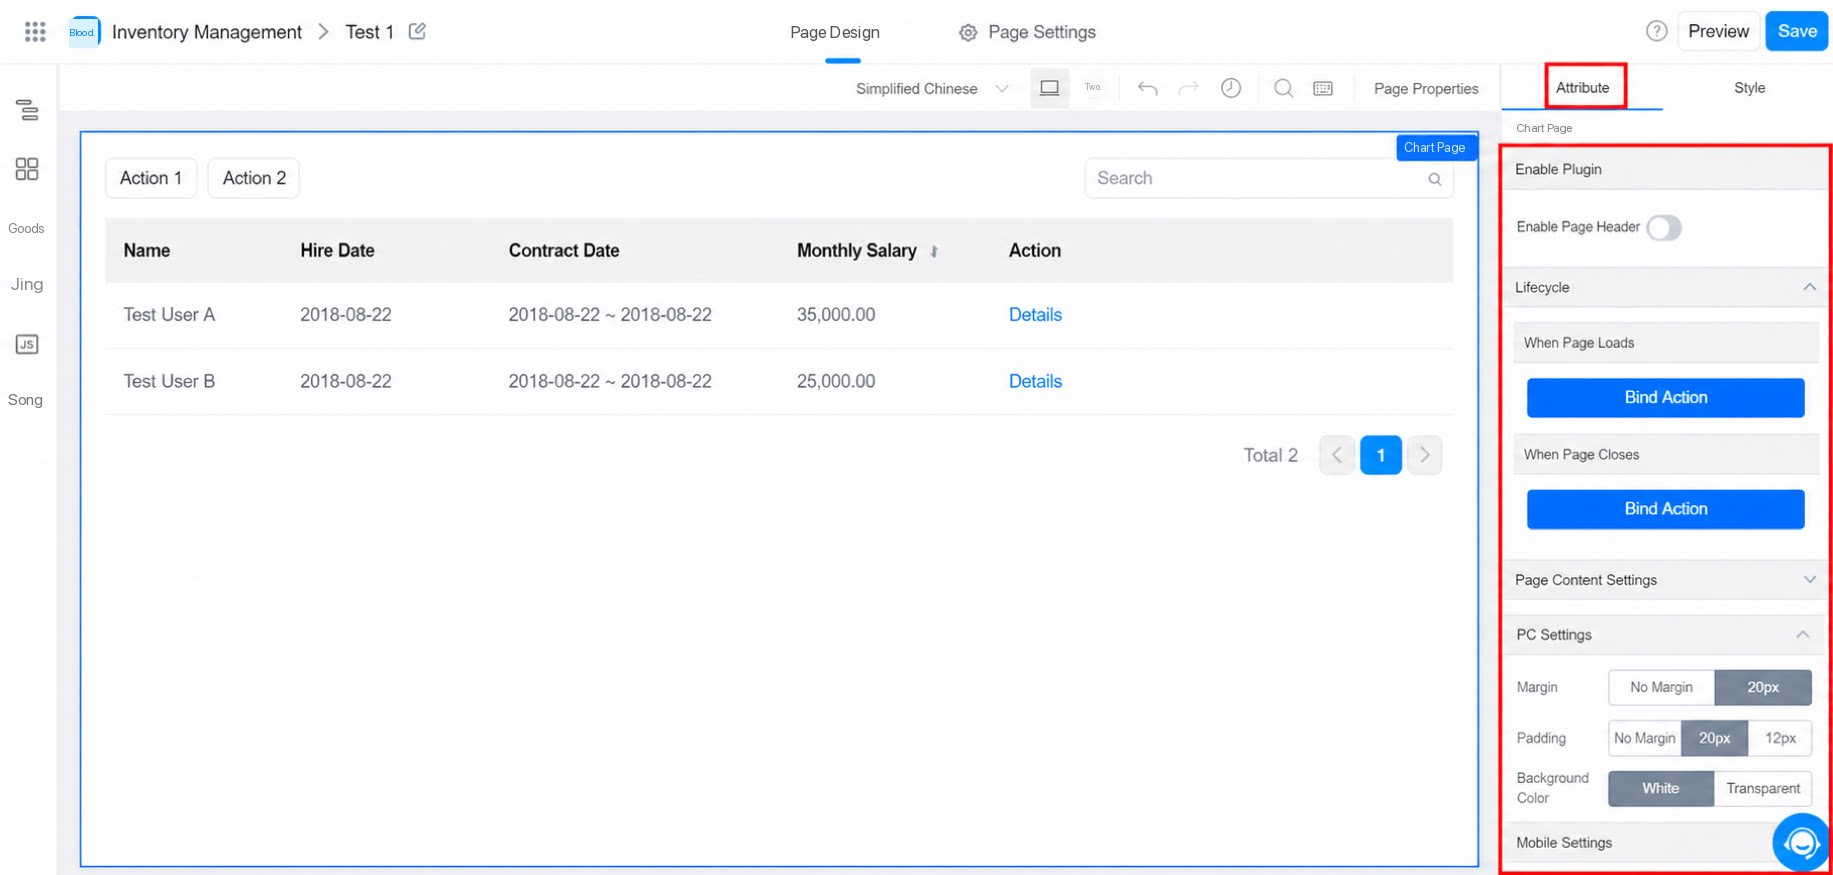
3.1.2 Header Style
3.2 Lifecycle
Path: Custom page form >> Page settings >> Attribute >> Lifecycle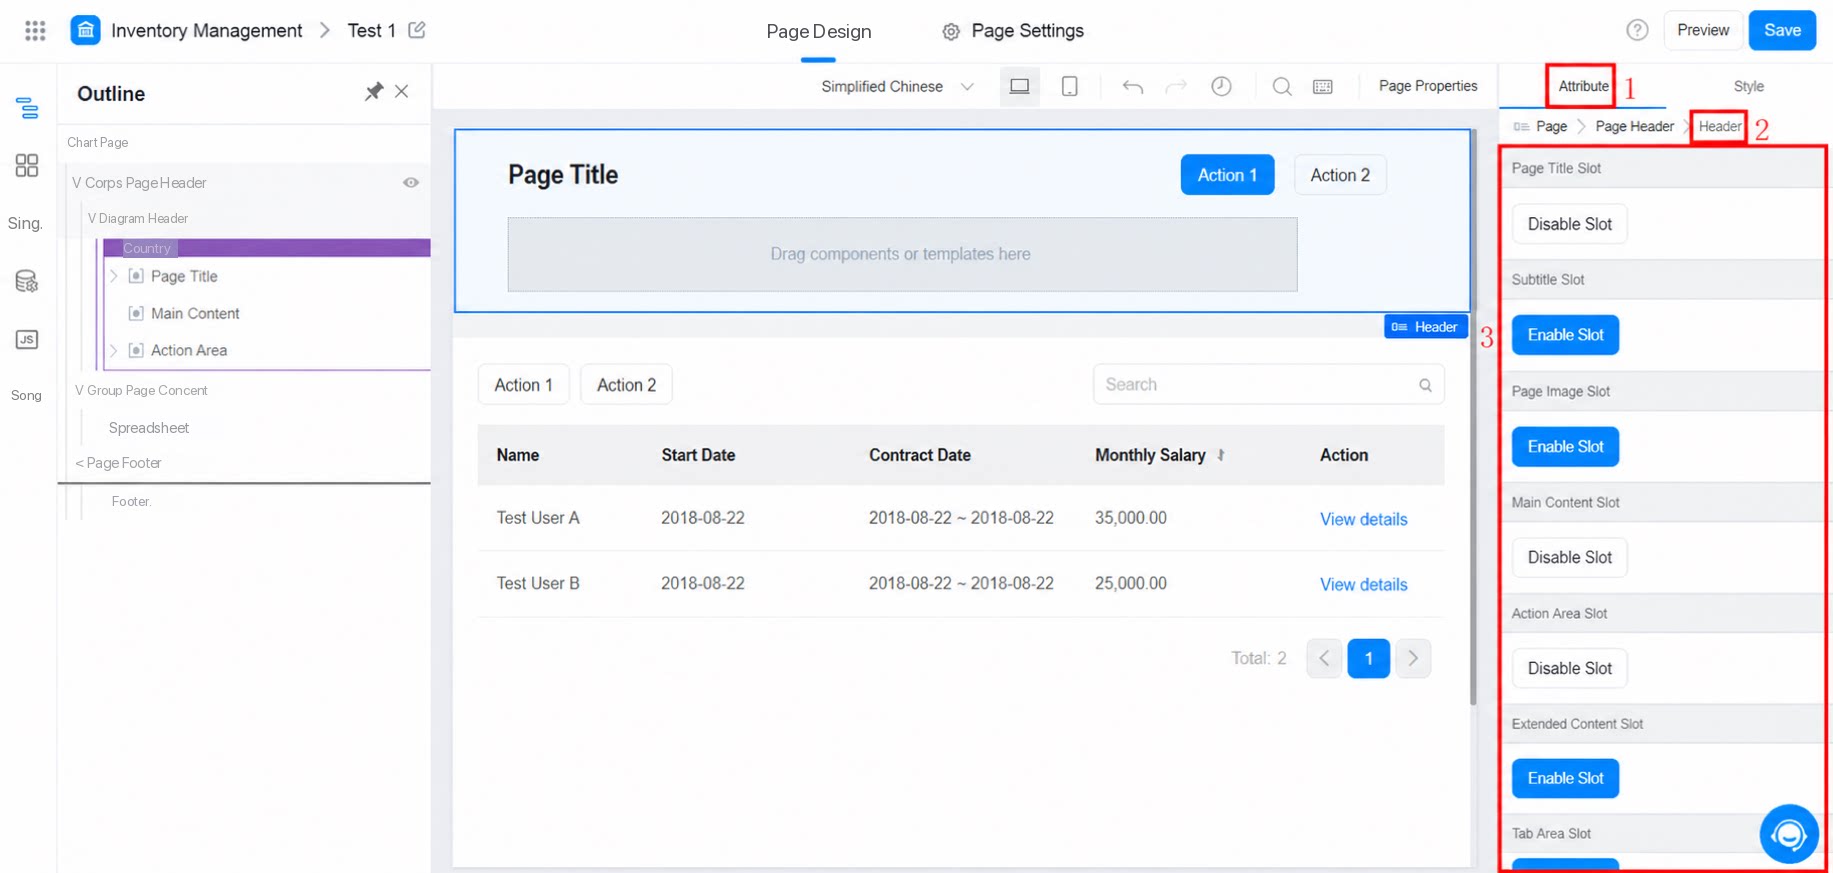
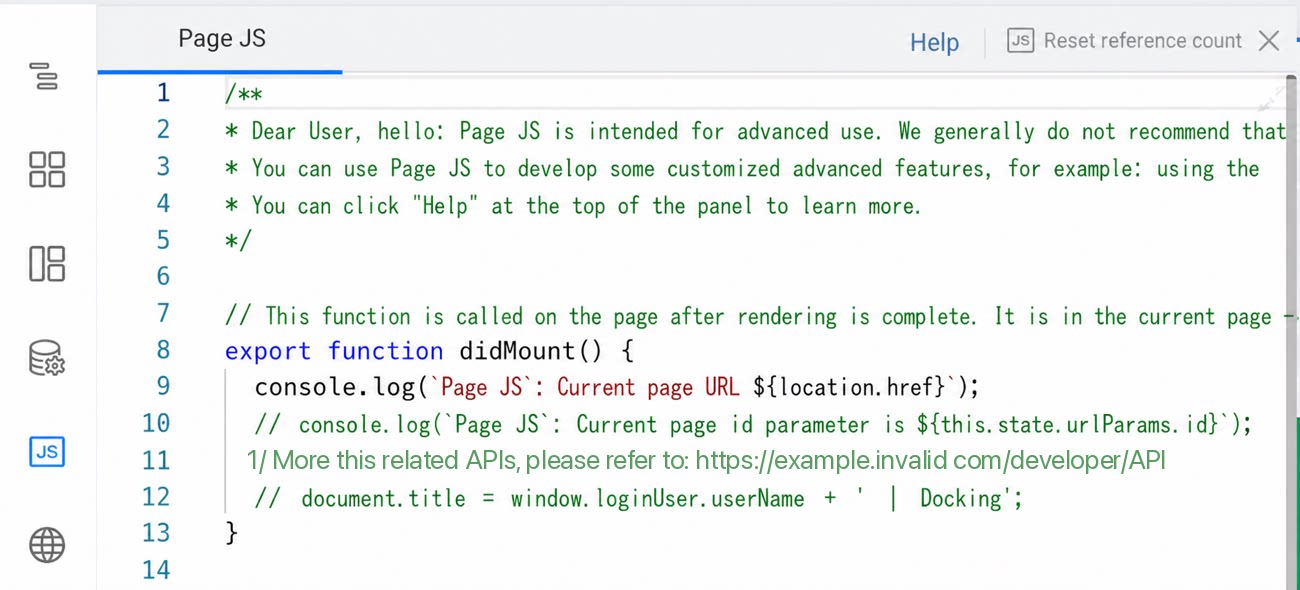
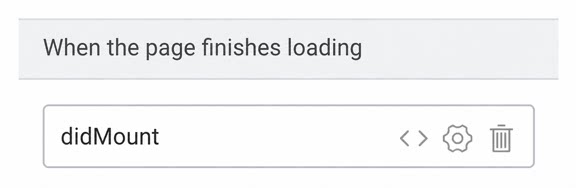
3.2.1 On Page Load Complete
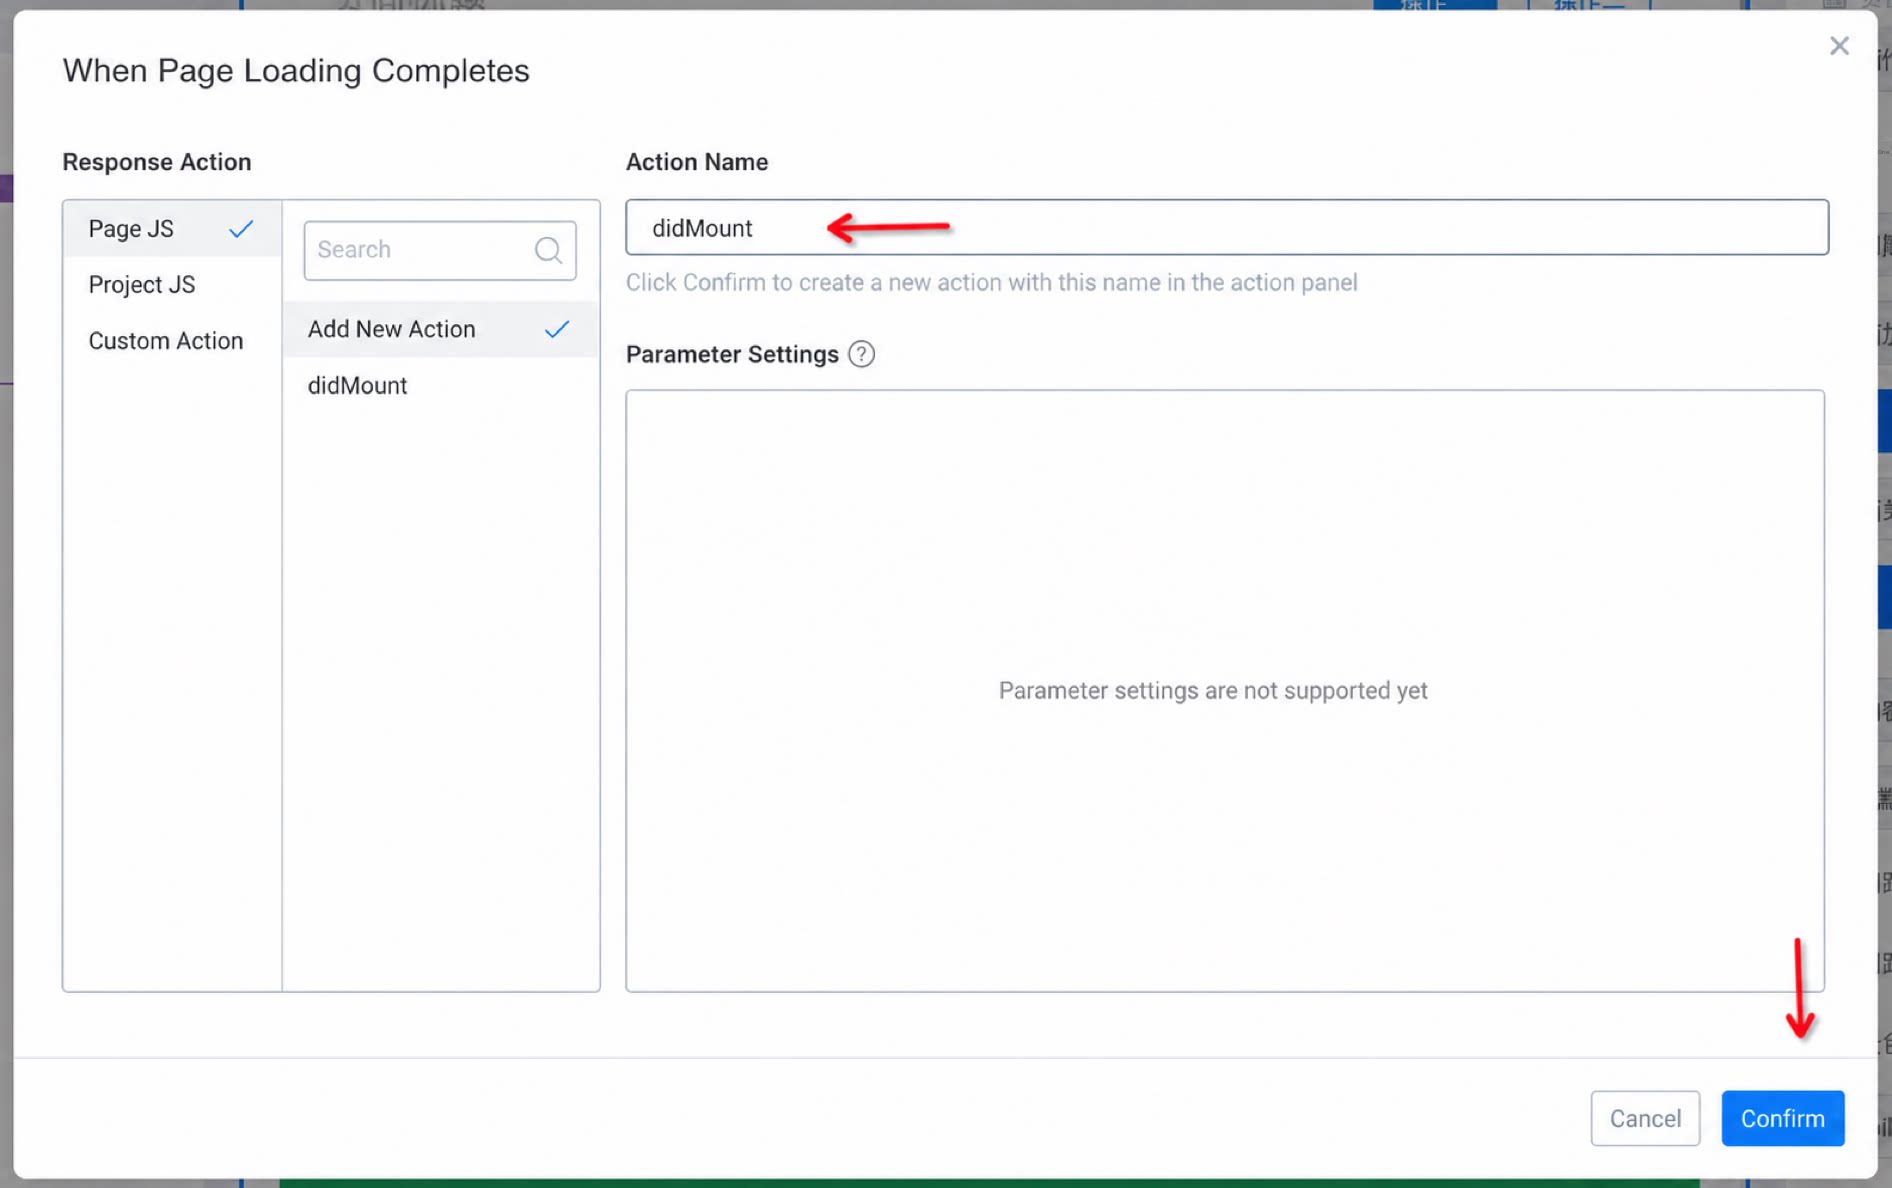
Set the action to run when the page finishes loading. This is typically used to run custom initialization logic. Click Bind action. Enter an action name and click Confirm to create the action. Write the corresponding business logic in the action panel.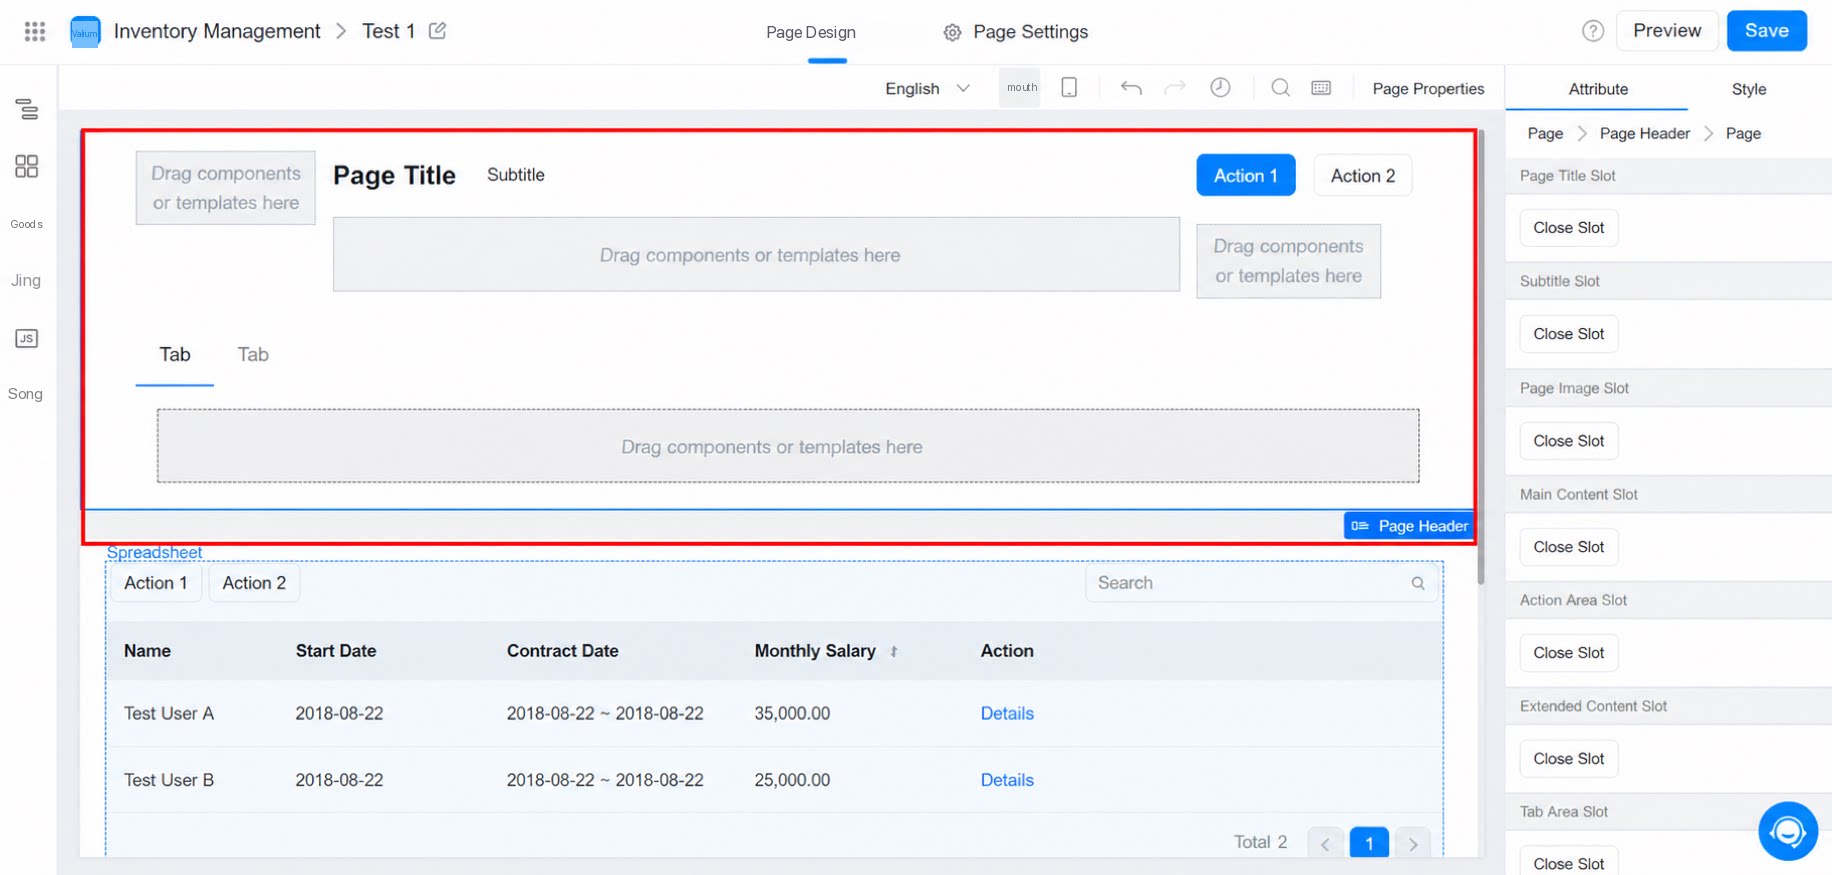
3.2.2 On Page Close
Set the action to trigger when the page is closed. The steps are the same as for On page load complete above.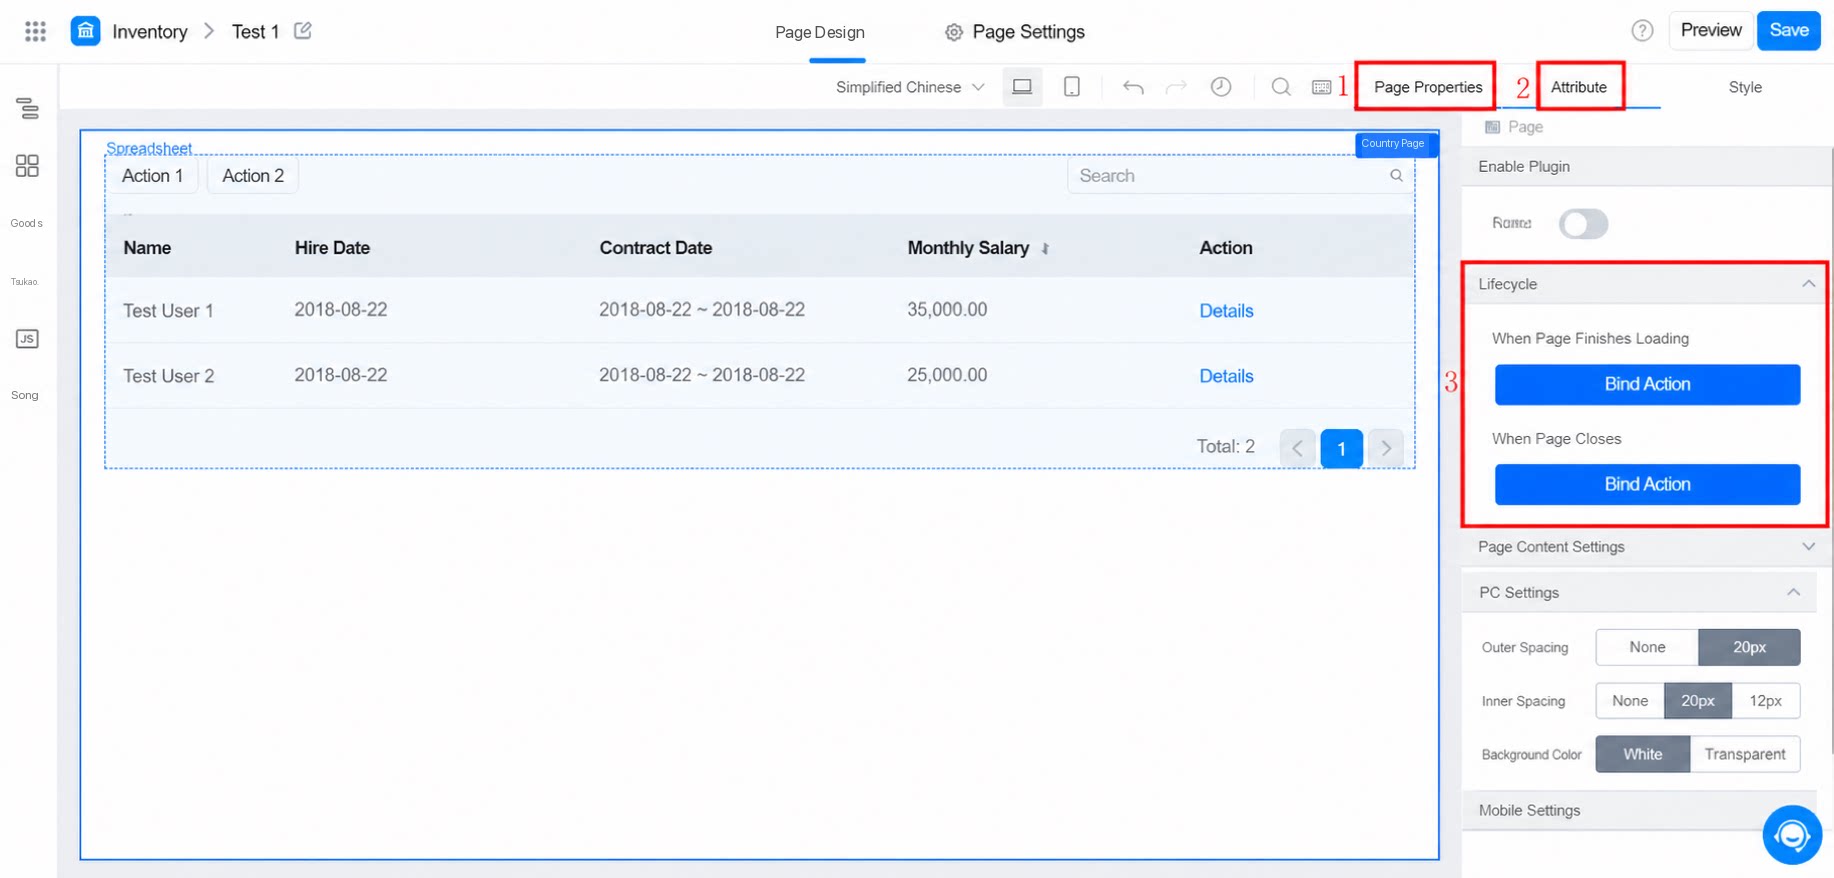
3.3 Page Content Settings
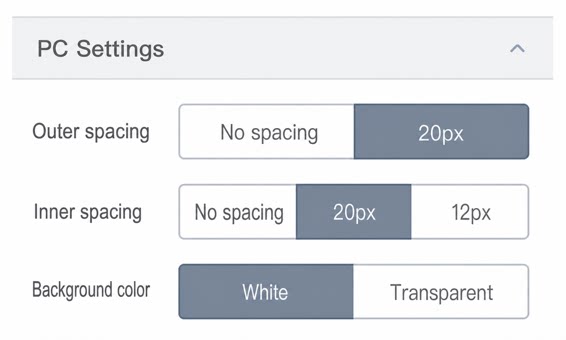
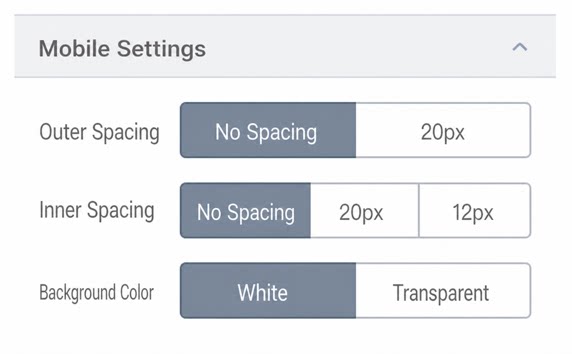
3.3.1 PC and Mobile Settings
Set the margin, padding, and background color for the PC end. Set the margin, padding, and background color for the mobile end.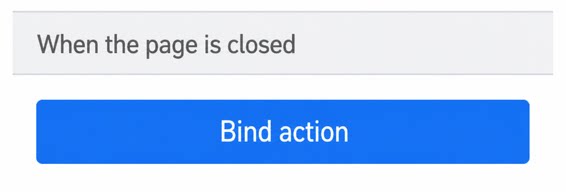
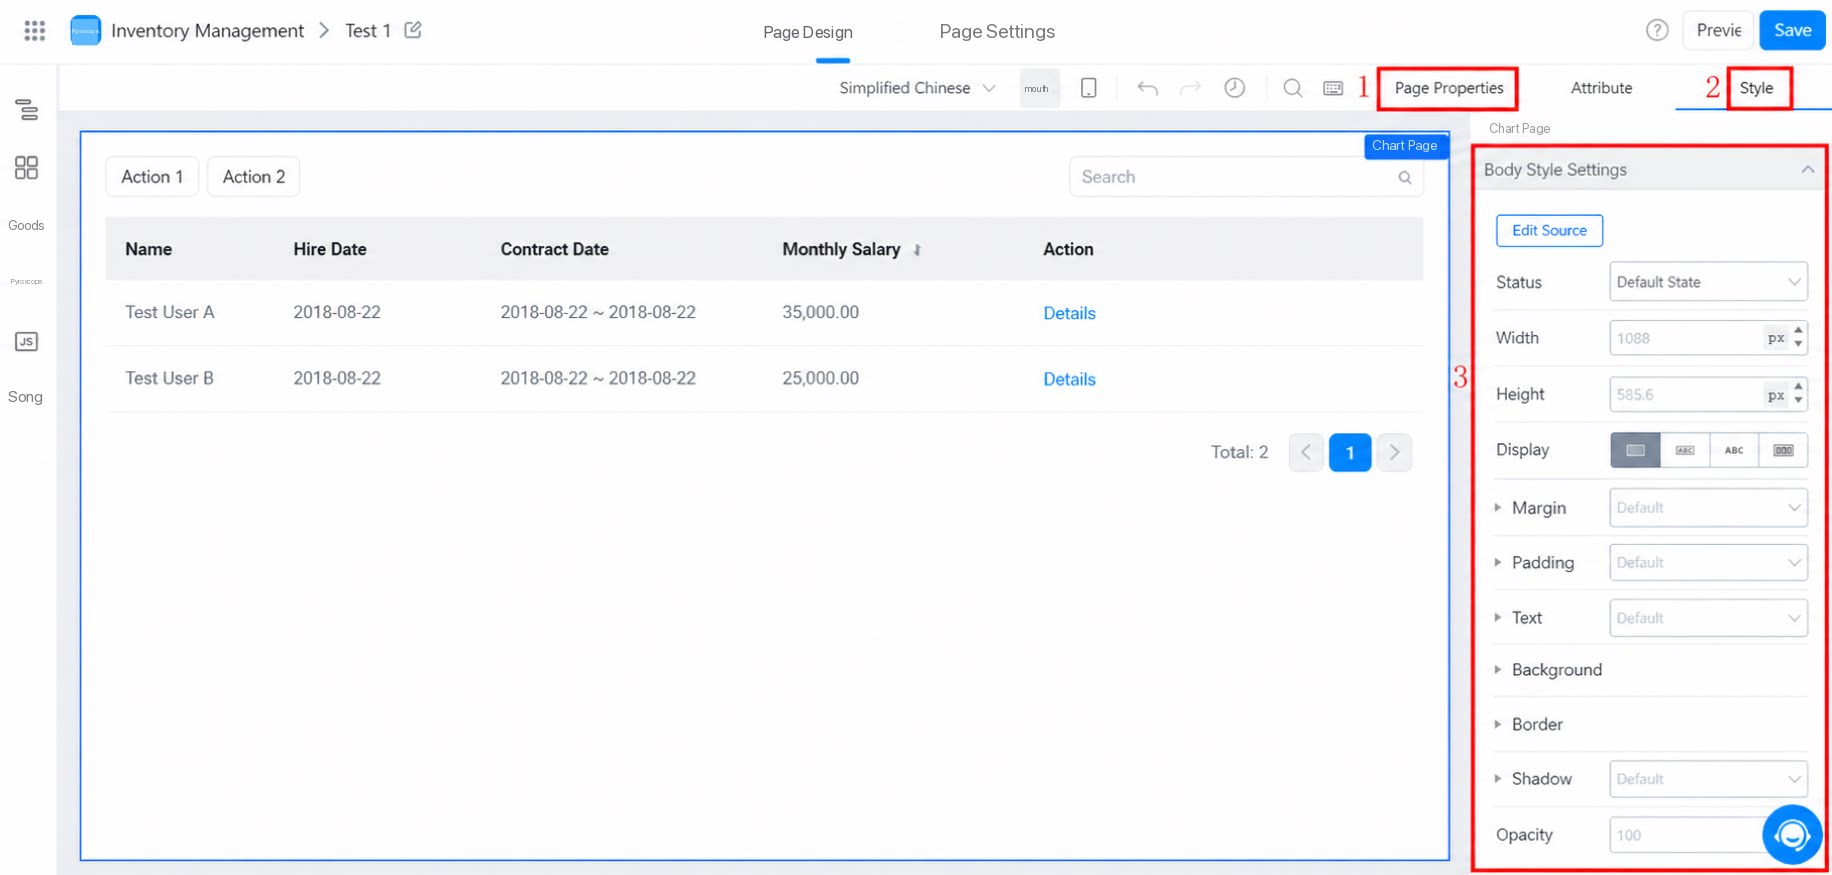
4. Style
For general component style settings, see Style overview.