Chats
Chats Calendar
 Meetings
 Contacts
 Mail
Mail Docs
Docs Drive
Drive AI Table
 AI Minutes
 Attendance
 Approval
 YiDA
YiDA Admin Console
Manage Roles and Role Groups
1
Step 1
Sign in to the YiDA workbench as an admin.
2
Step 2
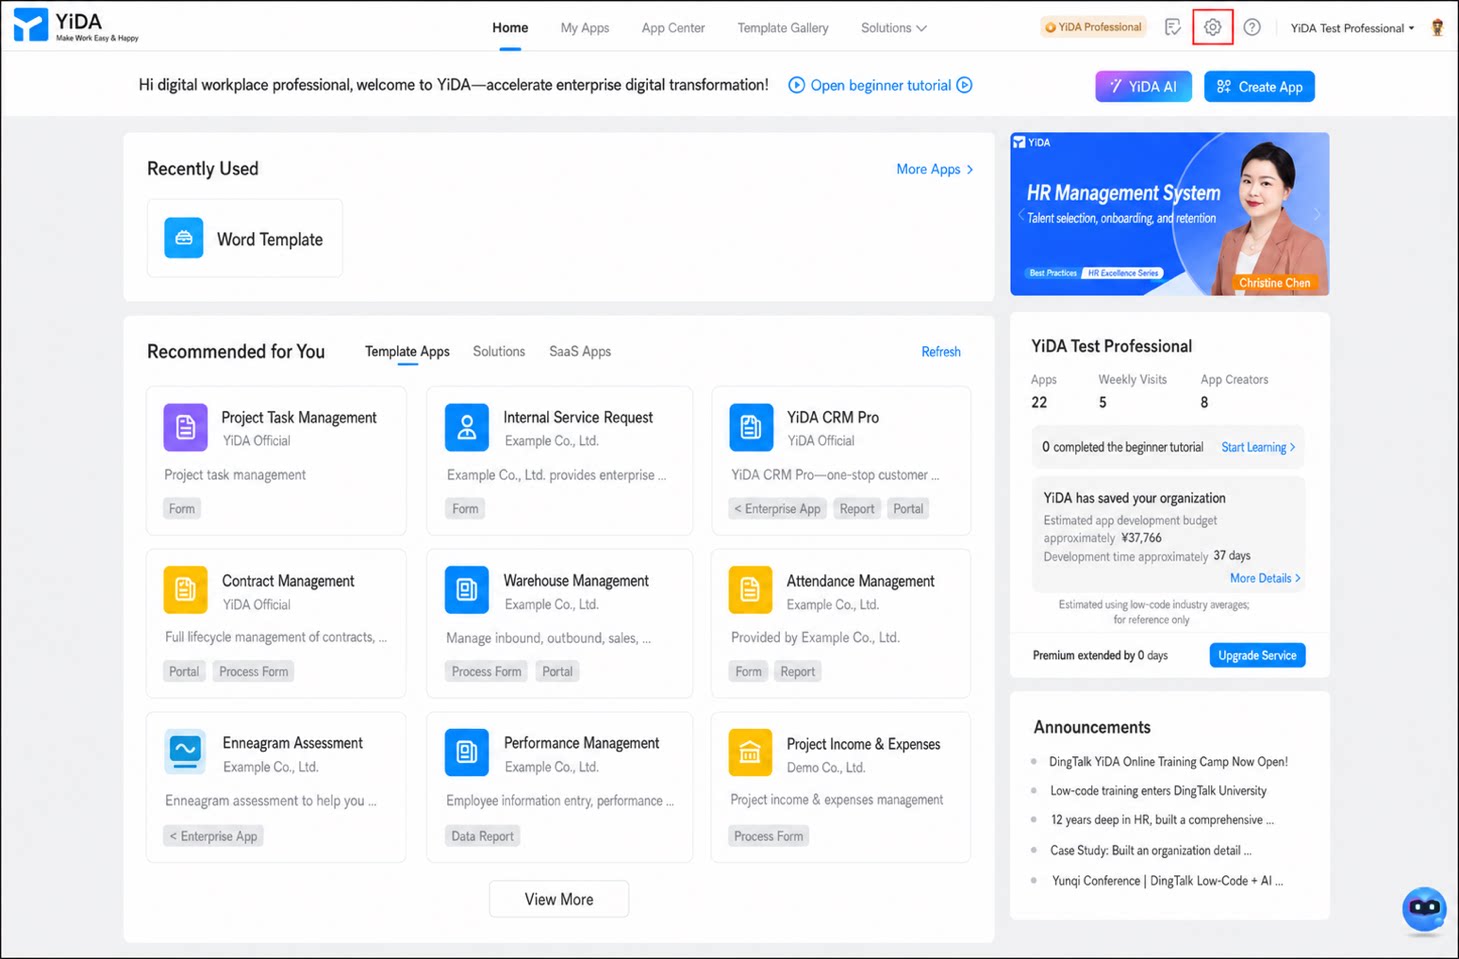
Click Platform management in the upper-right corner to open the platform management page. 
1
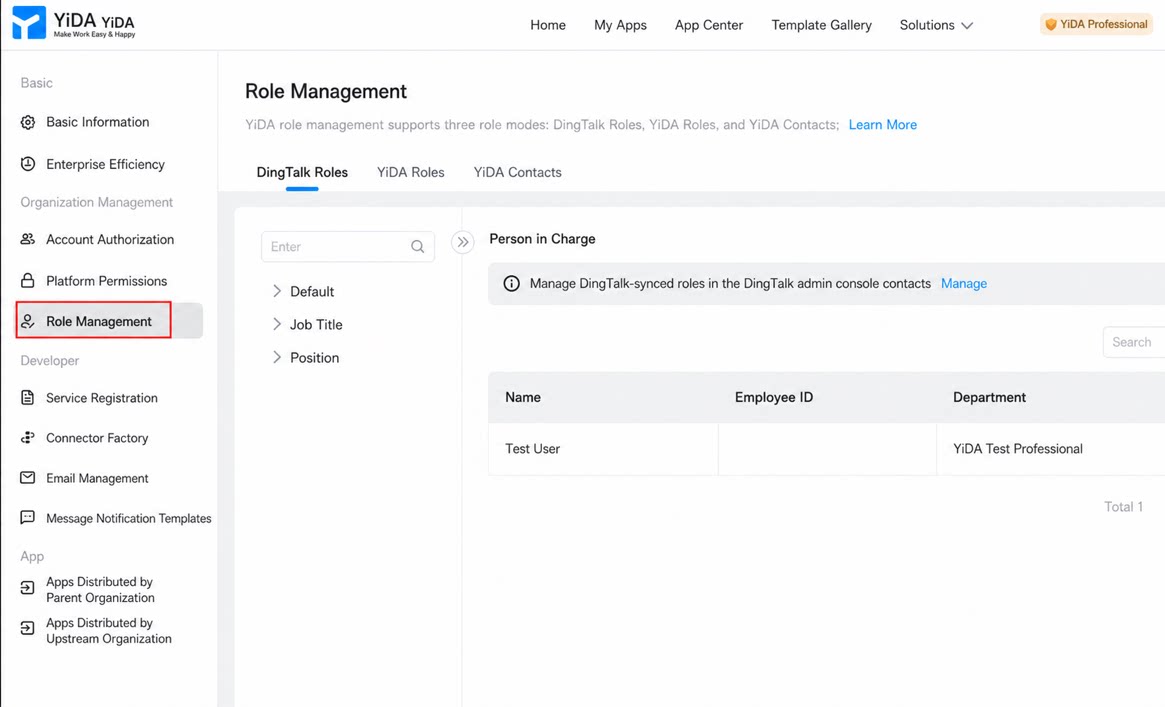
In the left-hand menu, click Role management.
2
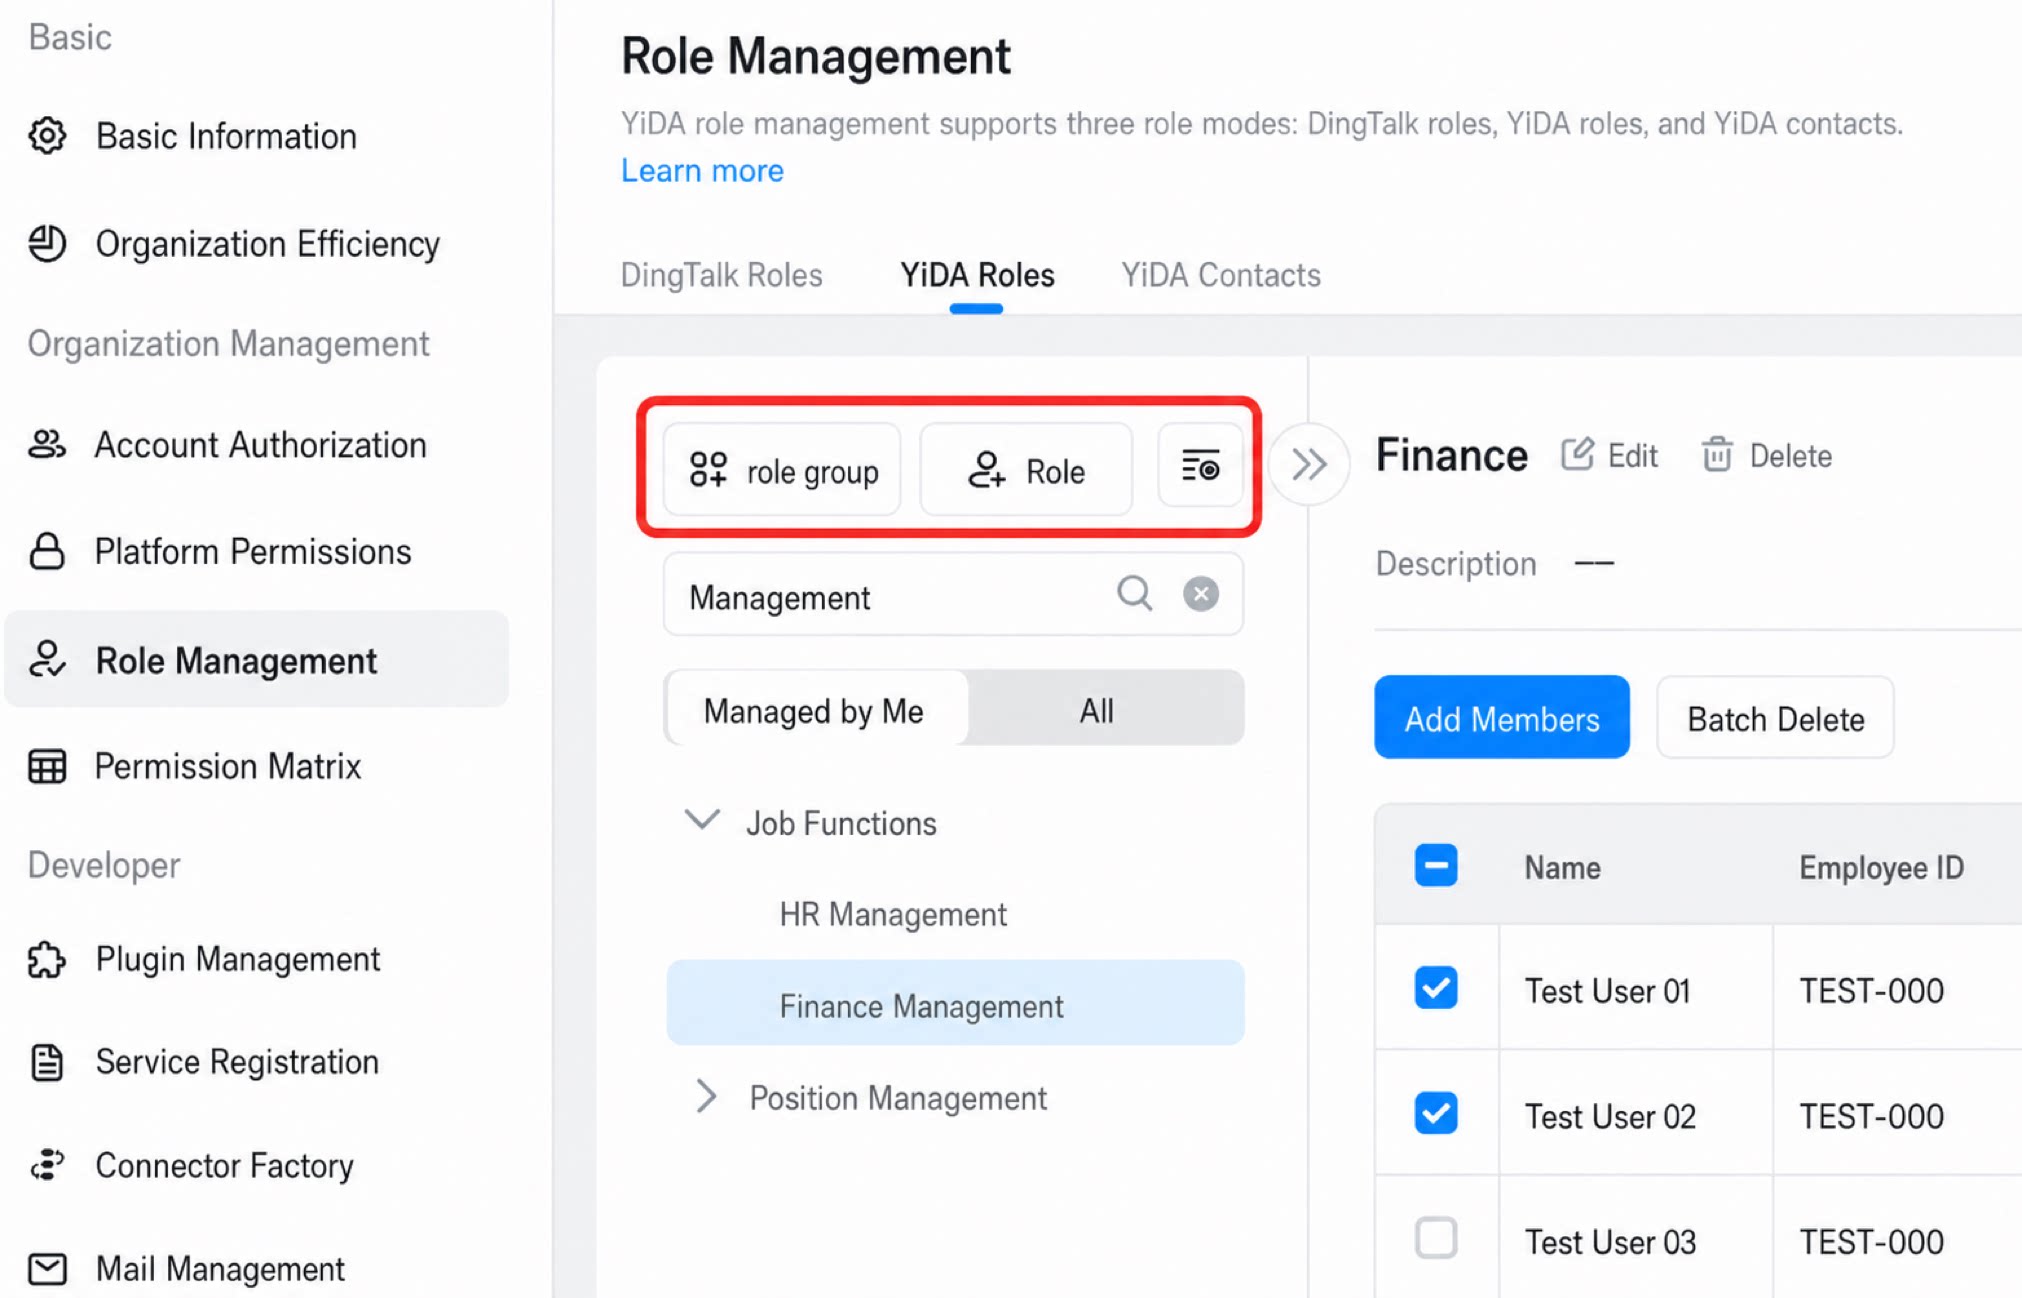
Select YiDA roles to manage roles.
3
Single role management: in the Add role dialog box, set the Role name, Role maintainer, and Role members, then click Confirm.
| Attribute | Description |
| Role name | The name of the new role. The name must be globally unique; duplicates are not allowed. |
| Group to | Place the role under a specified group for easier management. |
| Role maintainer | The person responsible for managing this role. The role maintainer can add, edit, and remove members of the role. |
| Role members | Users who hold this role’s permissions. Each role supports up to 2,000 members. |
| Role description | A description of the role, up to 300 characters. |
- DingTalk roles can only be managed and viewed by YiDA platform admins and DingTalk primary or sub admins. They are not visible to other users.
- DingTalk roles are display-only within the YiDA platform. To modify them, sign in to the DingTalk admin console.
- On the role selection page in the App Management console, you can select both DingTalk roles and YiDA roles at the same time.
- Role group management
Set the Management Scope for Role Members
- Go to the Role management page and select YiDA roles.
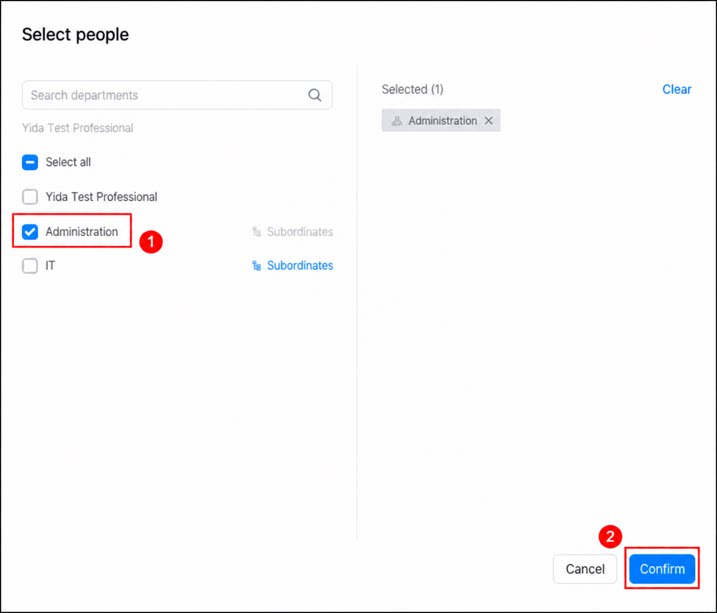
- Select the target role, then click Set management scope next to the role member you want to edit.
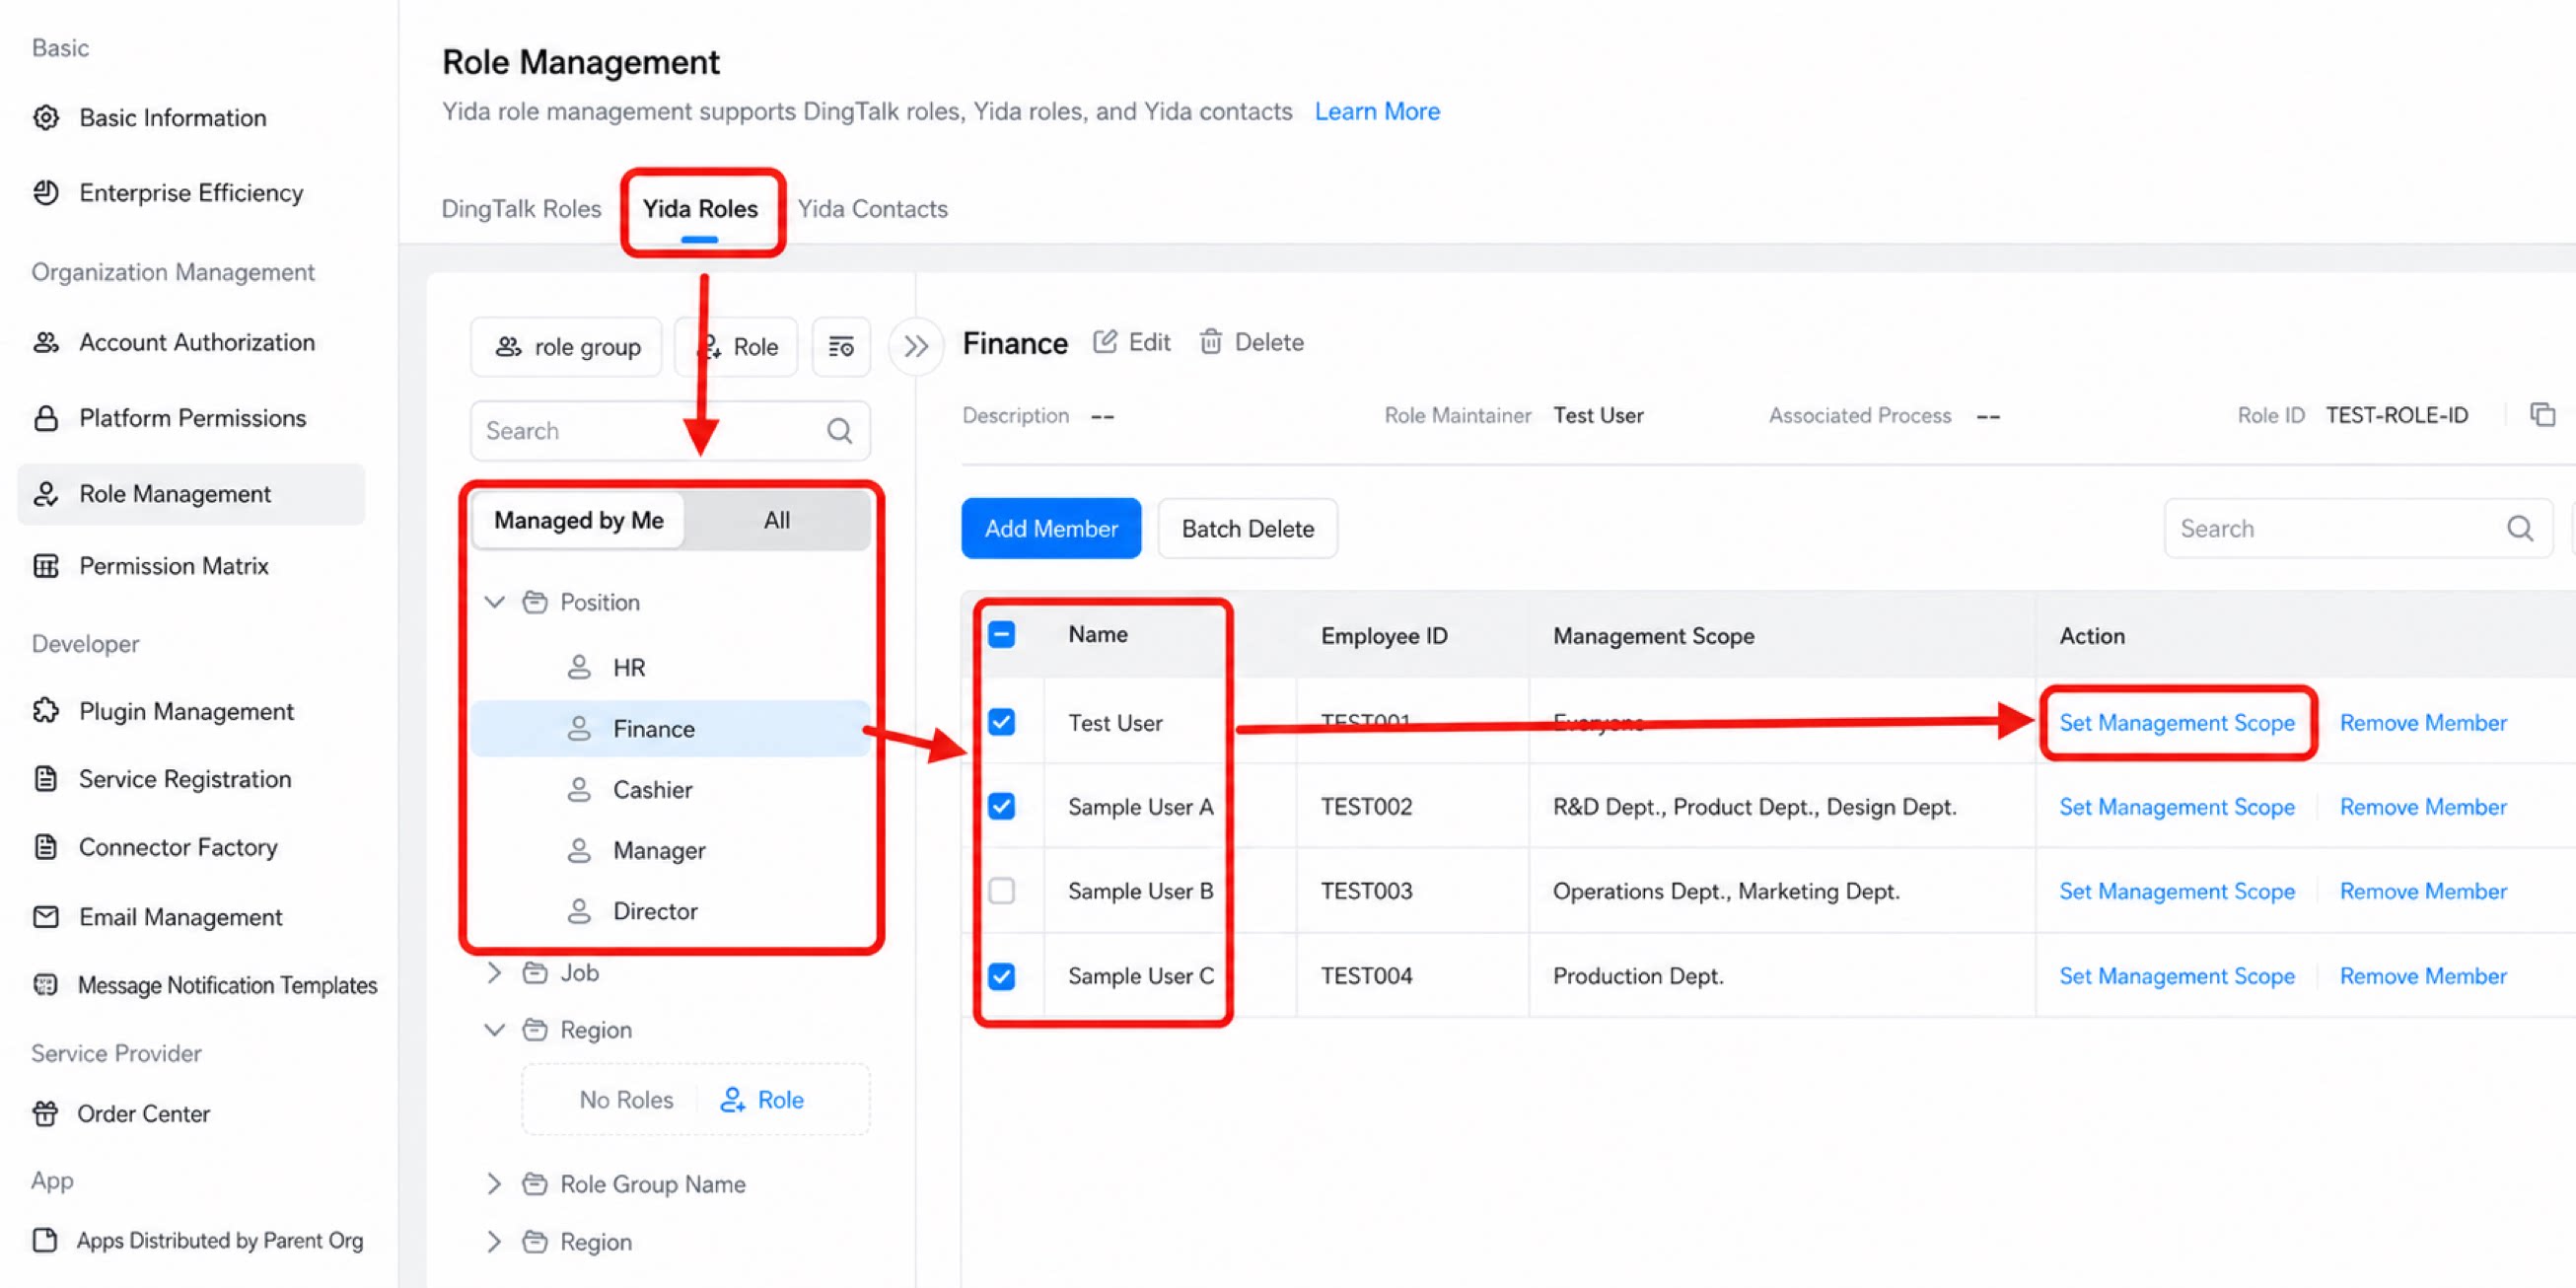
- In the Select user dialog box, select the permission scope the current user can manage, then click Confirm to complete the addition.