What is a form?
You’ve probably filled out signup forms, registration forms, surveys. In AI Table, a form is exactly that — an online questionnaire that captures structured info and data efficiently. Design the input flow once, share a link or QR code, and respondents fill it in and submit. Every submission flows back into AI Table, where it plugs straight into filters, groups, dashboards — for collection, cleanup, and analysis in one place.Examples
- Event signup: collect attendee info — name, contact, time slot. Auto-rolled-up data, plus filters to find matches fast.
- Feedback collection: run a customer-satisfaction survey. Use AI Table’s group and stats features to segment and quantify.
- Inventory management: retail and manufacturing — record receiving and shipping. Combine with filters and dashboards to generate inventory status reports.
- Store inspections: store managers log inspection state — shelving, hygiene, out-of-stock. Group by store and dashboard the result so regional managers get a quick read.
- Employee leave: internal leave applications — type, dates, duration. HR reviews and totals everything from the table.
- Student information: schools collect signups, parent contacts, after-school course choices. Teachers group and filter for class-level views, with charts on top.
Create a form
Start from a new form
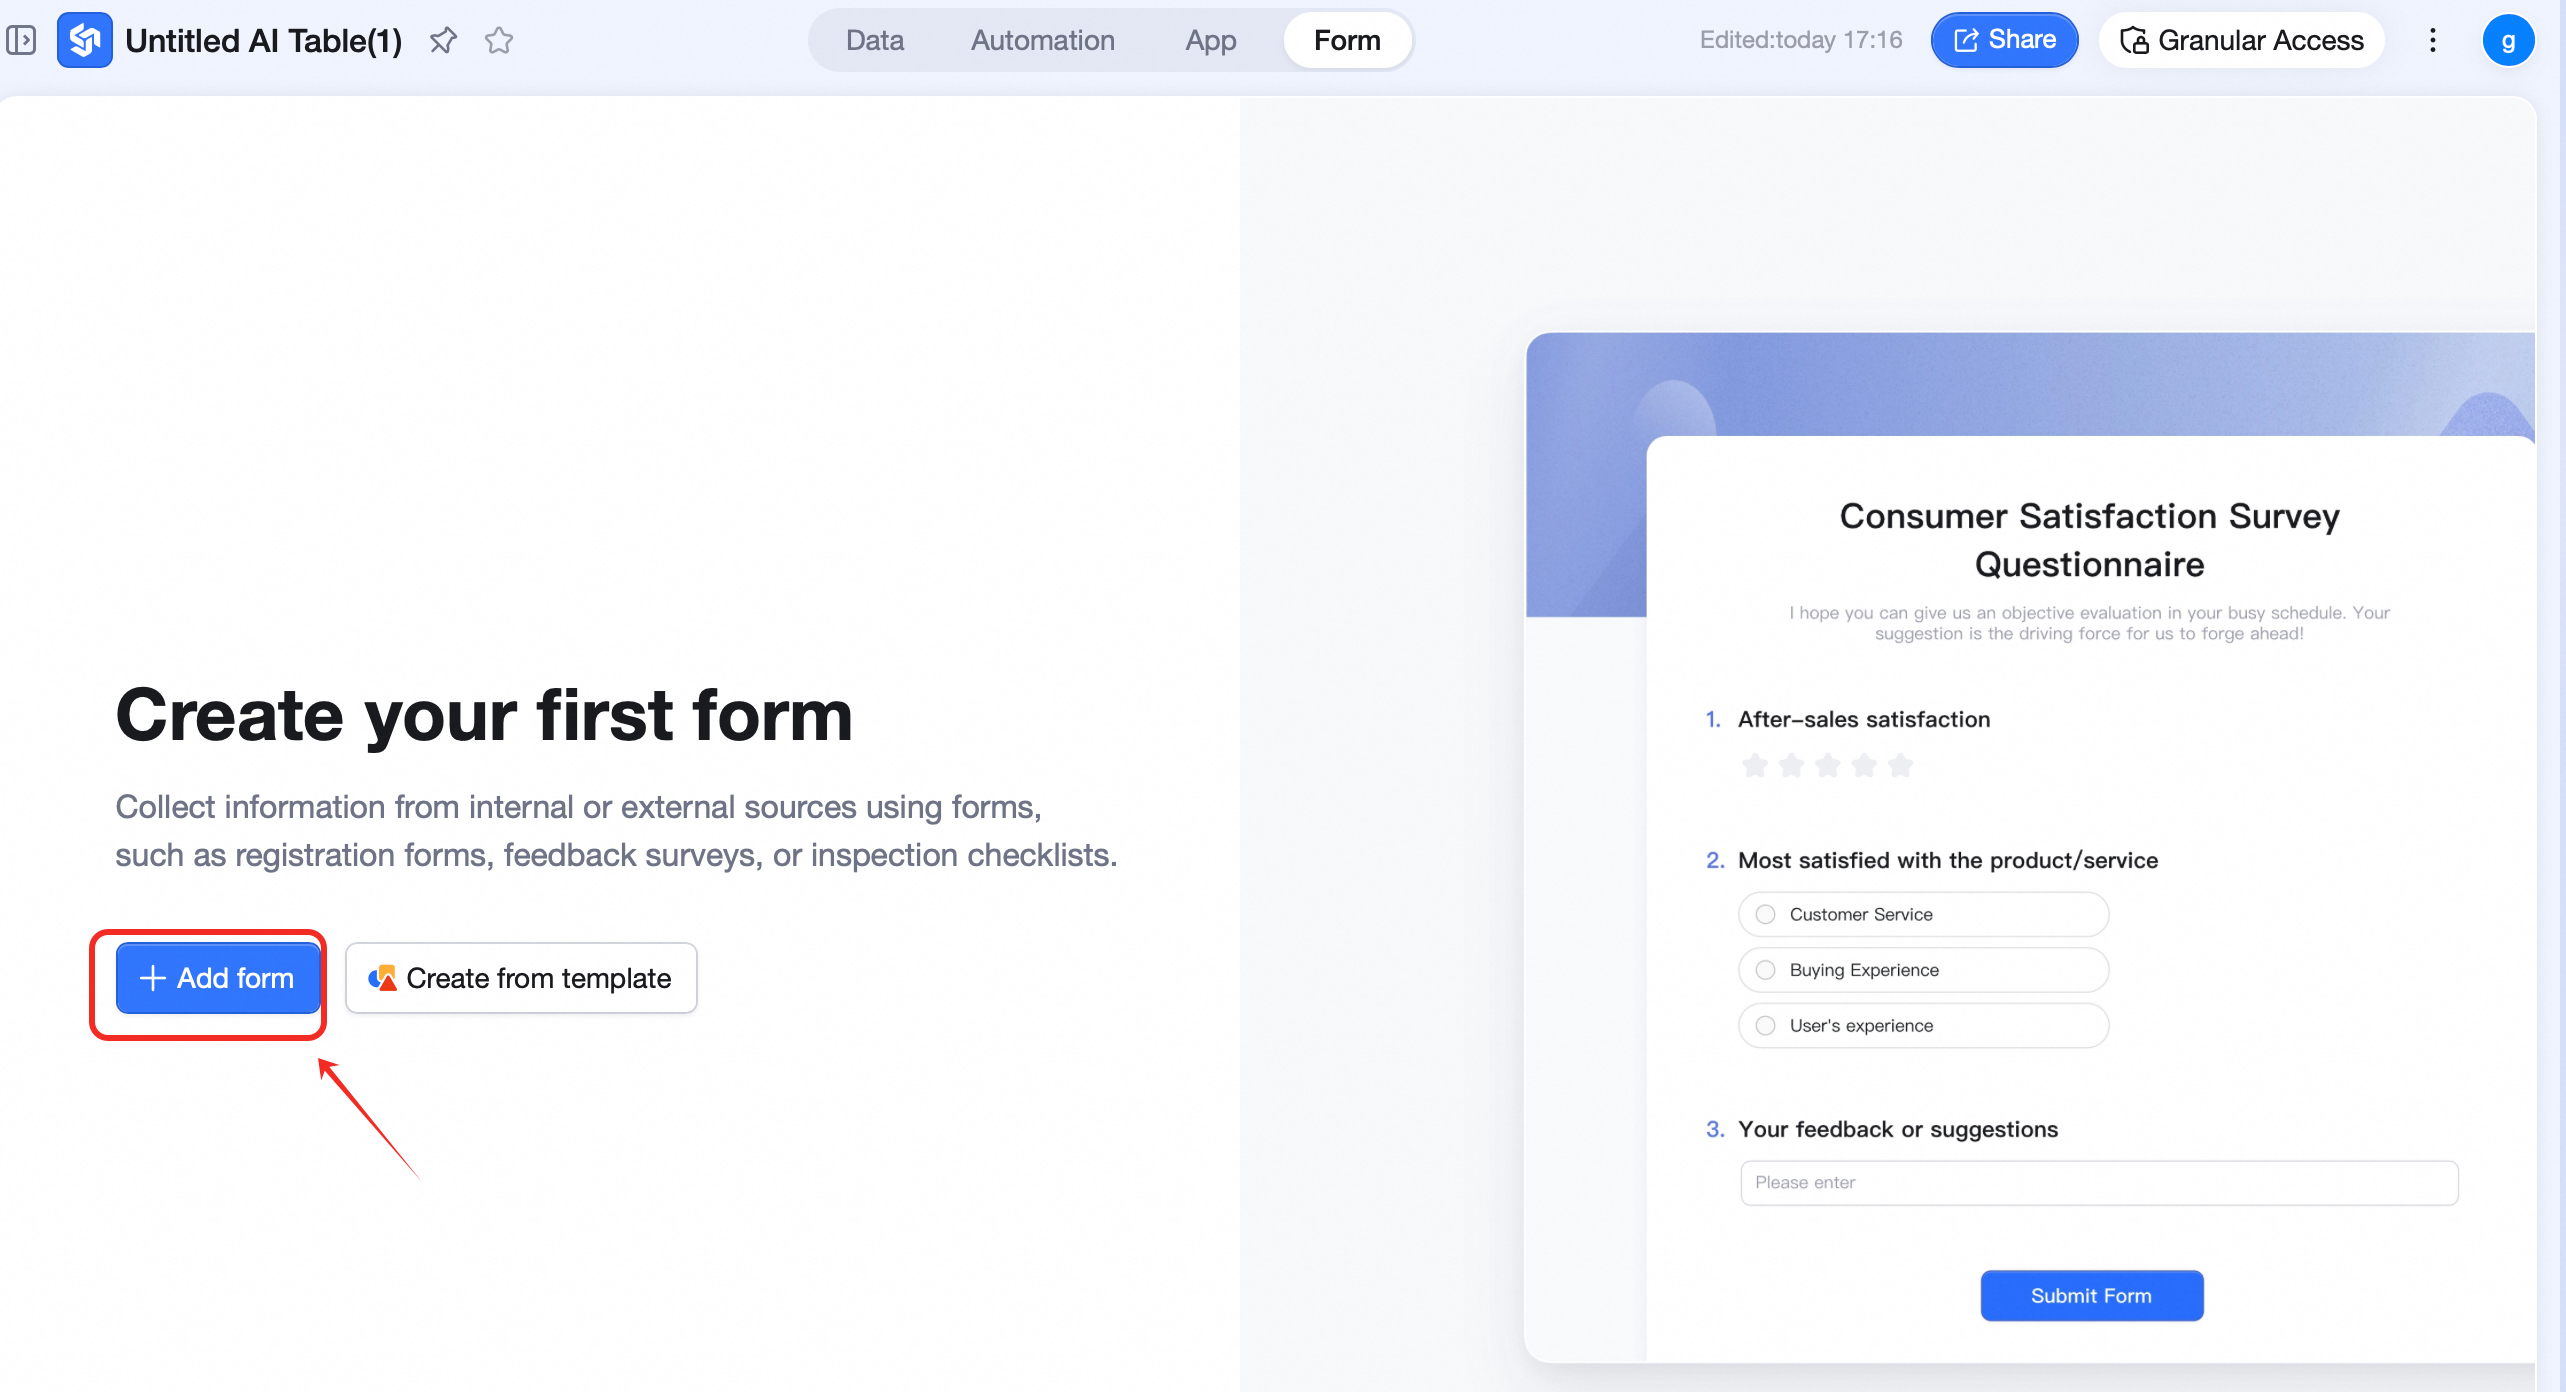
- Click Forms in the AI Table top nav to open the forms section.
- Click New form.
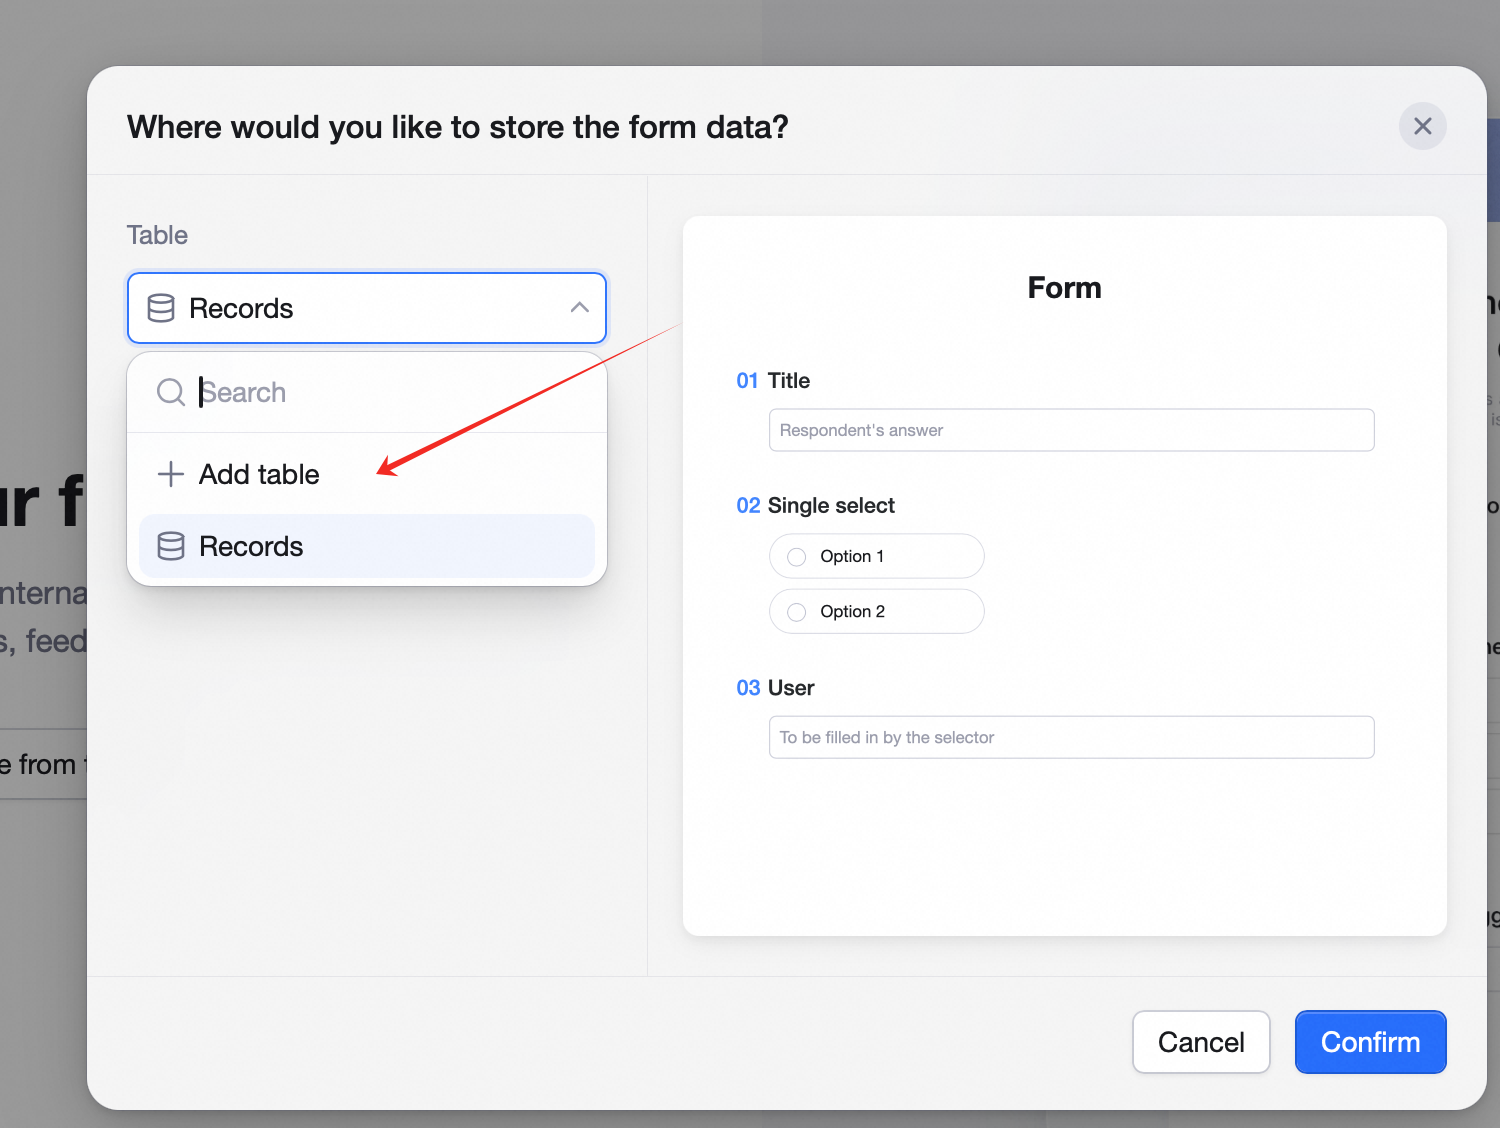
- In the Table dropdown, choose + Use a new table.
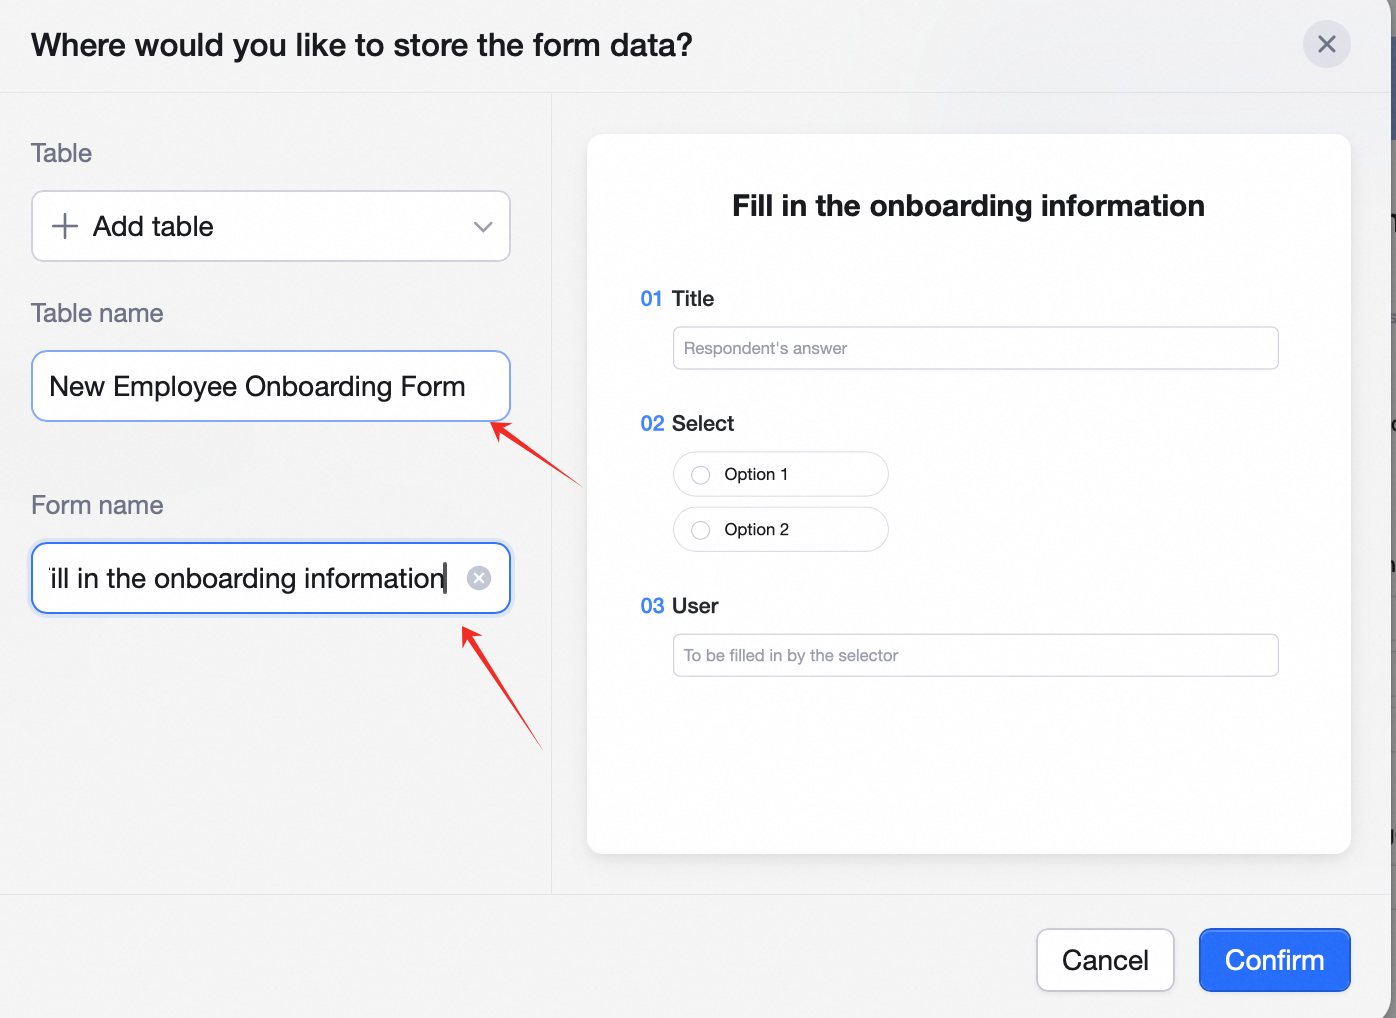
- Fill in the Table name and Form name.
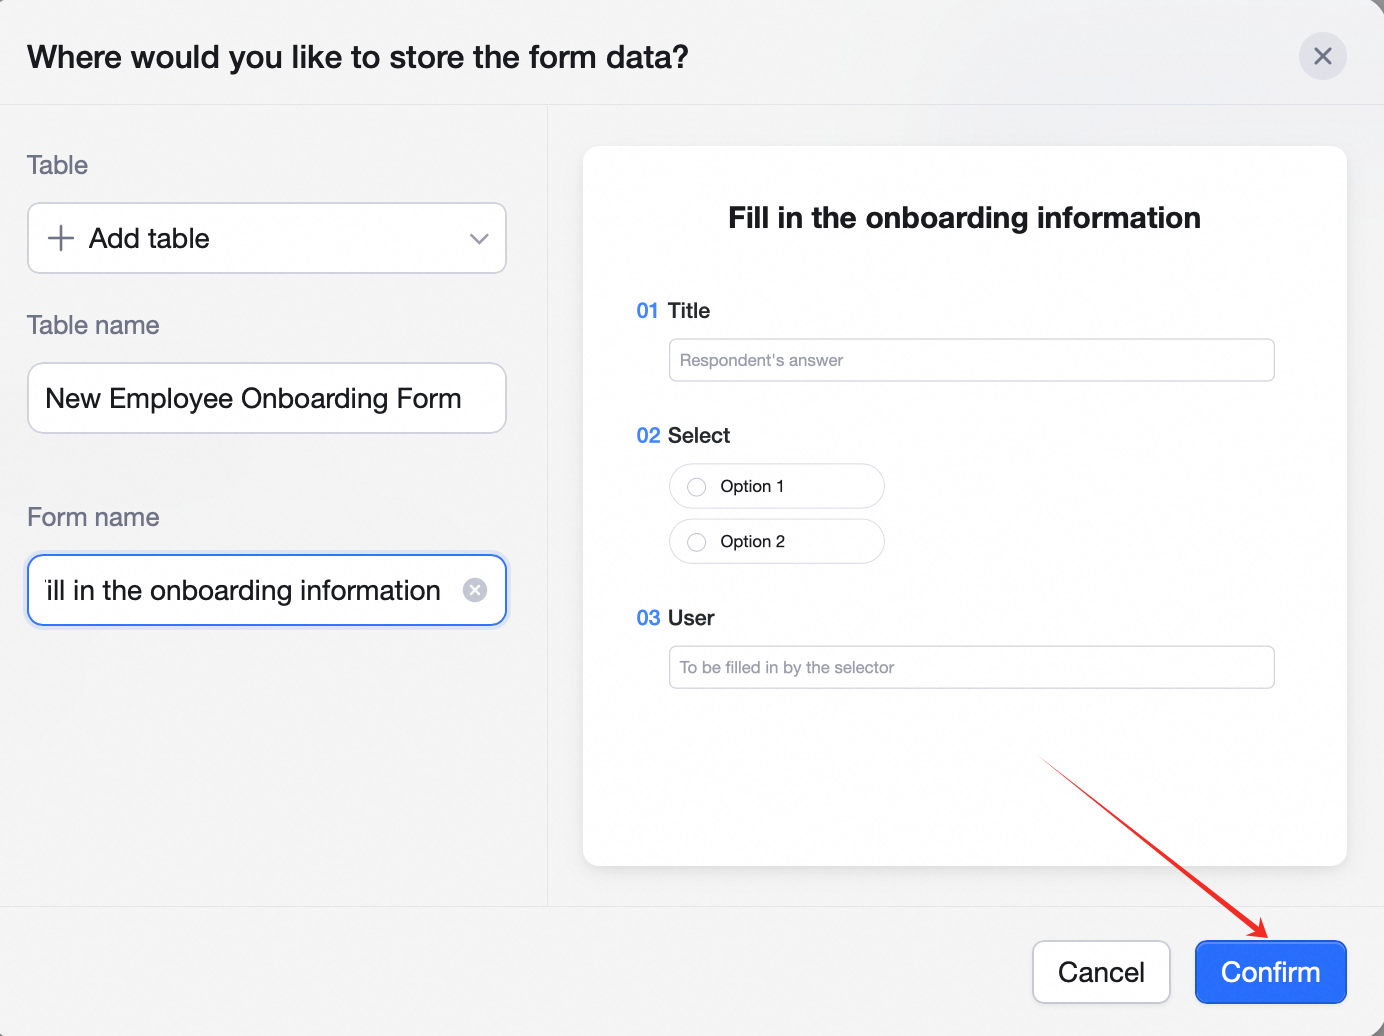
- Click Create form.

Editing a form
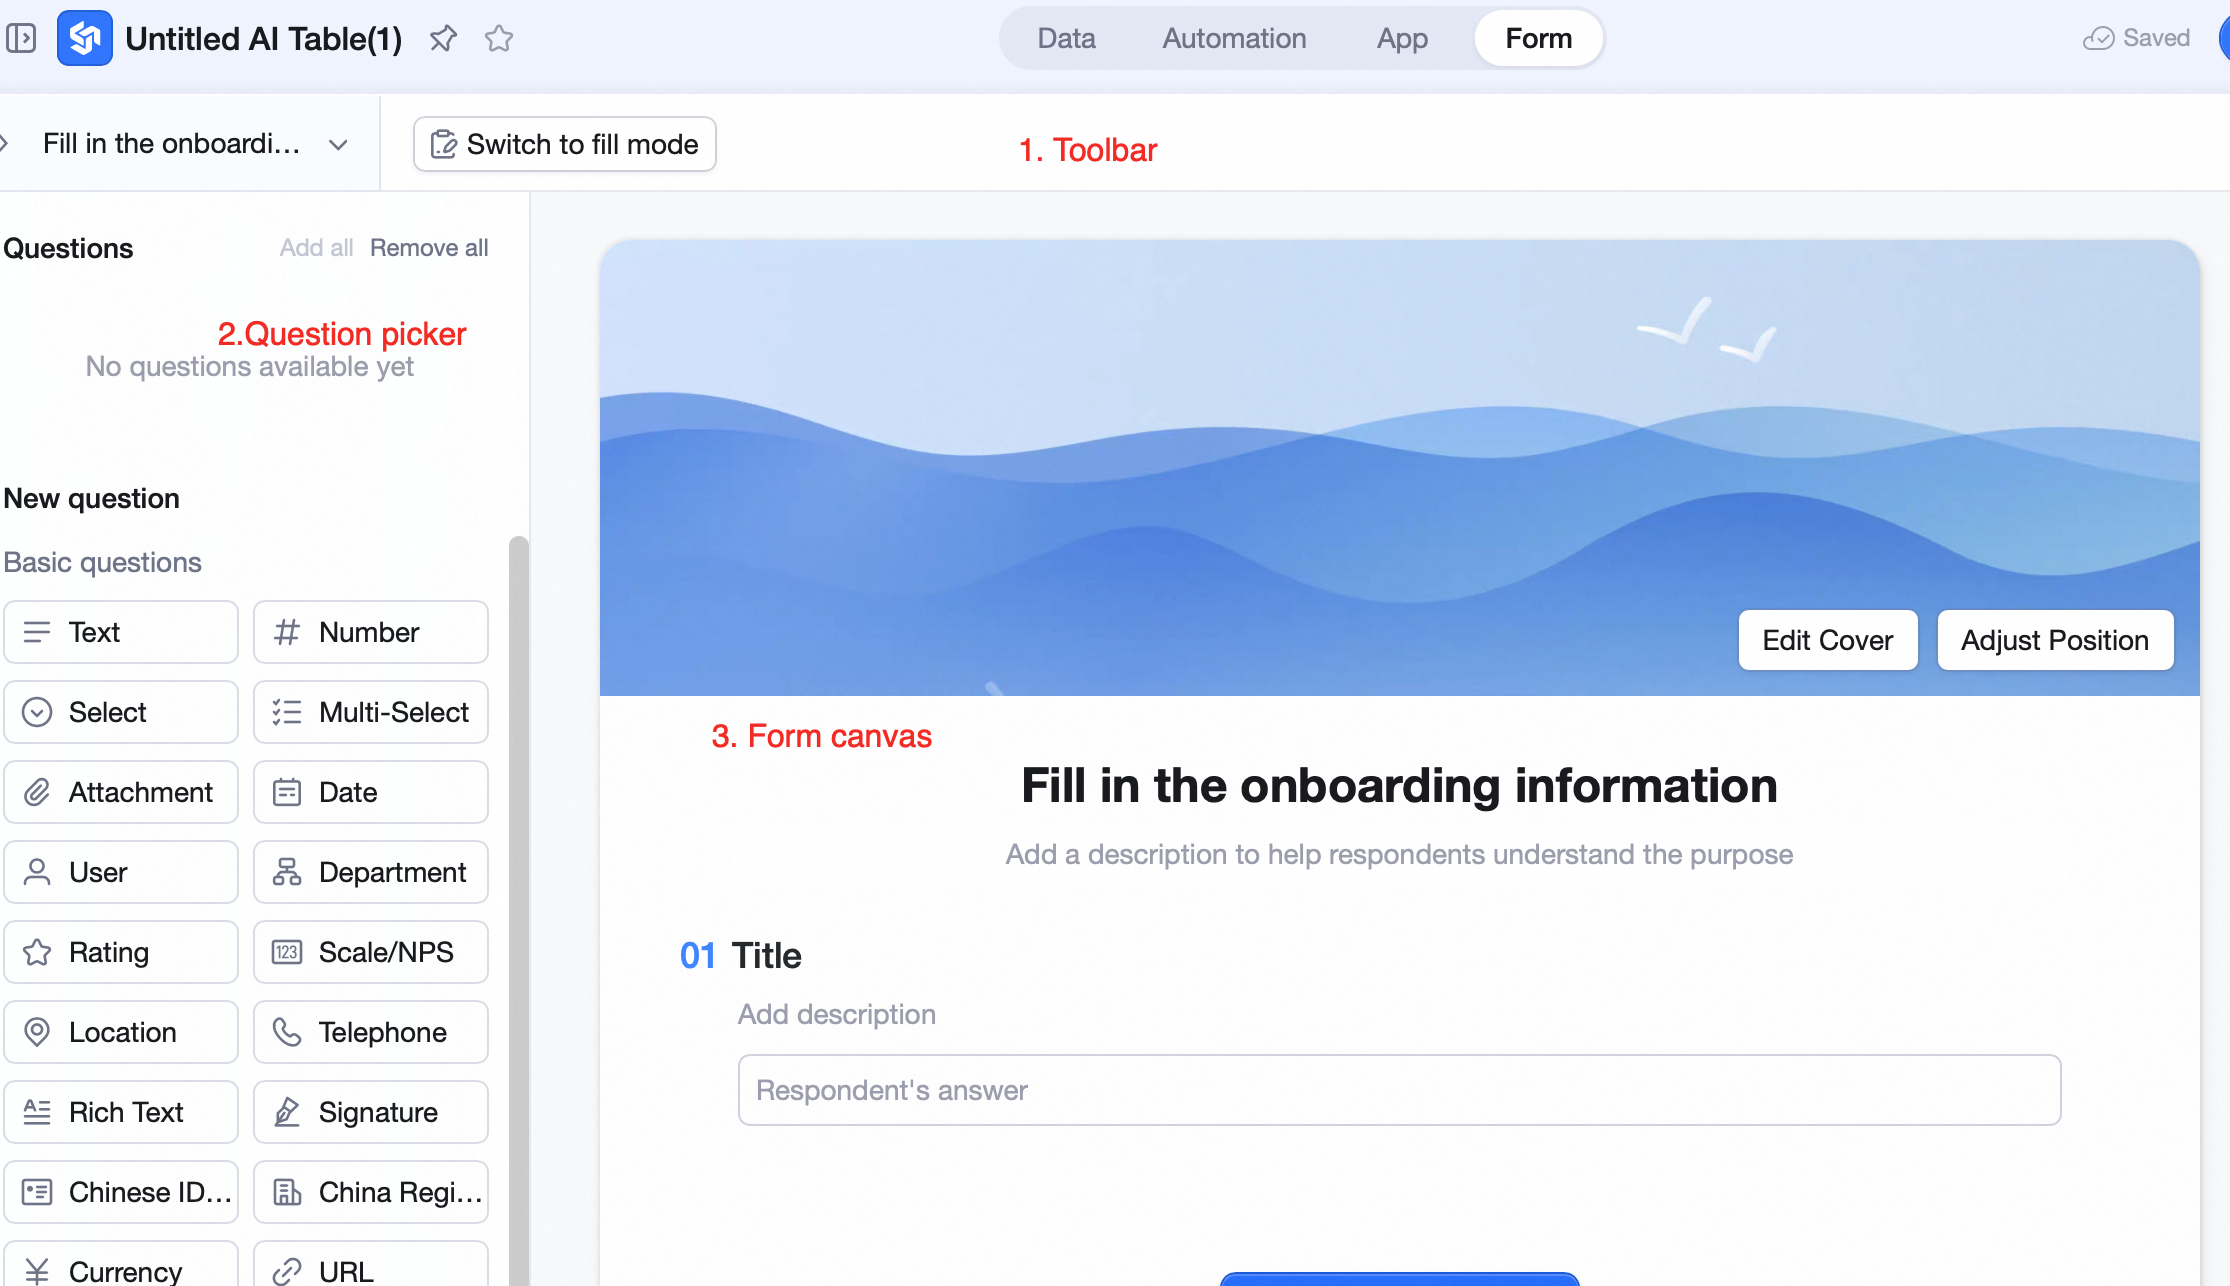
The editor has three areas: ❶ Toolbar Switch to Fill out, view stats, pick a theme, change settings, publish, share. ❷ Question picker- Available questions: existing fields / columns in the table.
- New questions: question types you can add (each maps to a field type in the table).
Form title and description
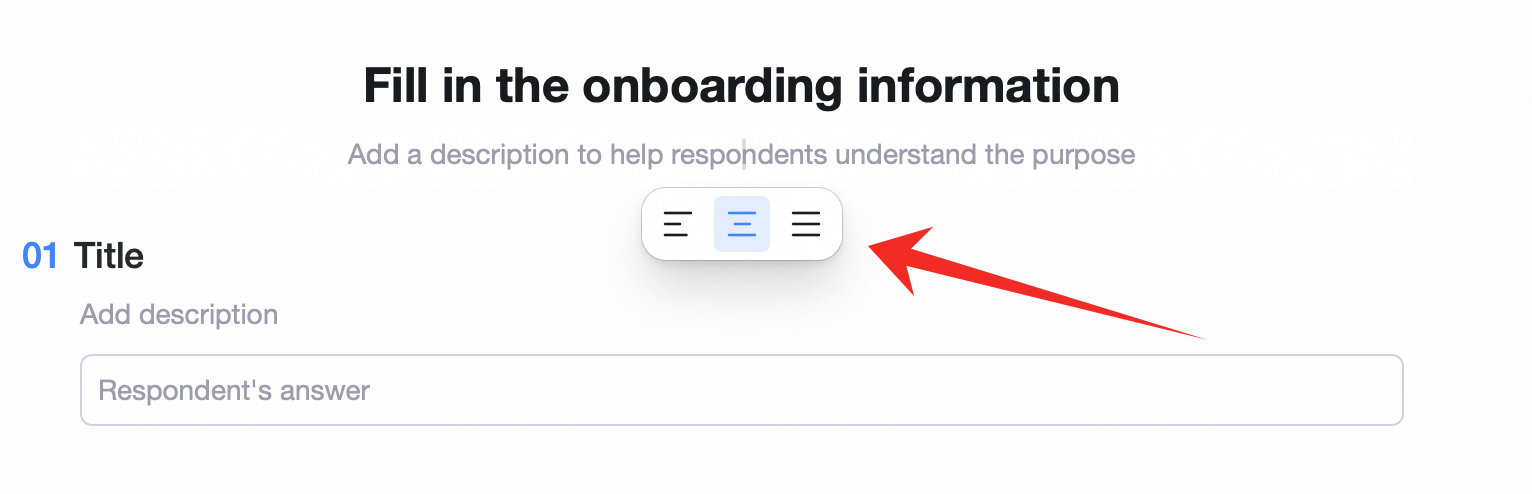
Click the form title or description to edit.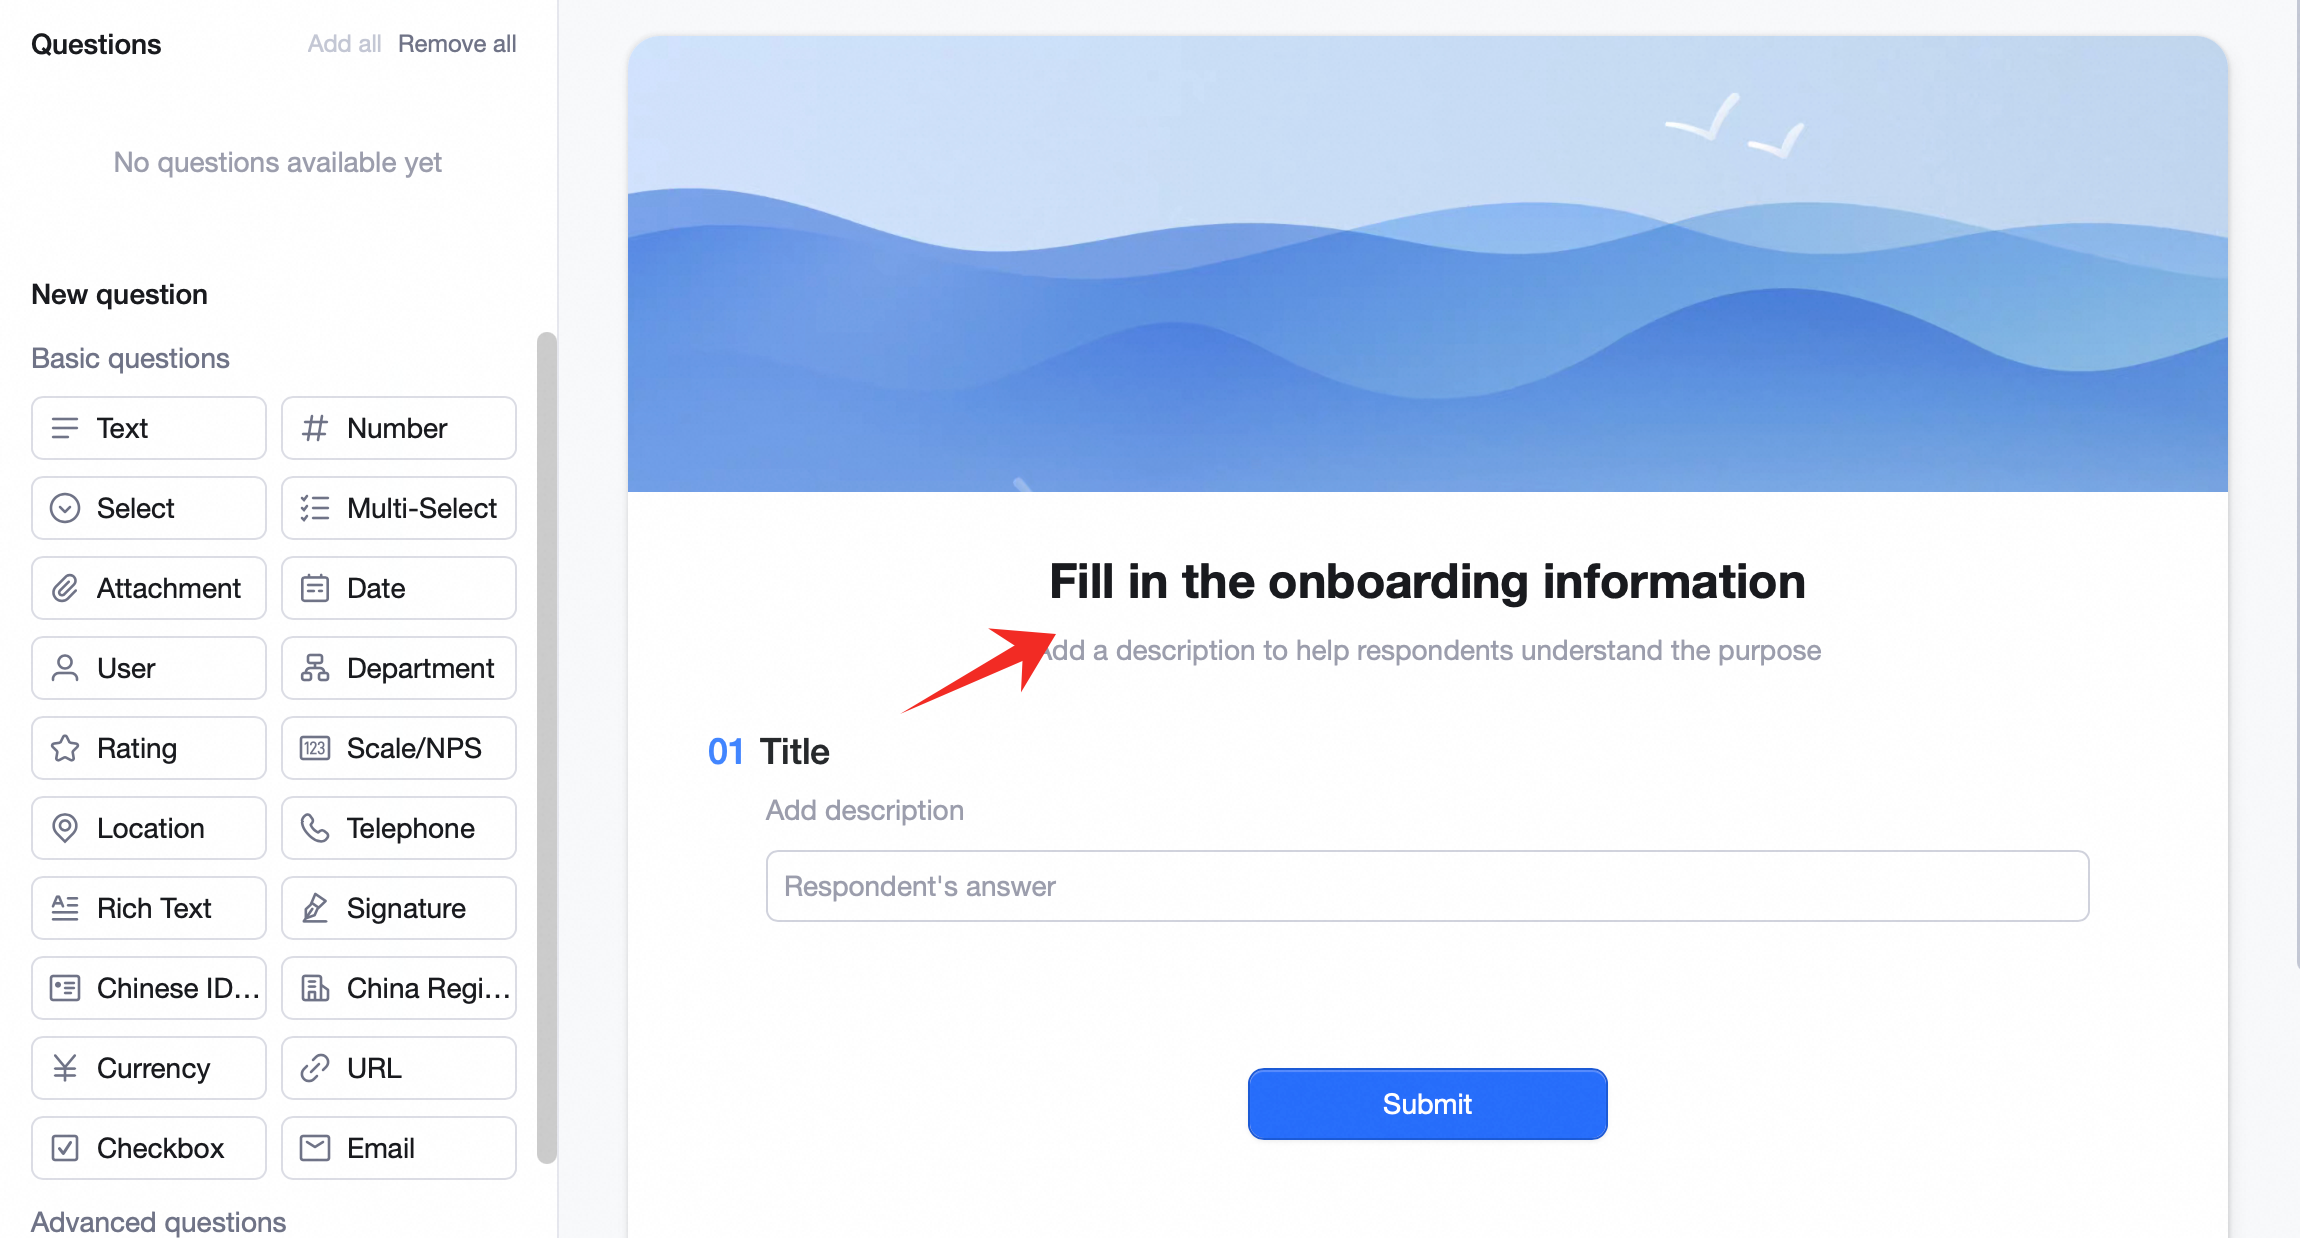 The description is a blurb that explains what the form is for or what to watch out for. You can change text alignment to highlight key info.
Configure questions (fields)
A table’s fields / columns and the form’s questions are linked. Each form question maps to one field / column in the table. Edit or delete a question and the field / column updates accordingly; same the other way.Add a question
Add via Available questions or New questions. Available questions: fields that already exist in the table but aren’t yet on the form — listed at the top-left of the canvas. Click the + next to a field, or drag it onto the canvas, to add it as a question. Use Add all or Hide all for bulk operations. New questions: every question type the form supports, listed on the left. Each maps 1:1 to a field type. Click to append at the bottom, or drag to drop at a specific position.Question description
Below each question, you can add a line of help text — explain what to fill in or what to watch for. It helps respondents answer accurately.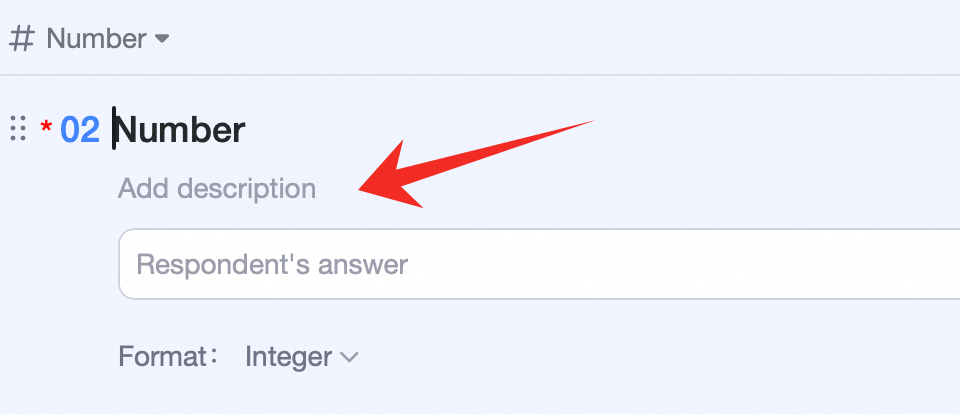 Note: question description shows only on the form, for respondents. Field description in the table is for table readers — different audiences, different purposes.
Change question (field) type
Click a question — the field type shows at the top-left of the question card (e.g. Single select). Click the field type and the configuration popup opens. See Working with fields for details.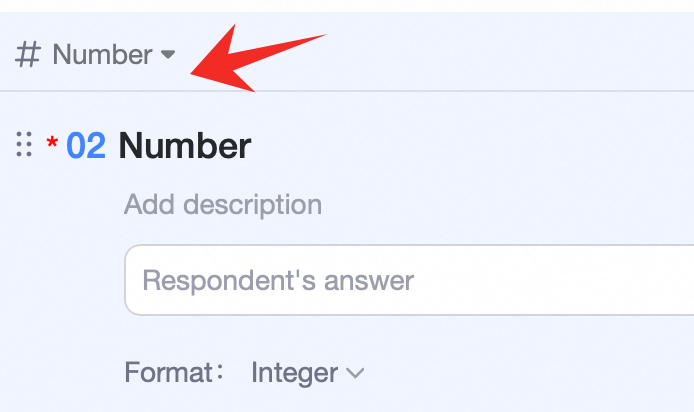
Reorder questions
Drag the question card to reorder. Note: reordering on the form does not change field order in the table.Hide / delete / duplicate (questions / fields)
Click a question — at the top-right, hide or duplicate it; in the ⋯ menu, delete it.- Hide: form-only — the question disappears from the form (back to Available questions), but the field stays in the table.
- Delete: removes the field from the table — the data goes with it.
- Duplicate: copies the question, plus copies the field and its values in the table.
Mark required
Click a question — toggle Required at the top-right of the card.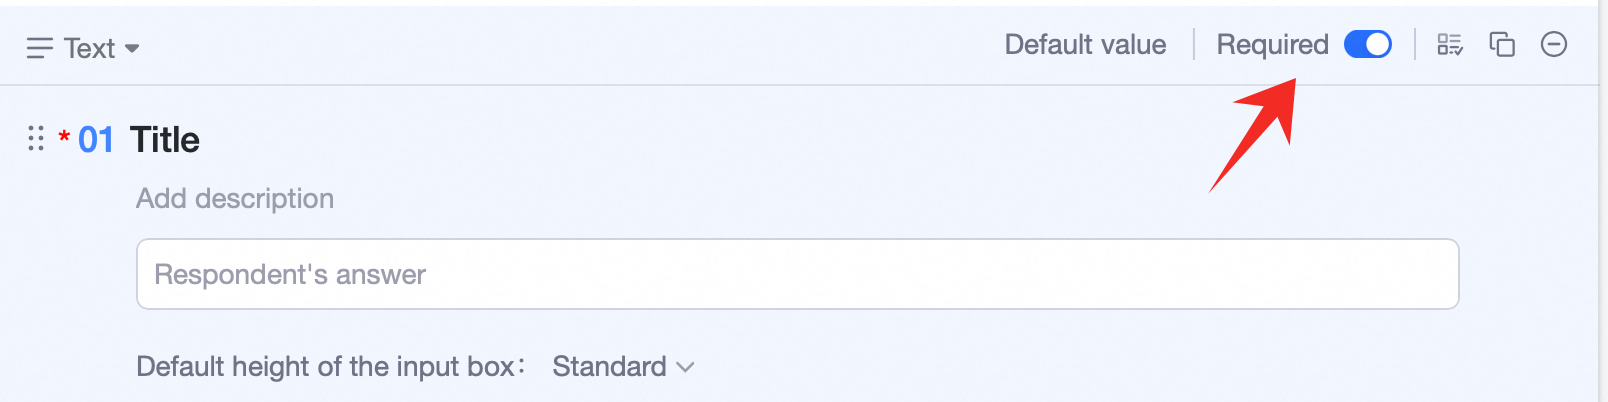
Set a default value
Sometimes you want a question pre-filled when a user opens the form. For example: in an expense form, default Need invoice? to No. Click a question — set the default at the top-right of the card.
Option display style
For questions with options, pick a display style:- Inline: every option laid out flat — respondents see them all at a glance. Best when there are only a handful and you want speed.
- Dropdown: options collapsed into a menu — click to choose. Best when there are many options and you want to keep the page compact.
Conditional visibility
Sometimes a question should only show under certain conditions. For example: in a leave-request form, when an employee picks Sick leave, then show Hospital and Sick leave certificate upload. Path: click the question, in the ⋯ menu pick Conditional visibility, and add the conditions.
Form settings
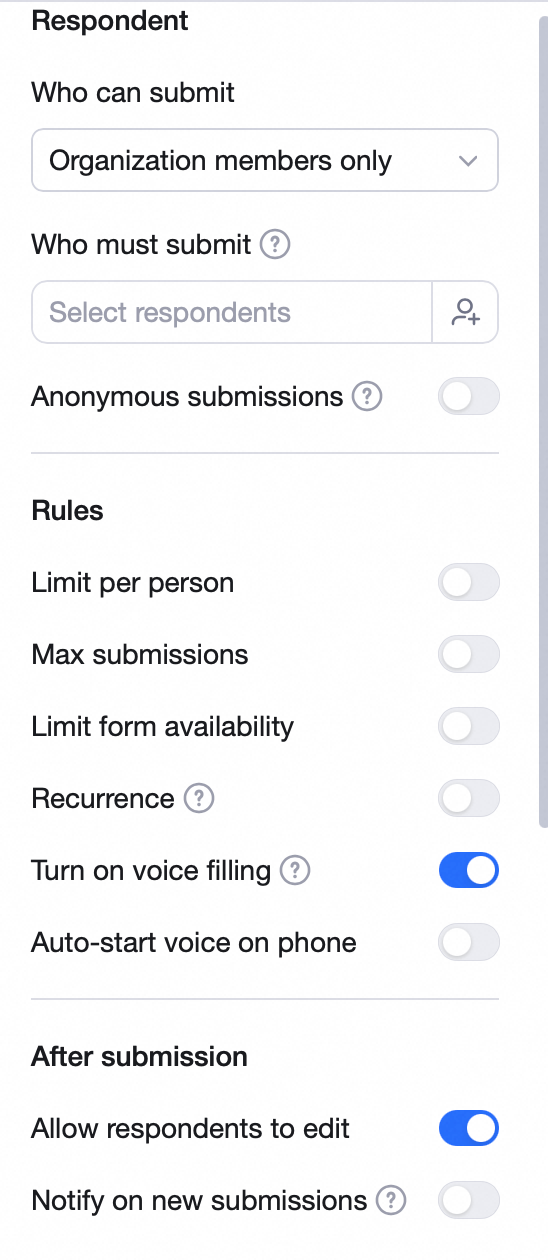
Click Settings in the top toolbar to change form-level options. Data source: read-only — only shown when editing a form on the form-collection page.Share form: turn publishing on or off. Off = collection stops; even people with the link can’t fill it in.
Anonymous: when on, respondent identity is not collected. Who can fill out: Anyone in the org / Anyone / Only specified people. Add Required respondents — people, groups, or departments. With required respondents set, you can use Remind (DING / work notification / chat). No-login fill: when on, anyone with the link can fill out the form (e.g. directly in WeChat). Submitter identity isn’t collected.
Limit per user: limit each user to one submission, or one per day. Cap total submissions: set a max — once hit, the form stops accepting submissions. Effective time: respondents can only submit between the start and end times you set. Recurring reminder: respondents get periodic reminders. For daily reports / weekly reports / sales updates / other recurring use cases.
Allow respondents to edit submissions: when on, respondents can edit their previous submission and re-submit; the new version overwrites. After submit: redirect to an end page (with a custom message), or to a specified URL.
Set defaults via share link: see Pre-fill form defaults.
Form style
Click Theme in the top toolbar to change the cover image, layout, and theme.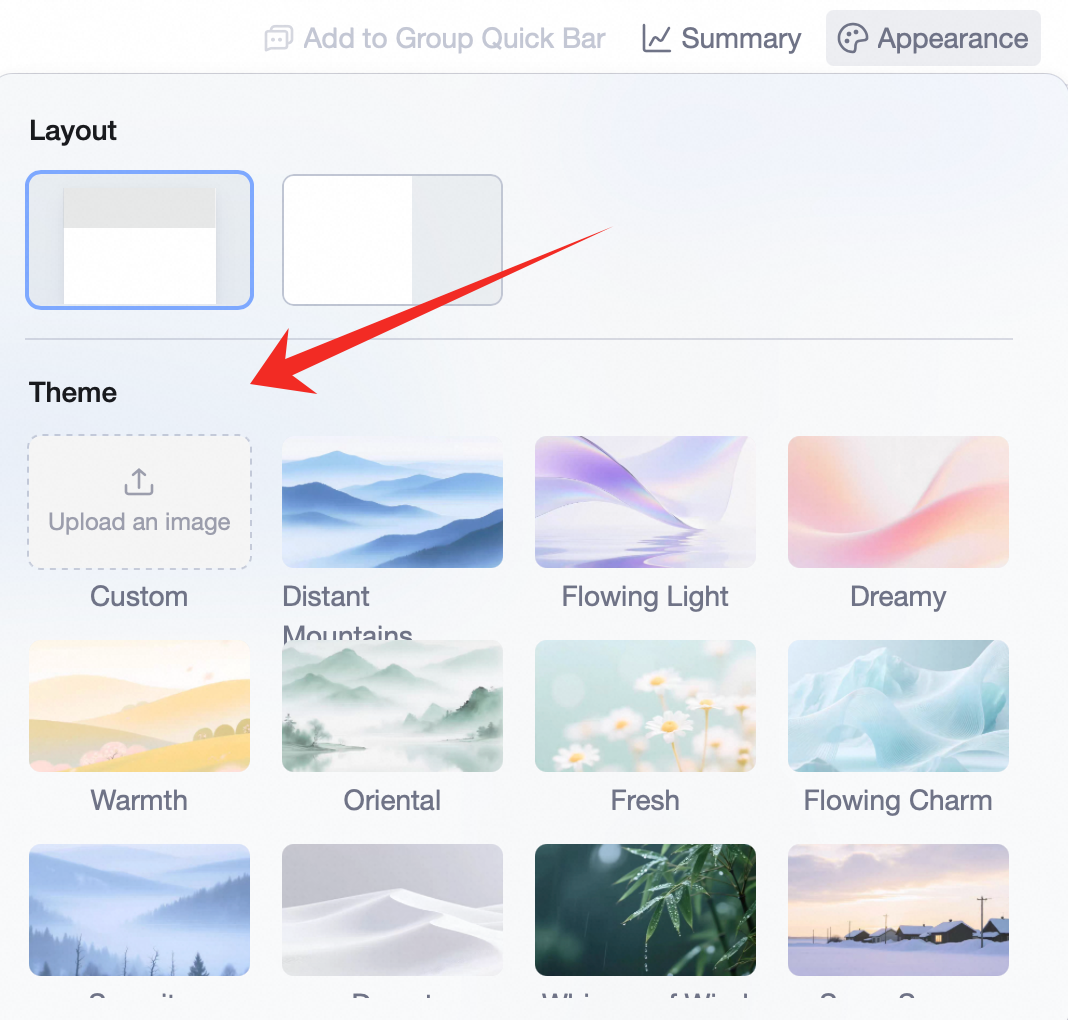
Publish and share
Once configured, you must publish before anyone can fill it in. Click Publish & share in the top toolbar to publish. Then send the link or QR code to respondents.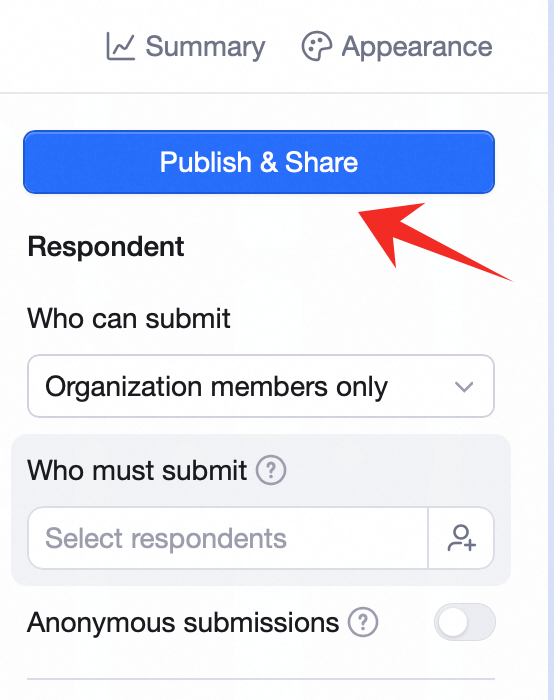
Set the audience
In the popup: choose who can fill out (anyone in the org / anyone / only specified people), add required respondents, etc. With required respondents set, you can use Remind (DING / work notification / chat).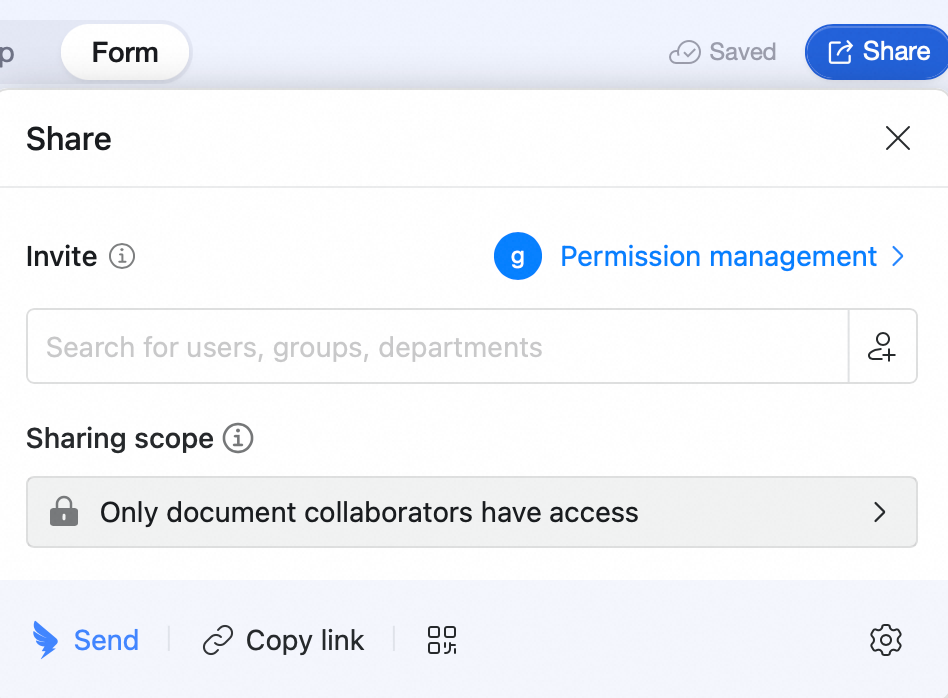
View stats
Click Stats in the top toolbar to see fill-out stats.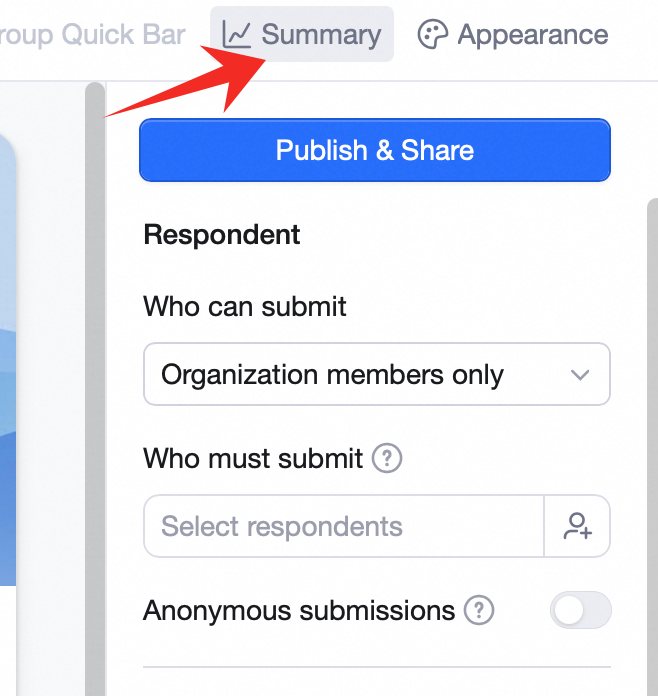 You’ll see total submissions, expected, completed, outstanding.
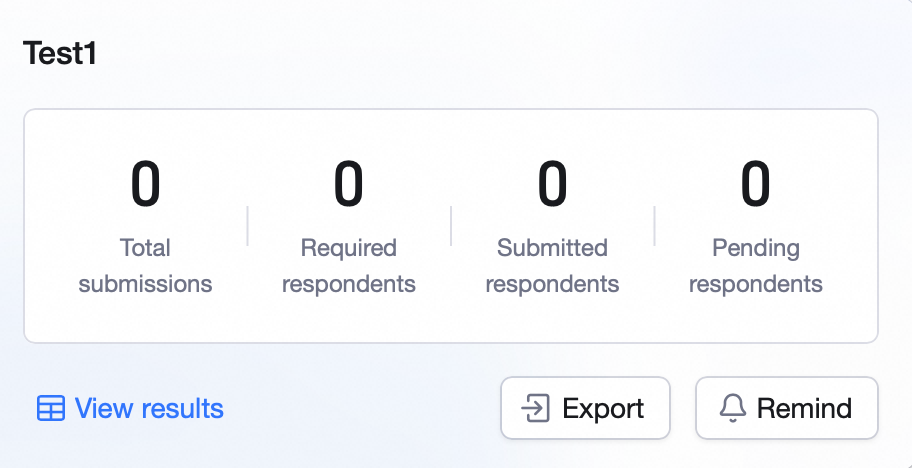 Click Export as to download the data as Excel, or download attachments in bulk.
Click Remind to nudge people who still owe a submission.
Click Export as to download the data as Excel, or download attachments in bulk.
Click Remind to nudge people who still owe a submission.