💡 A view is not a new table — it’s a saved filter + a way to present data. In AI Table, the same table can show up as grid, kanban, calendar, Gantt, gallery, map in different scenarios. You can also organize and filter the displayed data with grouping, filters, and sorting.For example, on a task management table, the default “All data” view is a grid view. To also see only tasks assigned to you, create another grid view with filter “Assignee = me” — now the table flips between the two views fast. Remember: deleting a row in any view deletes it across all views of the table — views are ways to look at the table, not copies. Get this and you’ve understood AI Table views. AI Table currently offers these view types: Grid Classic spreadsheet display. Gantt Gantt view makes time-based project progress visual. Calendar Date-sensitive data fits calendar view. Kanban Better for stacking records as cards by status. Gallery For tables with key images or documents — preview the cover as cards. Form Create a form basics for the table — distribute it so others fill data into the table.
View basics
Create a view
First step: create a view. Click + New view and pick a type.
Rename a view
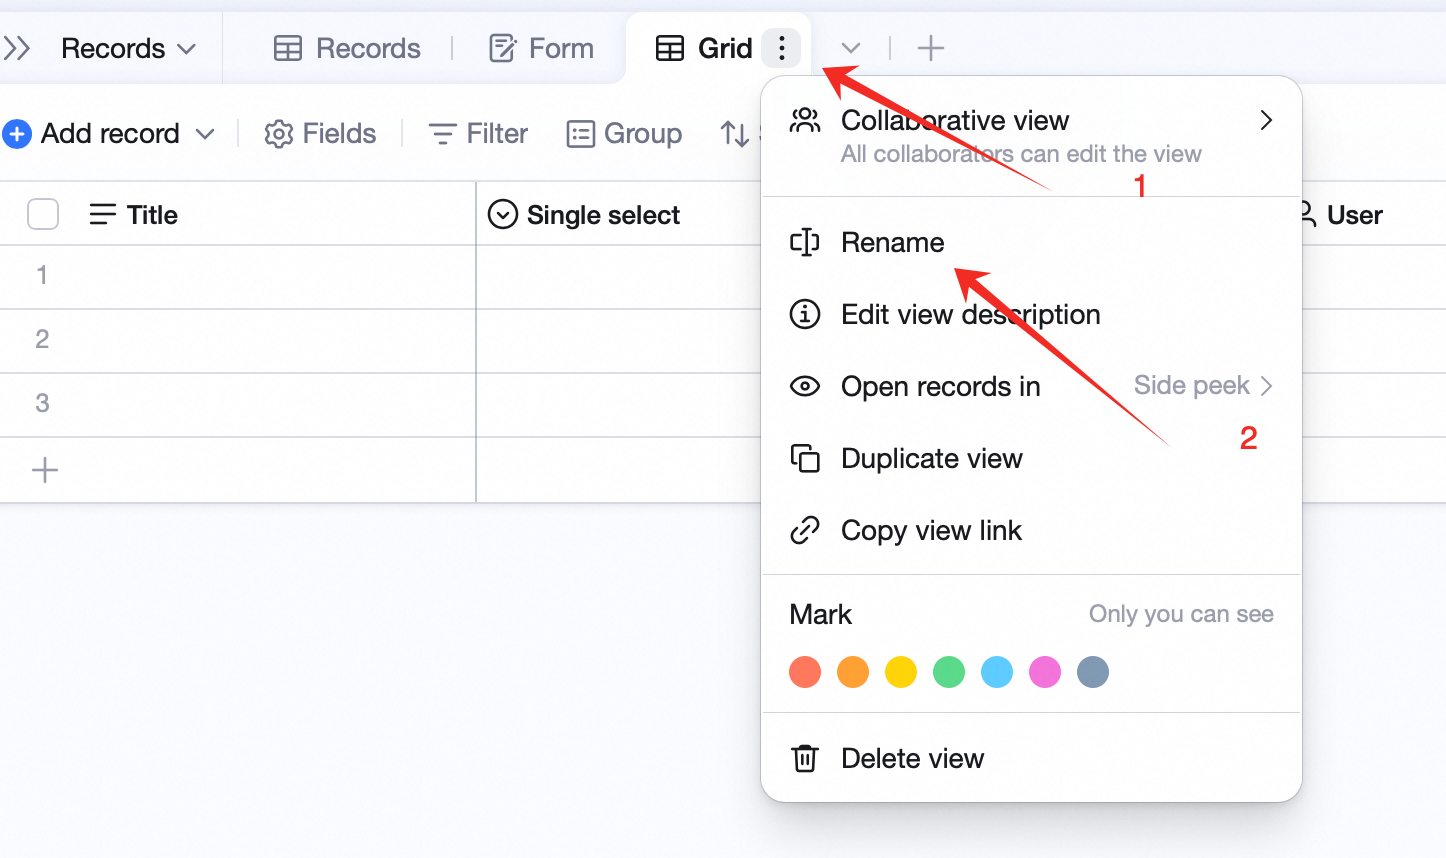
Way 1: double-click the view name to edit: Way 2: click the icon next to the view name, pick Rename:
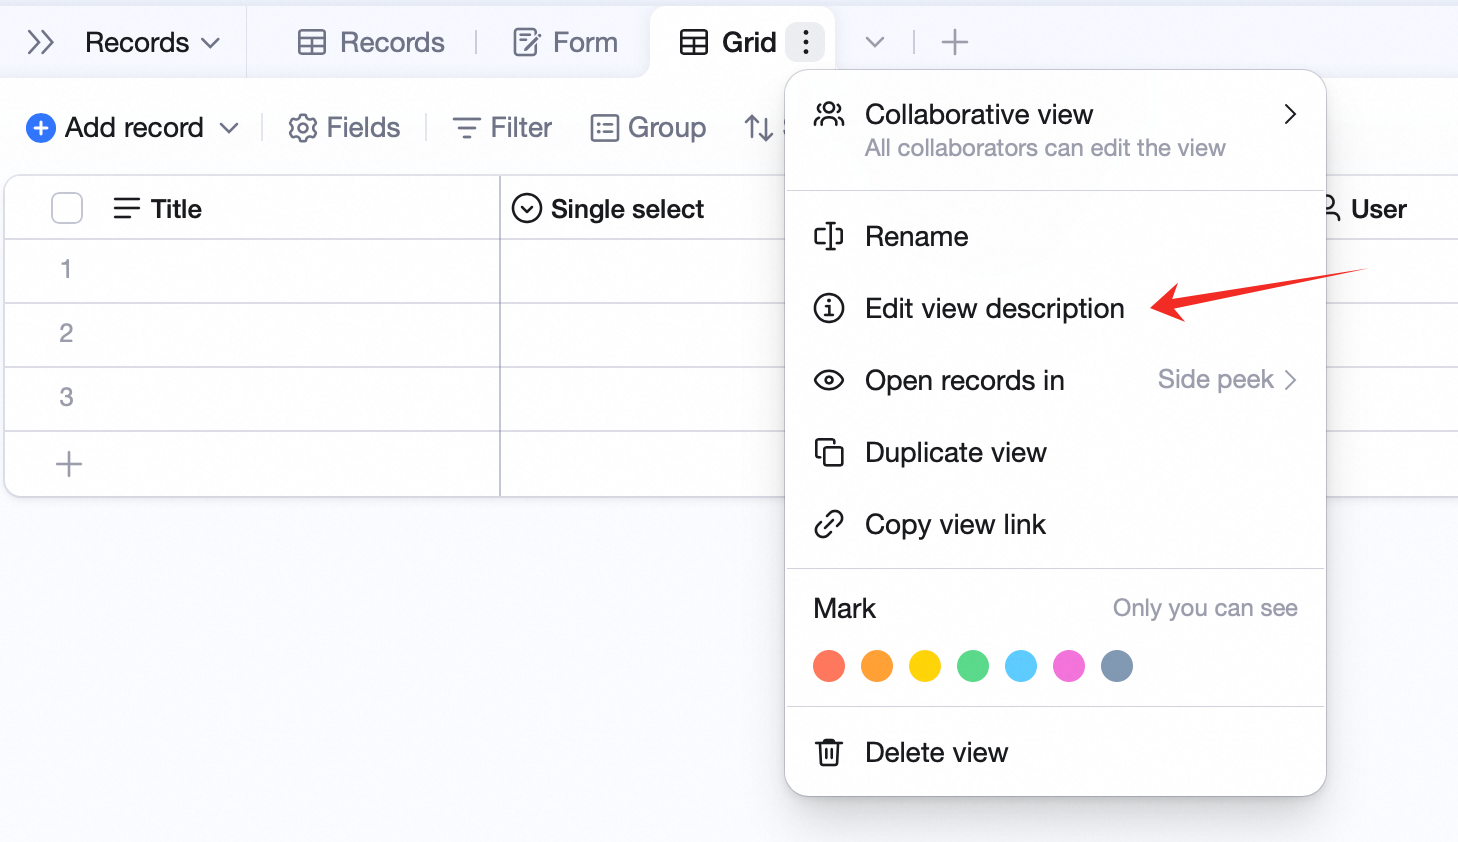
Add a description
- Click the icon next to the view name, pick Edit view description.
- Type and save.
Duplicate a view
Quickly create a similar view. Click the icon next to the view name, pick Duplicate view.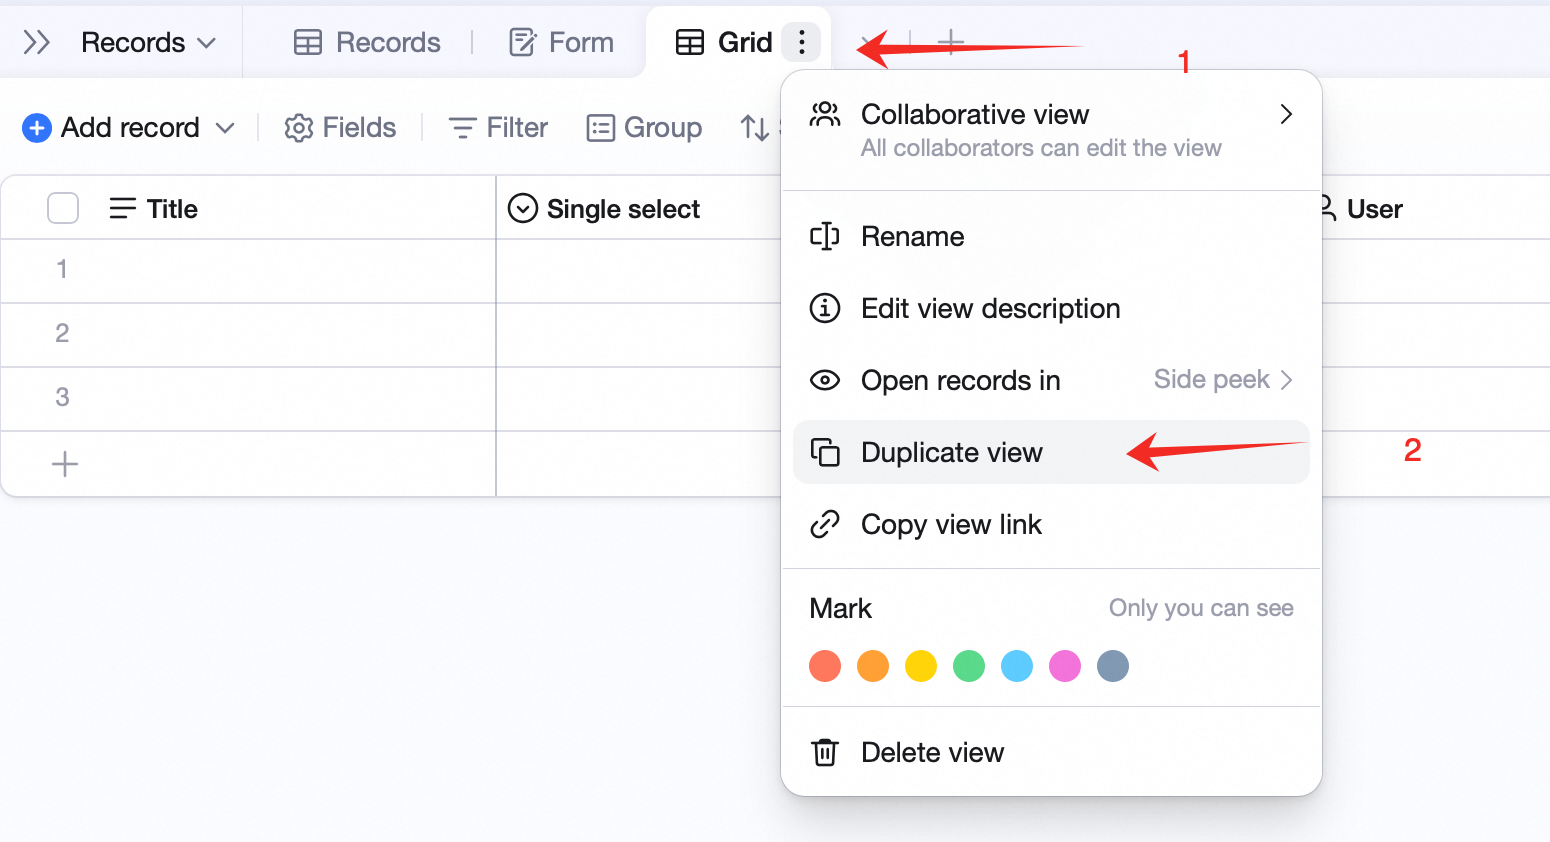
Delete a view
Note: deleting a view does not affect table data — the records are not deleted. Click the icon next to the view name, pick Delete view.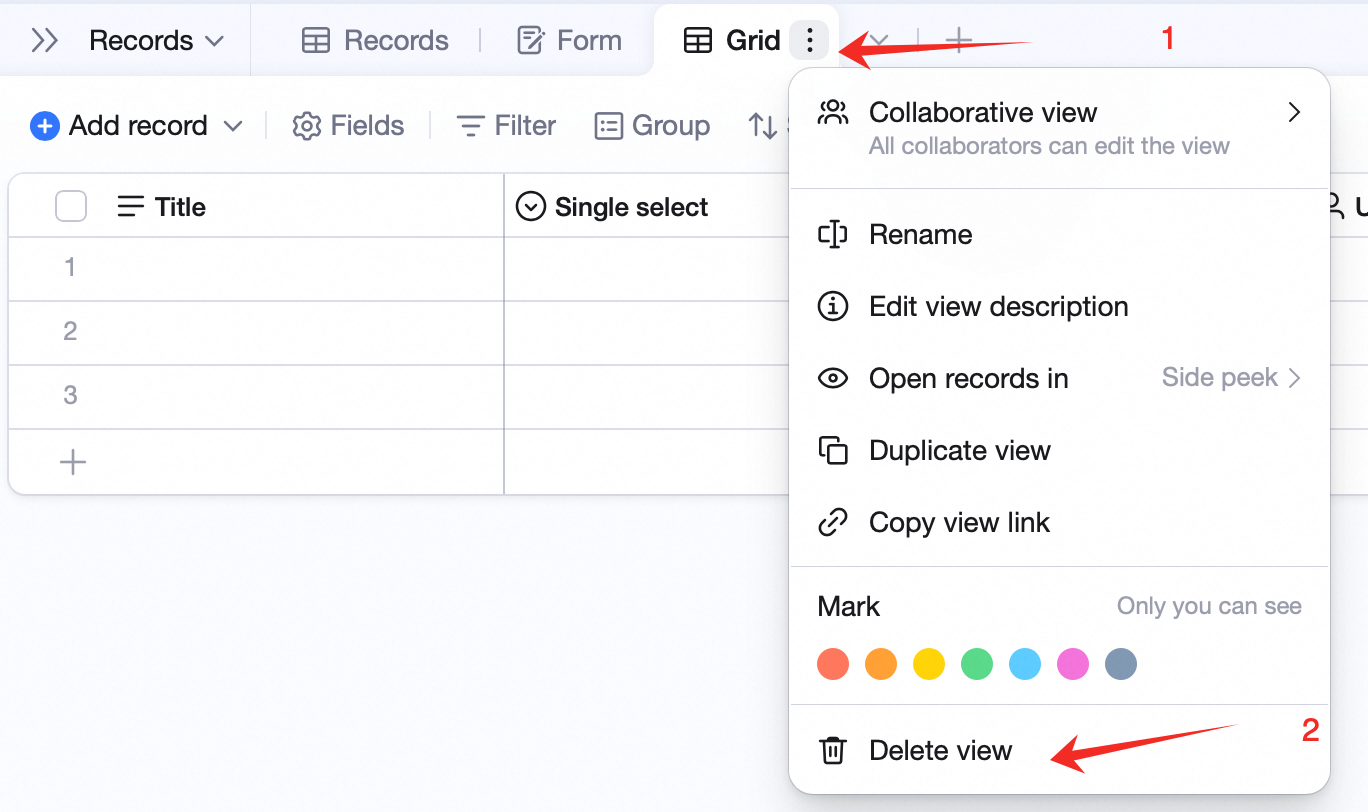
Move and search views
Drag a view tab to reorder. You can also drag in the dropdown menu for bulk reorder. With many views, search in the view dropdown.
Group
Set group conditions to group displayed data. Details: Grouping.Filter
Set filter conditions to filter displayed data. Details: Filters and filter groups.Sort
Set sort conditions to sort displayed data. Details: Sorting.Adjust row height
For more info per row, change row height in grid view. Details: Adjust row height.Cell coloring
Grid view supports cell coloring — color cells, rows, columns, or row markers by condition. Details: Cell coloring.Add a record / row
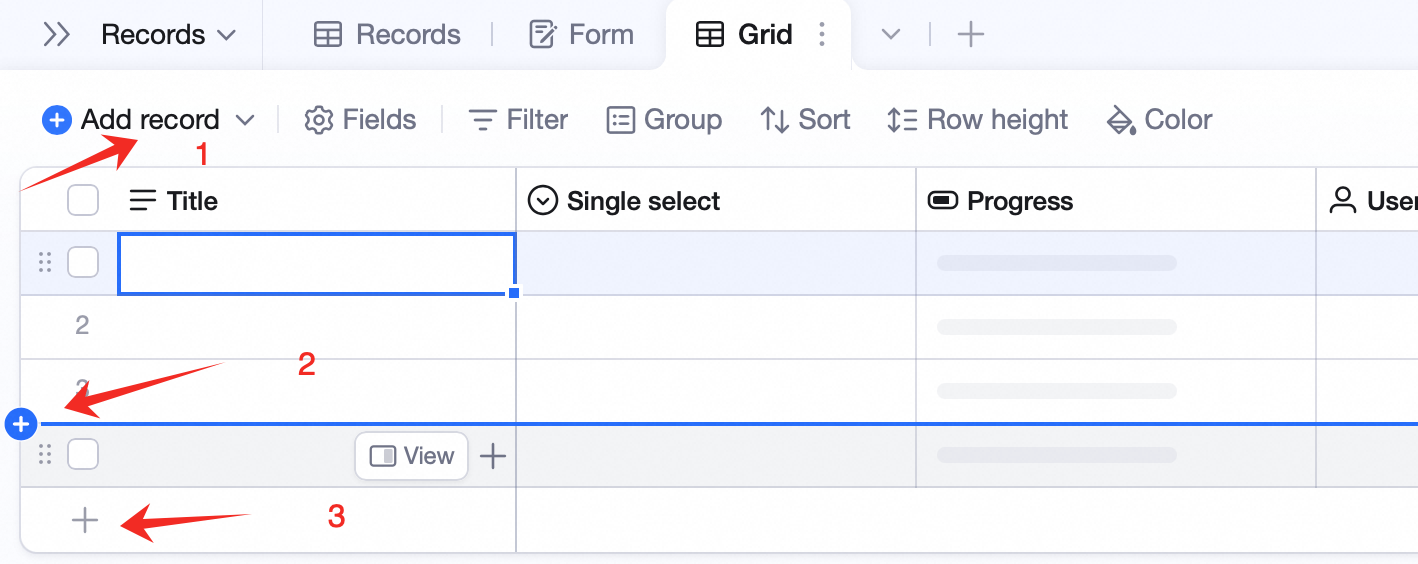
- Click Add record at the top — adds at the top by default.
- Click the + at the boundary between two records to add between them.
- Click the + at the bottom for a fast add at the bottom.
Add a sub-record
In the first column of grid view, click the + on the right of a cell to add a sub-record. Sub-records are for parent-child scenarios — e.g., a big task with several sub-tasks.
Advanced
Make a view private
Click the icon next to the view name, pick Only visible to me. Only views you created can be private. Private views are visible only to you and don’t affect others.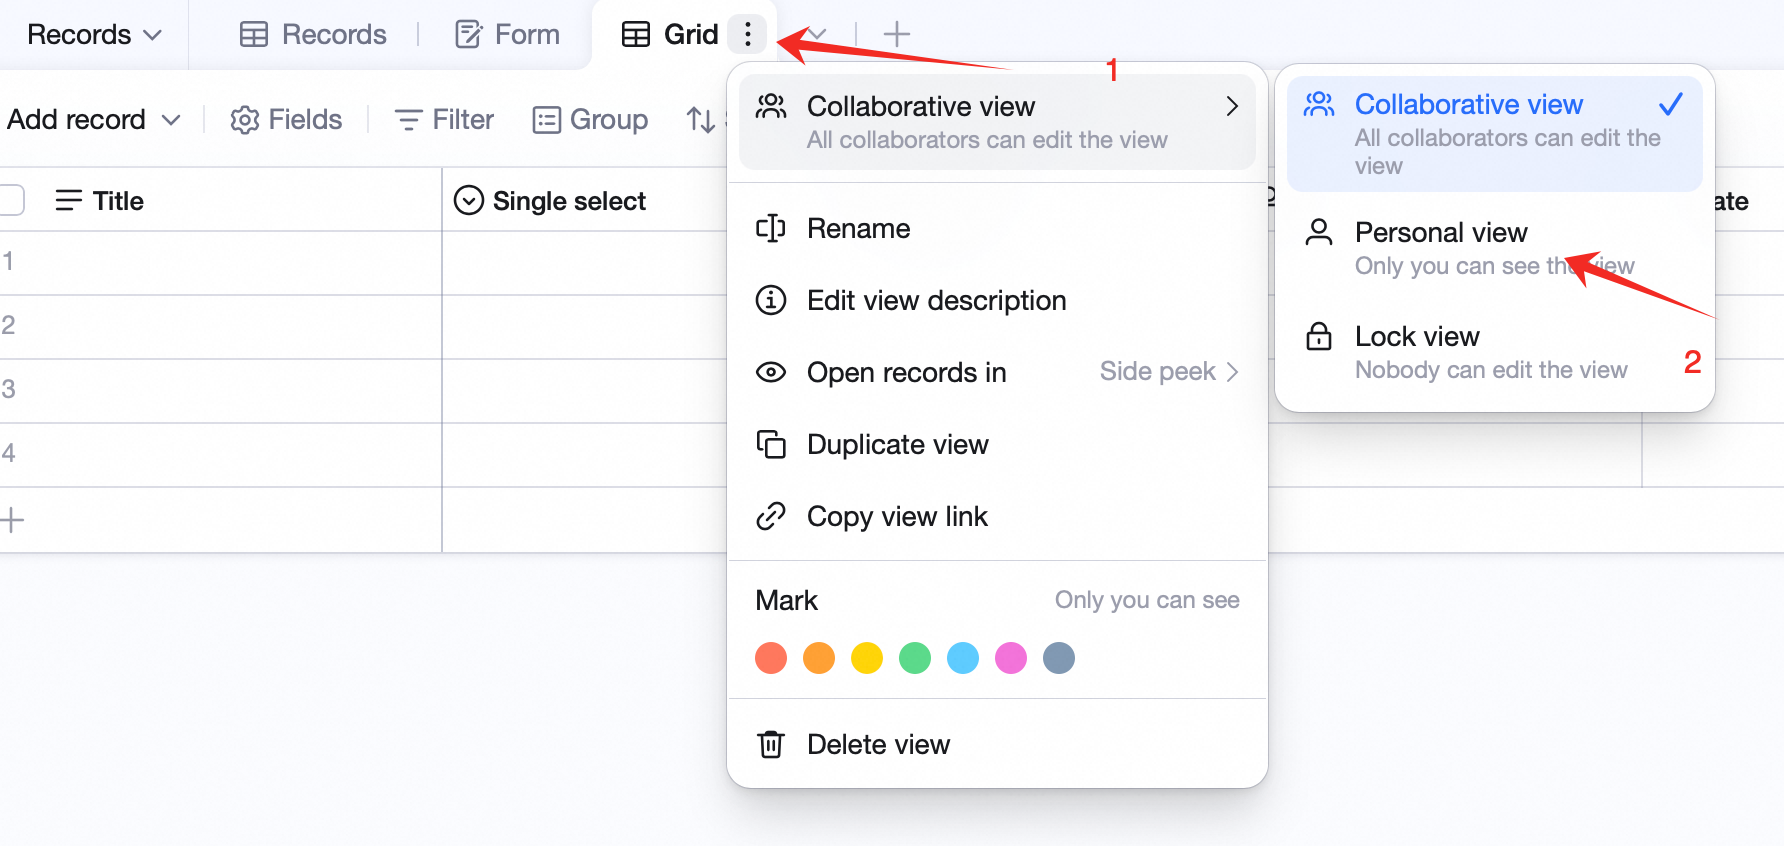
Lock a view
Click the icon next to the view name, toggle Lock view. When locked, no one can change grouping, filter, sort, cell coloring, or any view config.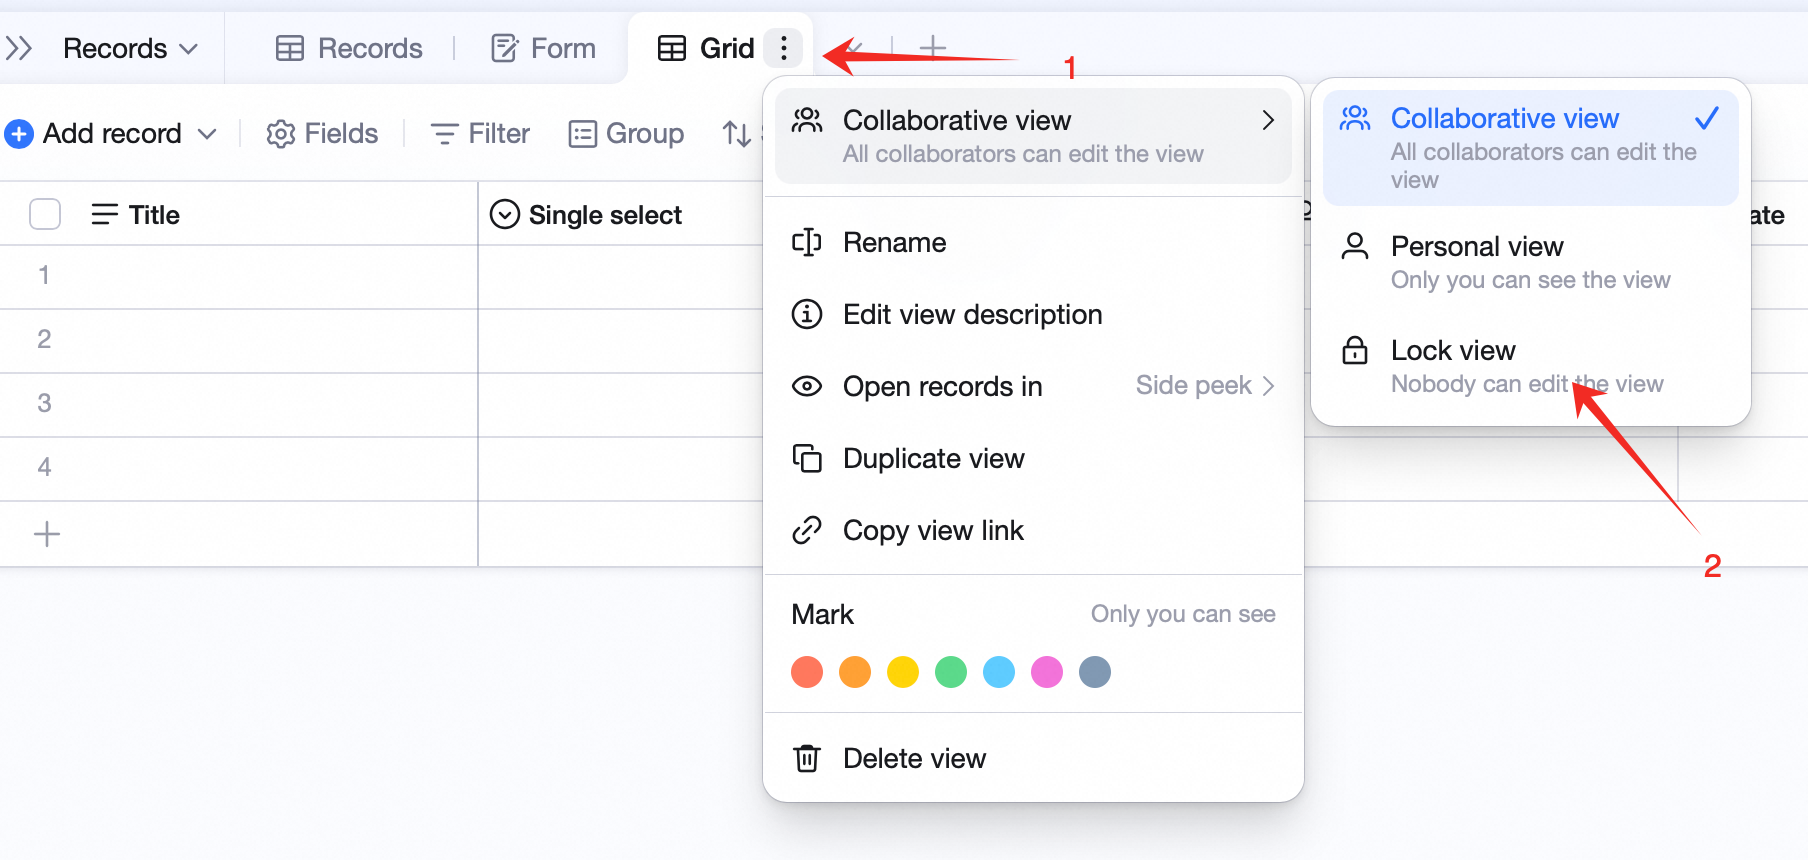
Share a view
Click the icon next to the view name, pick Copy view link — paste to share.FAQ
Q: Max sub-record depth in grid view?
A: 4 levels under one parent.Q: Do advanced permissions on a parent propagate to sub-records?
A: No. Parent and sub-record permissions are independent. For “records related to me” rules, fill the member field on both parent and sub-record. Filling only the parent has no effect on sub-records.Q: Can sub-records be a group-by condition?
A: Not yet. Group conditions only apply to the first-level parent.Q: How do filter / find results display when sub-records match?
A: When the result is a sub-record, the system shows it together with all of its parents.Q: Why can’t I delete this view?
A: Possible reasons:- It’s the last view in the table — the table needs at least one view.
- You lack delete permission. Without advanced permissions, editor / admin can delete; with advanced permissions, you need explicit add / edit / delete view permissions.
- The view is locked. Unlock it before deleting.