Chats
Chats Calendar
 Meetings
 Contacts
 Mail
Mail Docs
Docs Drive
Drive AI Table
 AI Minutes
 Attendance
 Approval
 YiDA
YiDA Admin Console
1. Use Case
To view subcategories under a category, add a tree component to a custom page.For component attributes, usage, and examples, see Tree component reference.
3. Procedure
3.1 Create a Regular Form
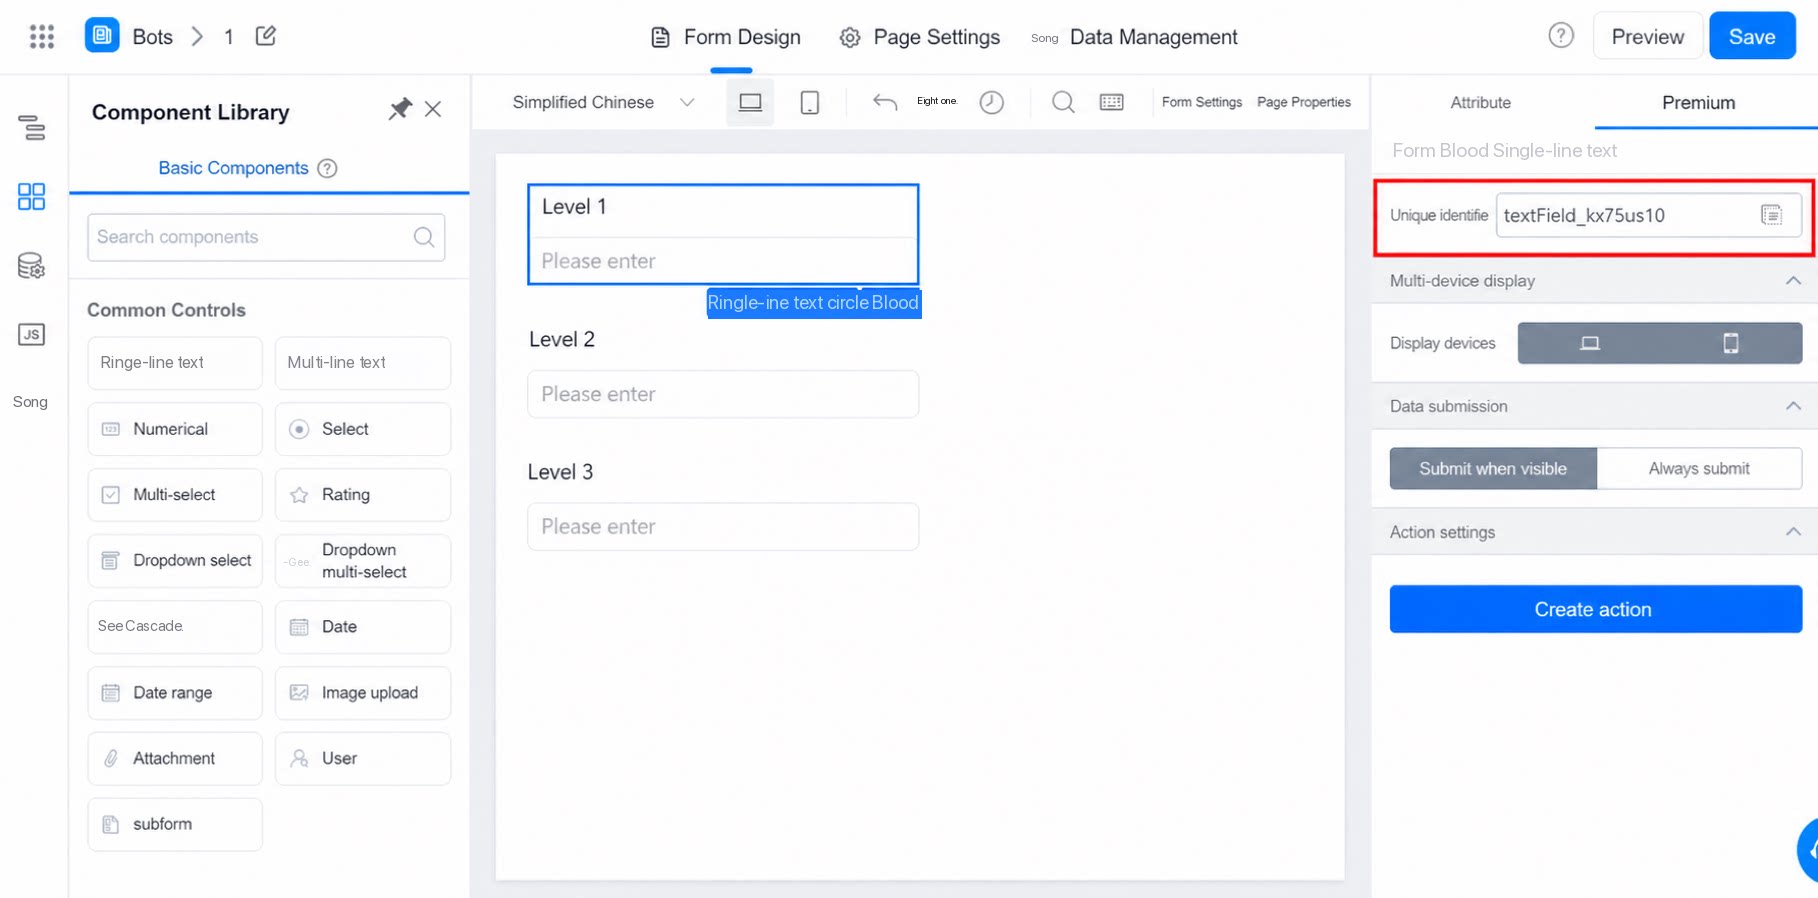
Create a regular form and add several Single-line text components. Edit each title in the Attribute panel on the right, then click Save.3.2 Create a Custom Page
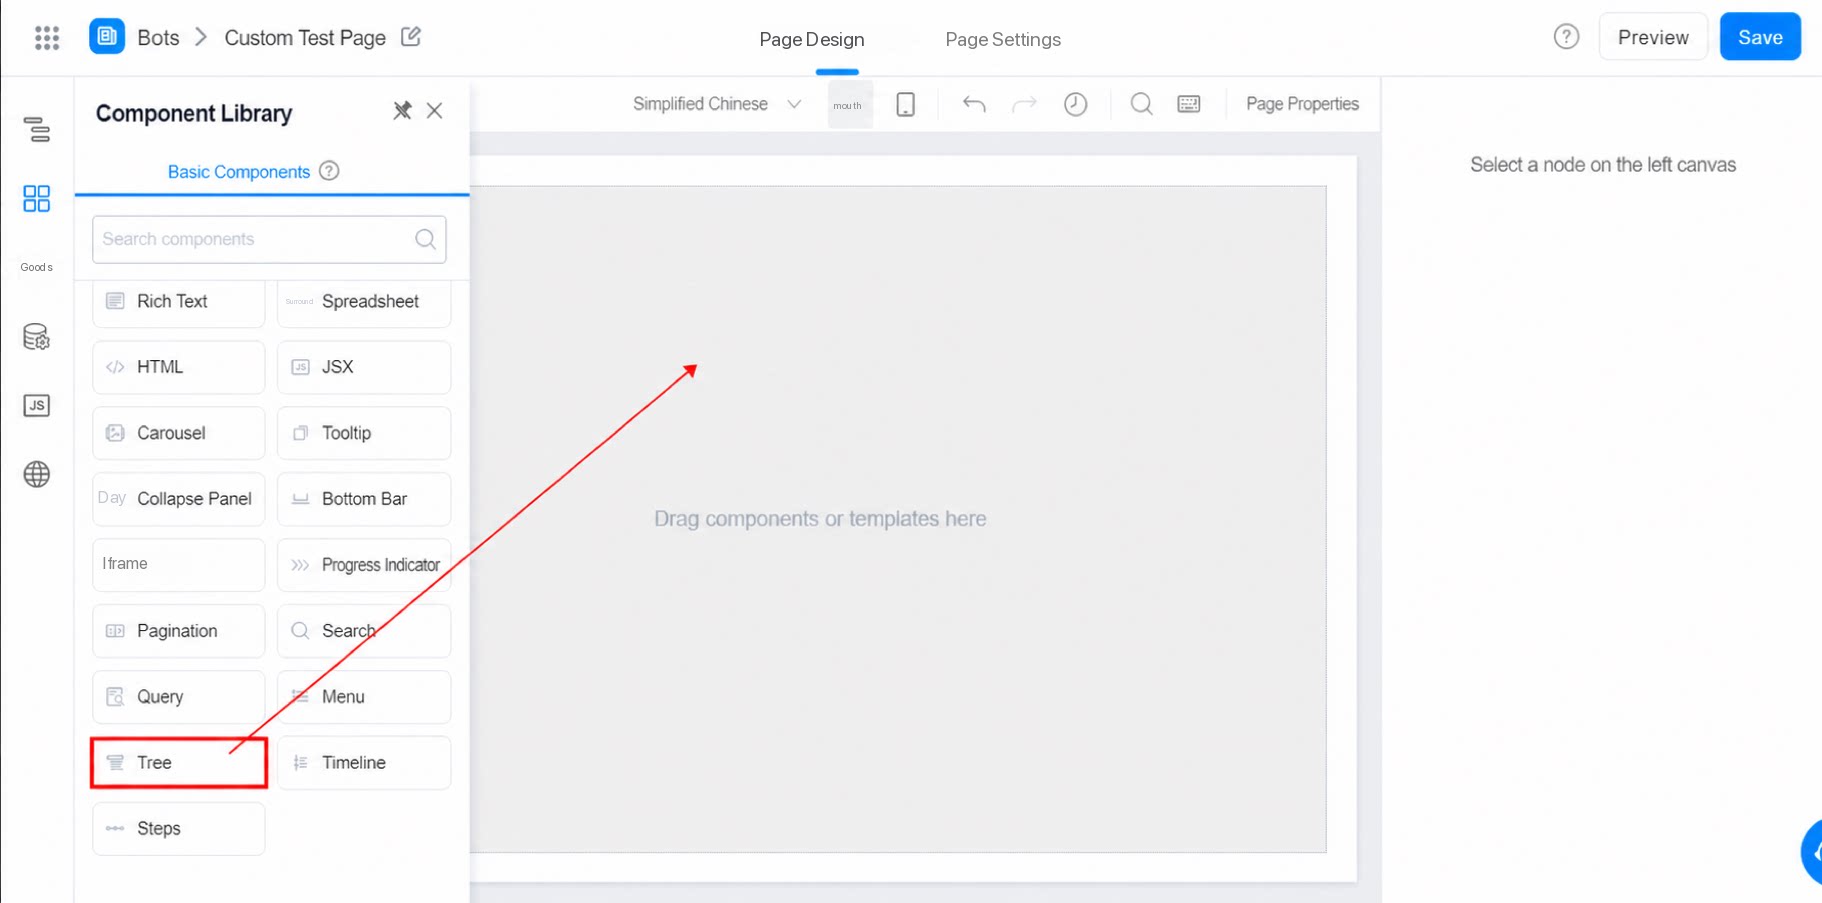
On the template selection page, click Skip to open the custom page editor. Drag a tree component and a button component onto the canvas.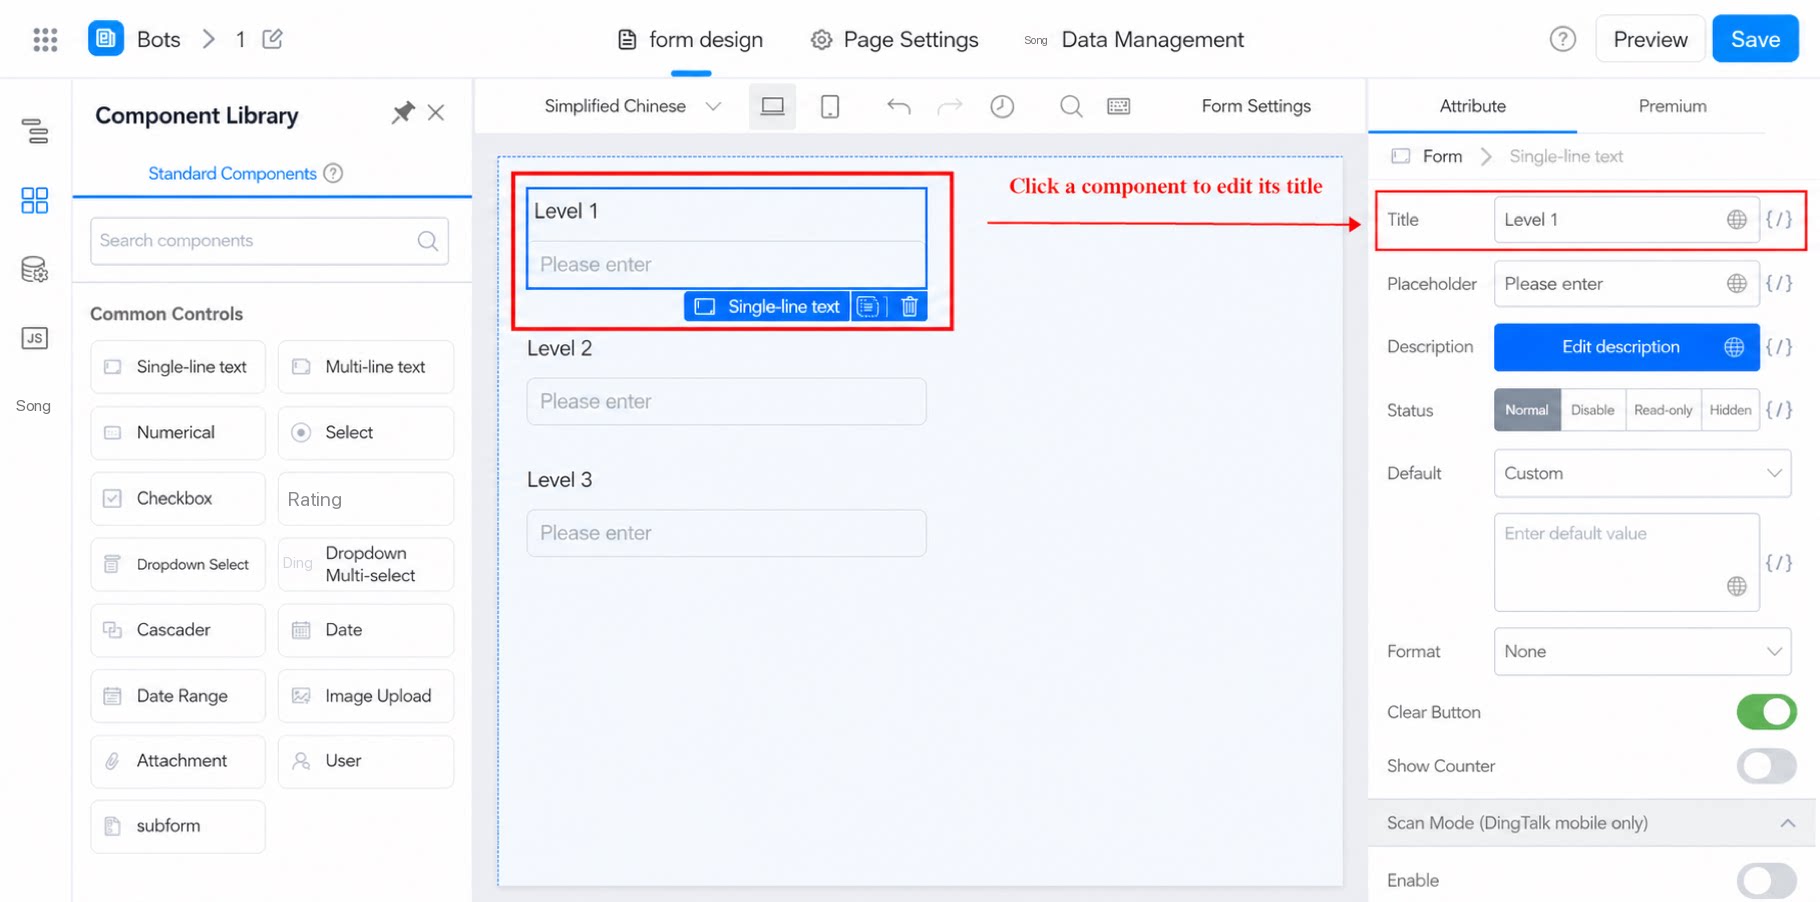
3.3 Create a Remote API
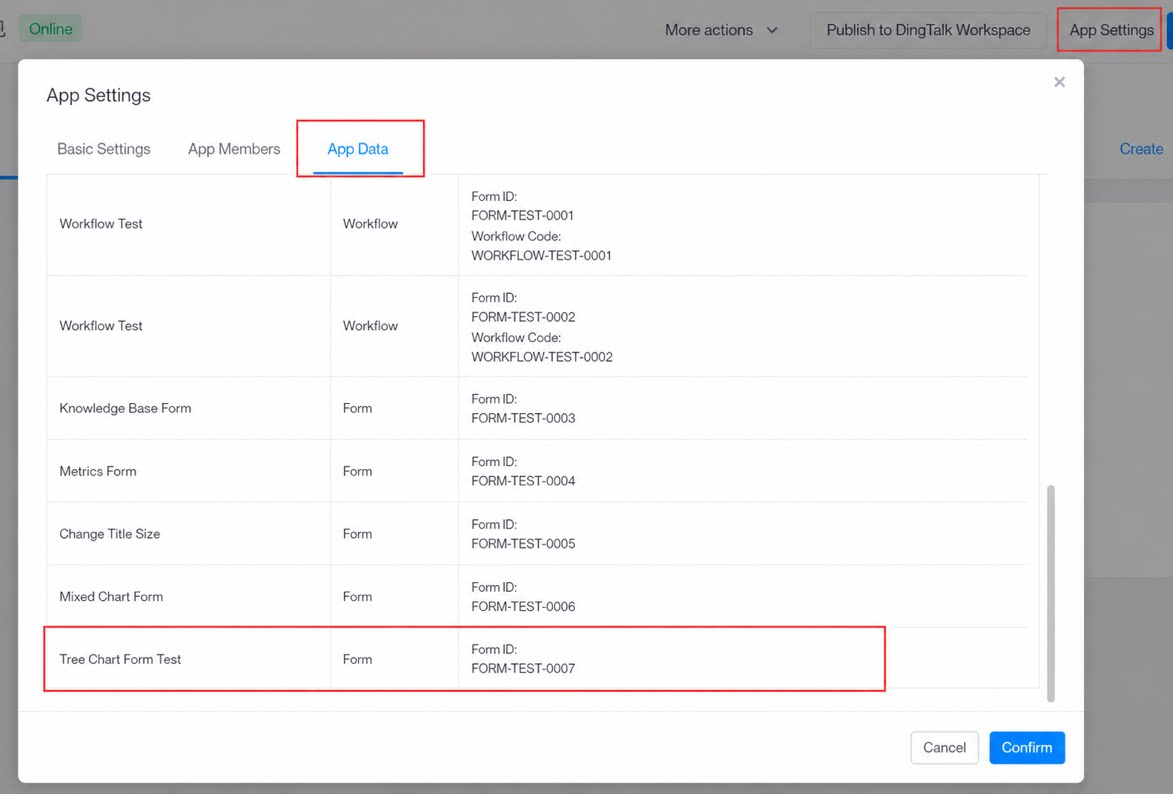
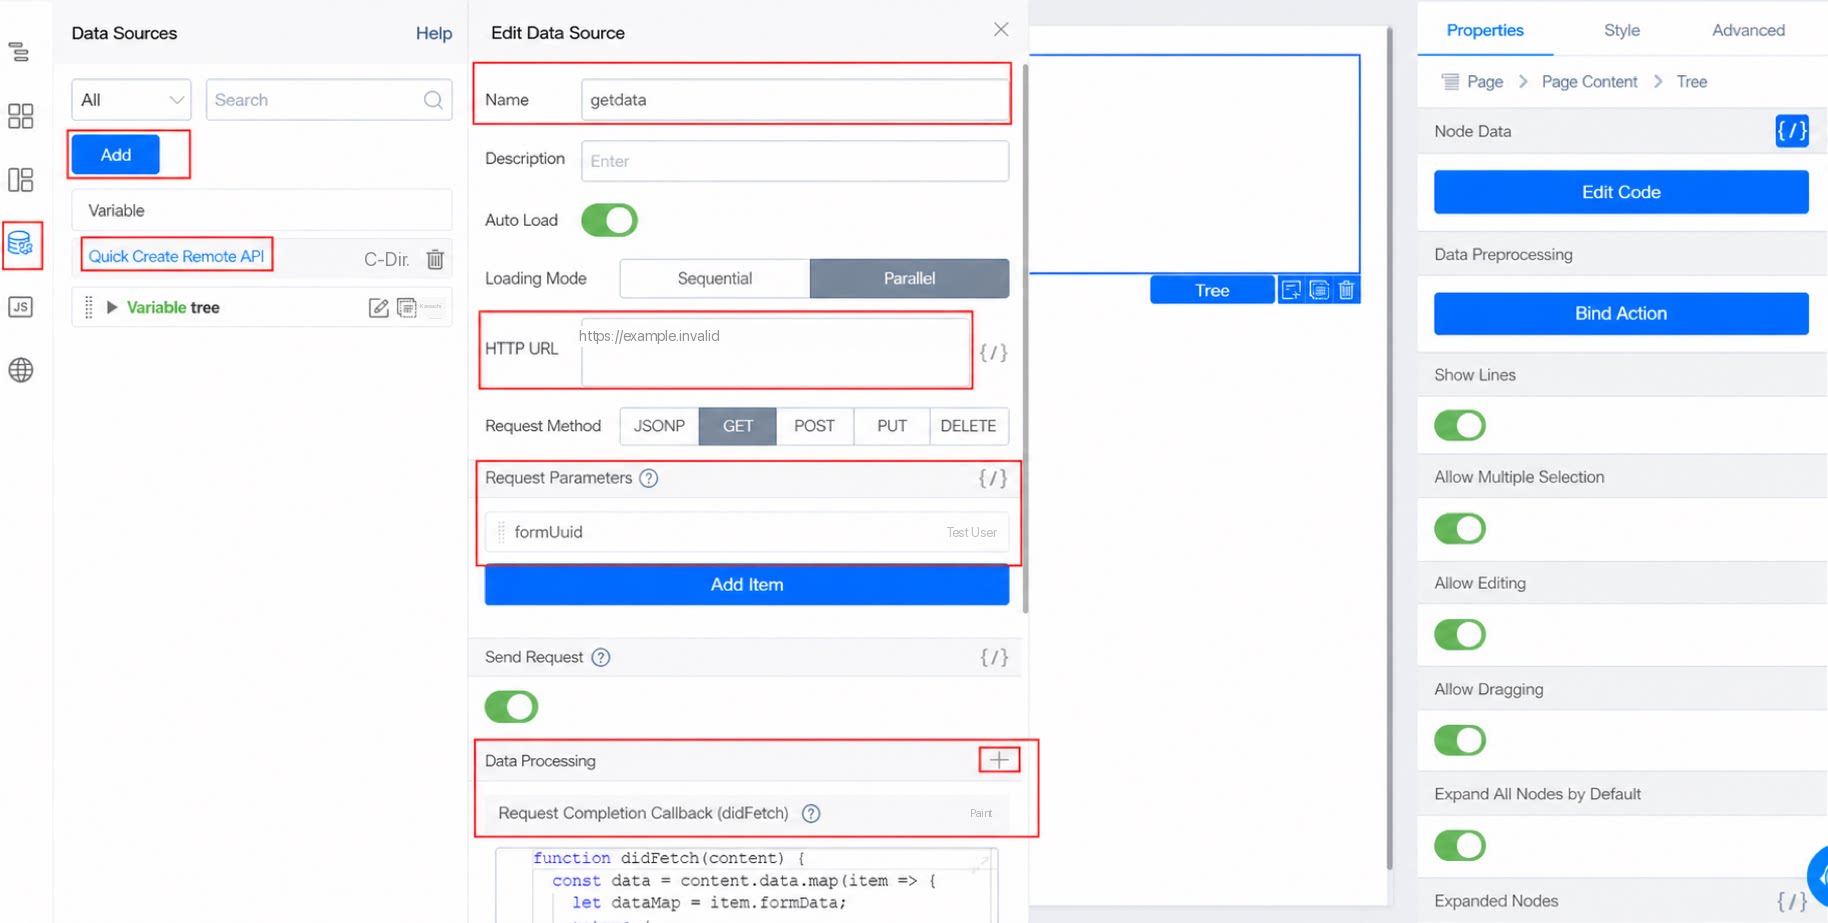
On the custom page, click Data Source on the left and create a new remote API. Configure its name, request URL, request parameters, and data processing. Request URL: YiDA platform API (callable directly from a page data source) Example: https://www.yidaapps.com/dingtalk/web/APP-XXXXXX/v1/form/searchFormDatas.json TheformUuid request parameter is available in the app settings in the upper-right corner of the Home page. Each form has a unique ID — copy it and paste it into the request parameters.
In the data processing section, locate the code under the request completion callback function and update the identifier after dataMap. The identifier comes from the Single-line text component on the form. Paste it in, then click Save.
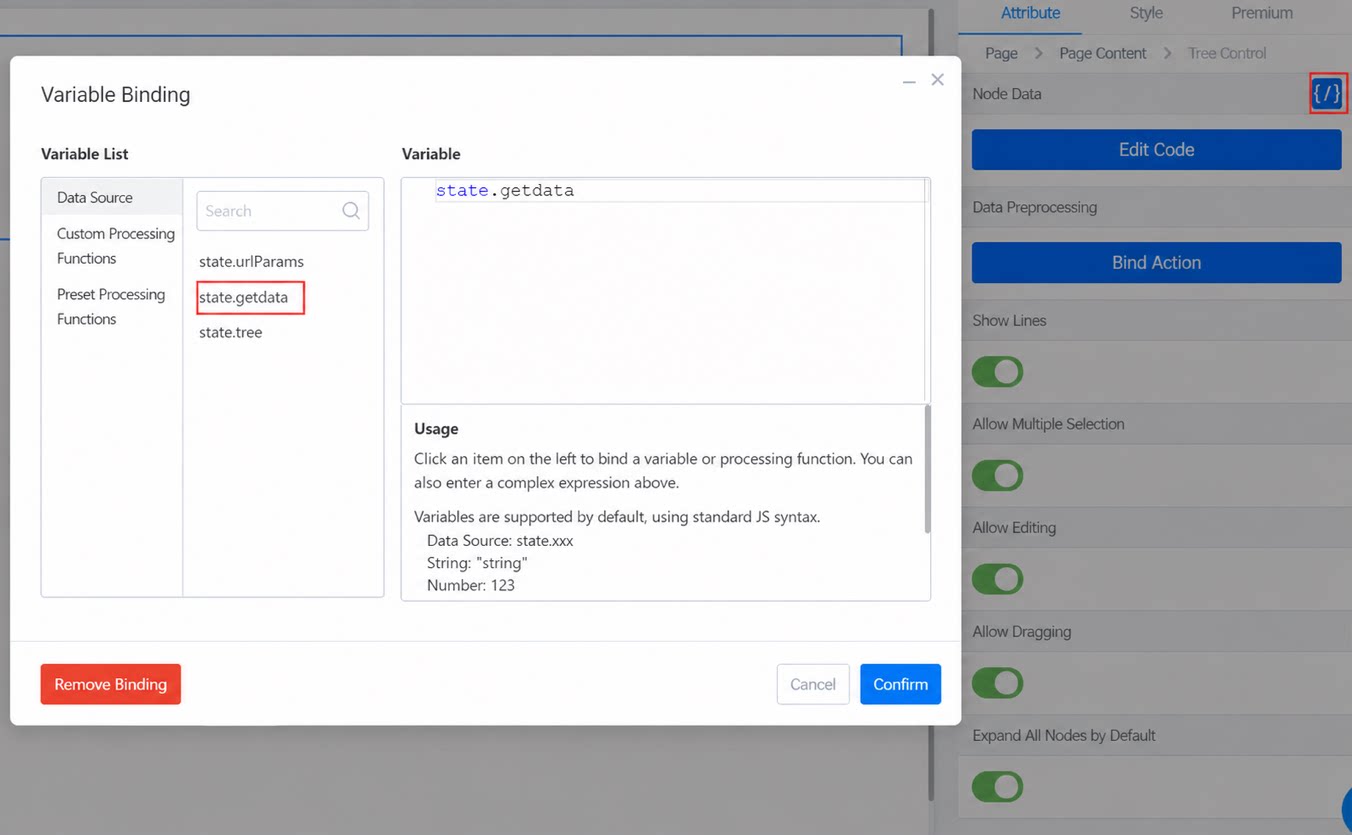
3.4 Bind Variables
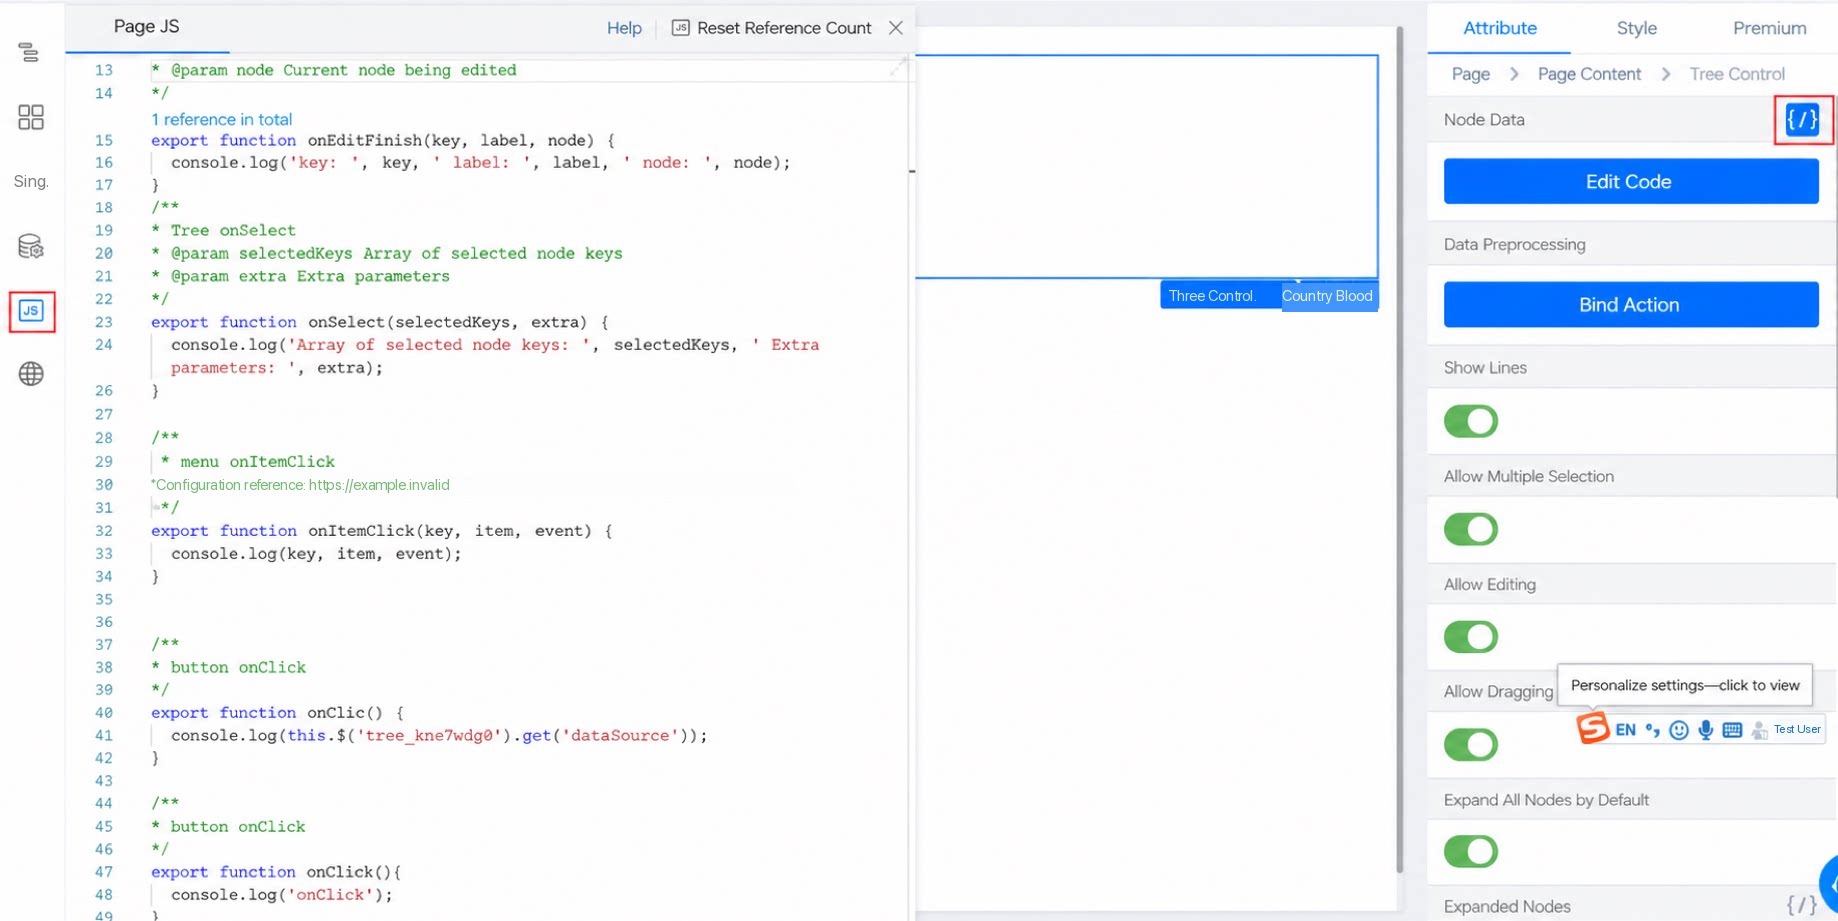
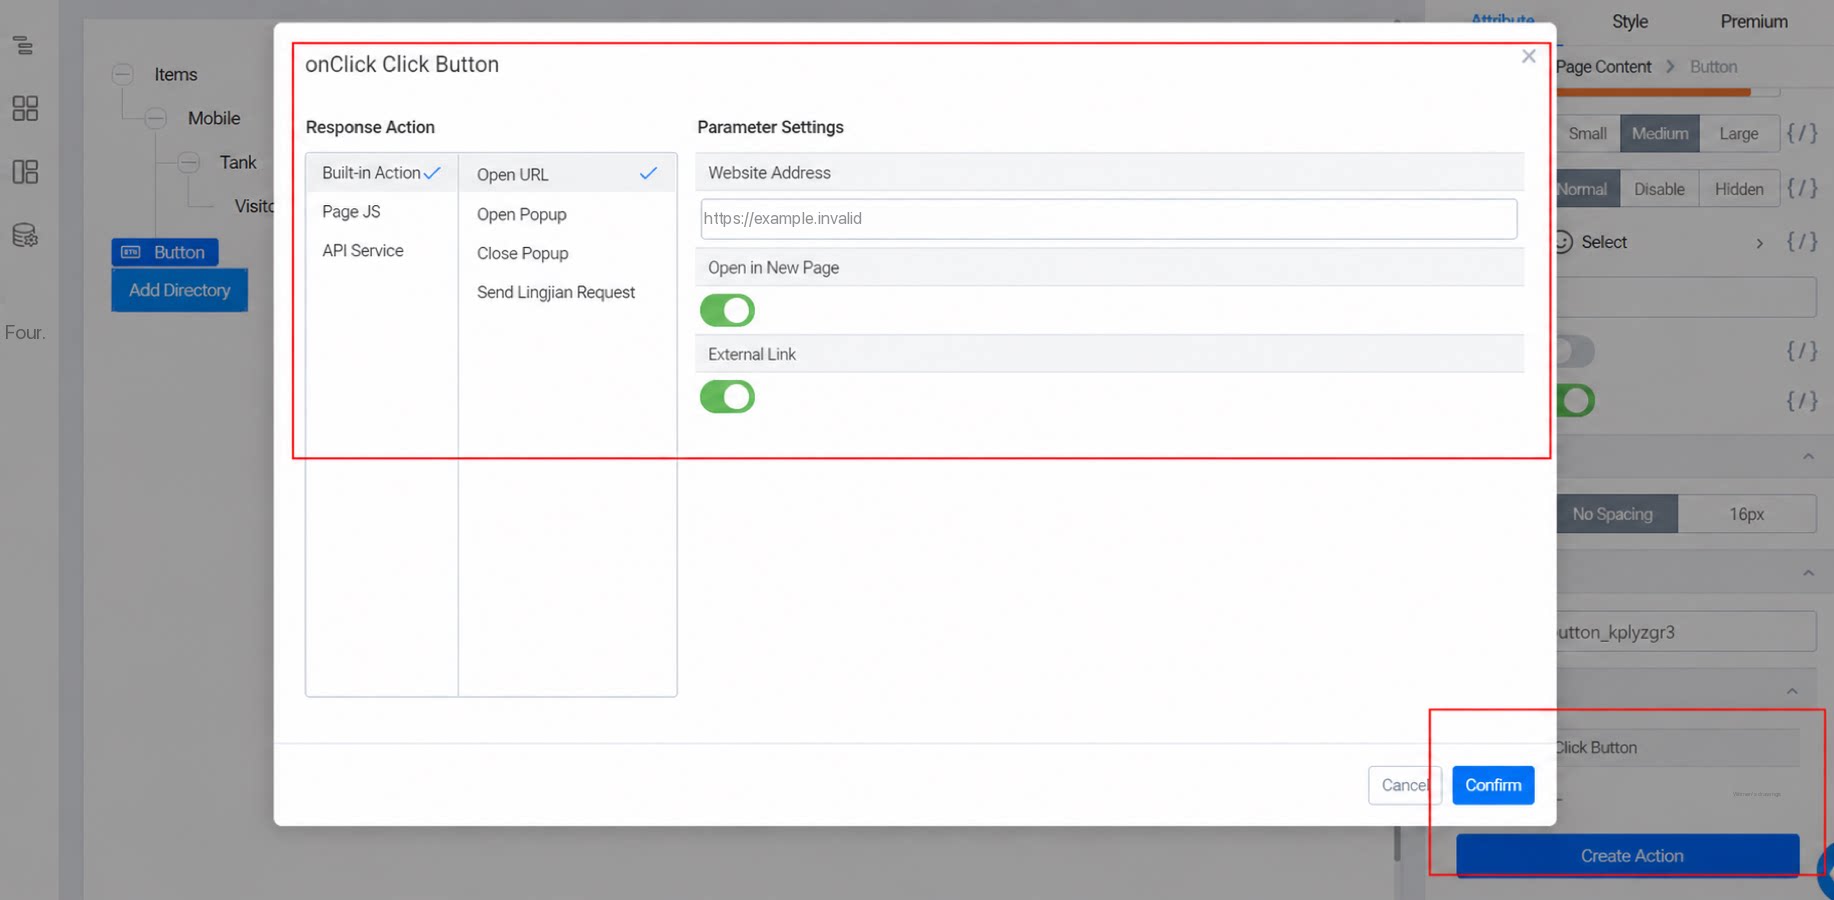
3.5 Add a New Button Component
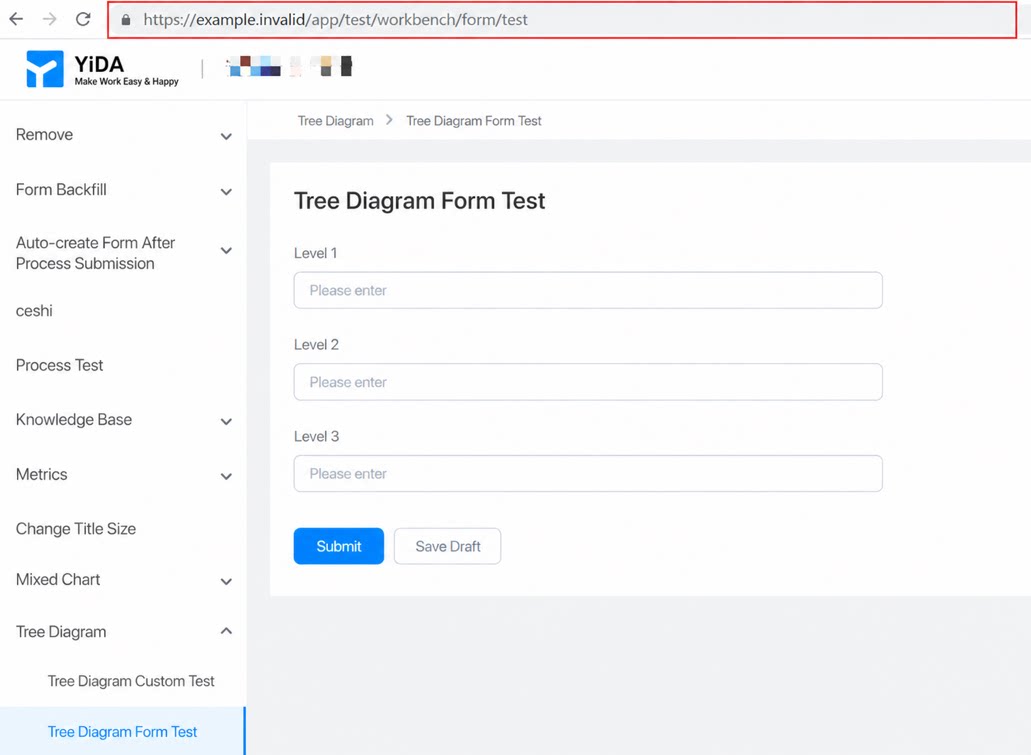
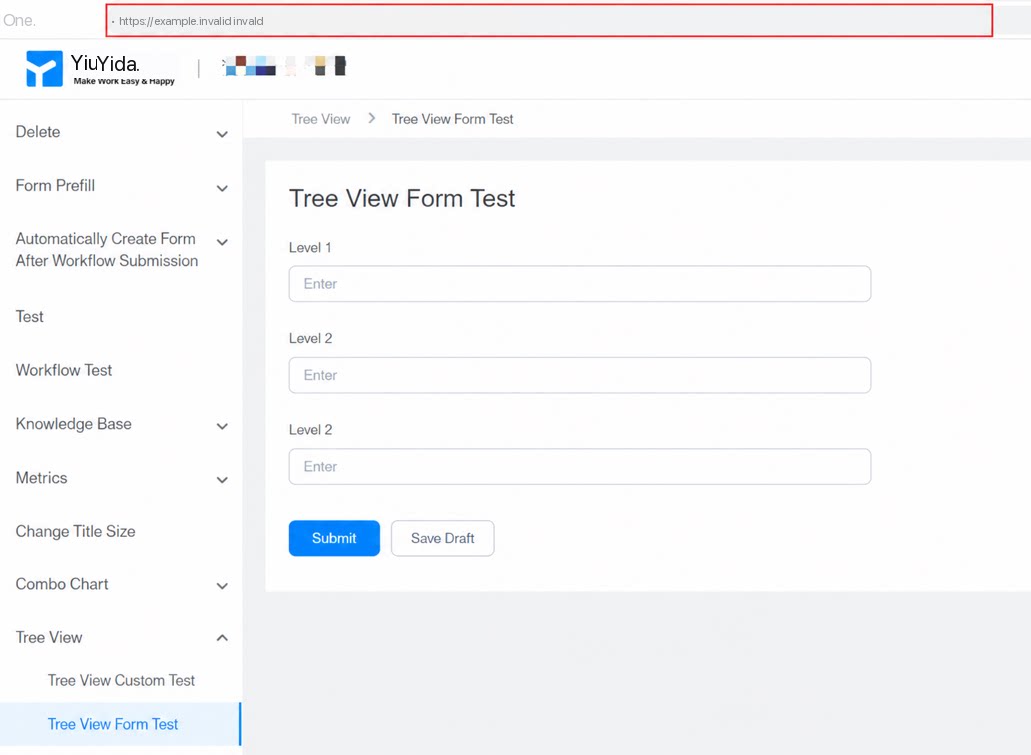
Select the button component. In the Create action panel in the lower-right corner, select the built-in Open URL action. Set the URL to the page for the Single-line text form you configured earlier (it must be the page for viewing or adding data).