Chats
Chats Calendar
 Meetings
 Contacts
 Mail
Mail Docs
Docs Drive
Drive AI Table
 AI Minutes
 Attendance
 Approval
 YiDA
YiDA Admin Console
📌 The advanced workflow designer is scheduled to stop feature iteration and updates. It is currently in the feedback collection period. If feature iteration and updates are officially stopped, an announcement will be made at least 2 months in advance.
📌 If feature iteration and updates are stopped, you cannot create new advanced workflow versions, but the enabled advanced workflow forms will continue to run normally and will not be affected.
To meet workflow requirements, YiDA provides an advanced workflow designer. It supports almost all features of the standard designer and enhances several capabilities on top of that. For example, it adds branch and aggregation components, enhances component features and settings by distinguishing basic and premium settings, lets you customize approver rules and completion policies, and supports upgrading a standard workflow editor to an advanced workflow editor.
Once you upgrade a standard workflow editor to an advanced workflow editor, you cannot revert to the standard workflow editor.
Workflow Designer
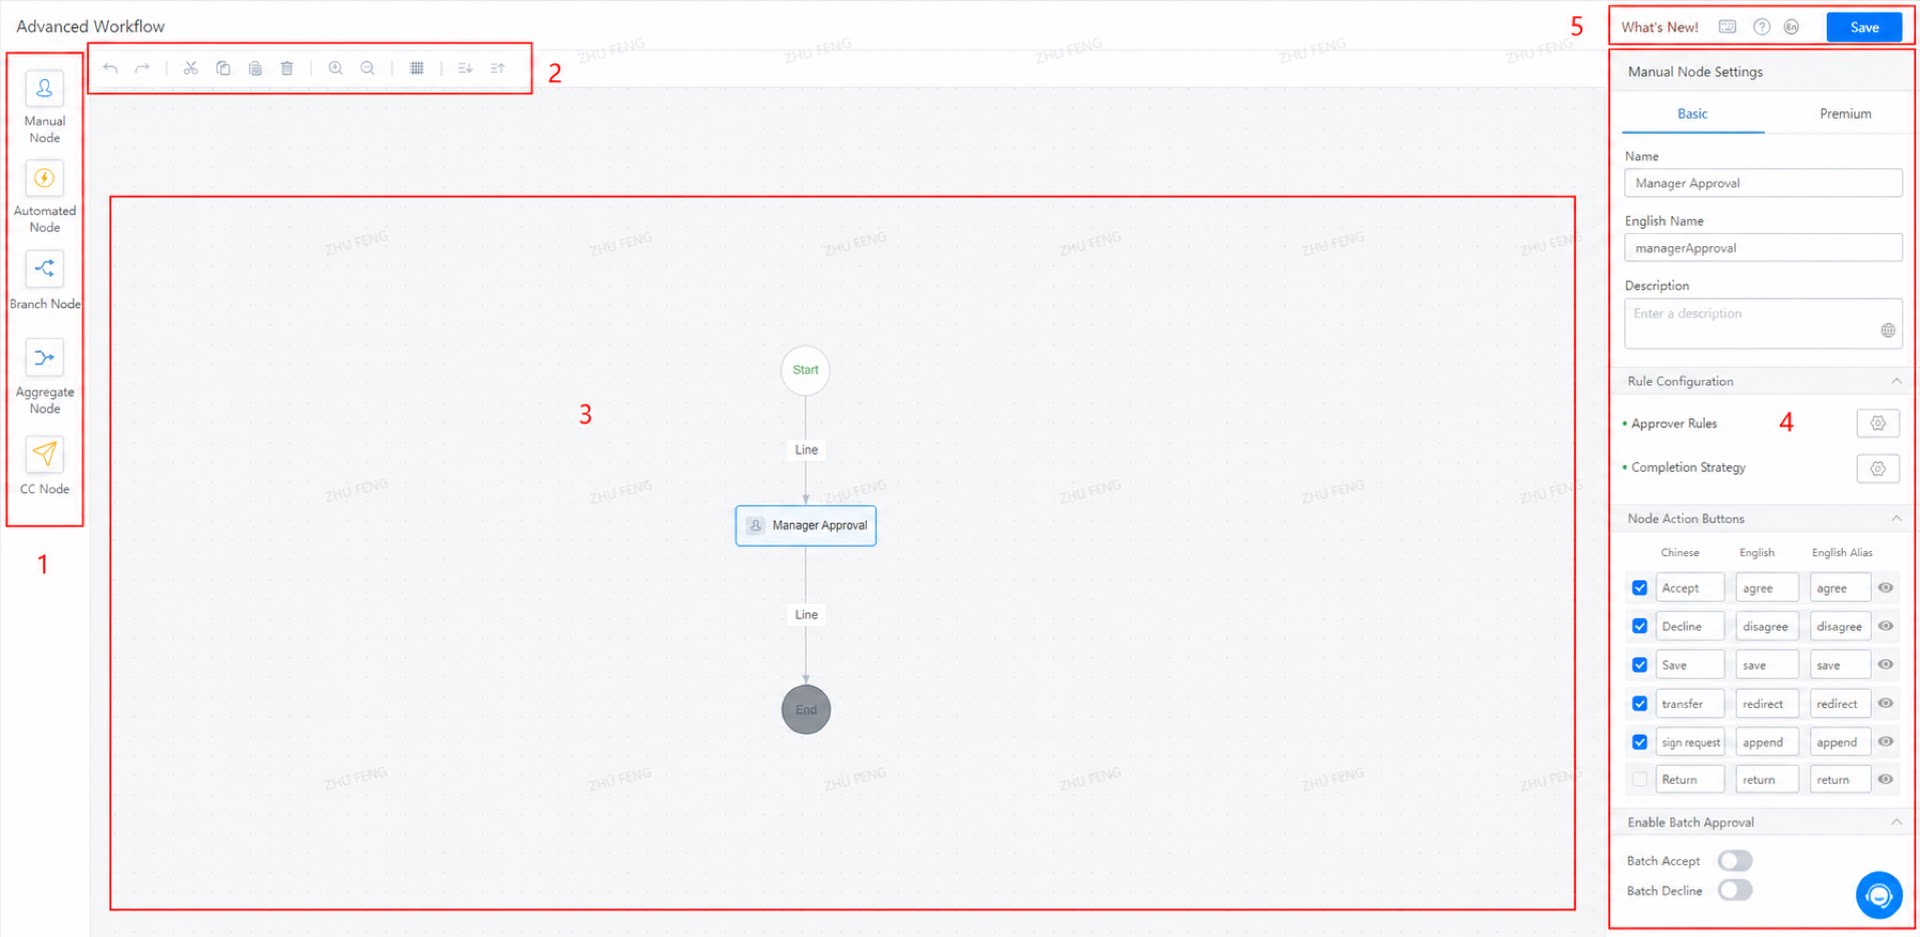
- Area ①: Node area
- Area ②: Quick action area
- Area ③: Workflow design area
- Area ④: Attribute settings area
- Area ⑤: Save and Help
Node Area
The node area provides all function nodes supported by the advanced workflow designer. Drag nodes into the workflow design area as needed.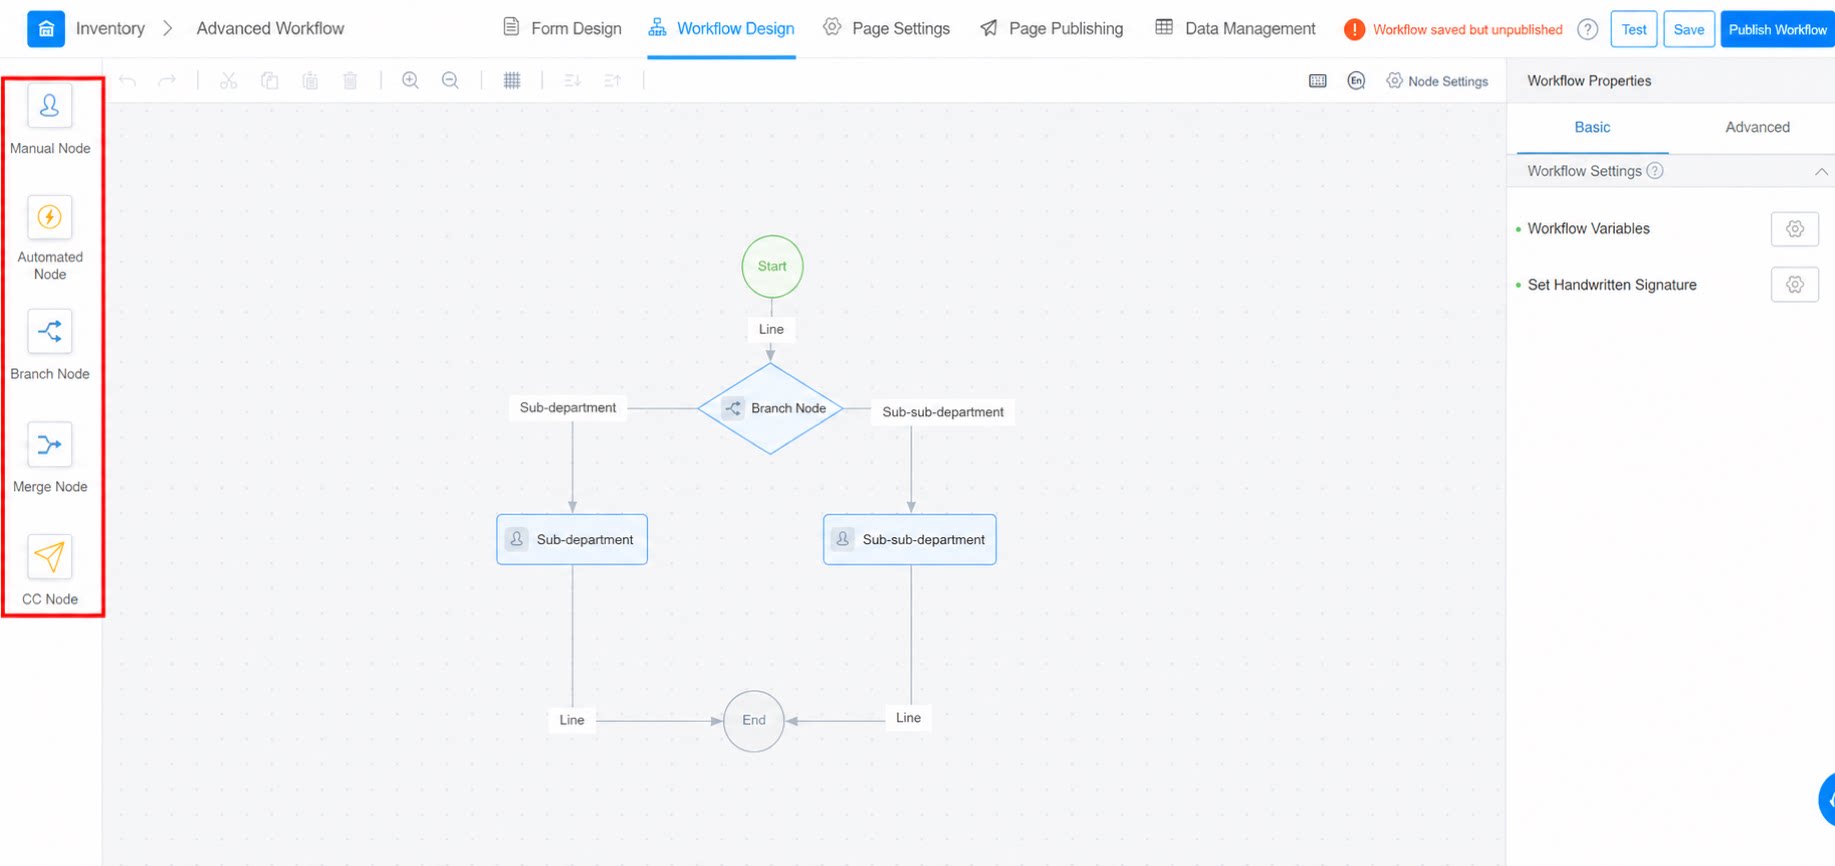
Quick Action Area
The quick action area provides common shortcuts for designing workflow diagrams:- Undo: Undoes the current addition or deletion of nodes and lines on the workflow design page.
- Cut: Places the selected node or line on the clipboard. Use the paste shortcut to quickly copy the corresponding node and line.
- Copy: Copies lines and approval nodes.
- Zoom in: Enlarges the entire workflow diagram.
- Zoom out: Shrinks the entire workflow diagram.
- Grid: When enabled, grid dots appear on the designer page. When disabled, the designer page shows a plain gray background.
- Bring forward: When multiple nodes overlap, brings the required node to the front.
- Send backward: When multiple nodes overlap, sends the less-used node to the back.
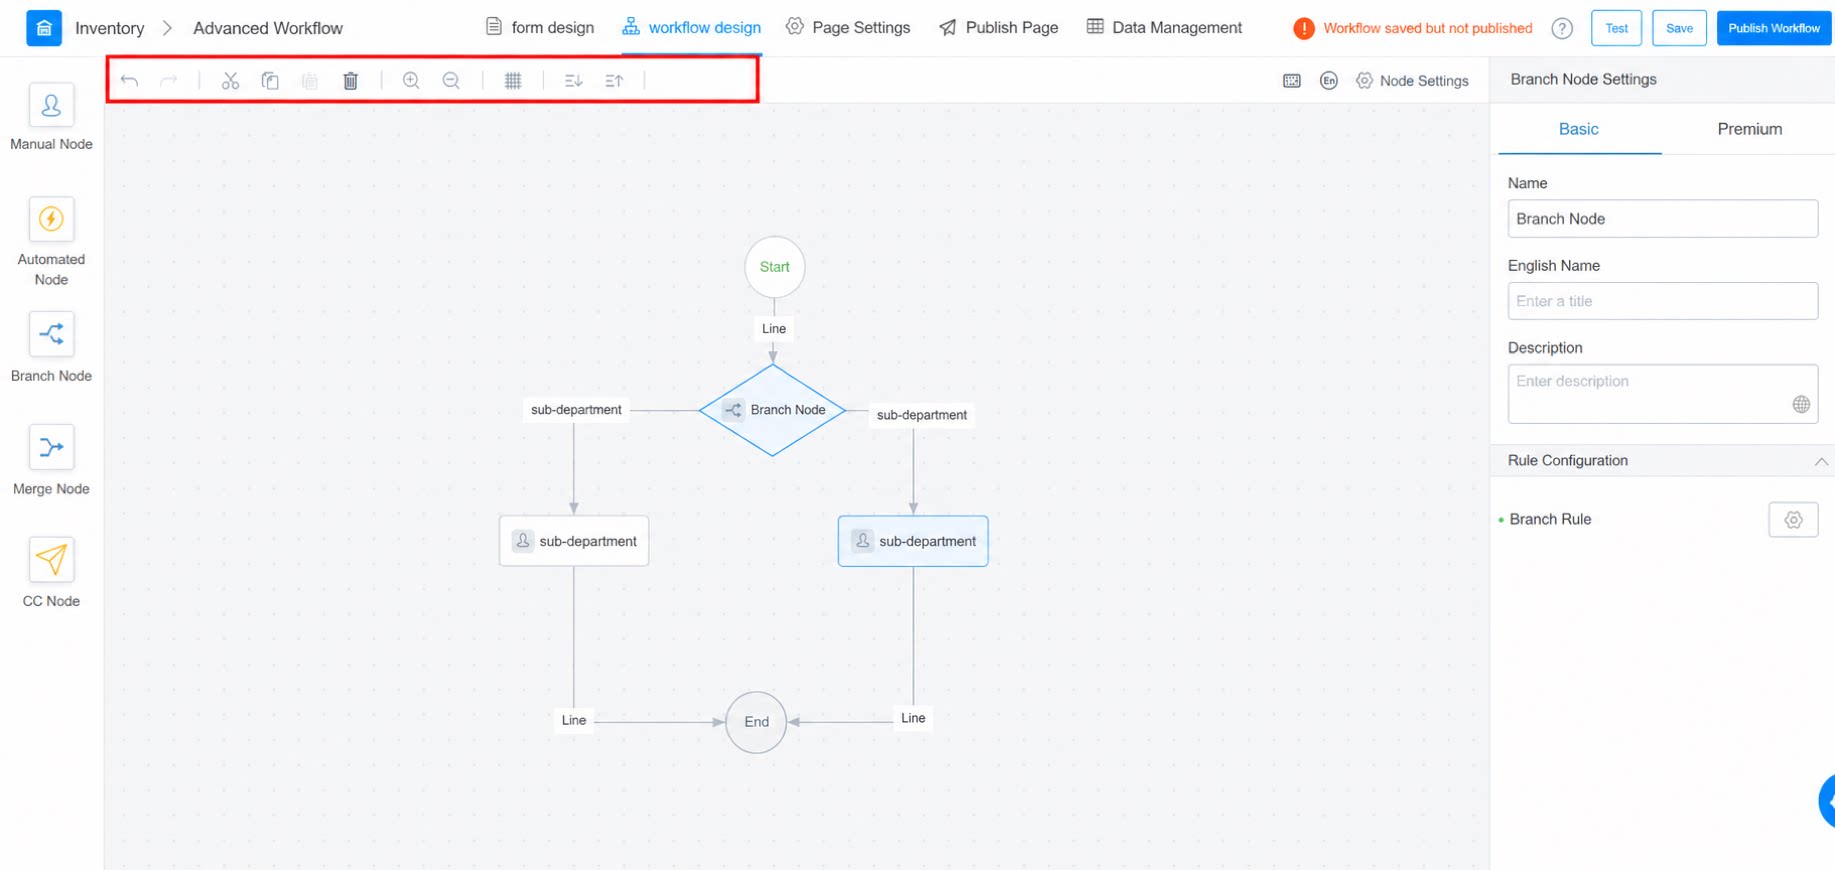
Workflow Design Area
This is the main area for designing the workflow diagram. Freely drag nodes into it and connect them with lines to build the workflow.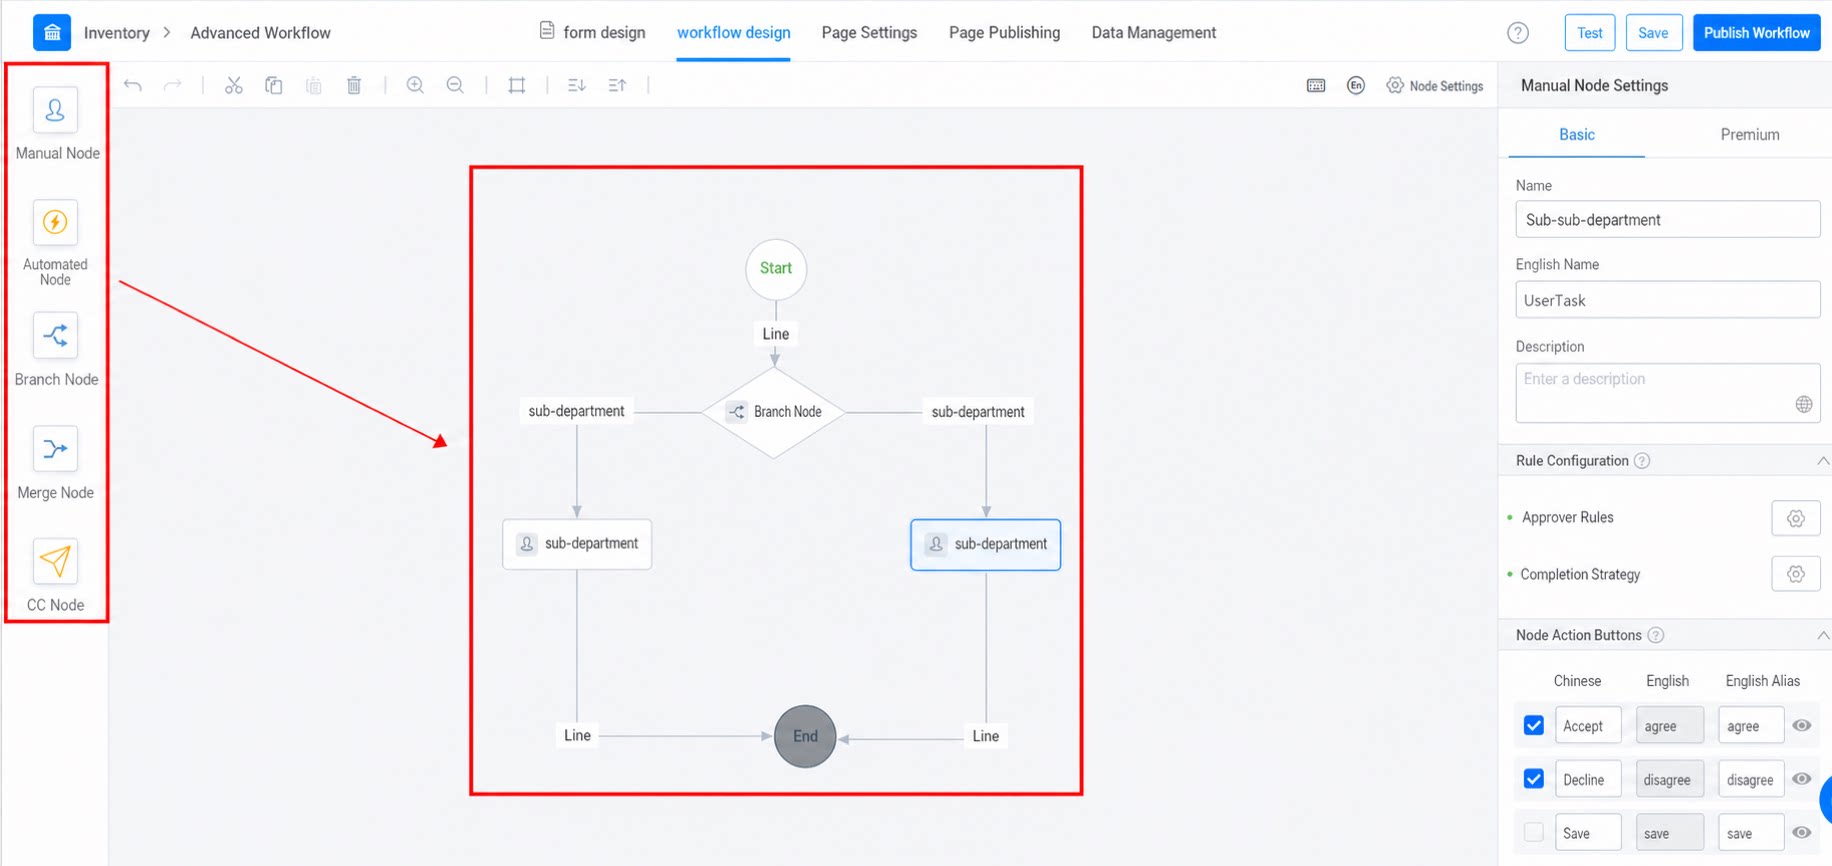
Attribute Settings Area
The attribute area displays the attribute settings supported by each type of node. Here, you can perform personalized and functional settings for the node.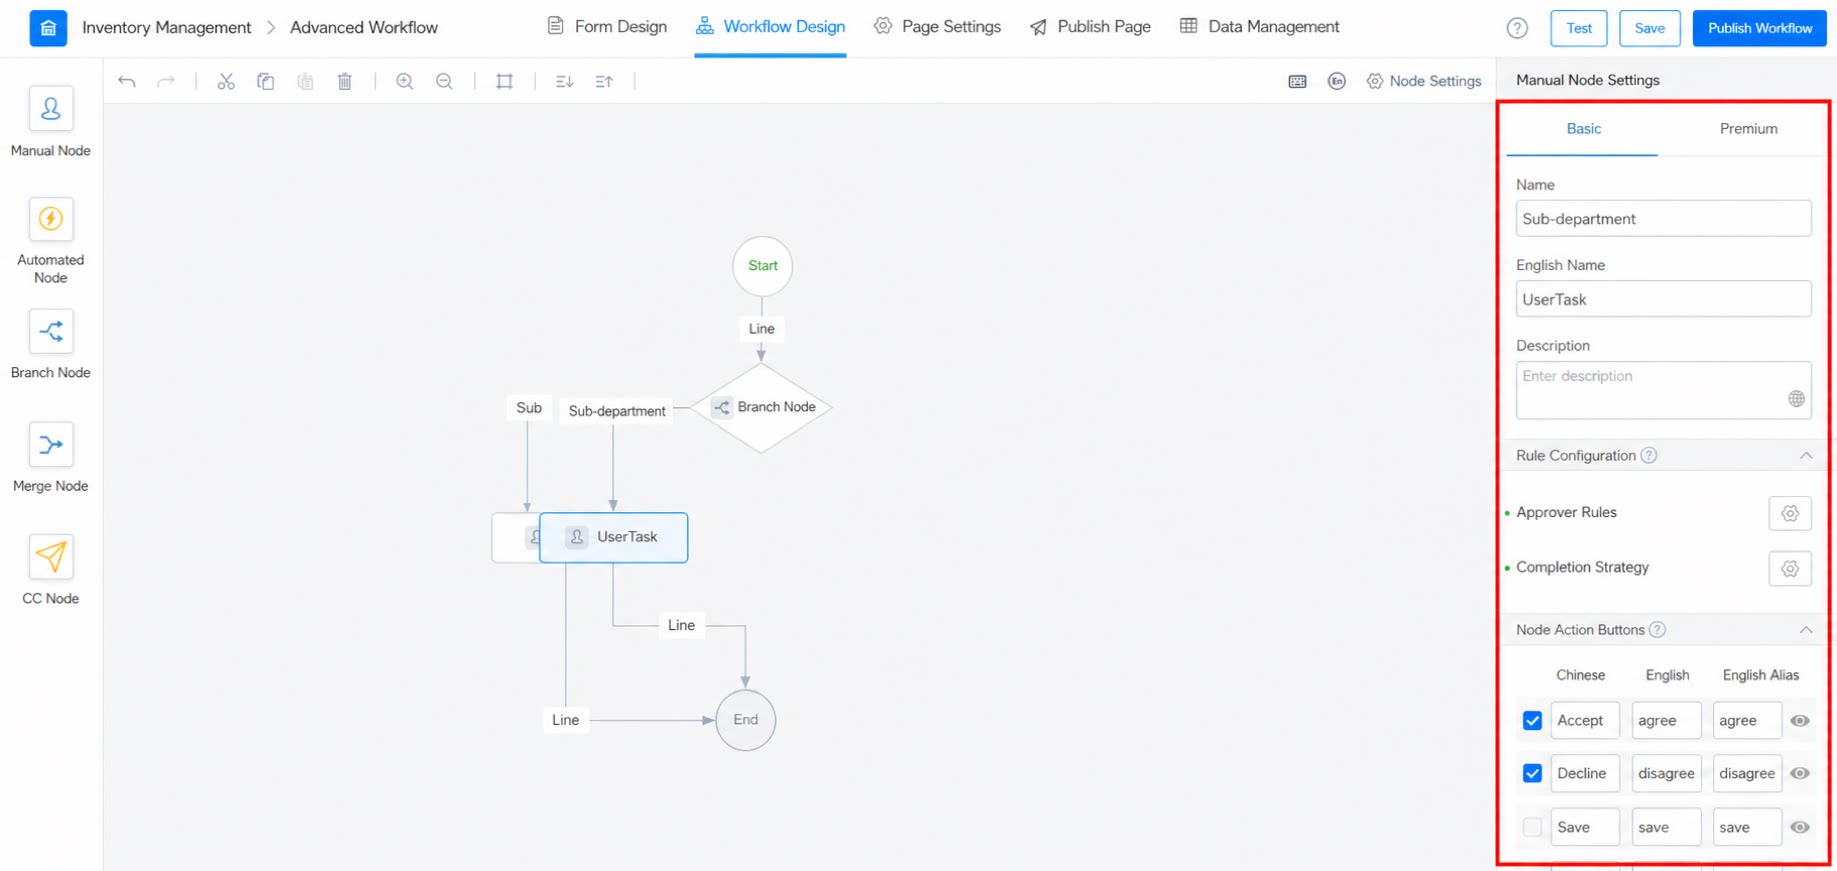
Save and Publish Workflow
After configuring workflow nodes and node rules, save and publish the workflow promptly. Otherwise, newly submitted data will still use the old workflow.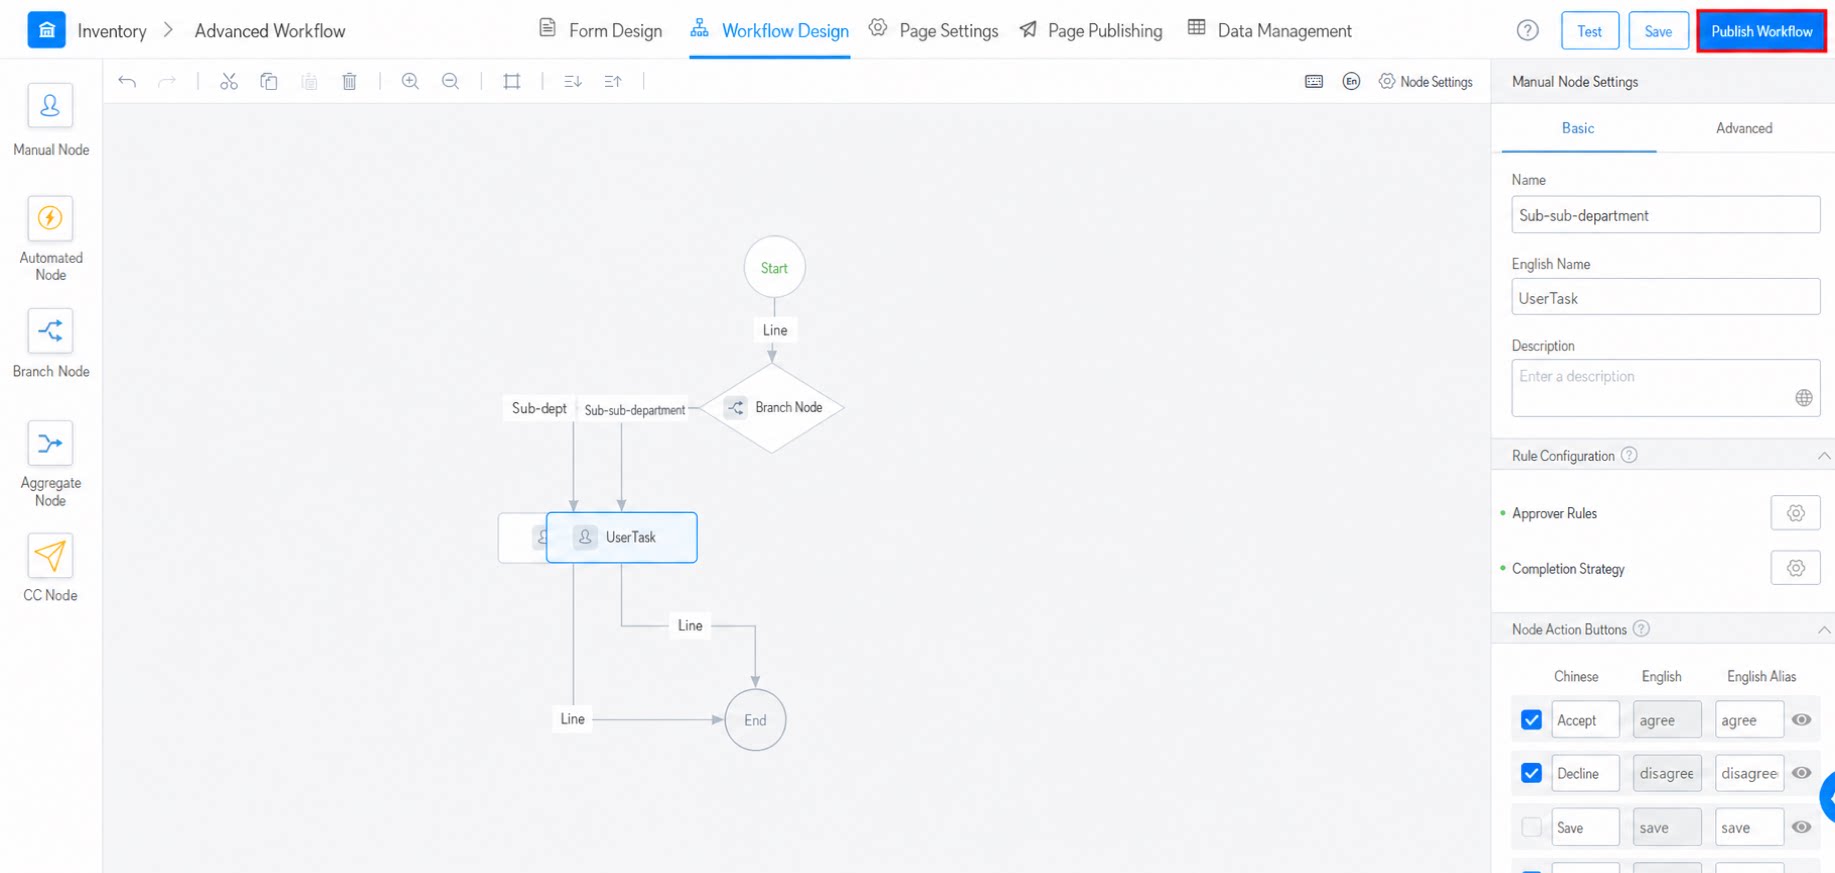
Workflow Attributes
Workflow Variables
The basic attributes of the workflow provide all form items on the page corresponding to the workflow for use in the workflow designer. To add extra attributes, add fields in the form design corresponding to the workflow, and the workflow variables load automatically, as shown below: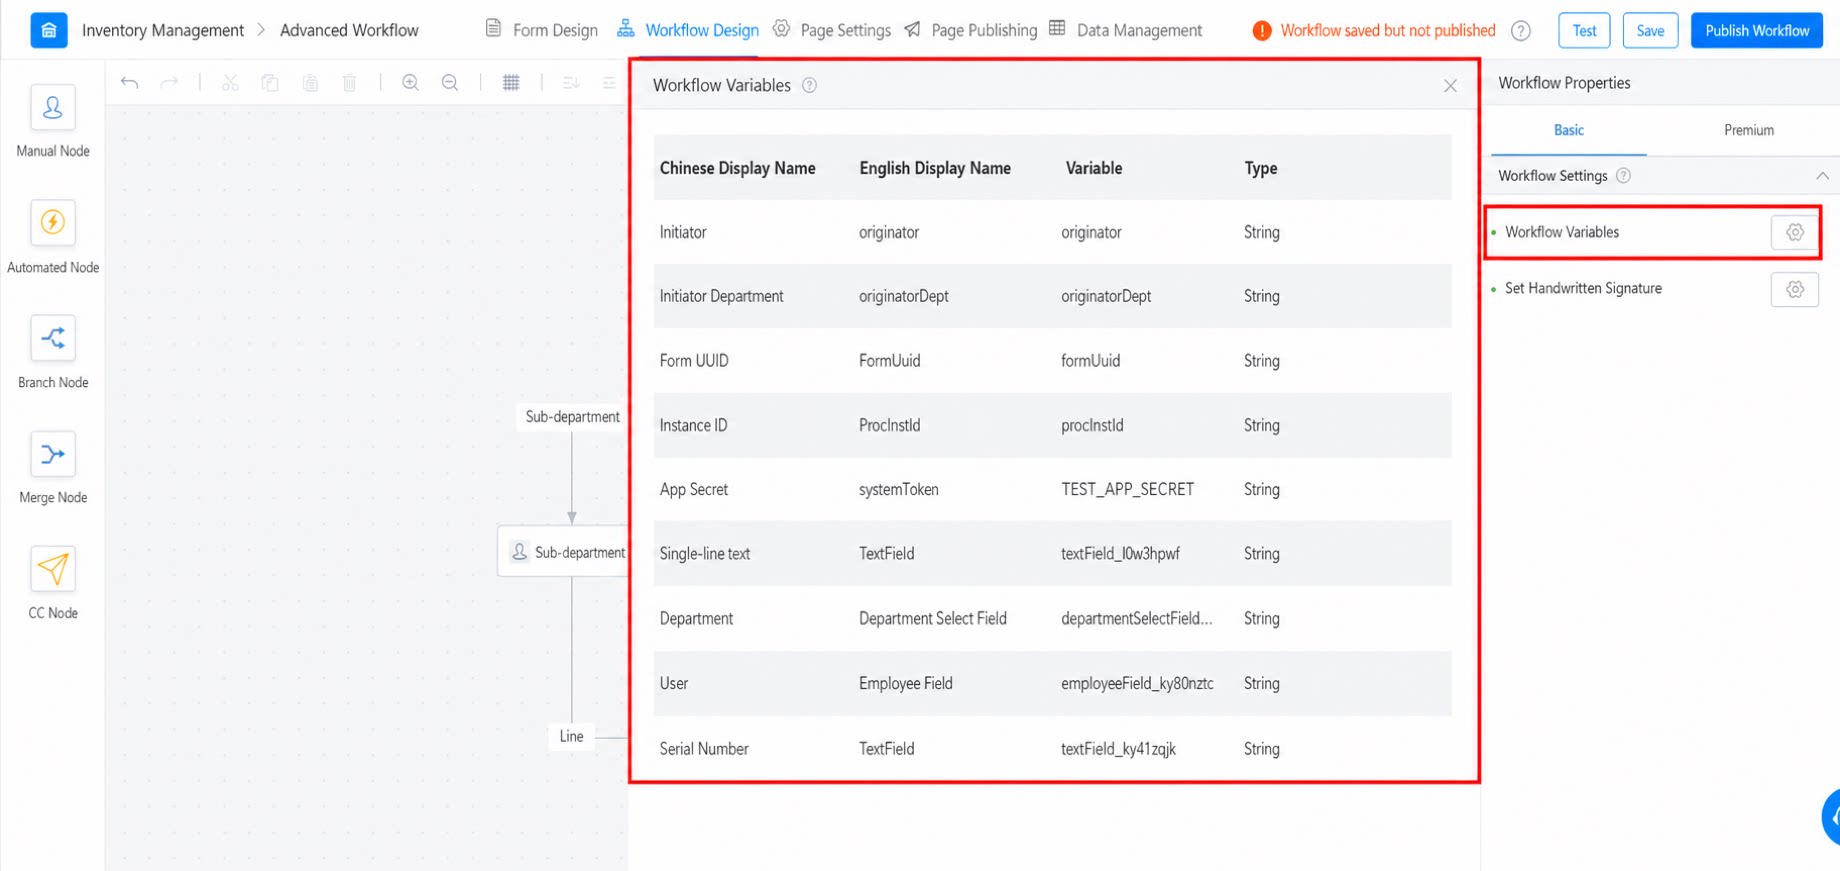
Configure Signature
YiDA supports the signature feature for approver nodes in the workflow approval process. Users can set their signature on the mobile app for display during approval.Signature results from electronic signatures are not CA-certified and have no legal effect.
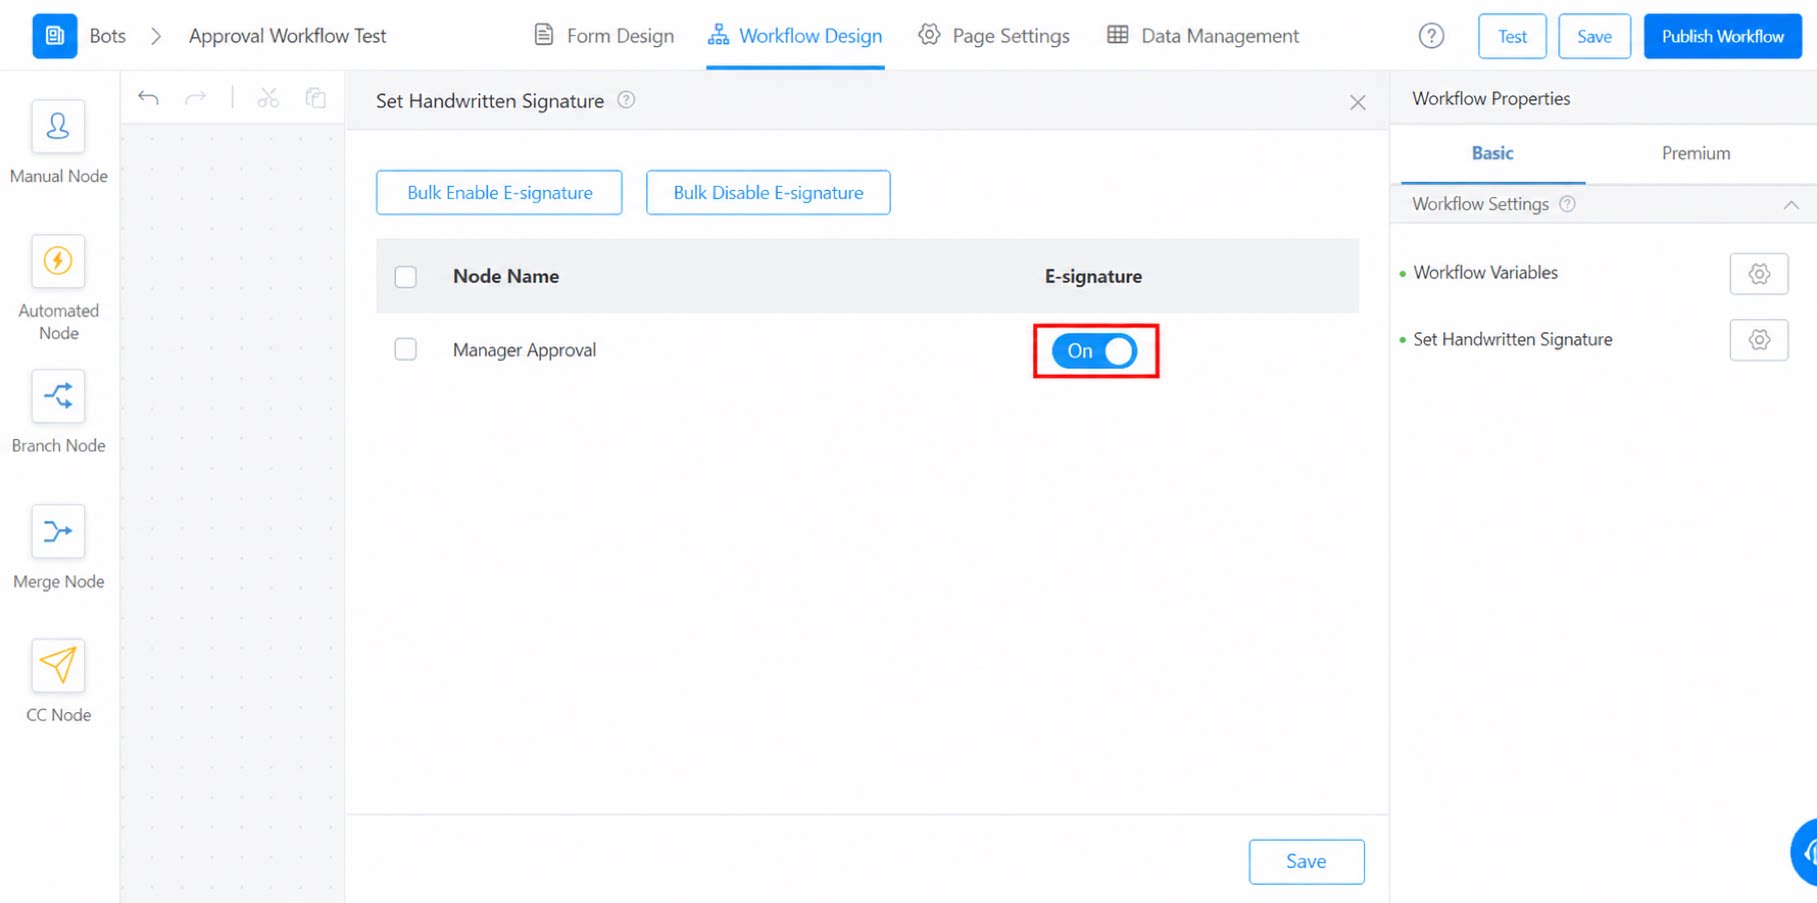
Merge Rules
By configuring merge rules, you can control the merge action of certain nodes. The workflow automatically executes or skips nodes that meet the conditions based on the merge settings. For example, to have the system automatically execute node 2 when node 1 is executed, configure merge rules to select the actions to skip and the default actions to execute. Note: Tier-by-tier approval means that when a node has multiple approvers, tasks are assigned to these approvers one by one in order, and the task passes to the next approver only after the previous one has completed the action.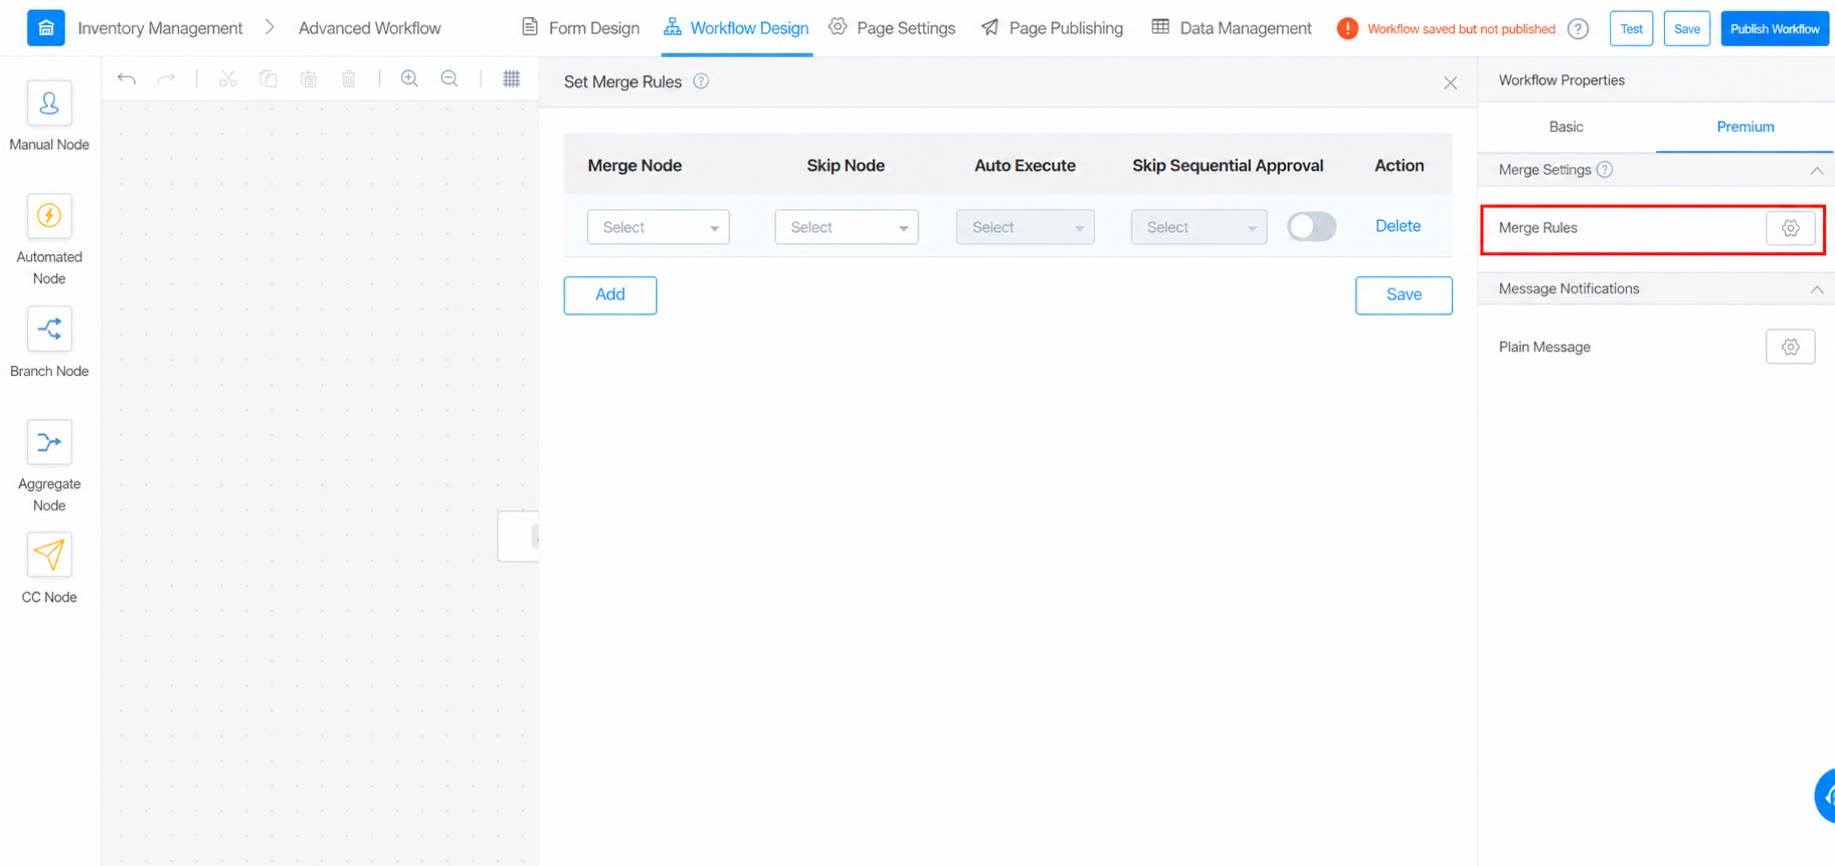
Plain Message
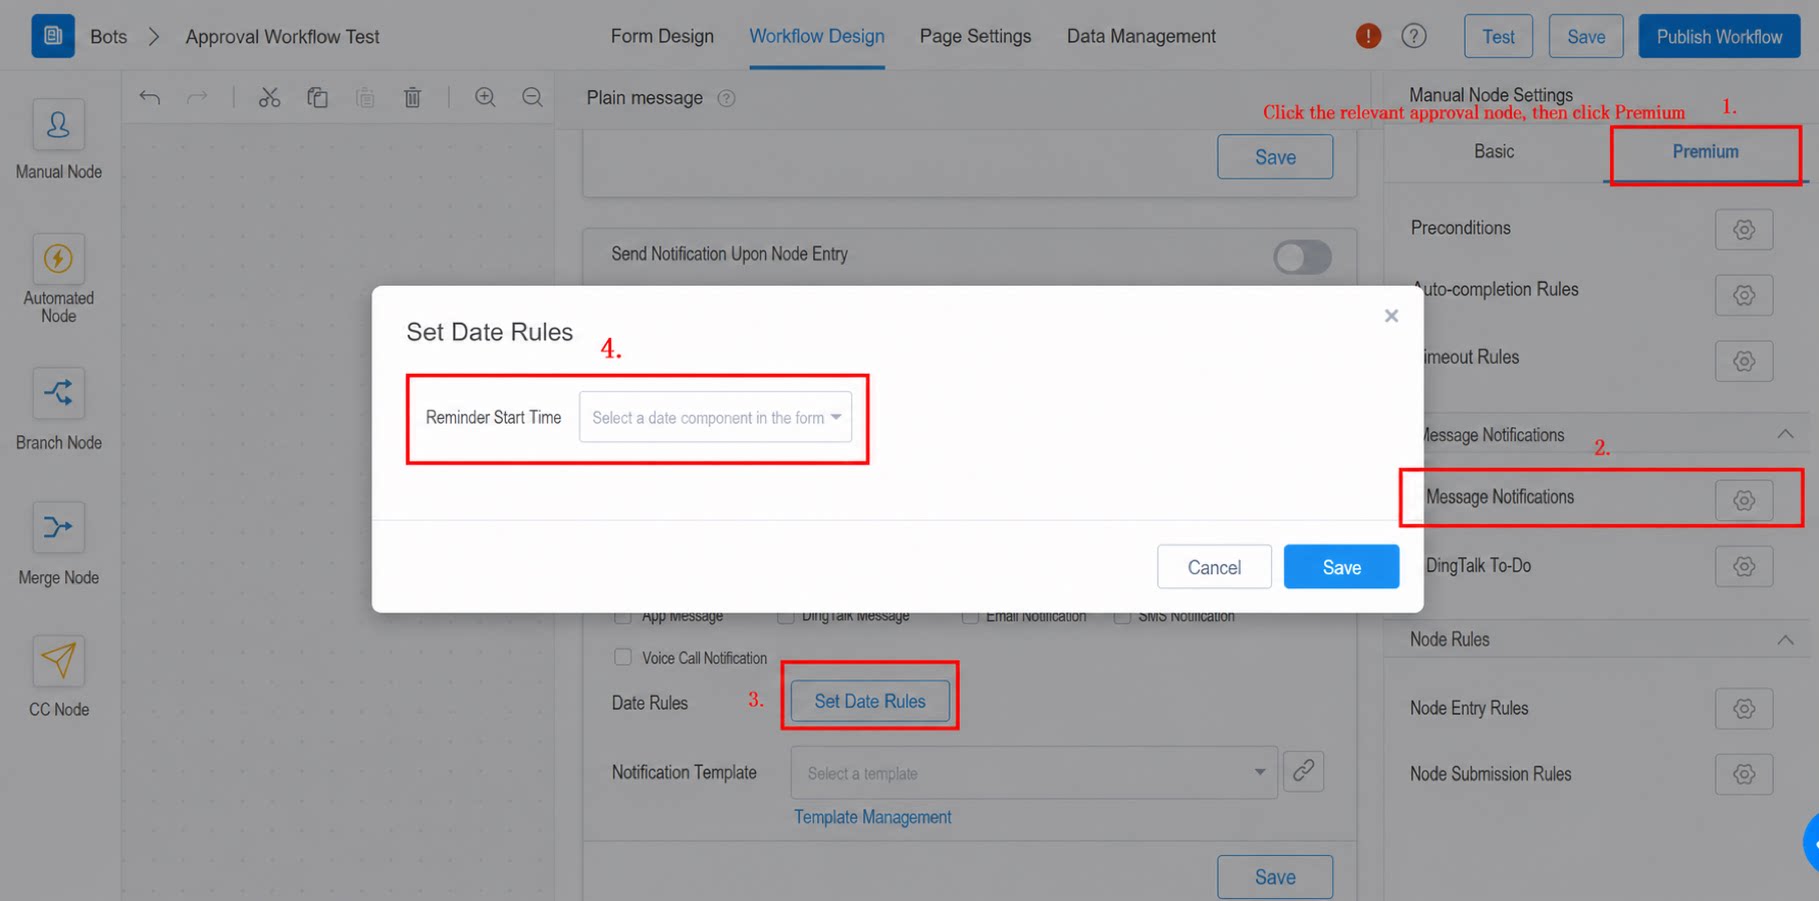
Plain message refers specifically to “Notification rules based on the date field in the workflow”. Path: Add a date component to the workflow form first >> Advanced workflow editor >> Click a blank area >> Premium settings >> Plain message >> Date rules >> Select the date component on the form >> Save