

 Chats
Chats Calendar
 Meetings
 Contacts
 Mail
Mail Docs
Docs Drive
Drive AI Table
 AI Minutes
 Attendance
 Approval
 YiDA
YiDA Admin Console
1. Use Cases
Use the Attachment component to upload file content such as certificates, materials, data, and contracts. Each attachment in YiDA is currently limited to 100 MB.For component attributes, usage, and examples, see Interface.
2. Basic Features
2.1 Upload Type
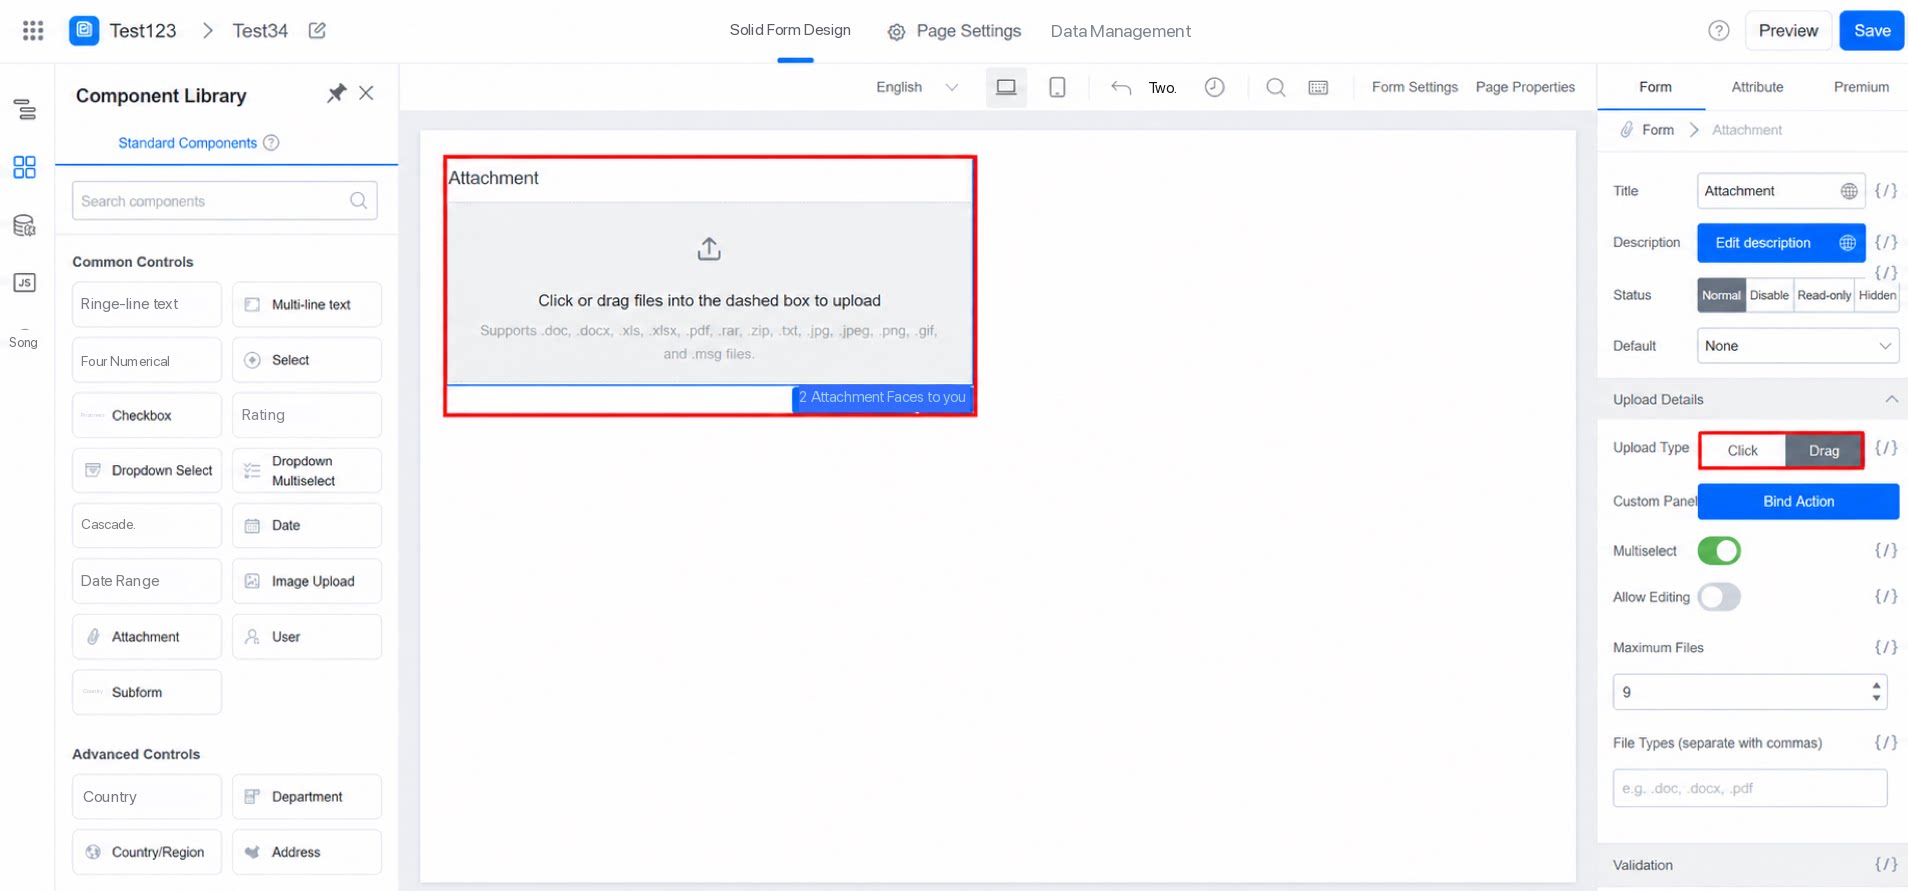
Feature: Set how attachments are uploaded. Path: Attribute >> Upload detail settings >> Upload type Two upload types are available: click and drag-and-drop.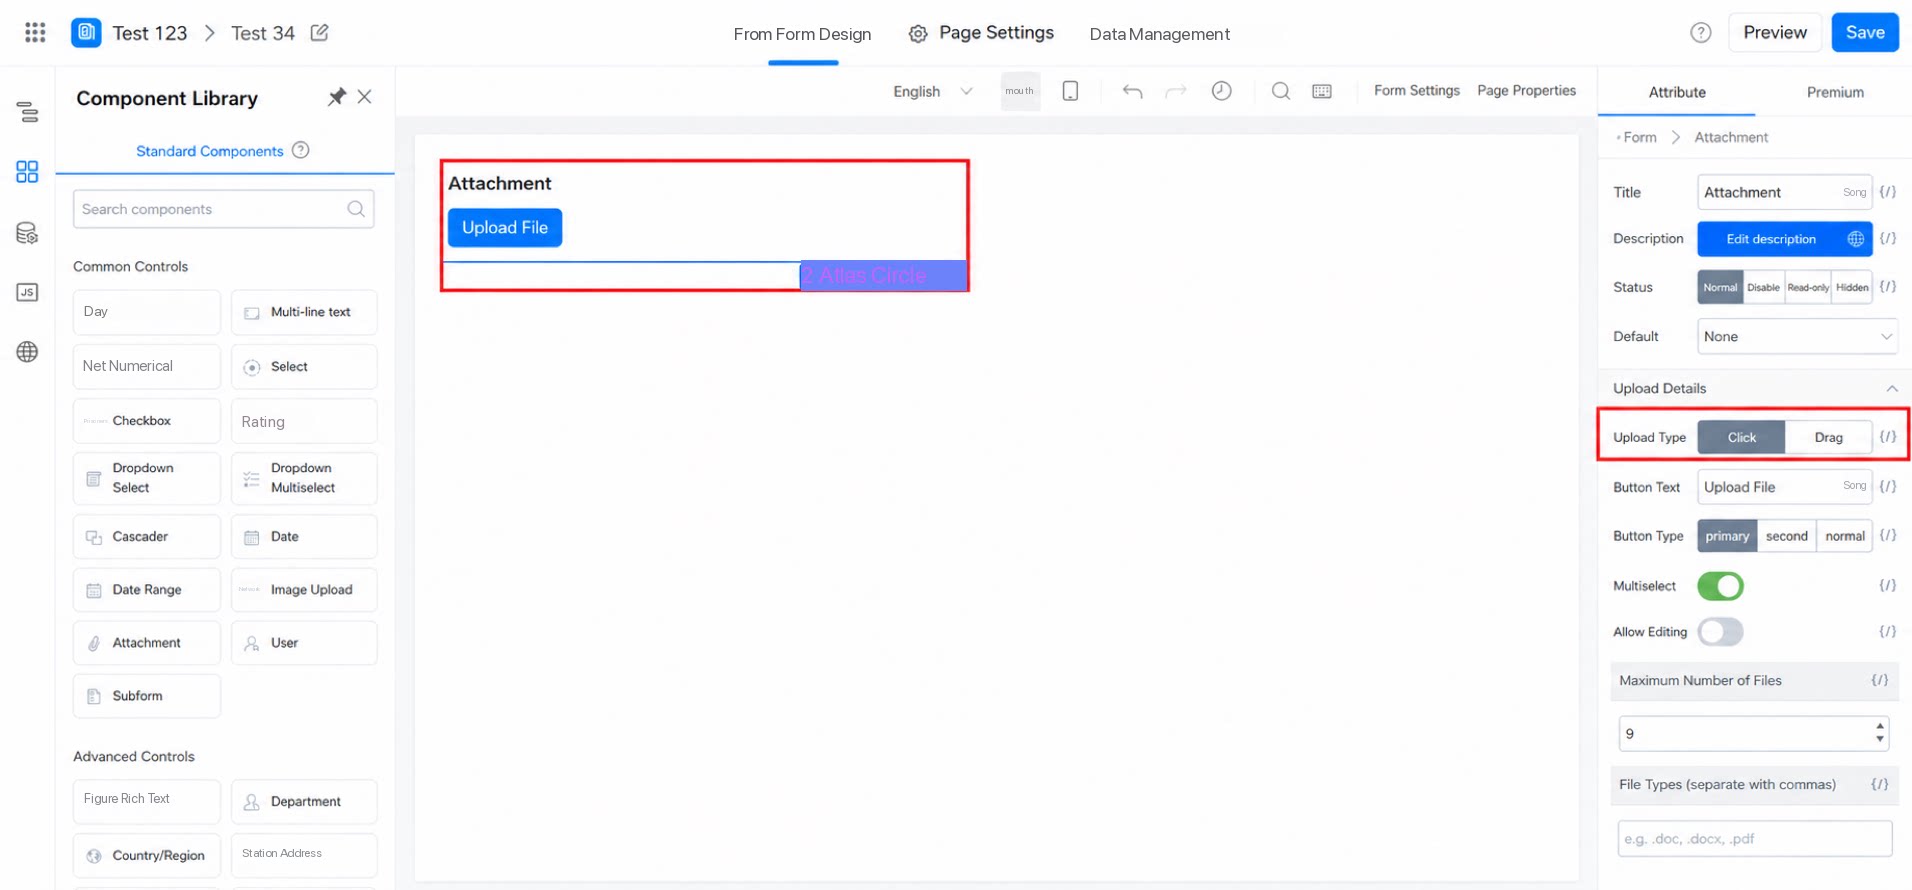
2.2 Button Content
Feature: Set the text of the upload button. Path: Attribute >> Upload detail settings >> Button content (this option appears only when the upload type is set to click) The effect is as follows: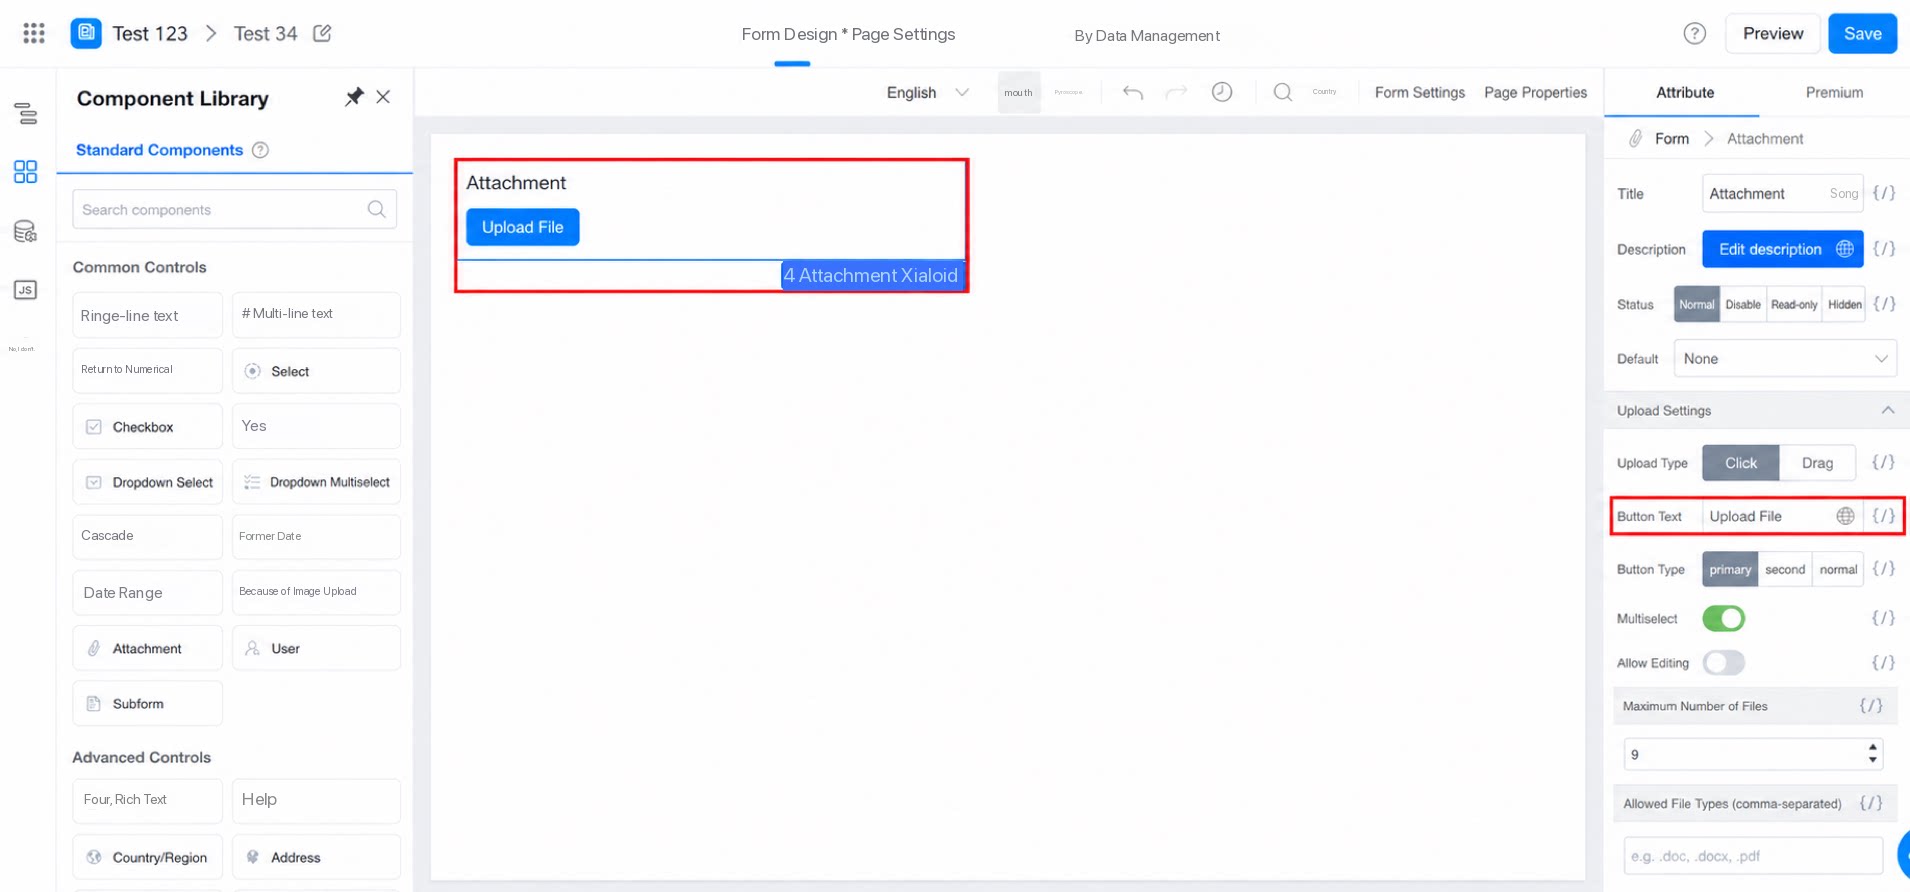
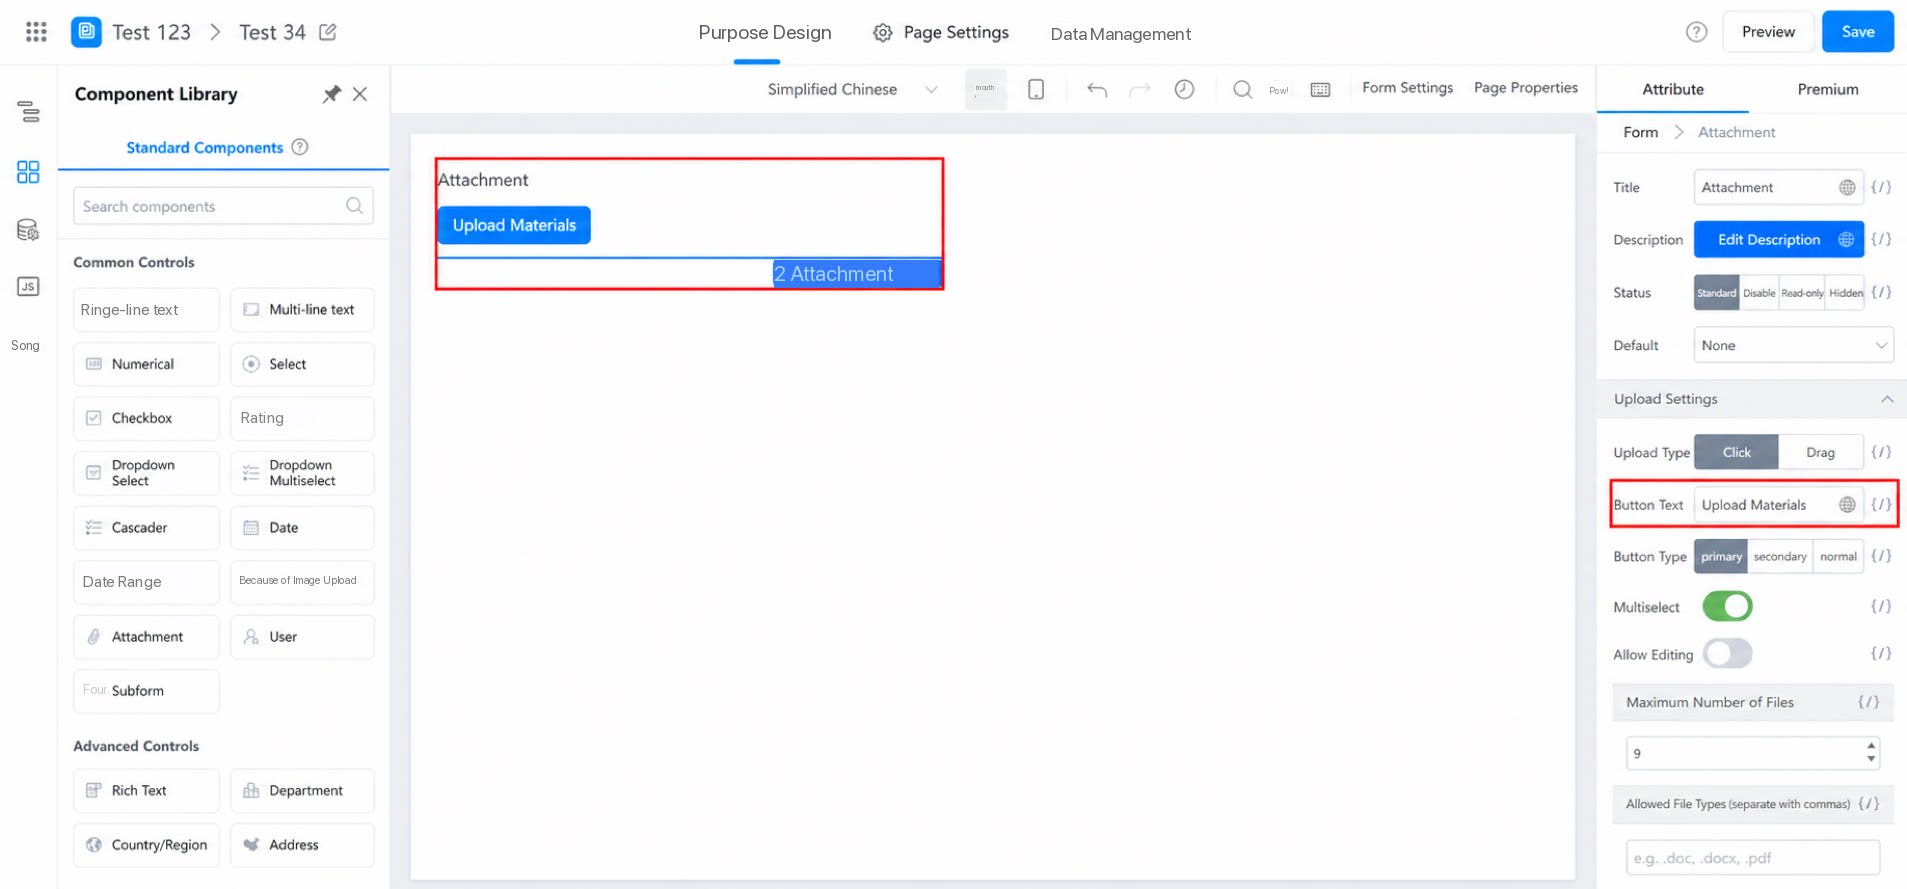
2.3 Button Type
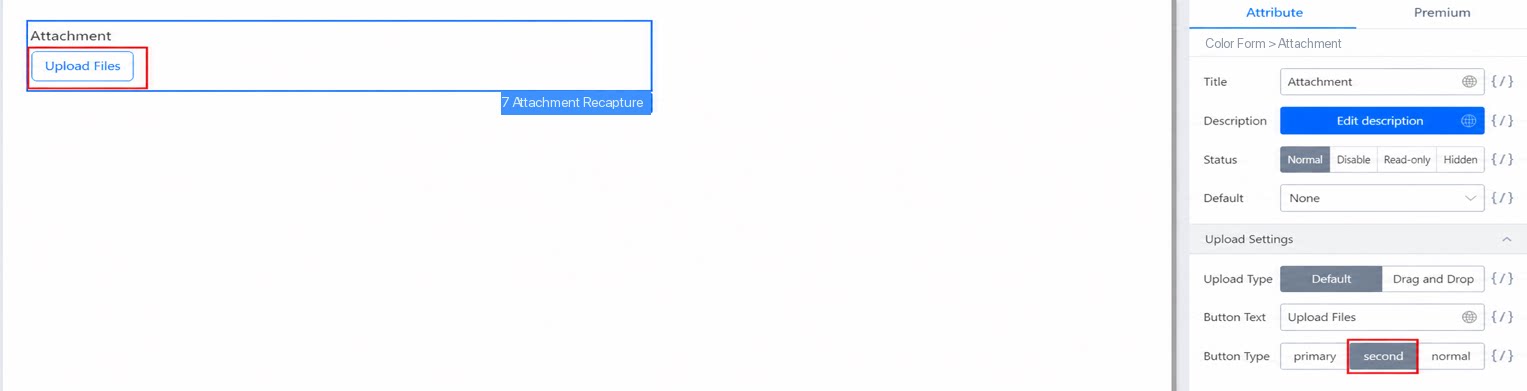
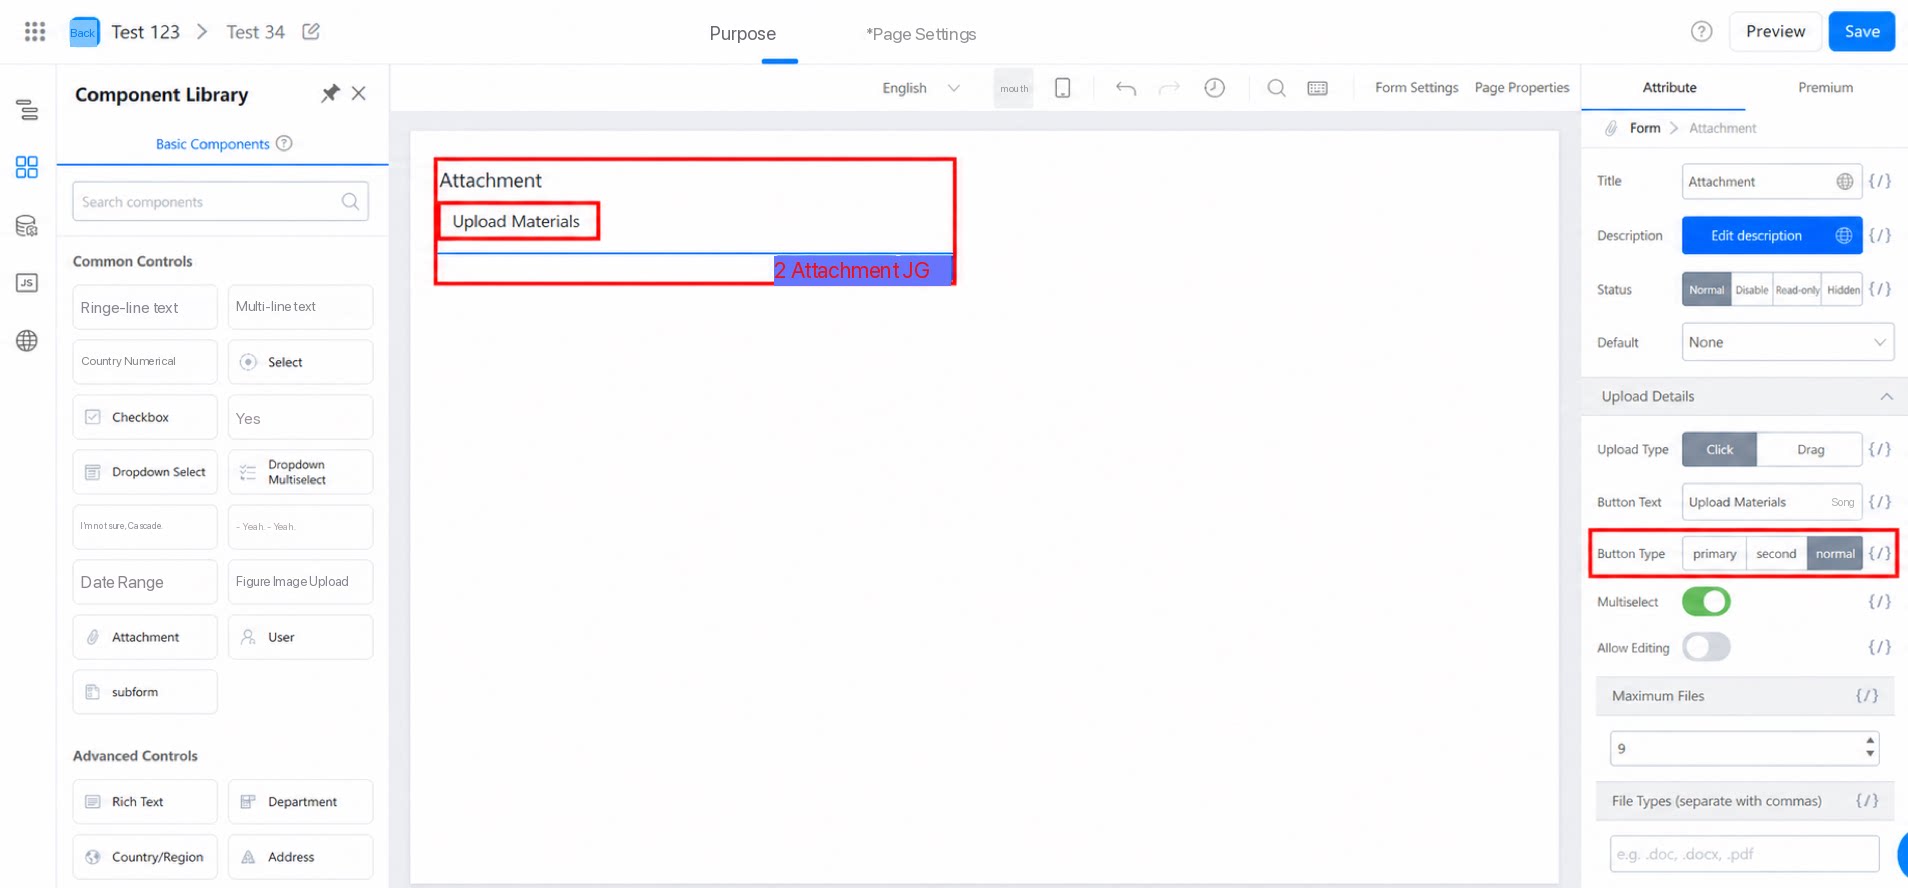
Three button types are available: primary, second (secondary), and normal. primary: the button has a blue background with white text.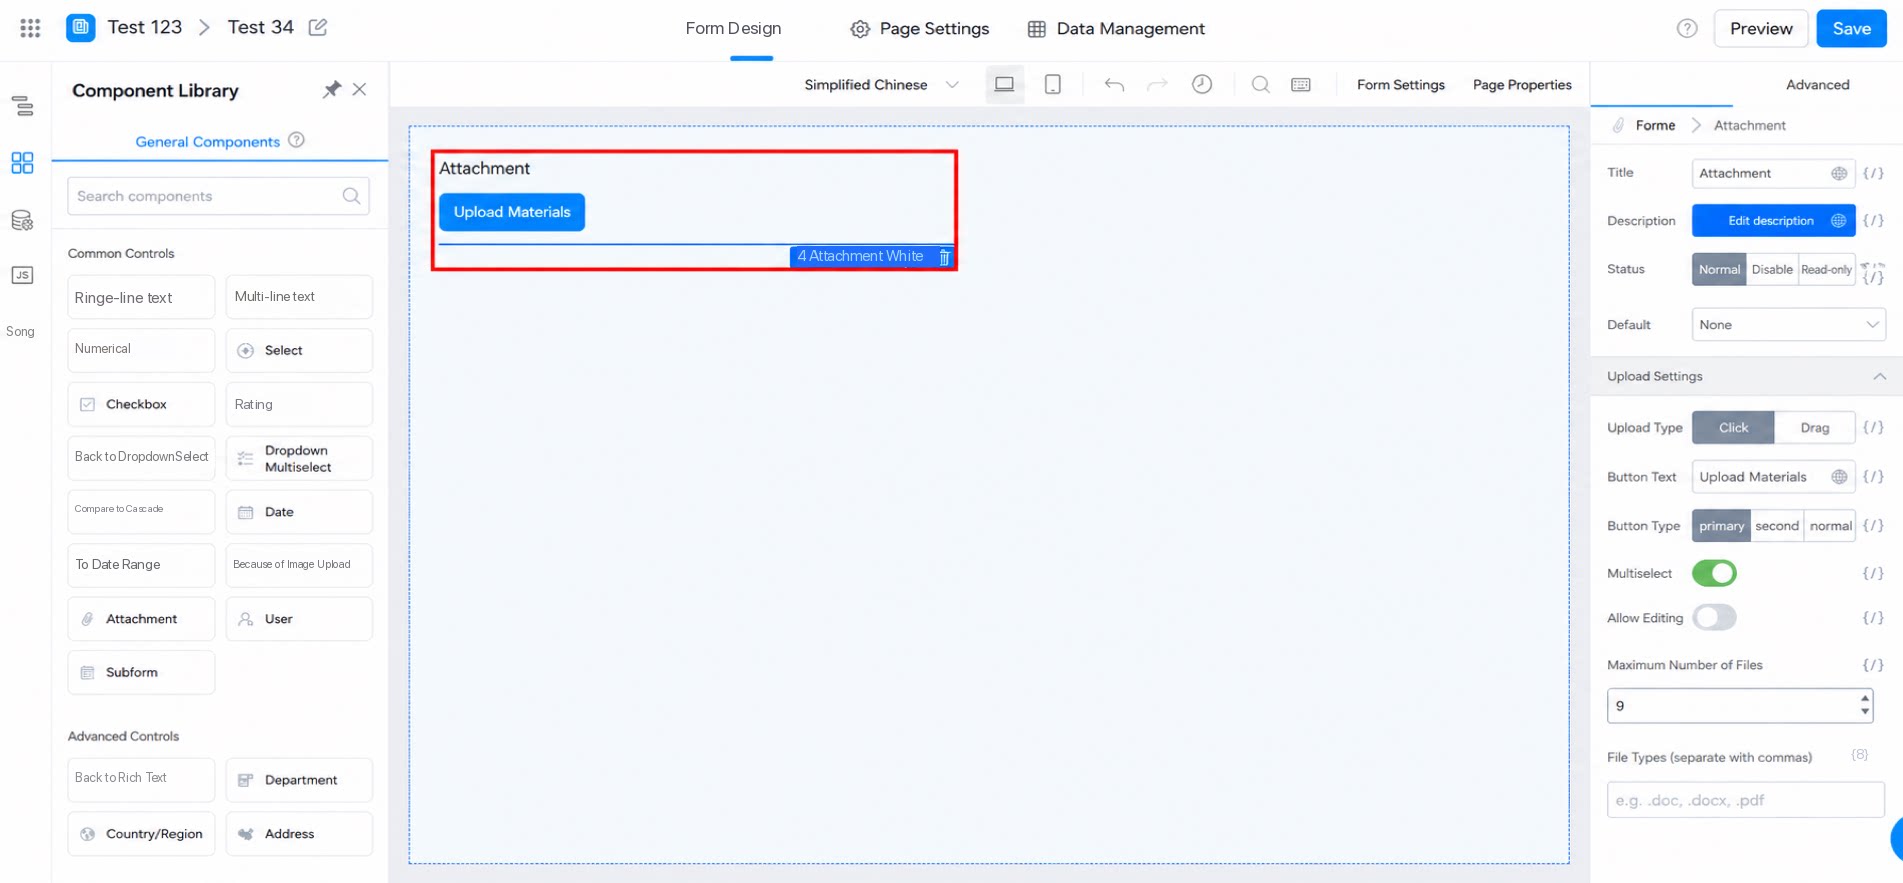
2.4 Multiselect and Maximum Number of Files
2.4.1 Multiselect
Feature: When Multiselect is on, users can upload multiple attachments at once. Path: Attribute >> Upload detail settings >> Multiselect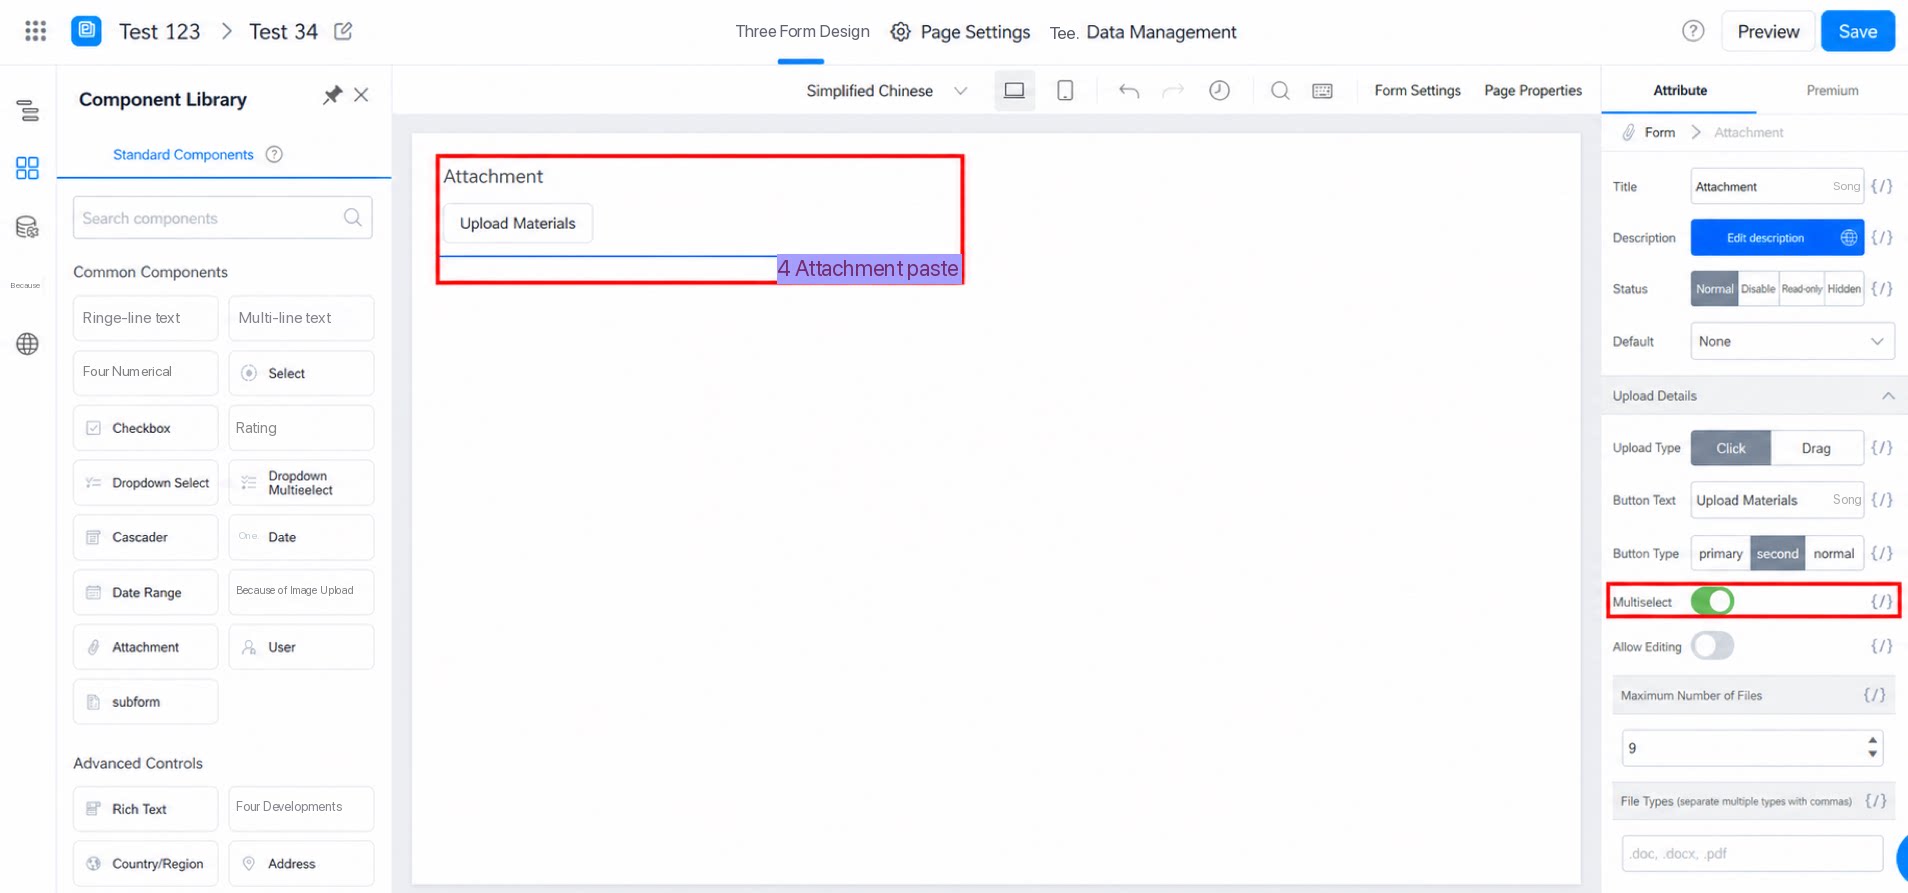
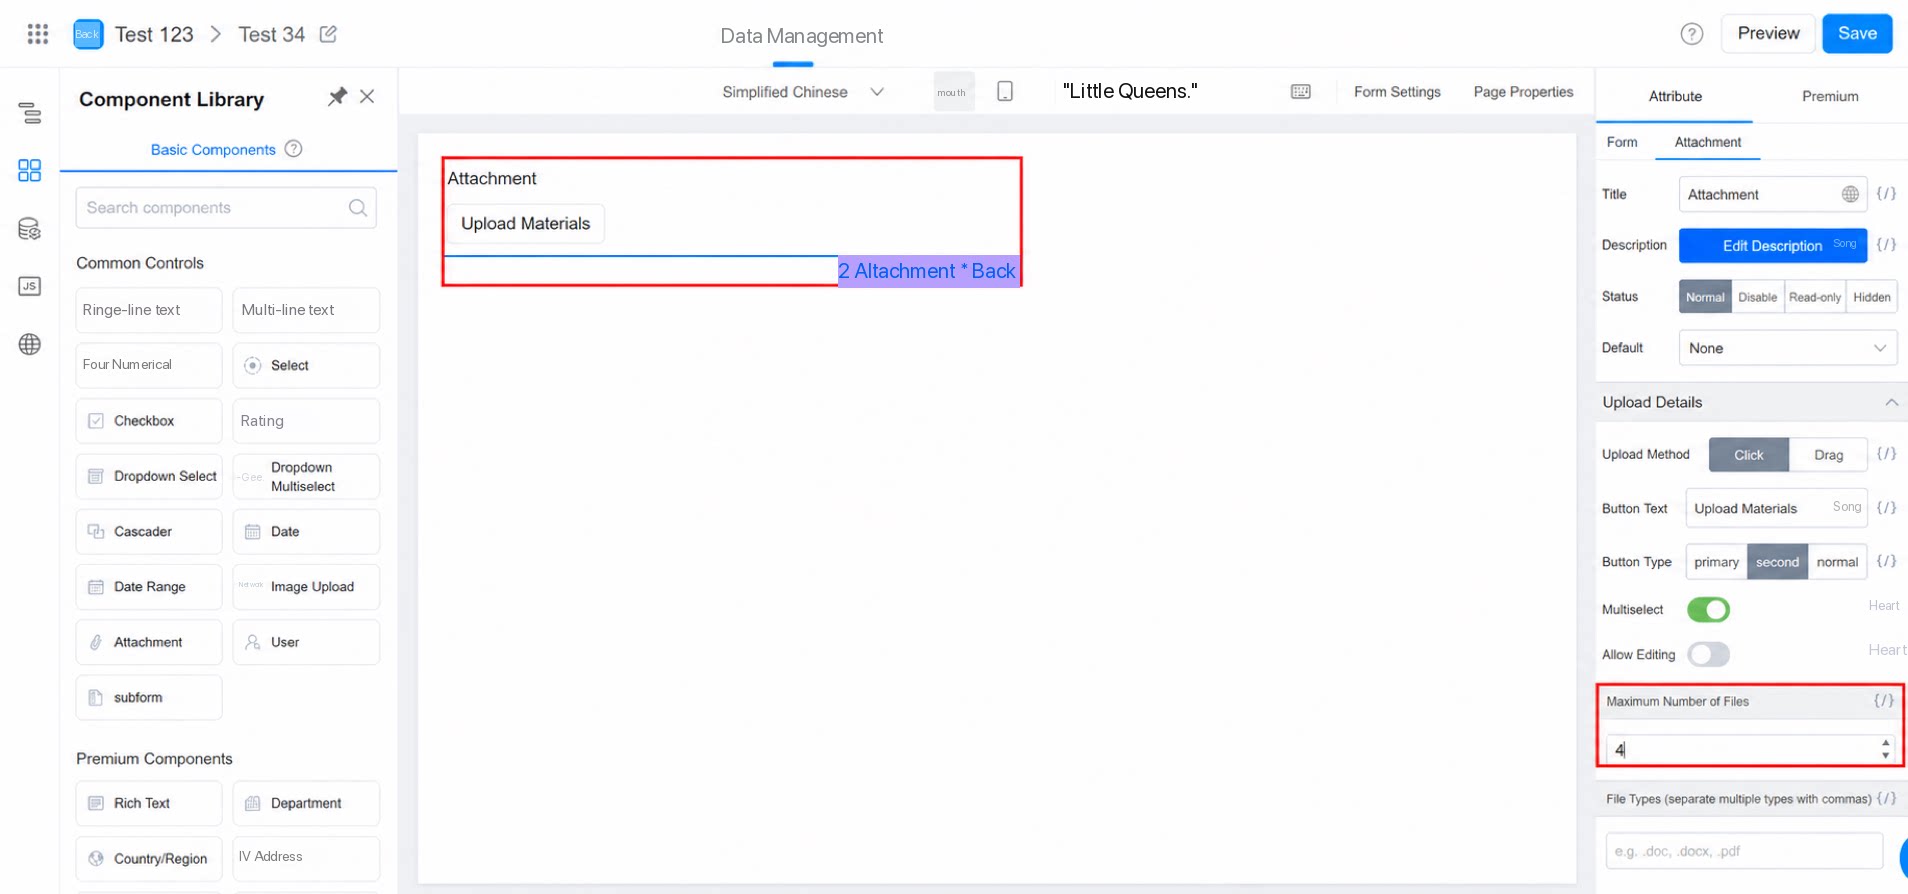
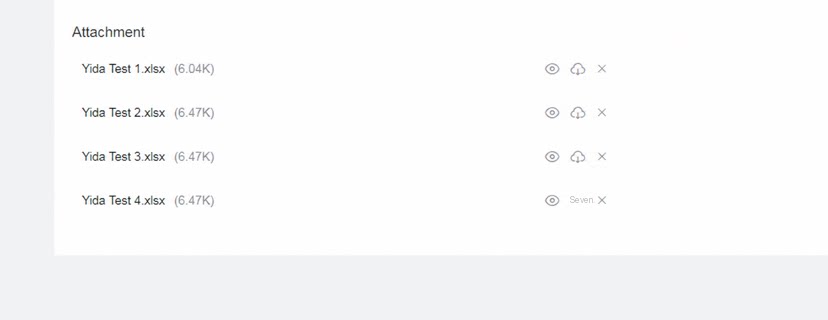
2.4.2 Maximum Number of Files
Feature: Set the maximum number of attachments that can be uploaded.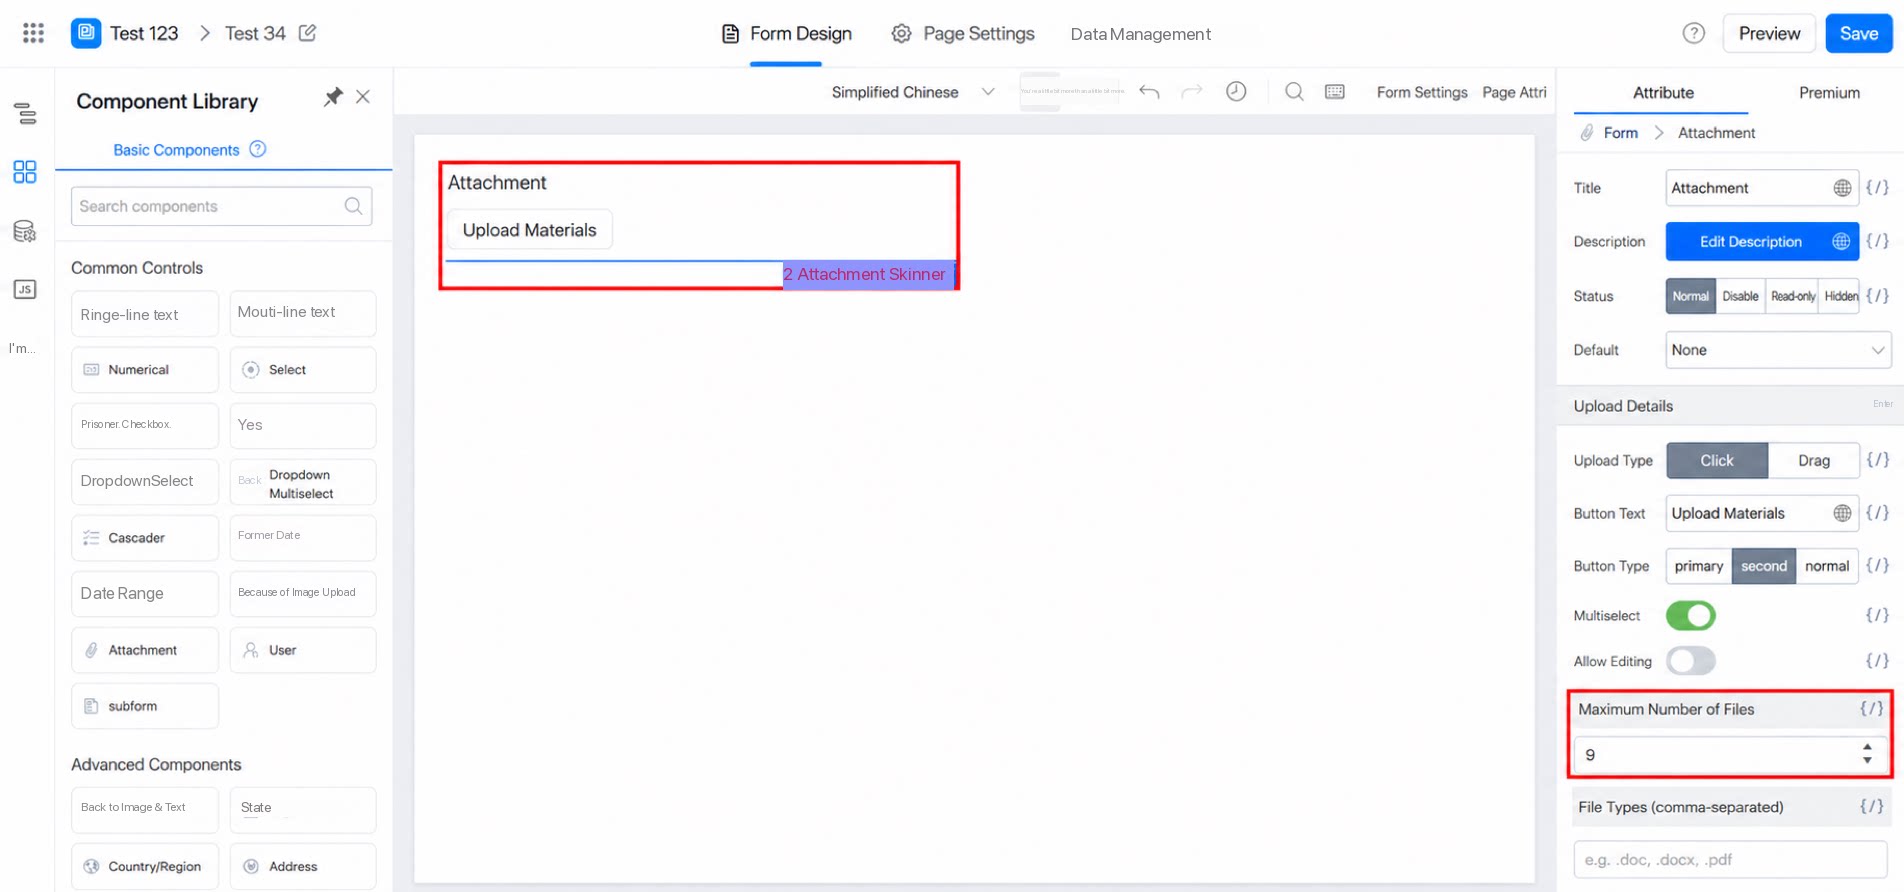
2.5 Upload File Type
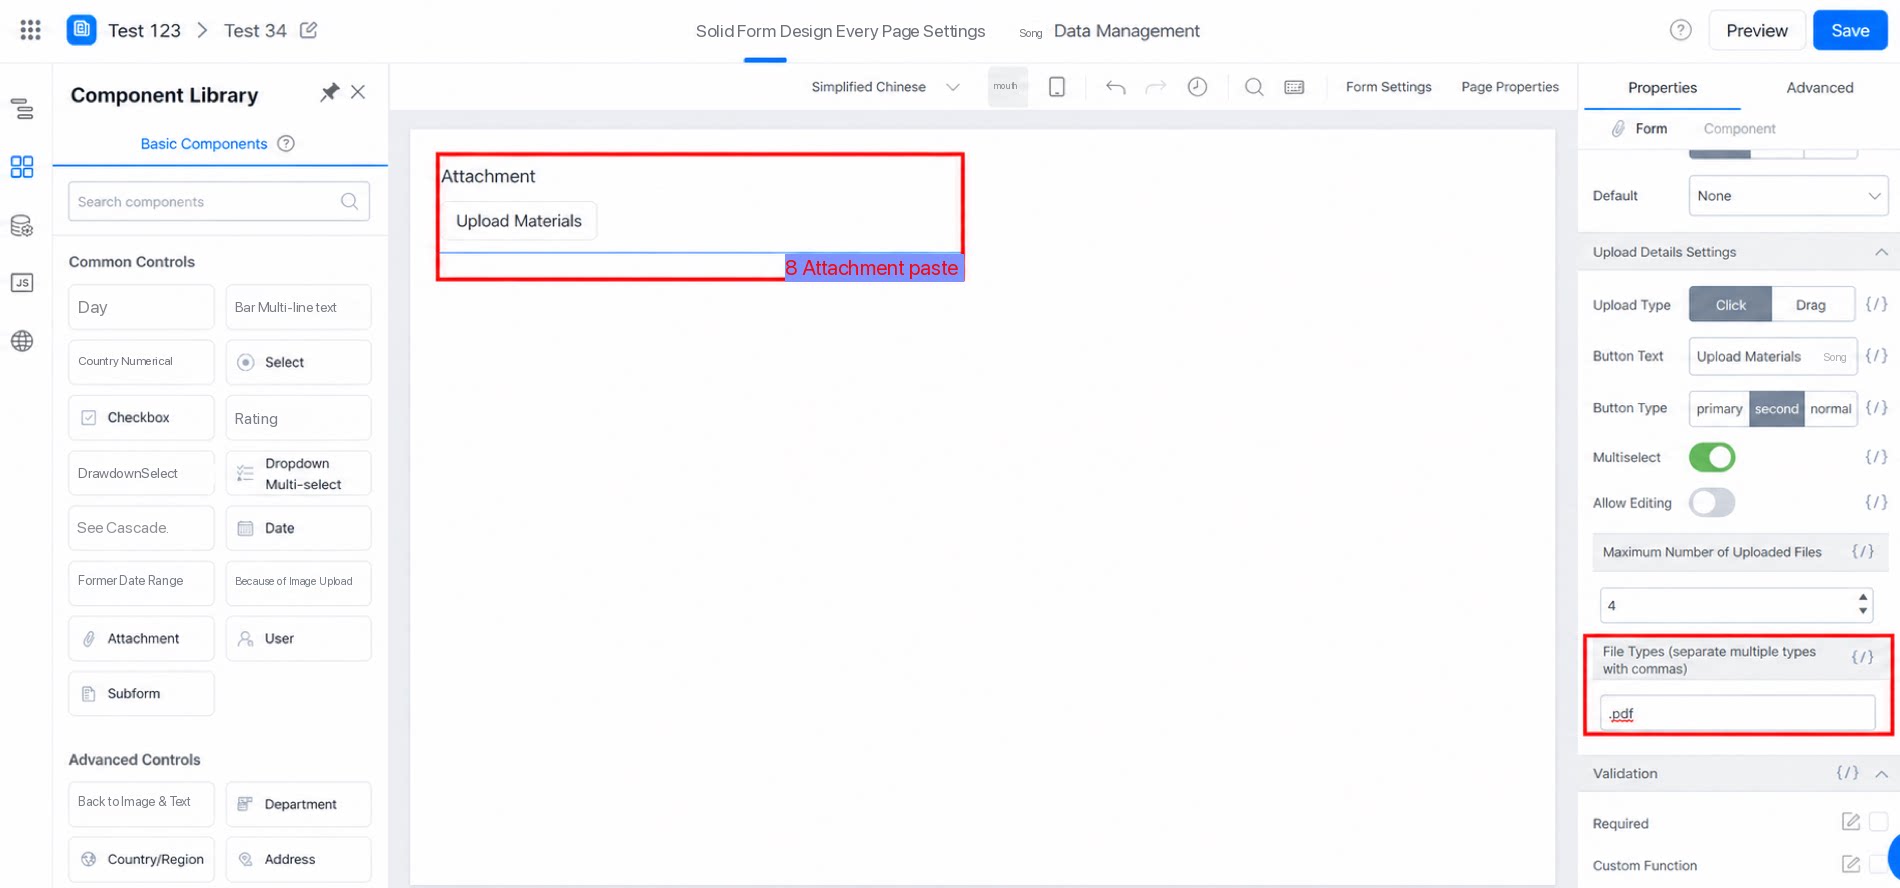
Feature: Set the file formats allowed for upload.File extensions support only digits and English letters.
2.6 Online Attachment Preview
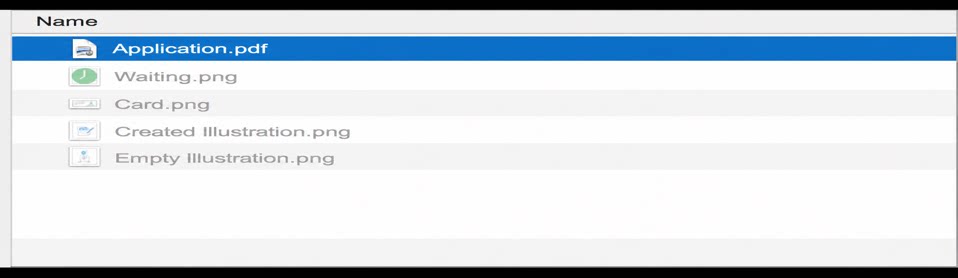
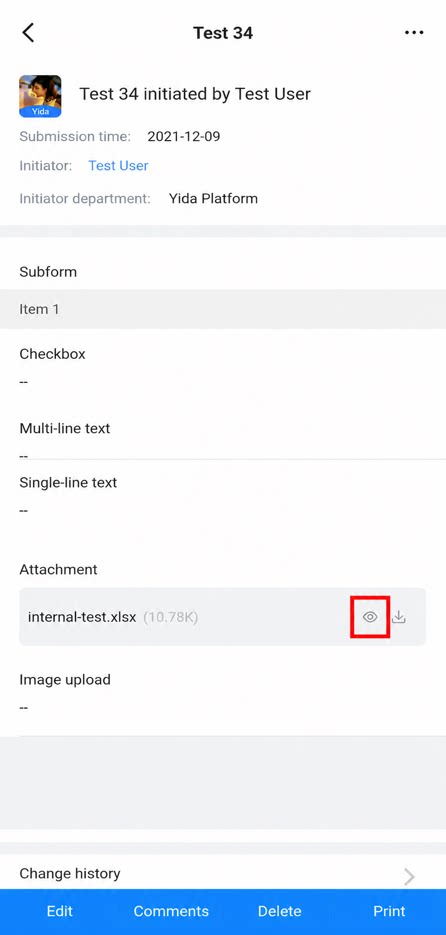
Previewing before submission lets you verify that the uploaded attachments are correct. Previewing after submission reduces the need to download attachments and saves local storage. Online attachment preview is now supported on both PC and mobile, before and after data submission. Preview supports three types of Office documents—Excel, Word, and PPT—as well as PDF. Supported extensions: Excel: et, xls, xlt, xlsx, xlsm, xltx, xltm, csv Word: doc, docx, txt, dot, wps, wpt, dotx, docm, dotm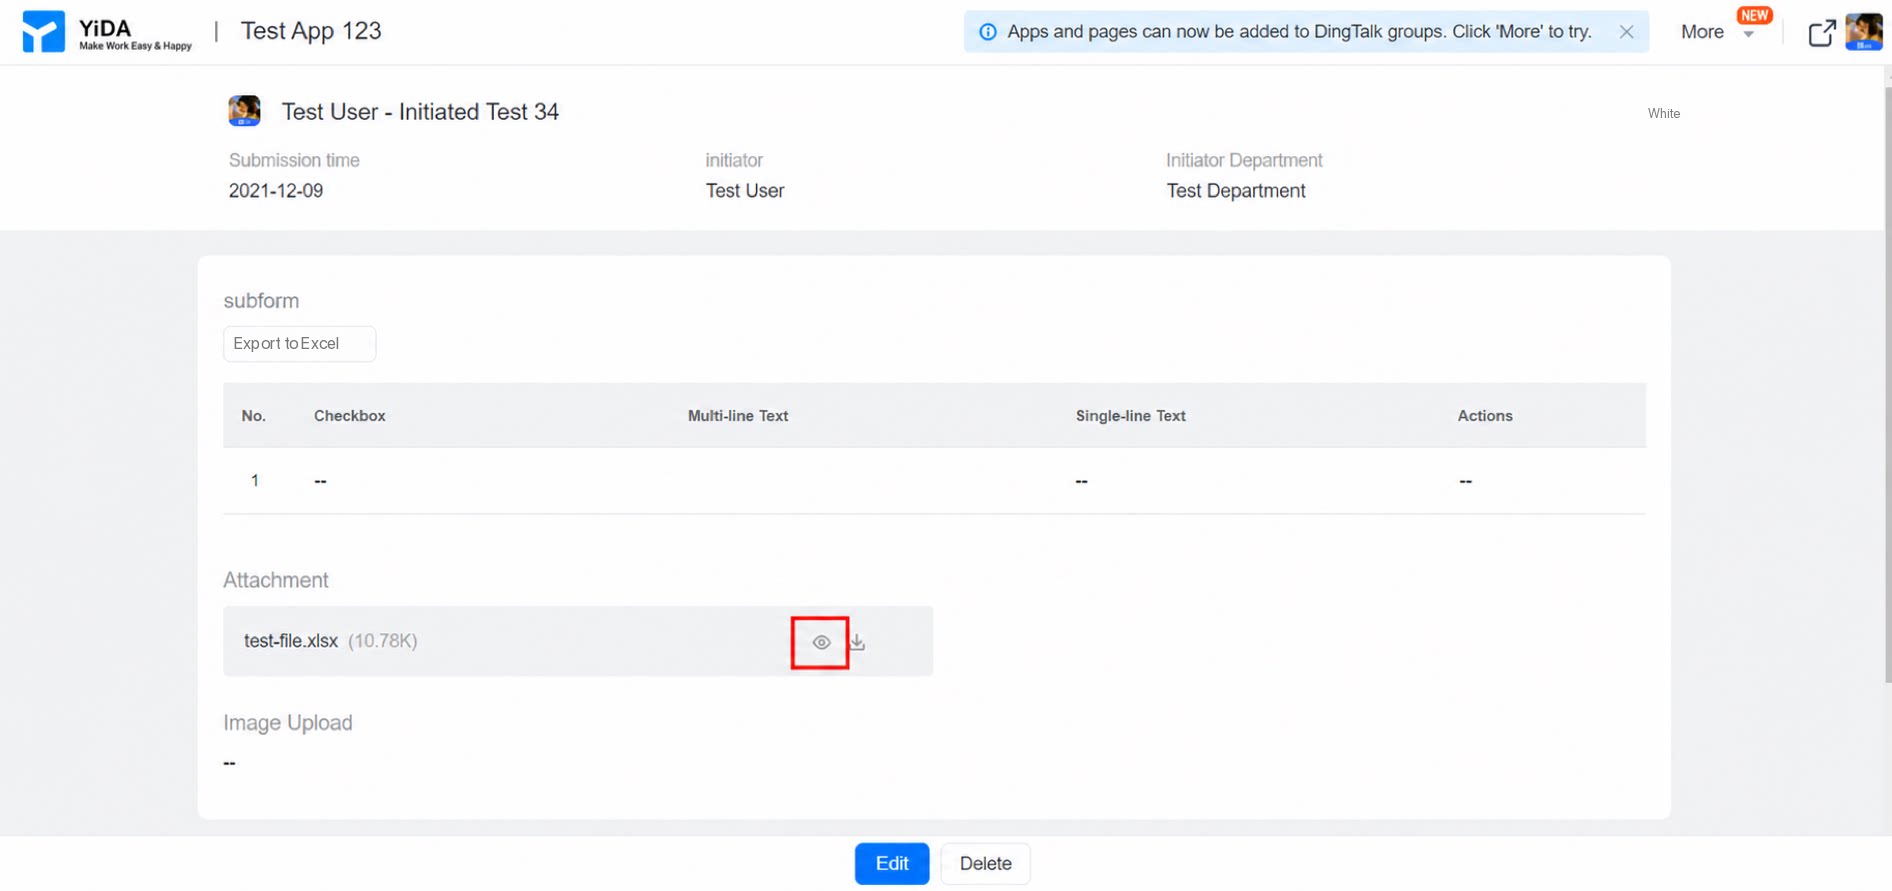
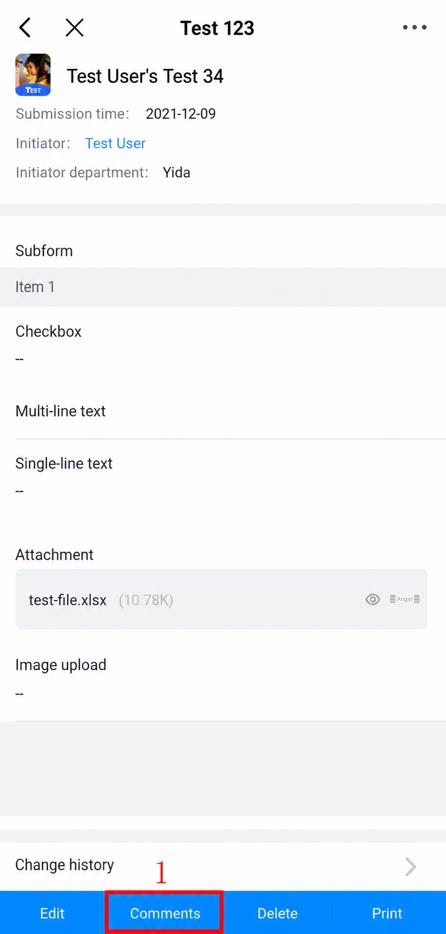
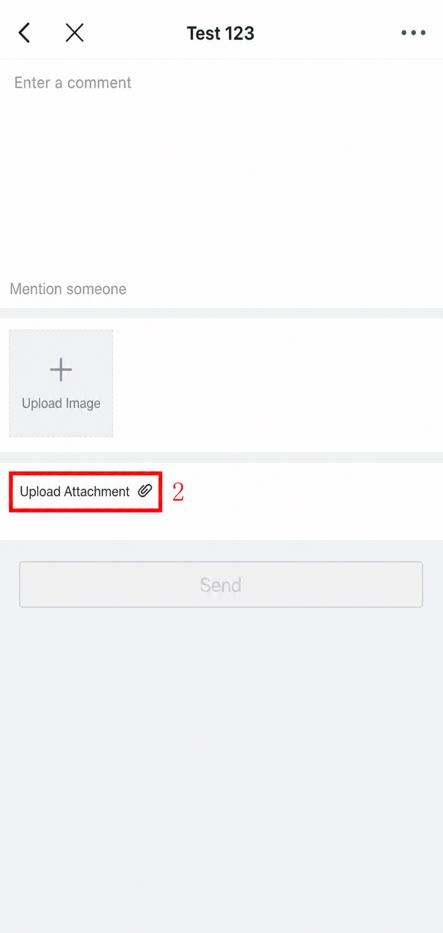
2.7 Upload Attachments in Comments
When commenting on submitted form data, you can upload attachments on both PC and mobile.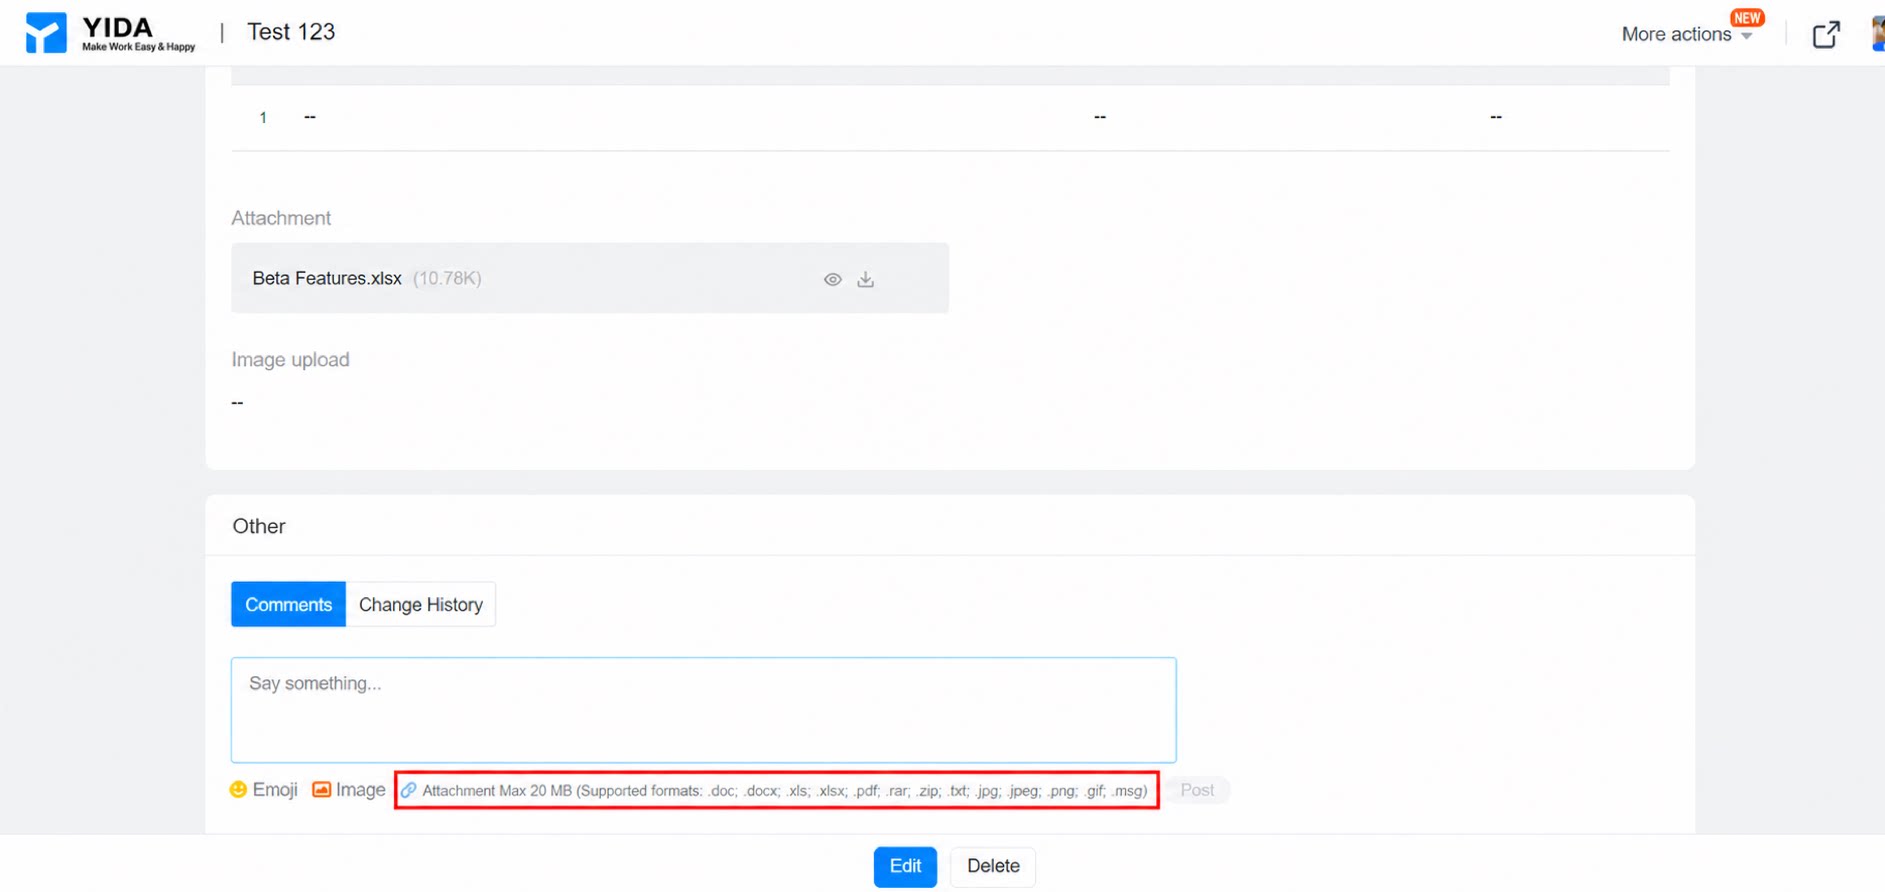
3. Online Attachment Editing
3.1 Prerequisites
Note: This feature is exclusive to the Professional edition and above.- Attachment editing currently supports three types of Office documents: Word, PPT, and Excel. Supported extensions:
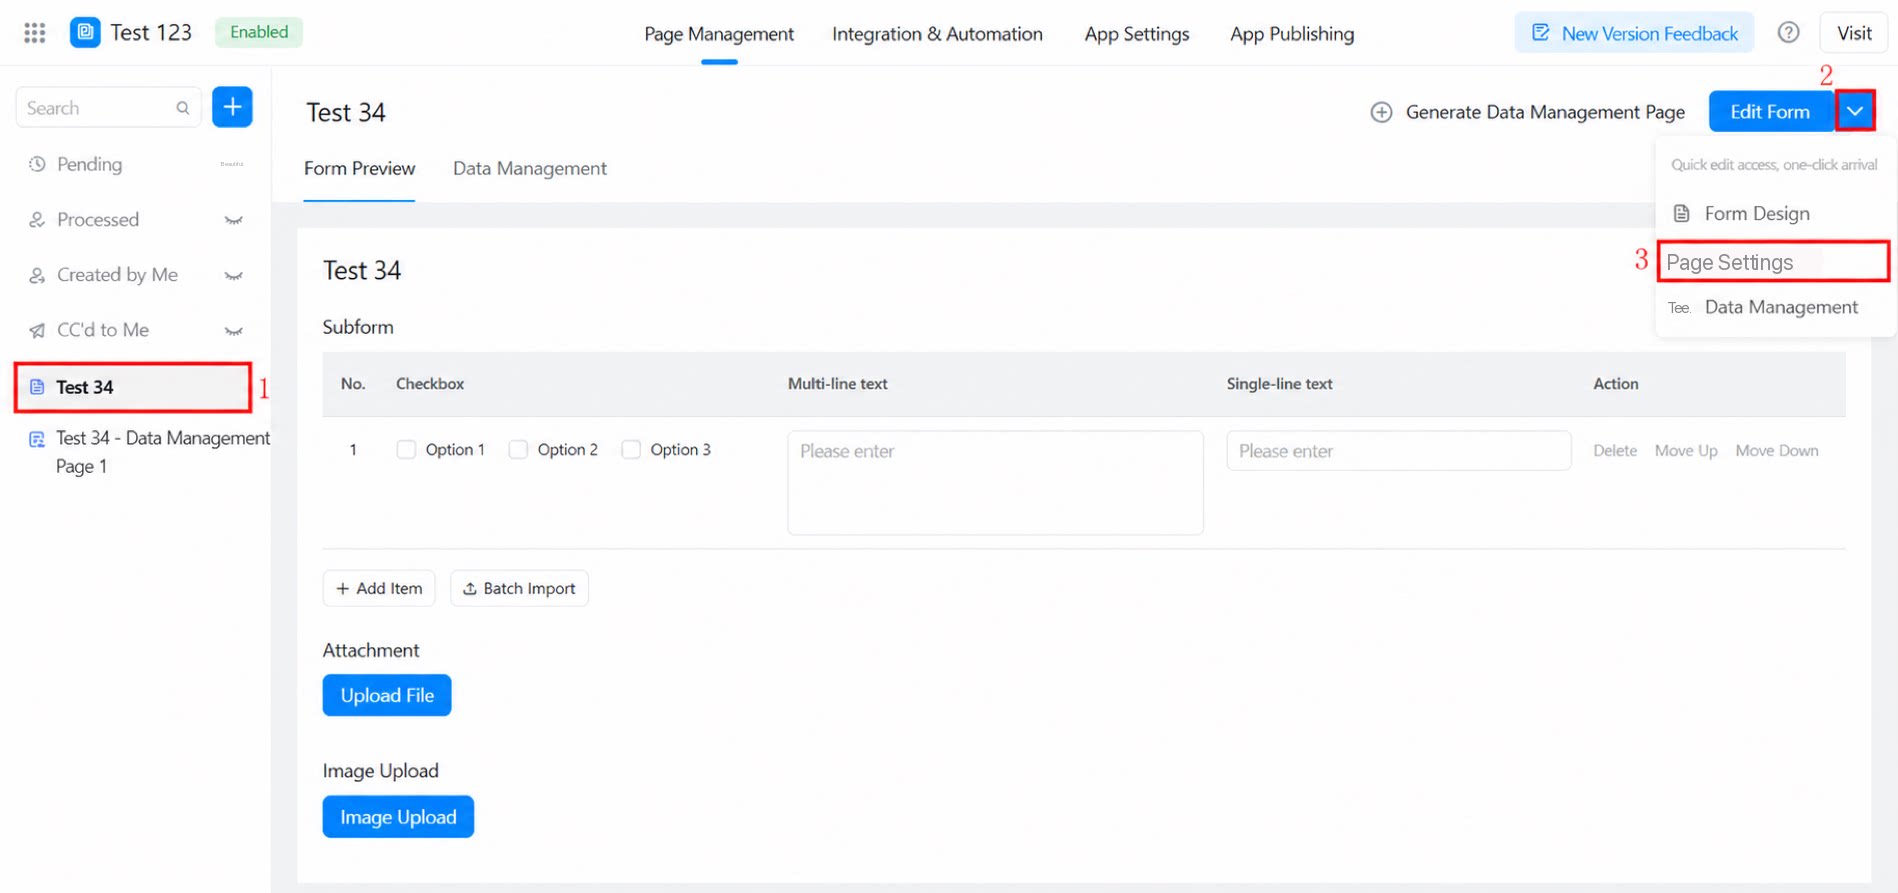
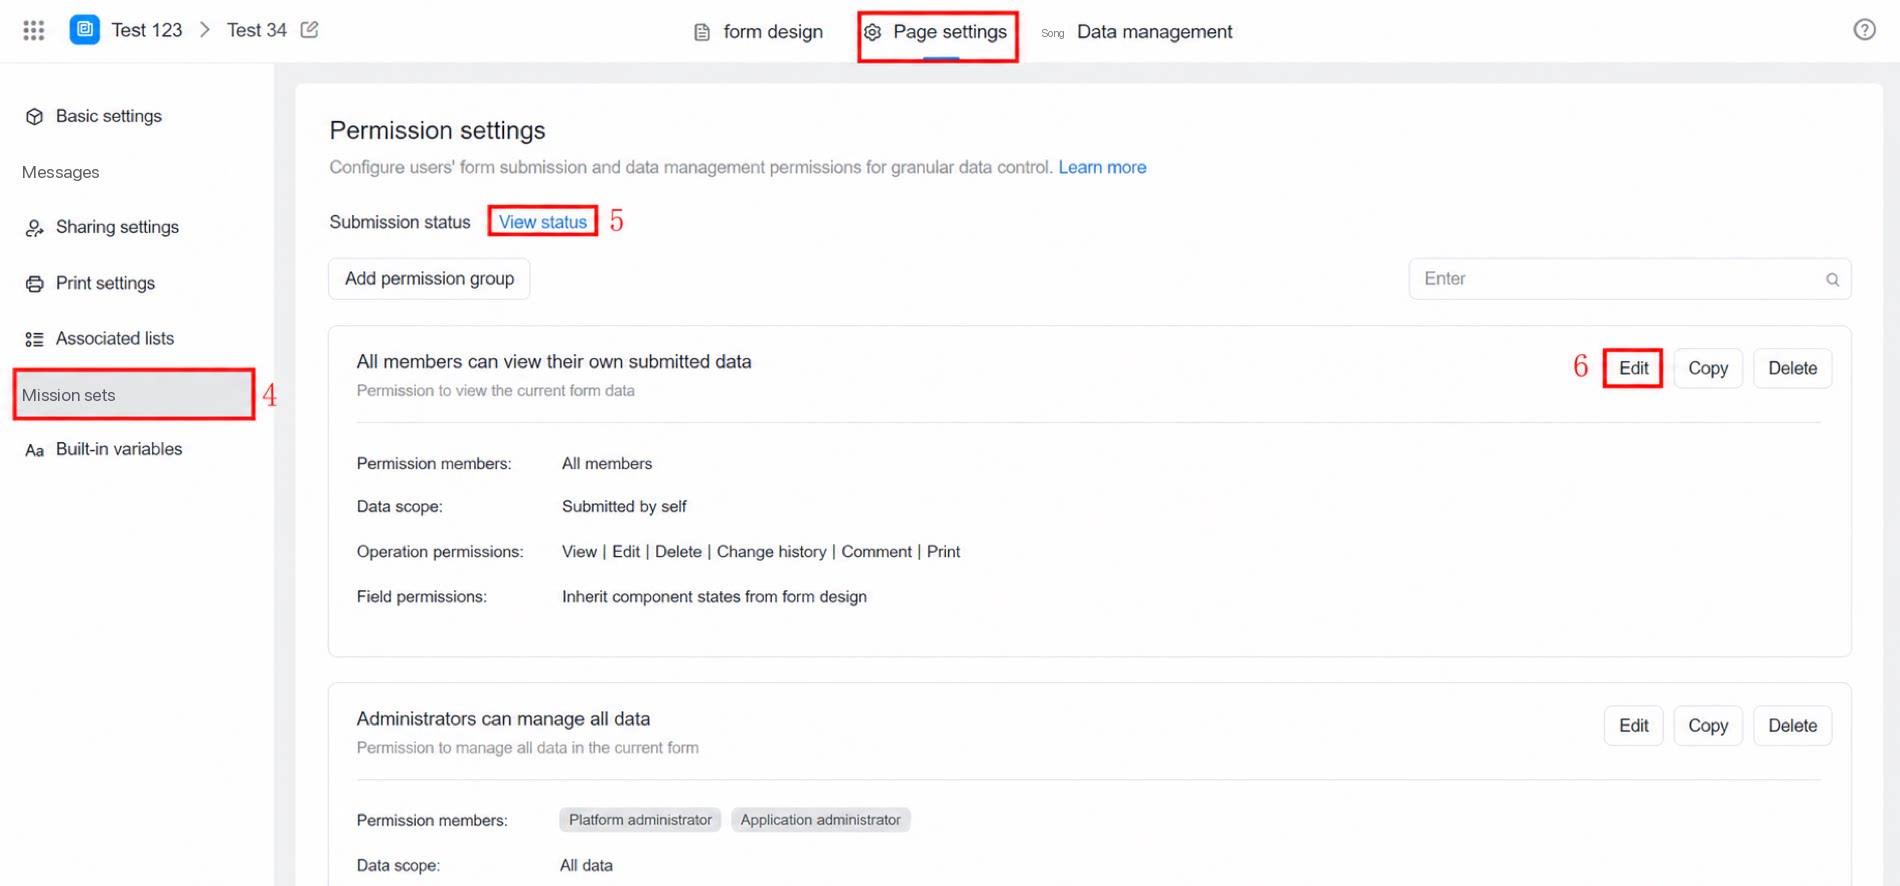
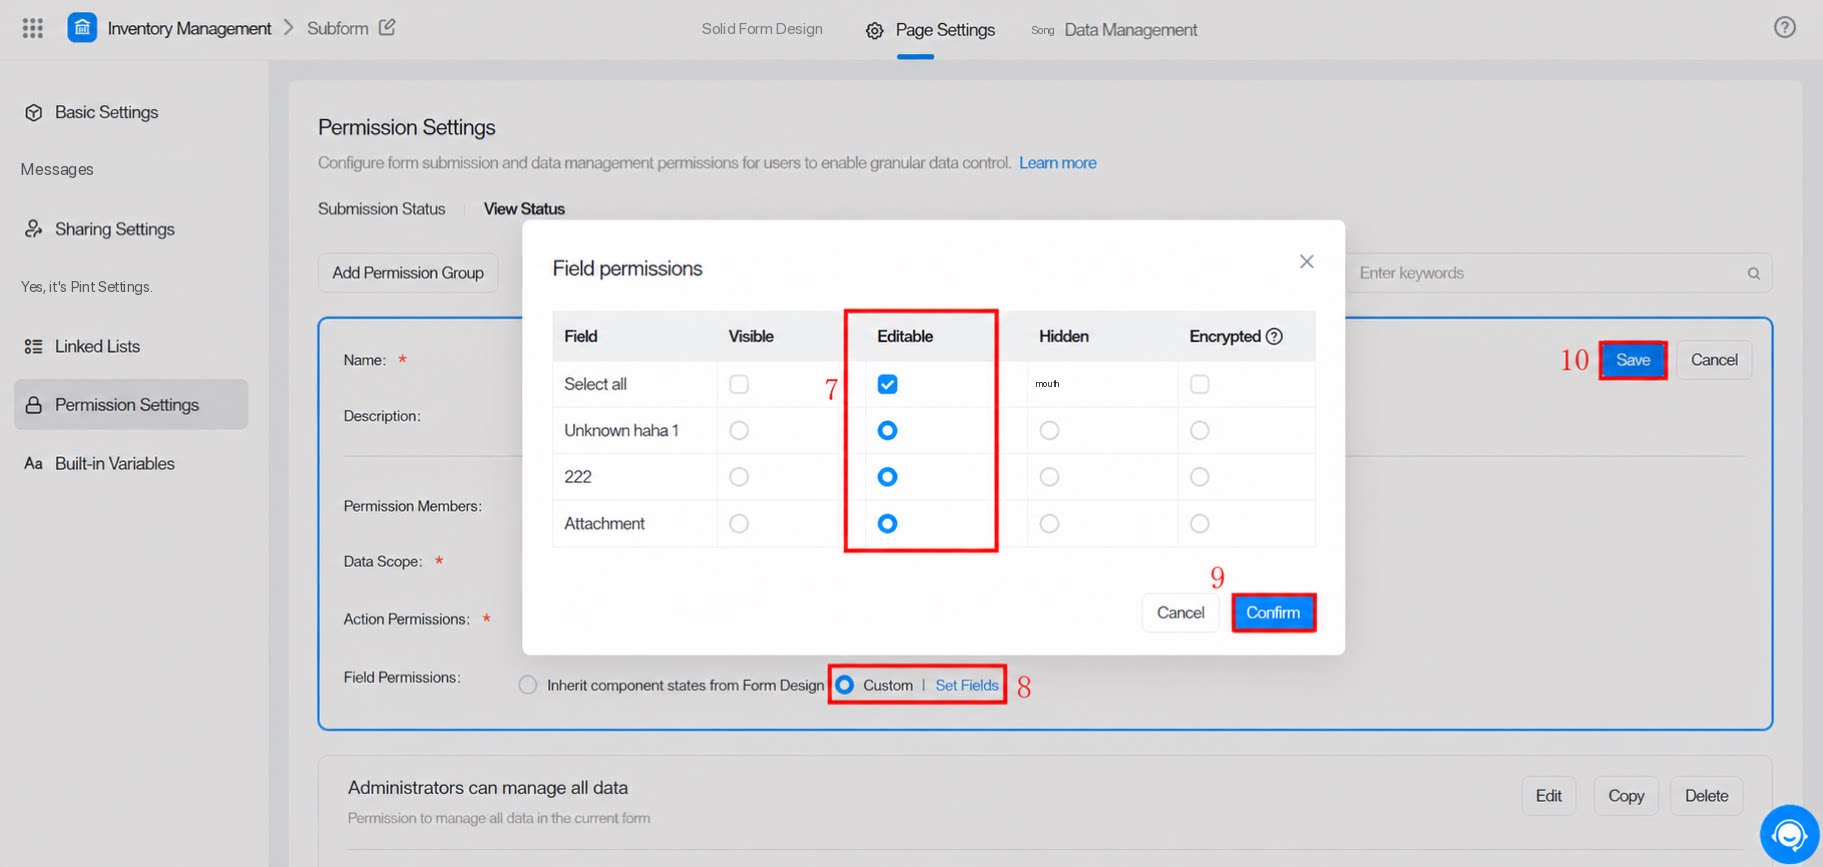
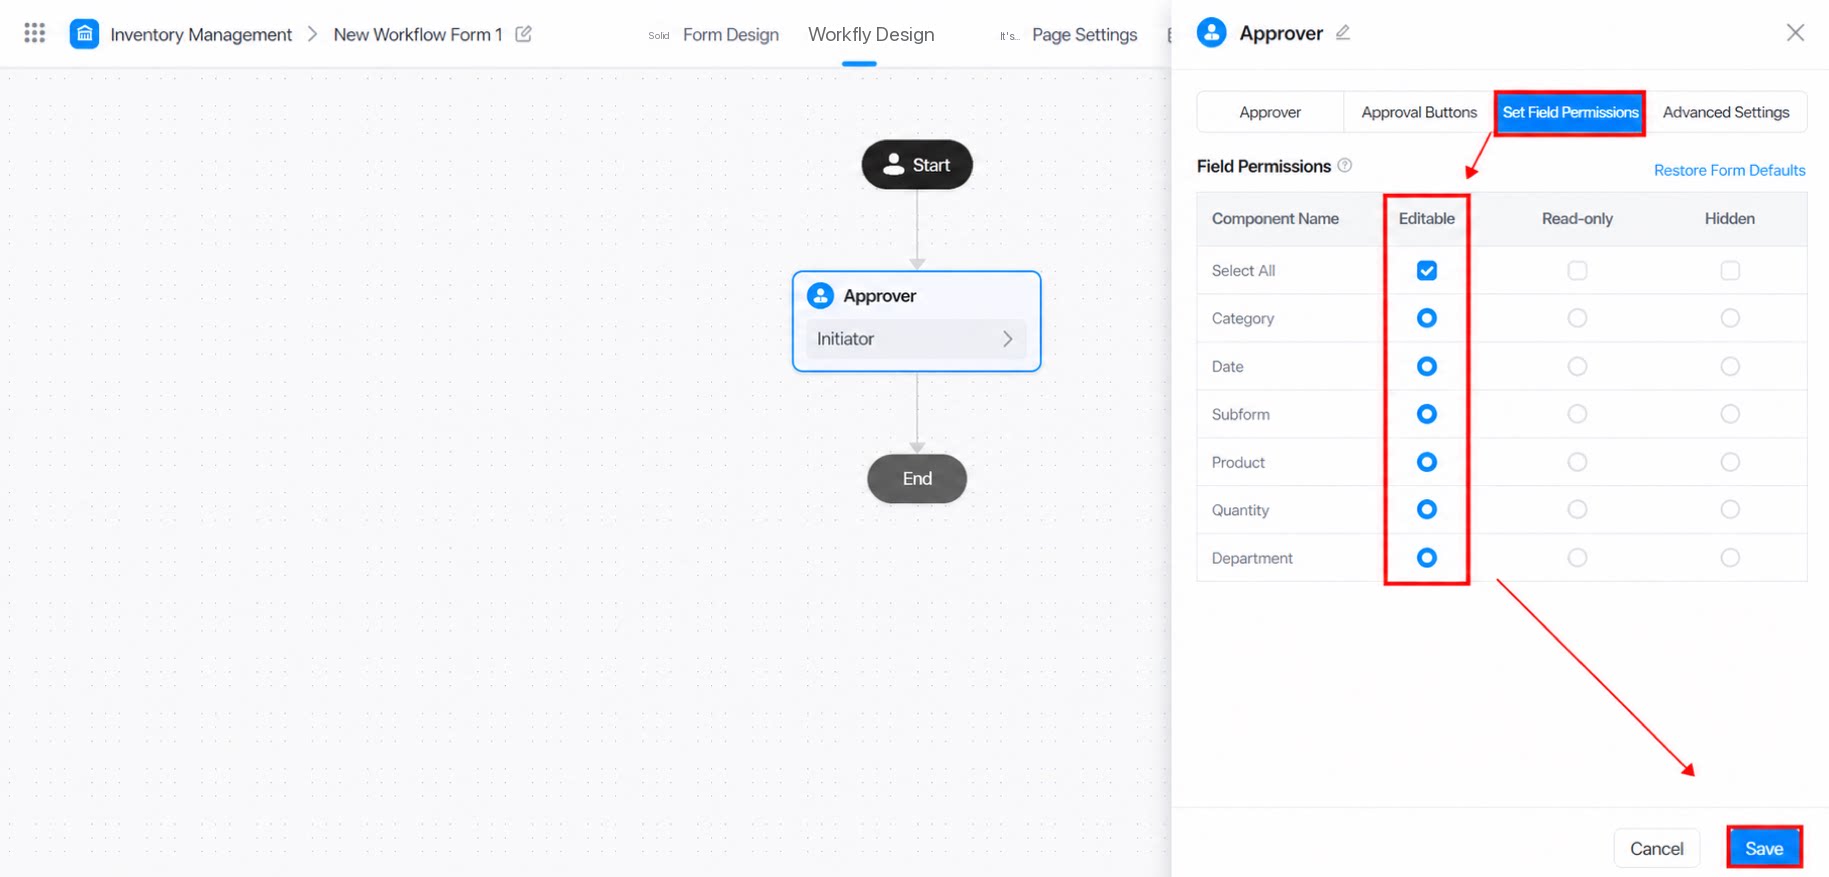
3.2 How to Enable
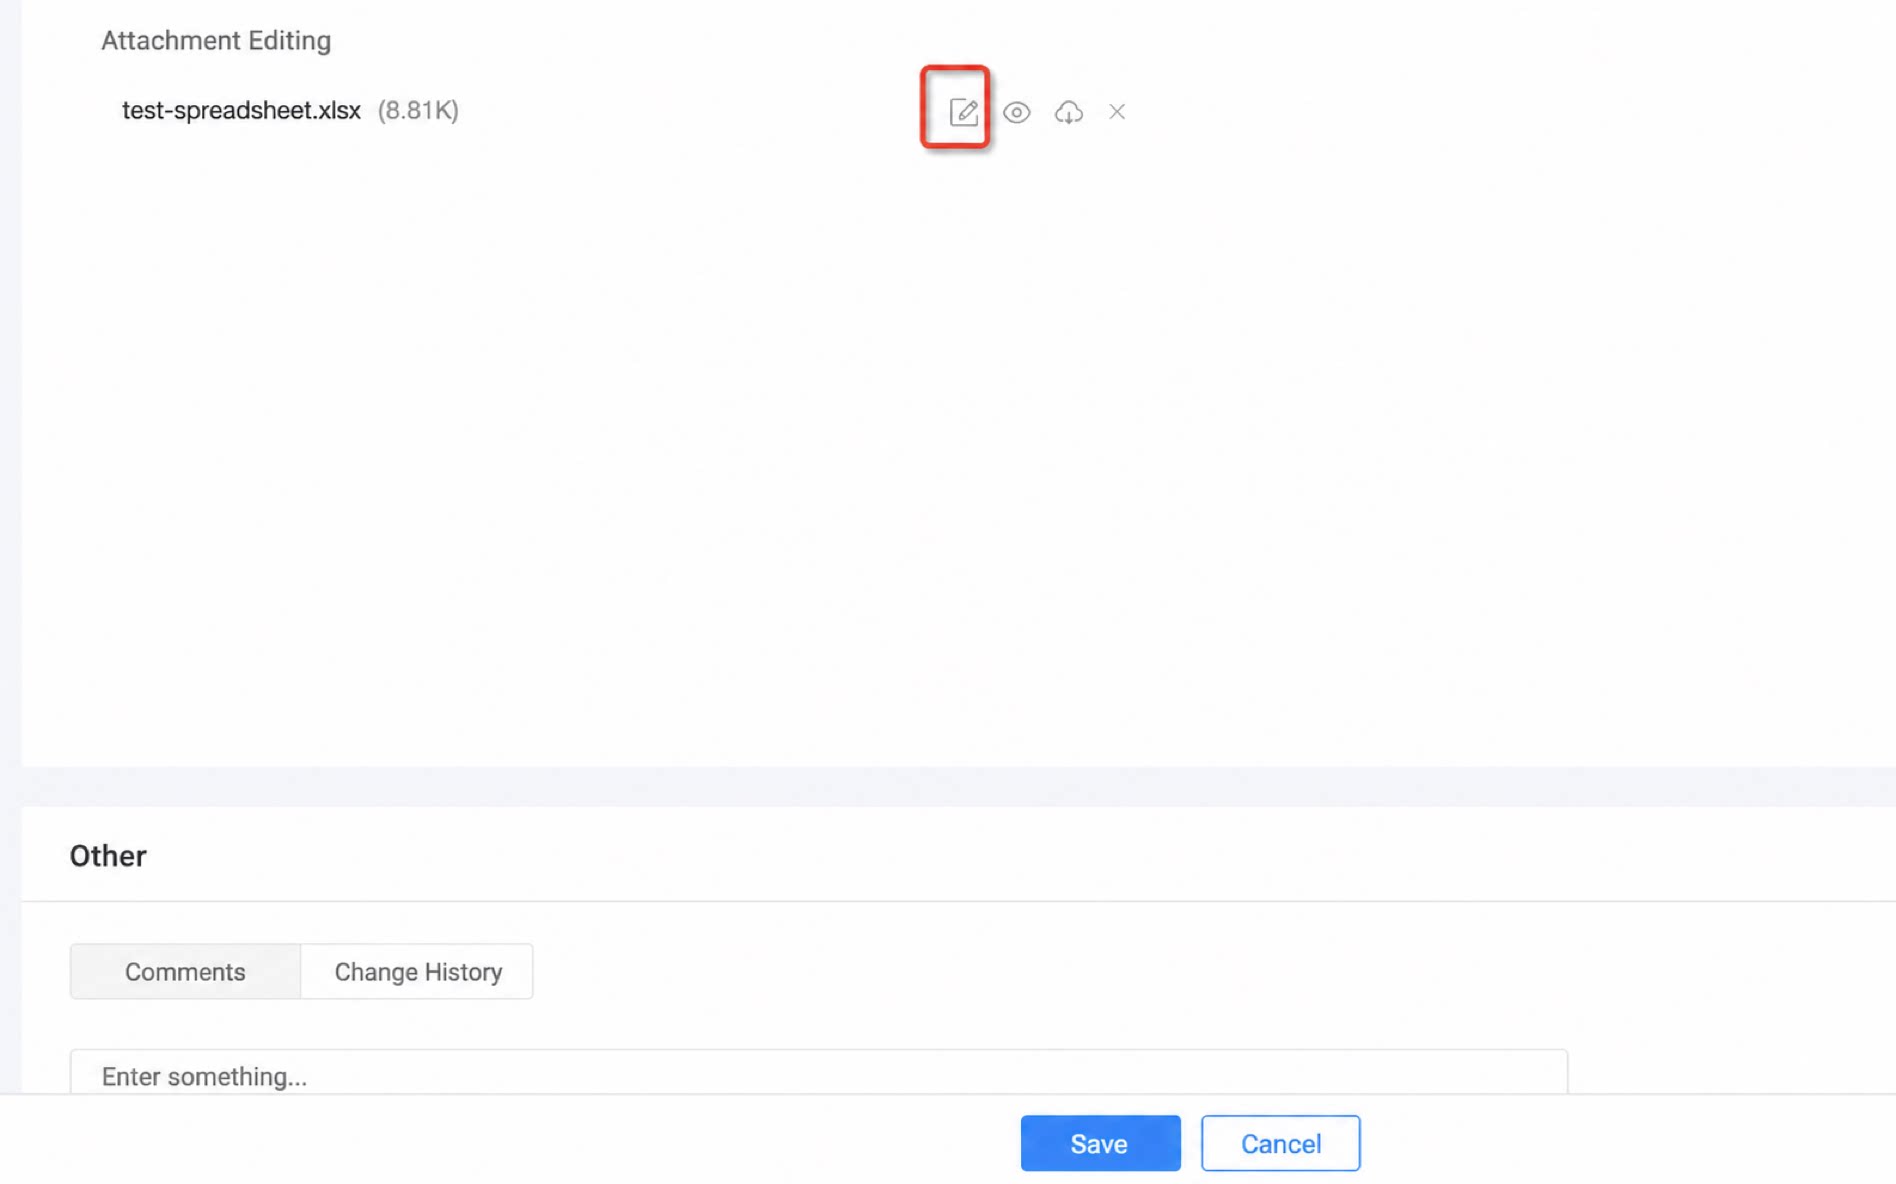
To use online attachment editing, first turn on the “Online editing” switch on the Attachment component.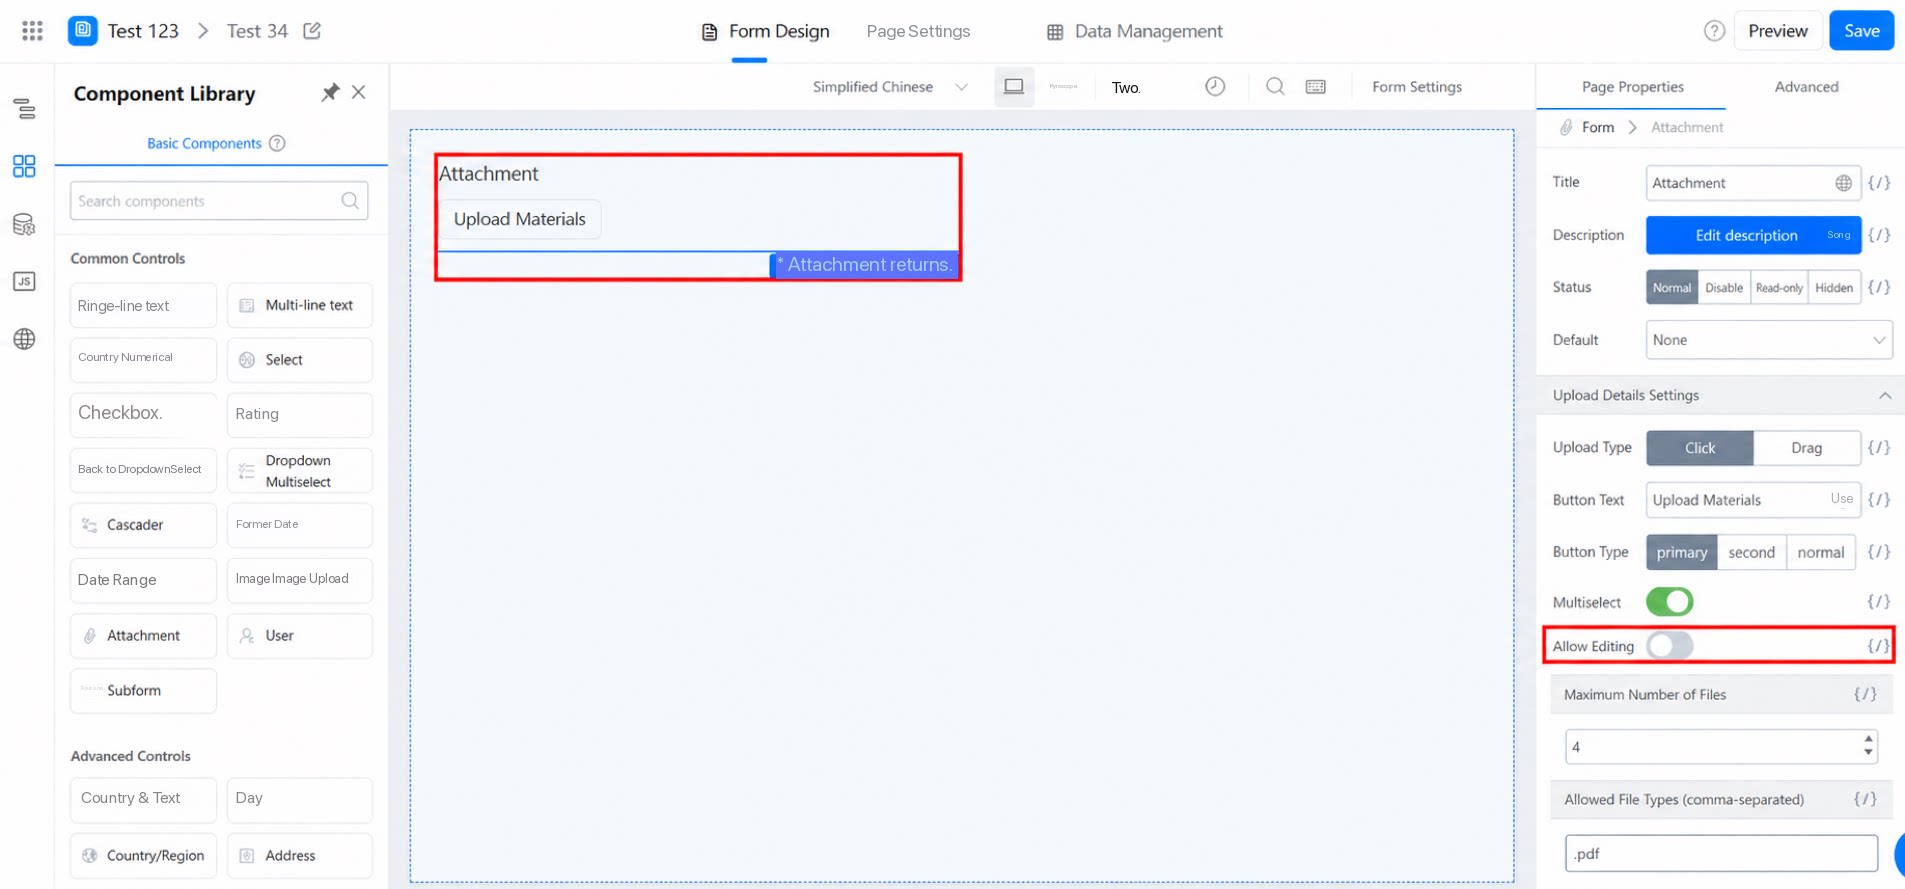
3.3 How Online Editing Works
3.3.1 Auto-Save
The editing page saves automatically after each edit. You can also press “Ctrl+S” to save manually. Frequent saving is not recommended. Each manual save creates a new version, and the system limits saved versions to 10.3.3.2 Collaboration Records
Click “Collaboration records” in the upper-right corner to view the edit history of every user who has worked on the document. Note: The “Version history” feature on this page is not yet available. The effect is as follows: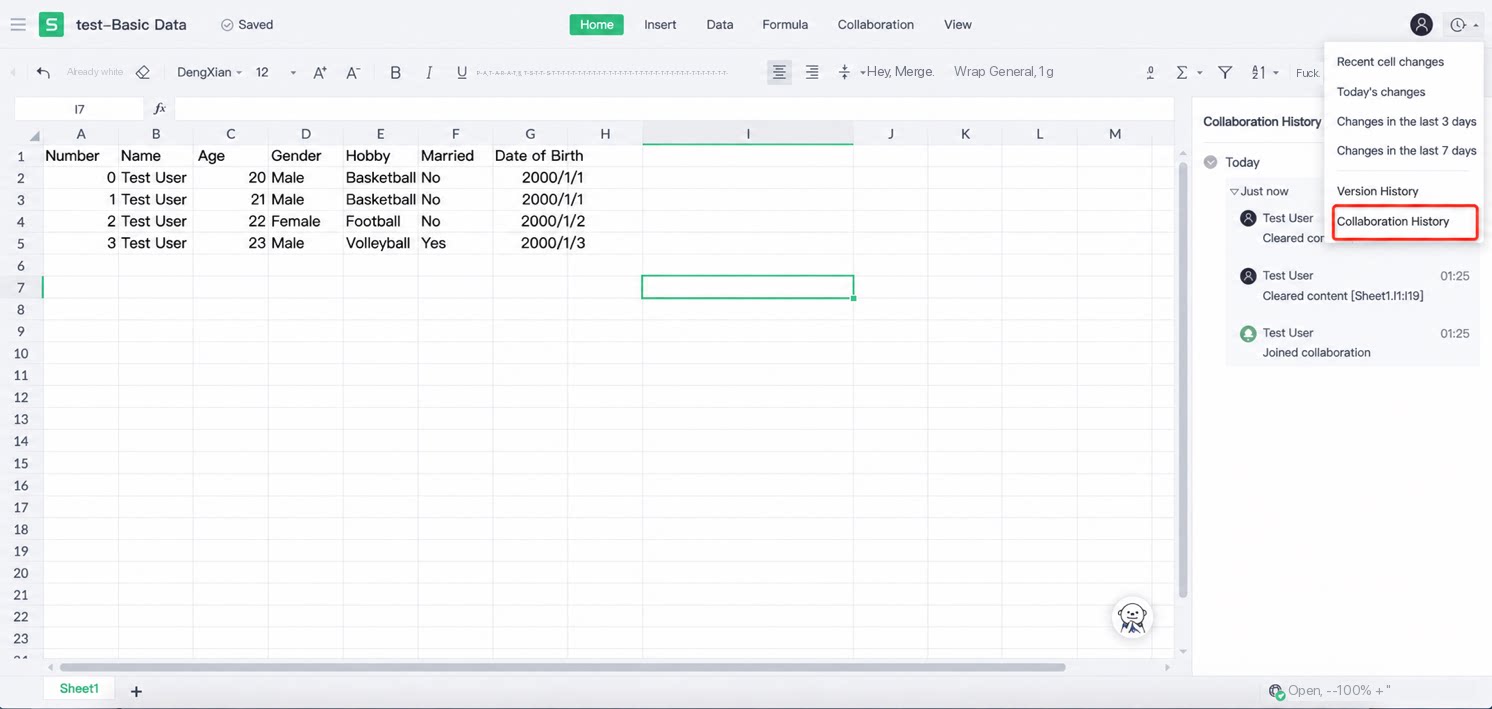
4. Advanced Validation
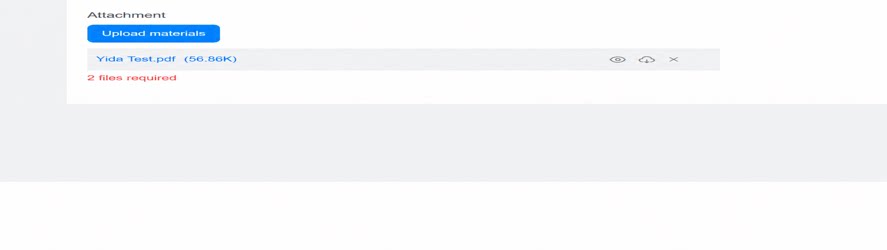
Example scenario: Require users to upload exactly 2 attachments—no more, no fewer. Path: Turn on Multiselect >> Set the maximum number of files to 2 >> Click Validation >> Custom function. Copy the following code into the custom function page. The effect is as follows: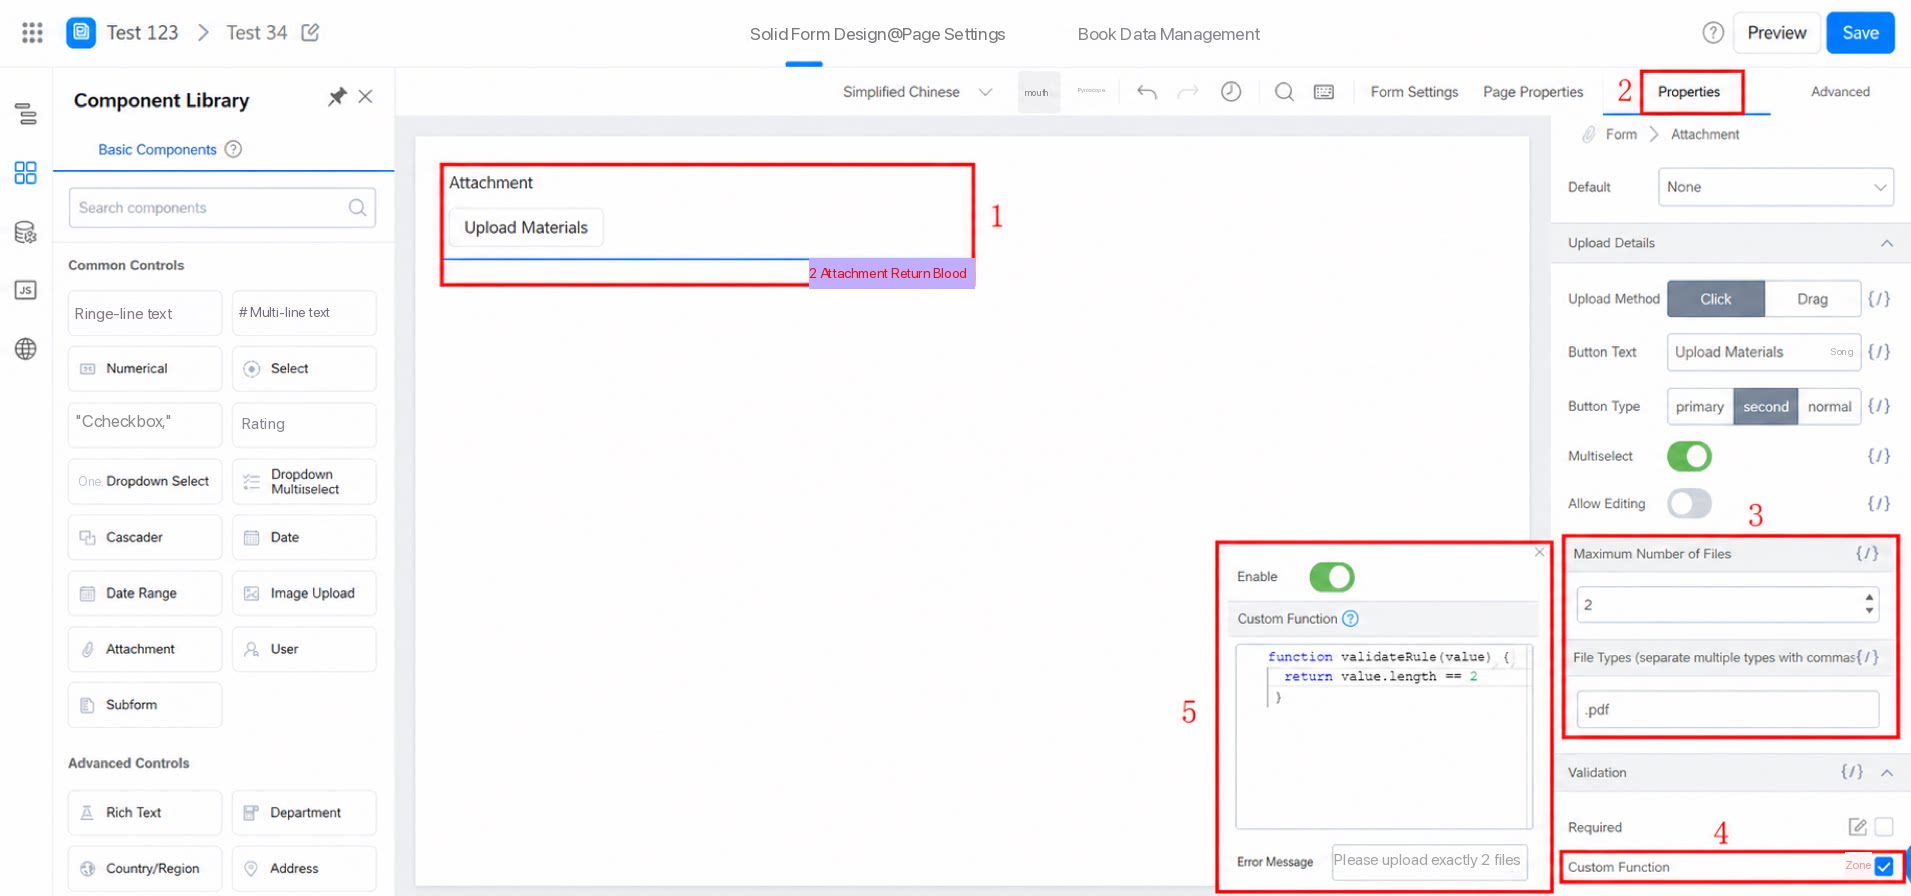
5. FAQ
5.1 How do I set a minimum number of attachments?
5.1 How do I set a minimum number of attachments?
To set a minimum number of attachments, configure a custom validation function on the Attachment component.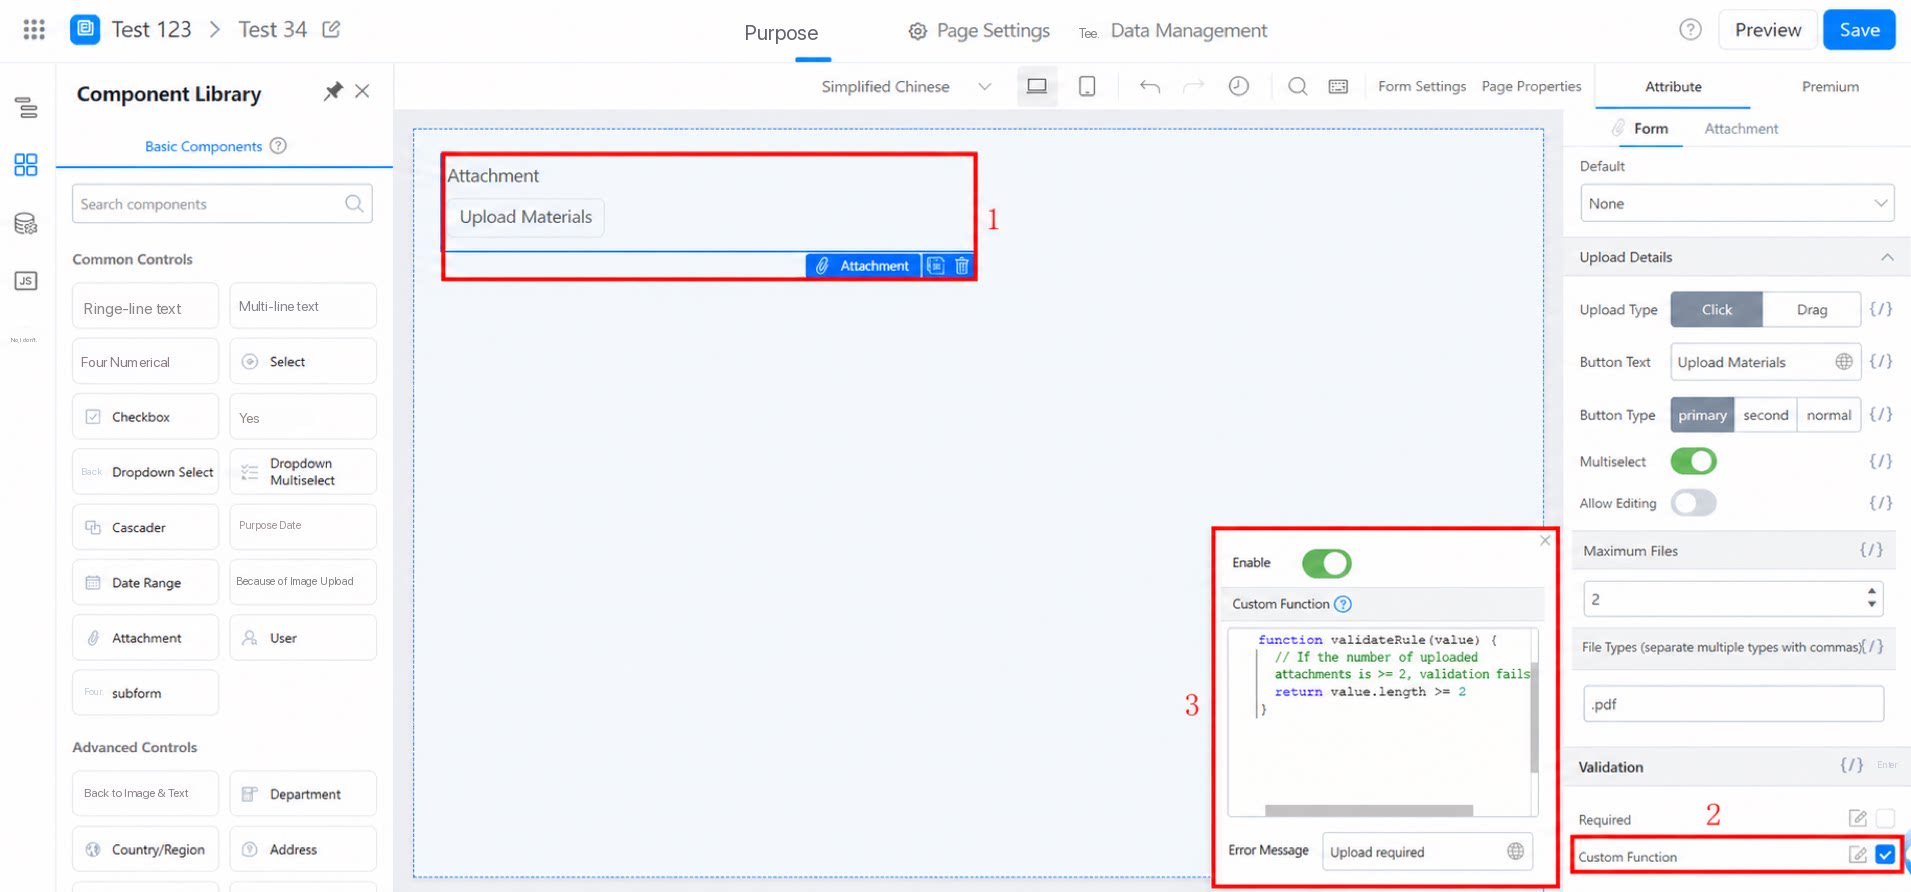 Path: Click the Attachment component >> Attribute panel >> Custom validation functionCopy and reuse the following code: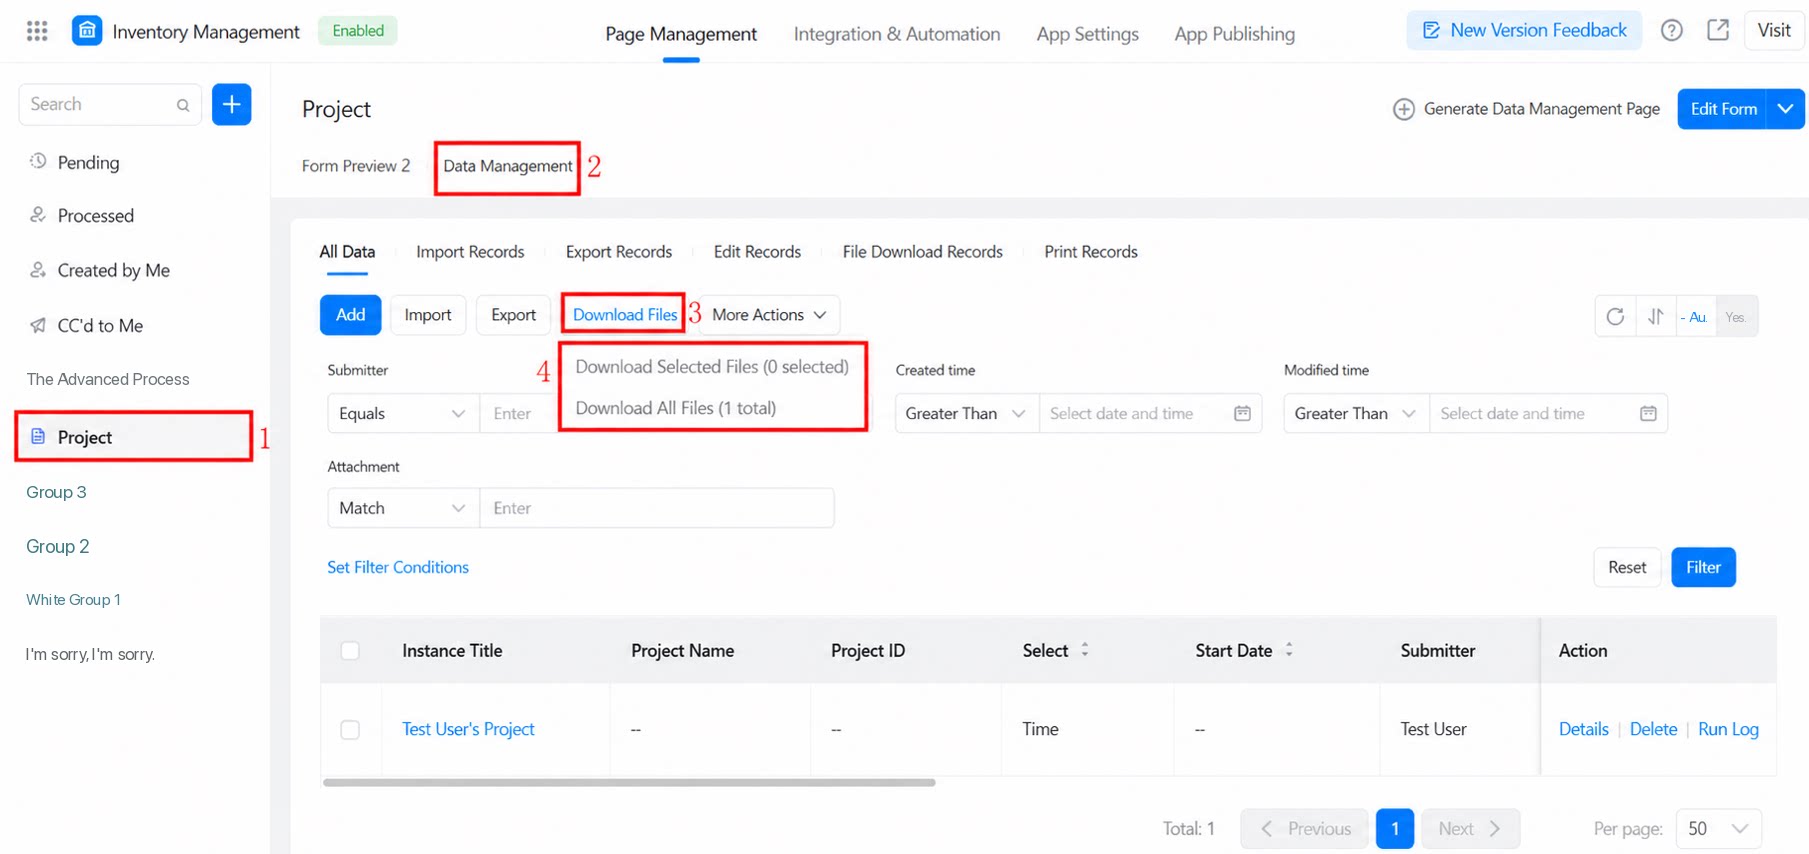
5.2 How do I export attachment files?
5.2 How do I export attachment files?
Exporting attachments and images is supported. Download the files from the data management page.
5.3 Why can't uploaded images be rotated?
5.3 Why can't uploaded images be rotated?
Images uploaded through the Attachment component cannot be rotated. If you need rotation, use the Image Upload component to submit image data.
5.4 How do I get the online preview URL of an attachment?
5.4 How do I get the online preview URL of an attachment?
Create an OnChange action on the Attachment component. The preview URL does not include a domain, so when assigning it to a Single-line text component, prepend “https://www.yidaapps.com” as shown below: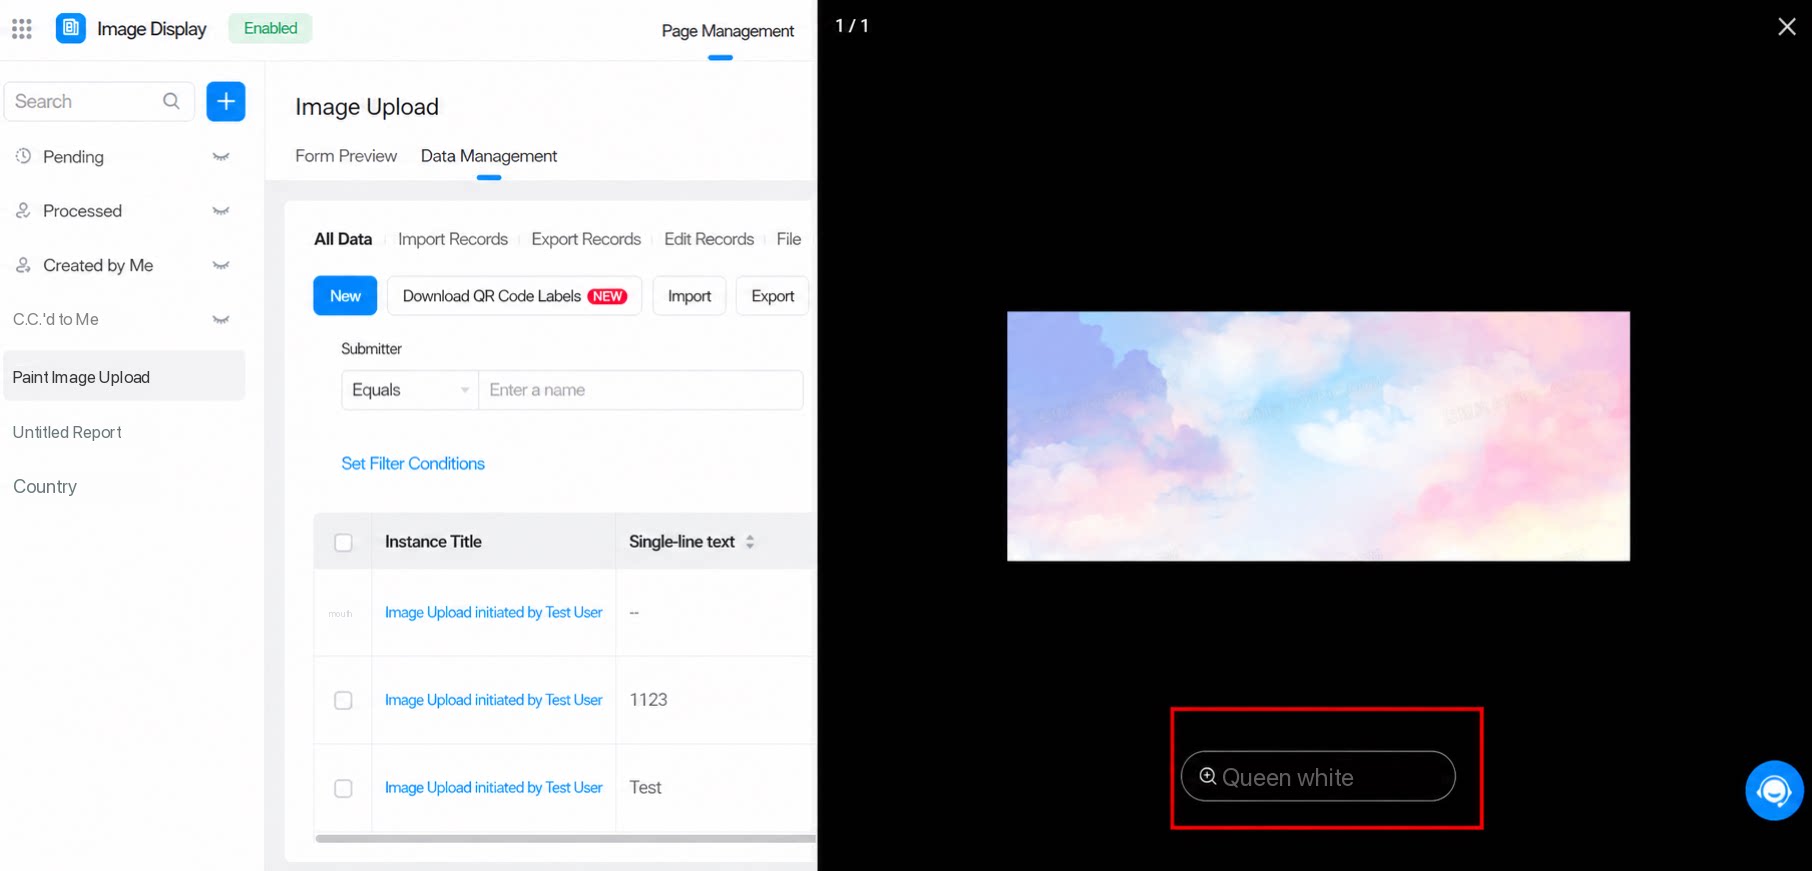 Code example: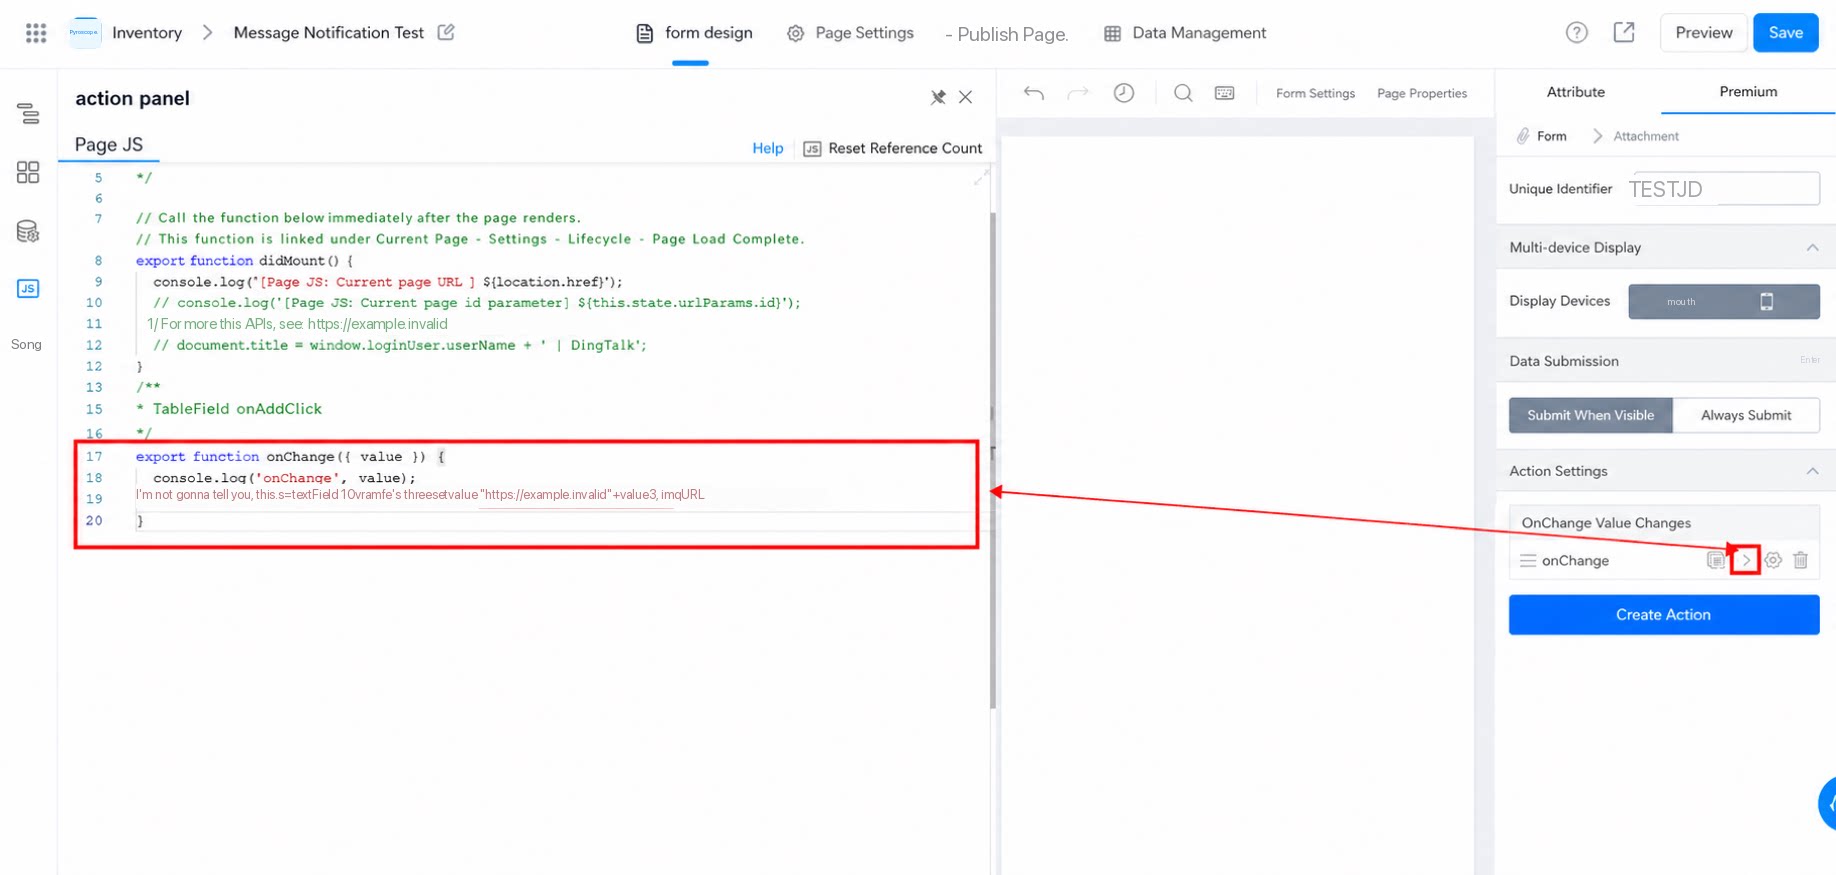
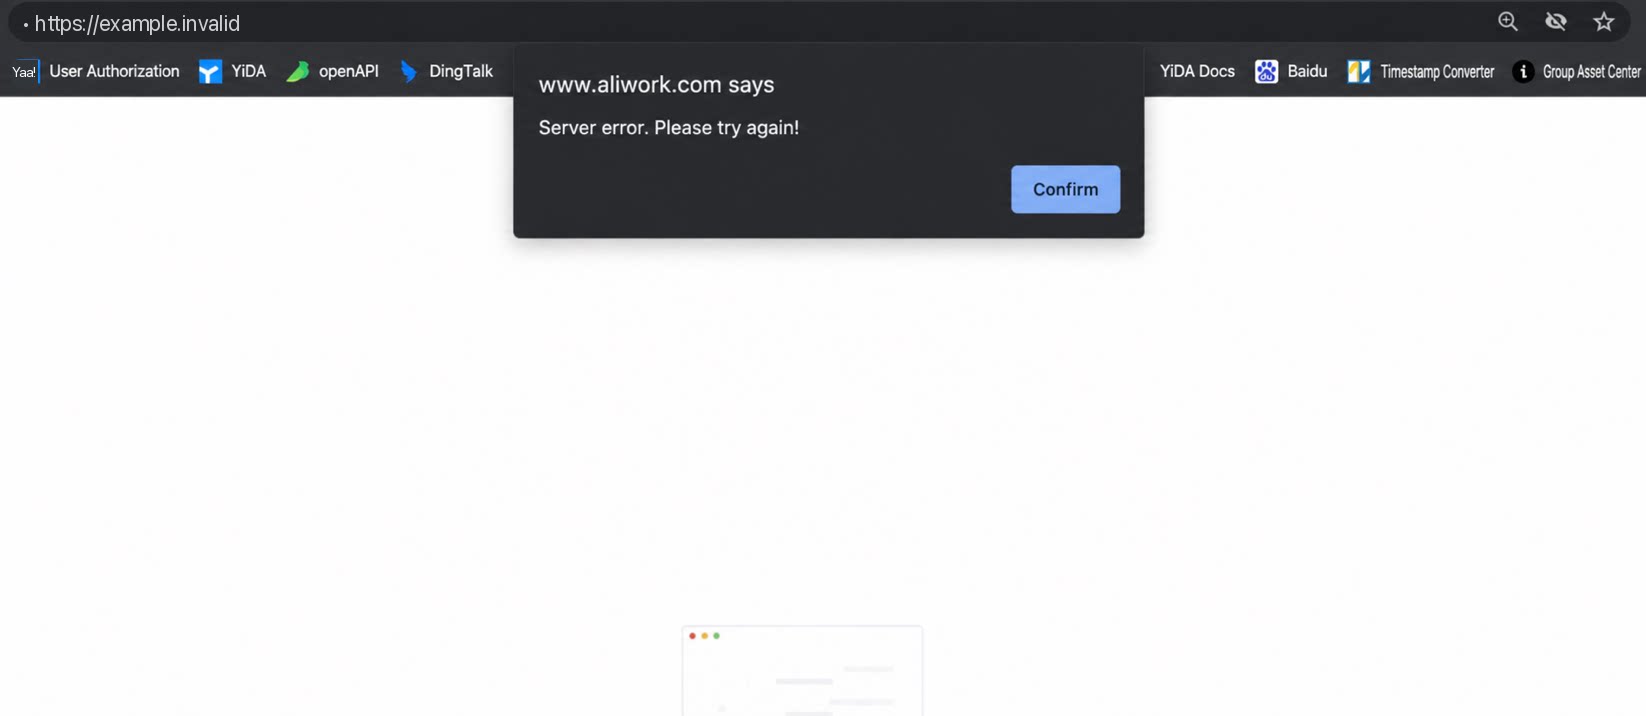
5.5 Attachment Preview Error: Server Error, Try Again!
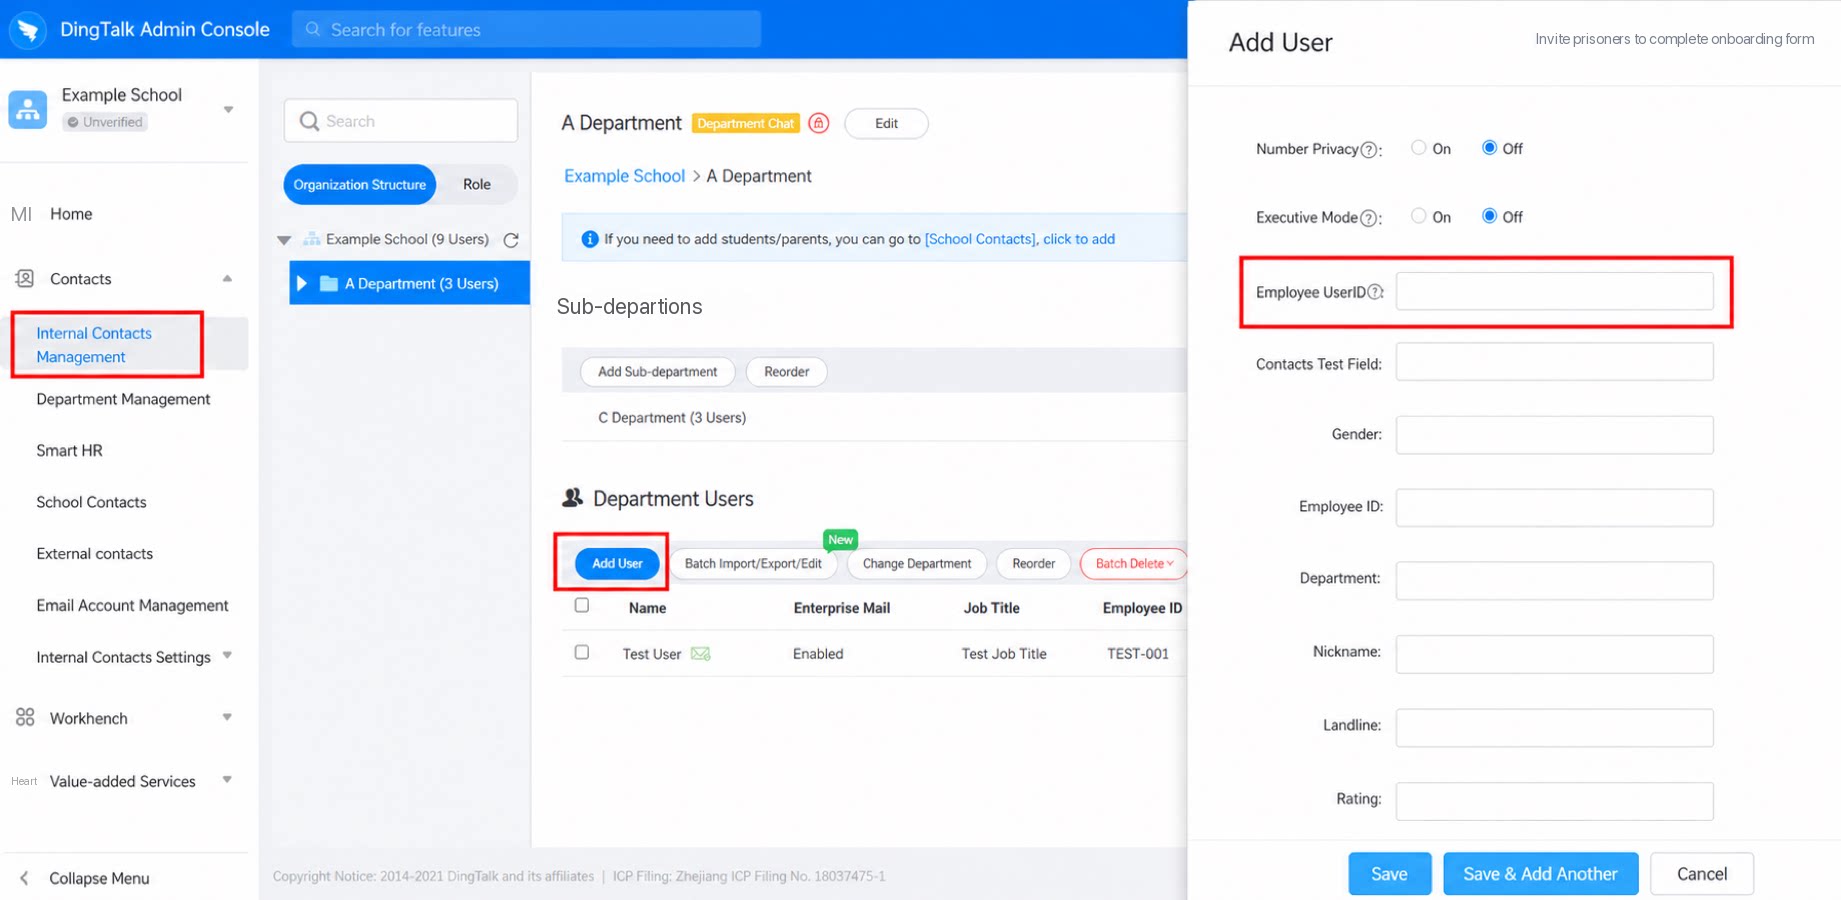
If the error “Server error, try again!” appears when previewing an attachment on the Source records page, check whether the DingTalk UserID of the user performing the preview contains an underscore ”_”. UserID supports only uppercase and lowercase letters, digits 0-9, and hyphens (-). Path to set UserID: Admin signs in to the DingTalk Admin Console >> [Contacts] in the left panel >> [Internal Contacts Management] >> [Add User] >> Set [Employee UserID]. Tips:- UserID is the unique identifier of an employee in the organization. Once generated, it cannot be changed.
- After leaving and rejoining the organization, previous records—such as attendance, reports, approvals, and YiDA form data—can no longer be viewed. Proceed with caution.
5.6 Conditions for Attachment Preview
- Attachment preview has file size limits: 20 MB for the Free plan and Basic edition, and 60 MB or more for the Professional and Dedicated editions. Larger files must be downloaded to your device before previewing.