Chats
Chats Calendar
 Meetings
 Contacts
 Mail
Mail Docs
Docs Drive
Drive AI Table
 AI Minutes
 Attendance
 Approval
 YiDA
YiDA Admin Console
| Feature | Free plan | Basic edition | Professional edition | Dedicated edition |
| Budget control | Not supported |
| ||
Prerequisites
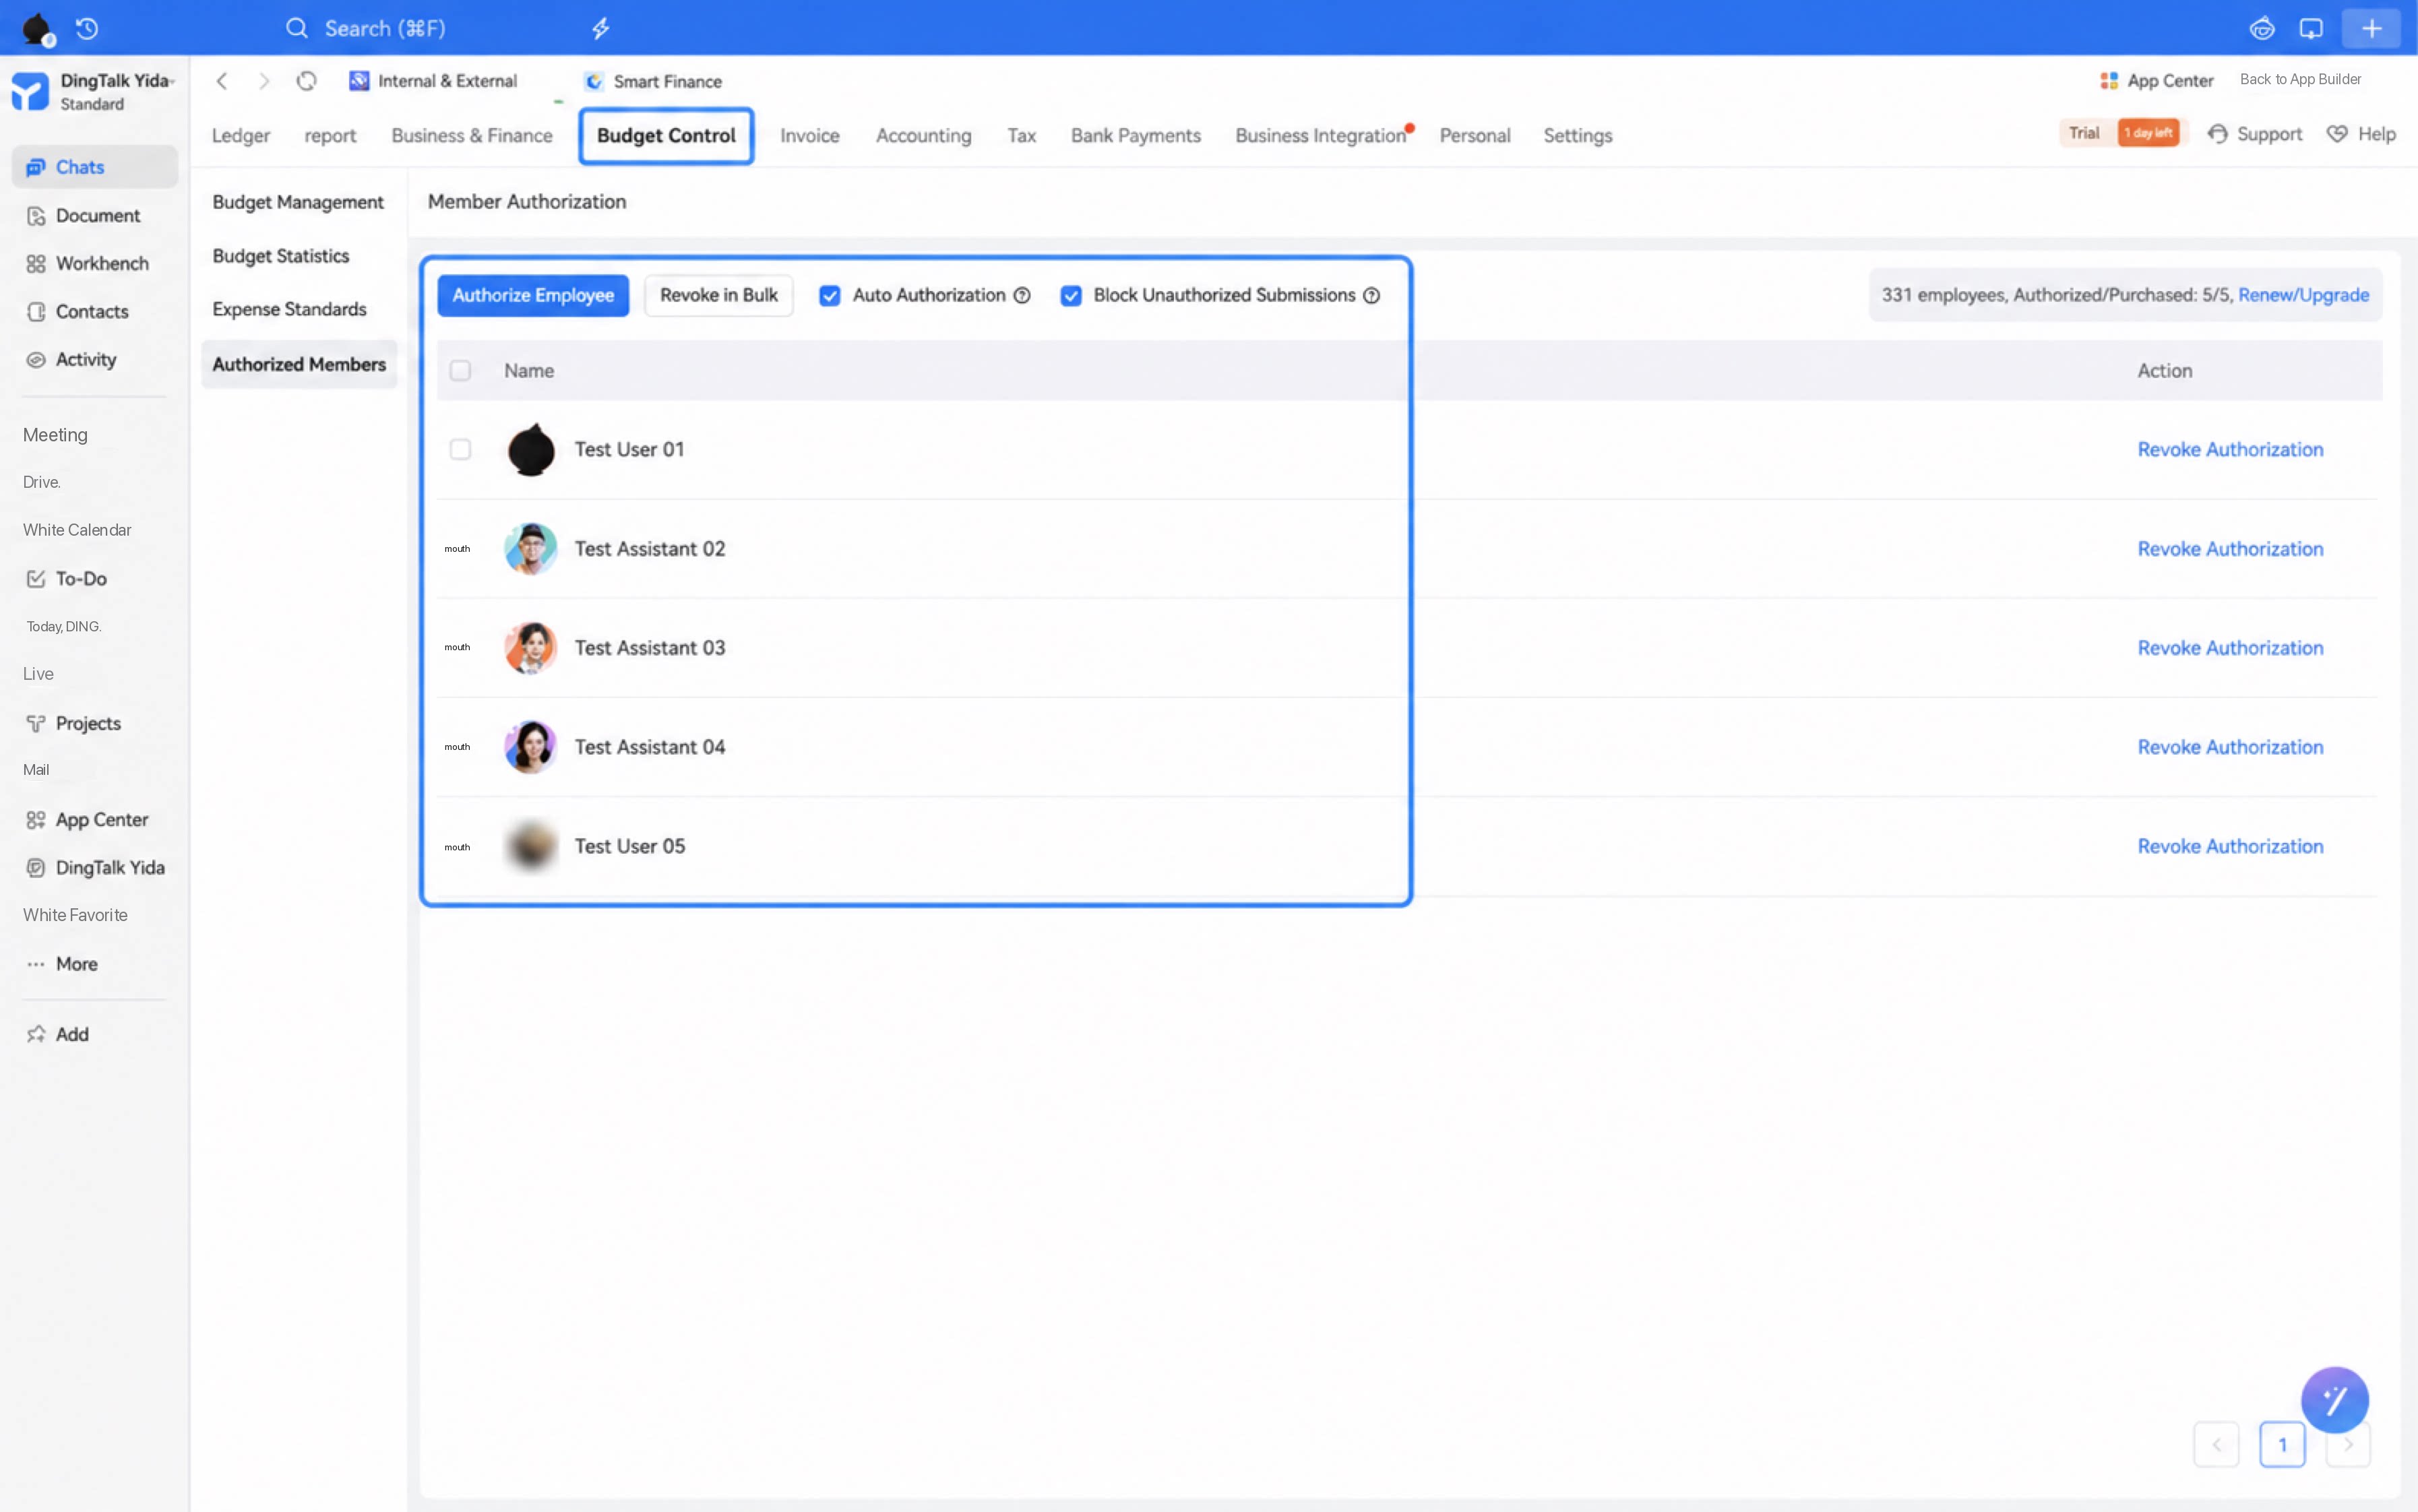
Before using the Budget control component, enable the budget control capability and complete the configuration. For details, see Budget control module.Procedure
Follow these steps to use the Budget control component.- Sign in to the YiDA workbench and go to the app details page.
If you do not have a YiDA app, create one first. See Create an app.
- Create a blank form (either a regular form or a workflow form).
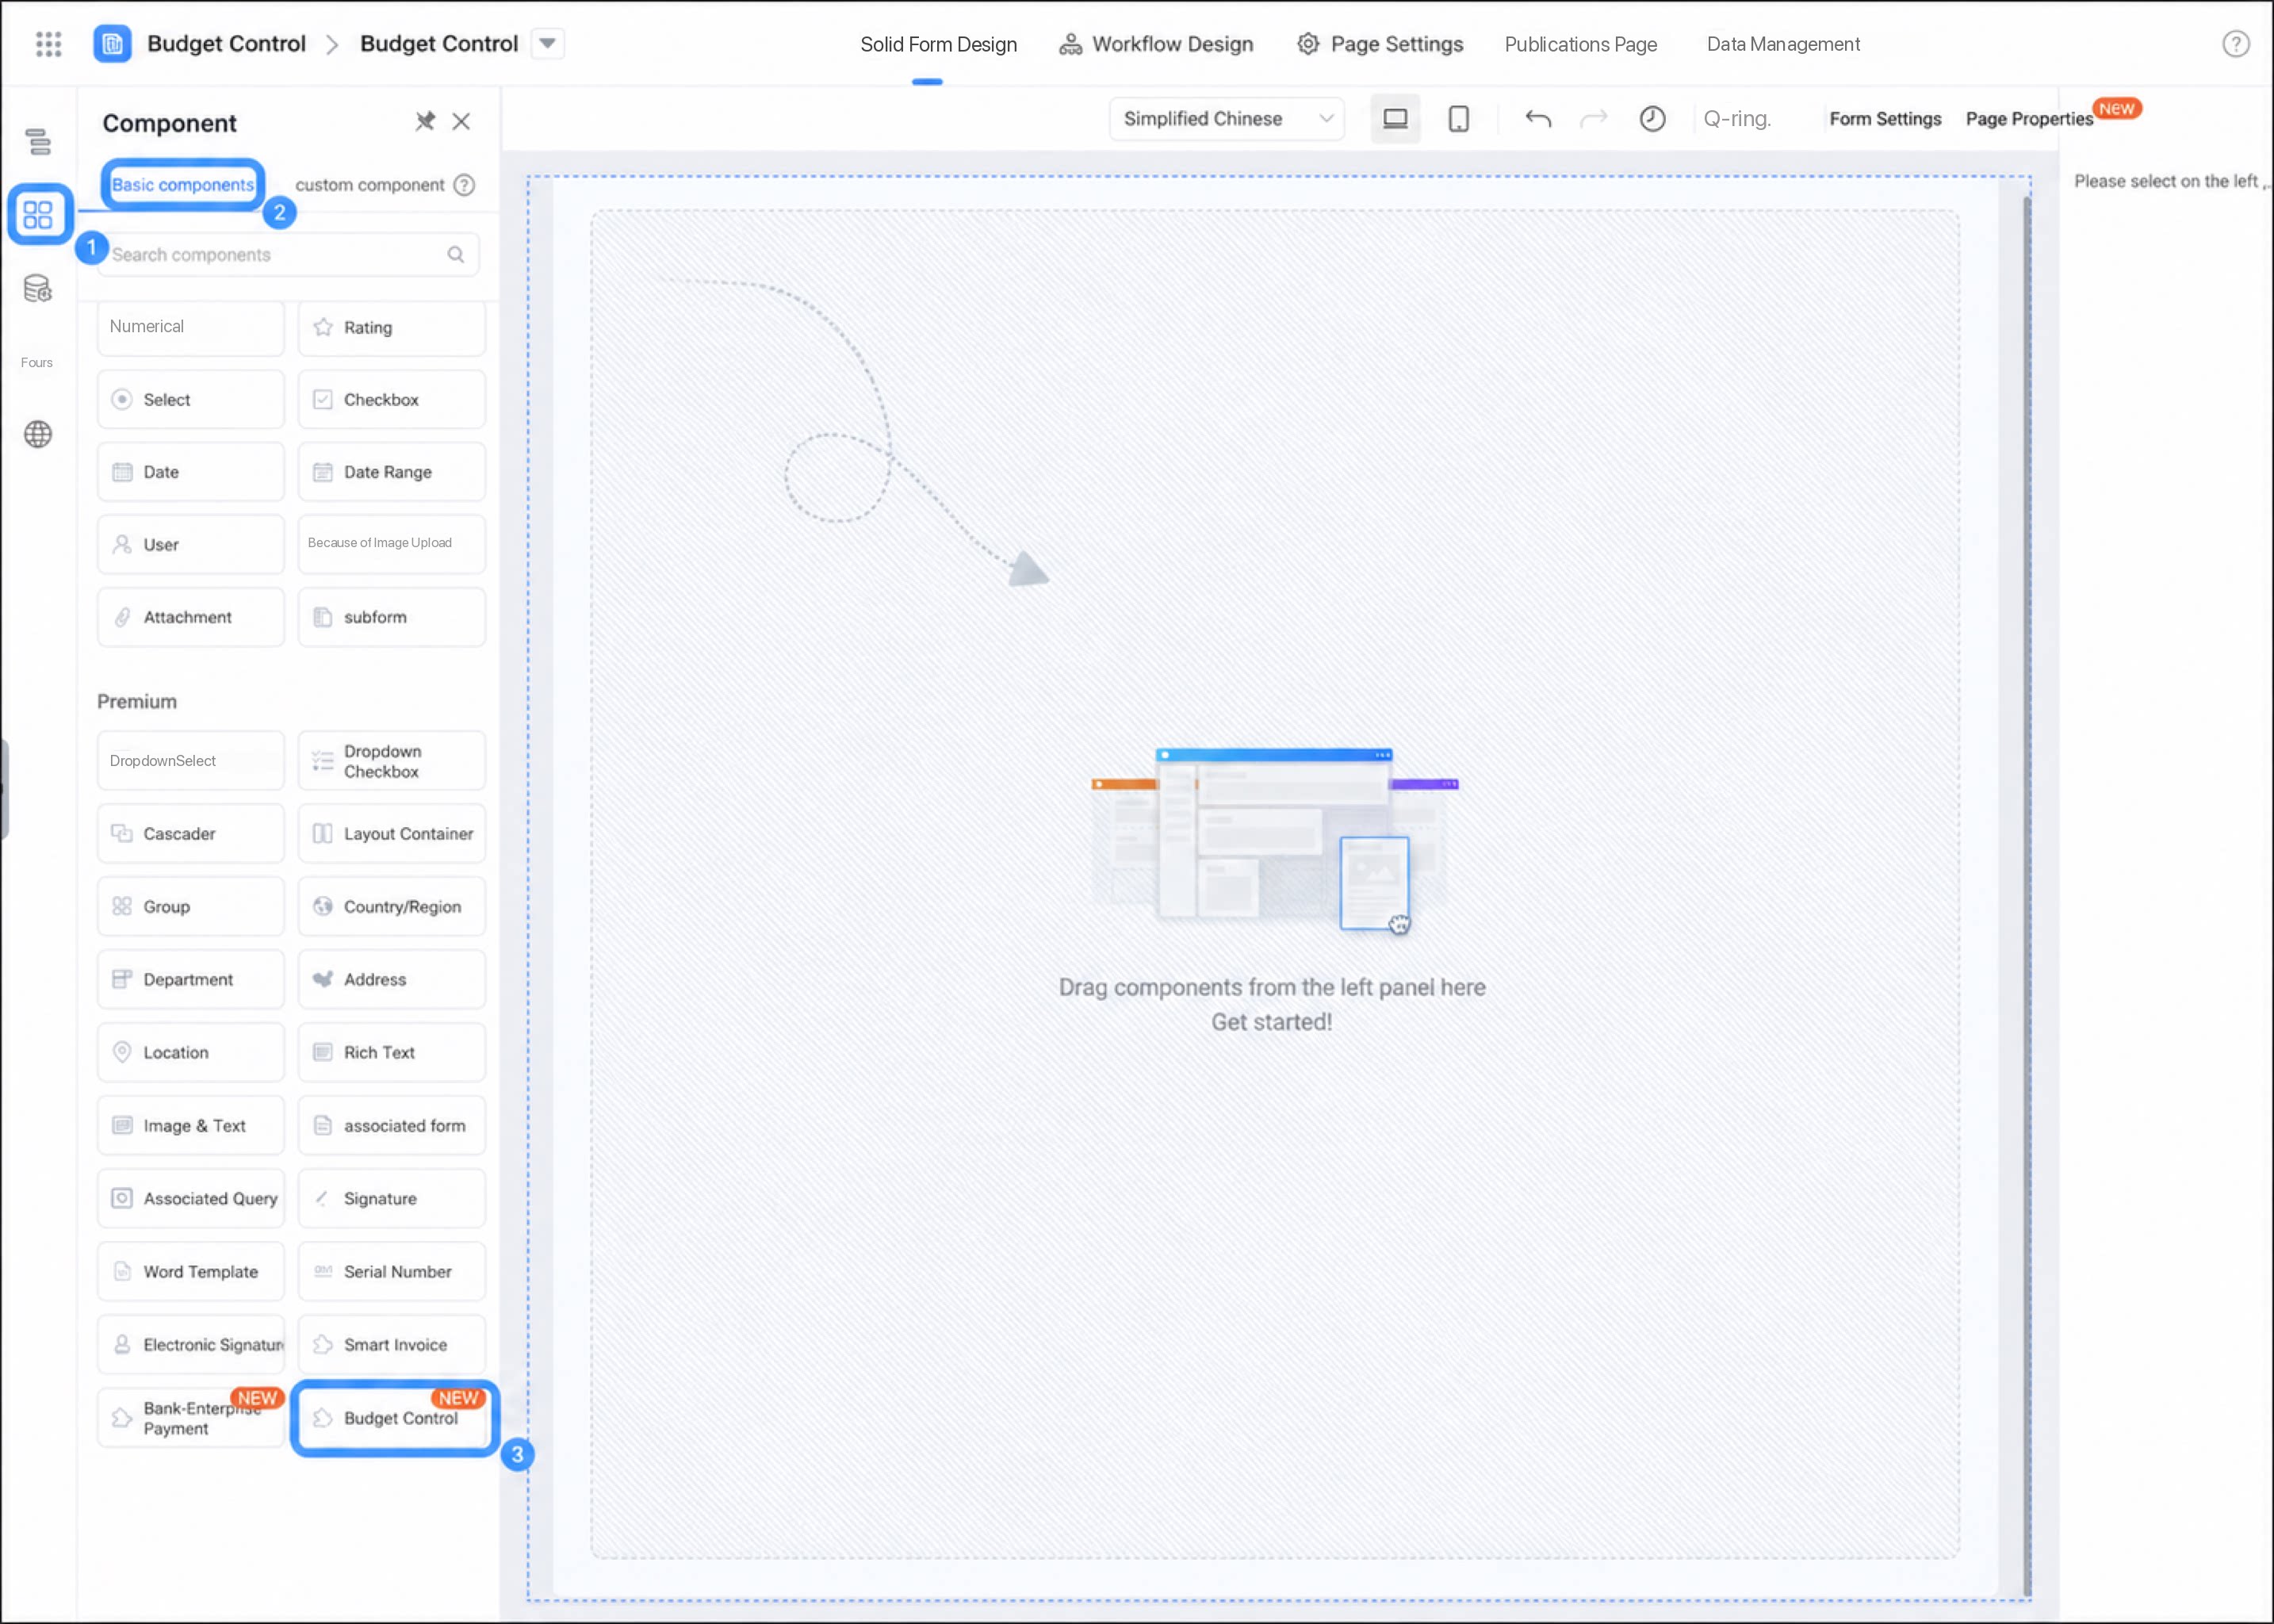
- In the left menu, select Component > Basic components > Premium > Budget control.
- In the configuration dialog box, select the expense control type. Two types are supported: Reimbursement and Payment.
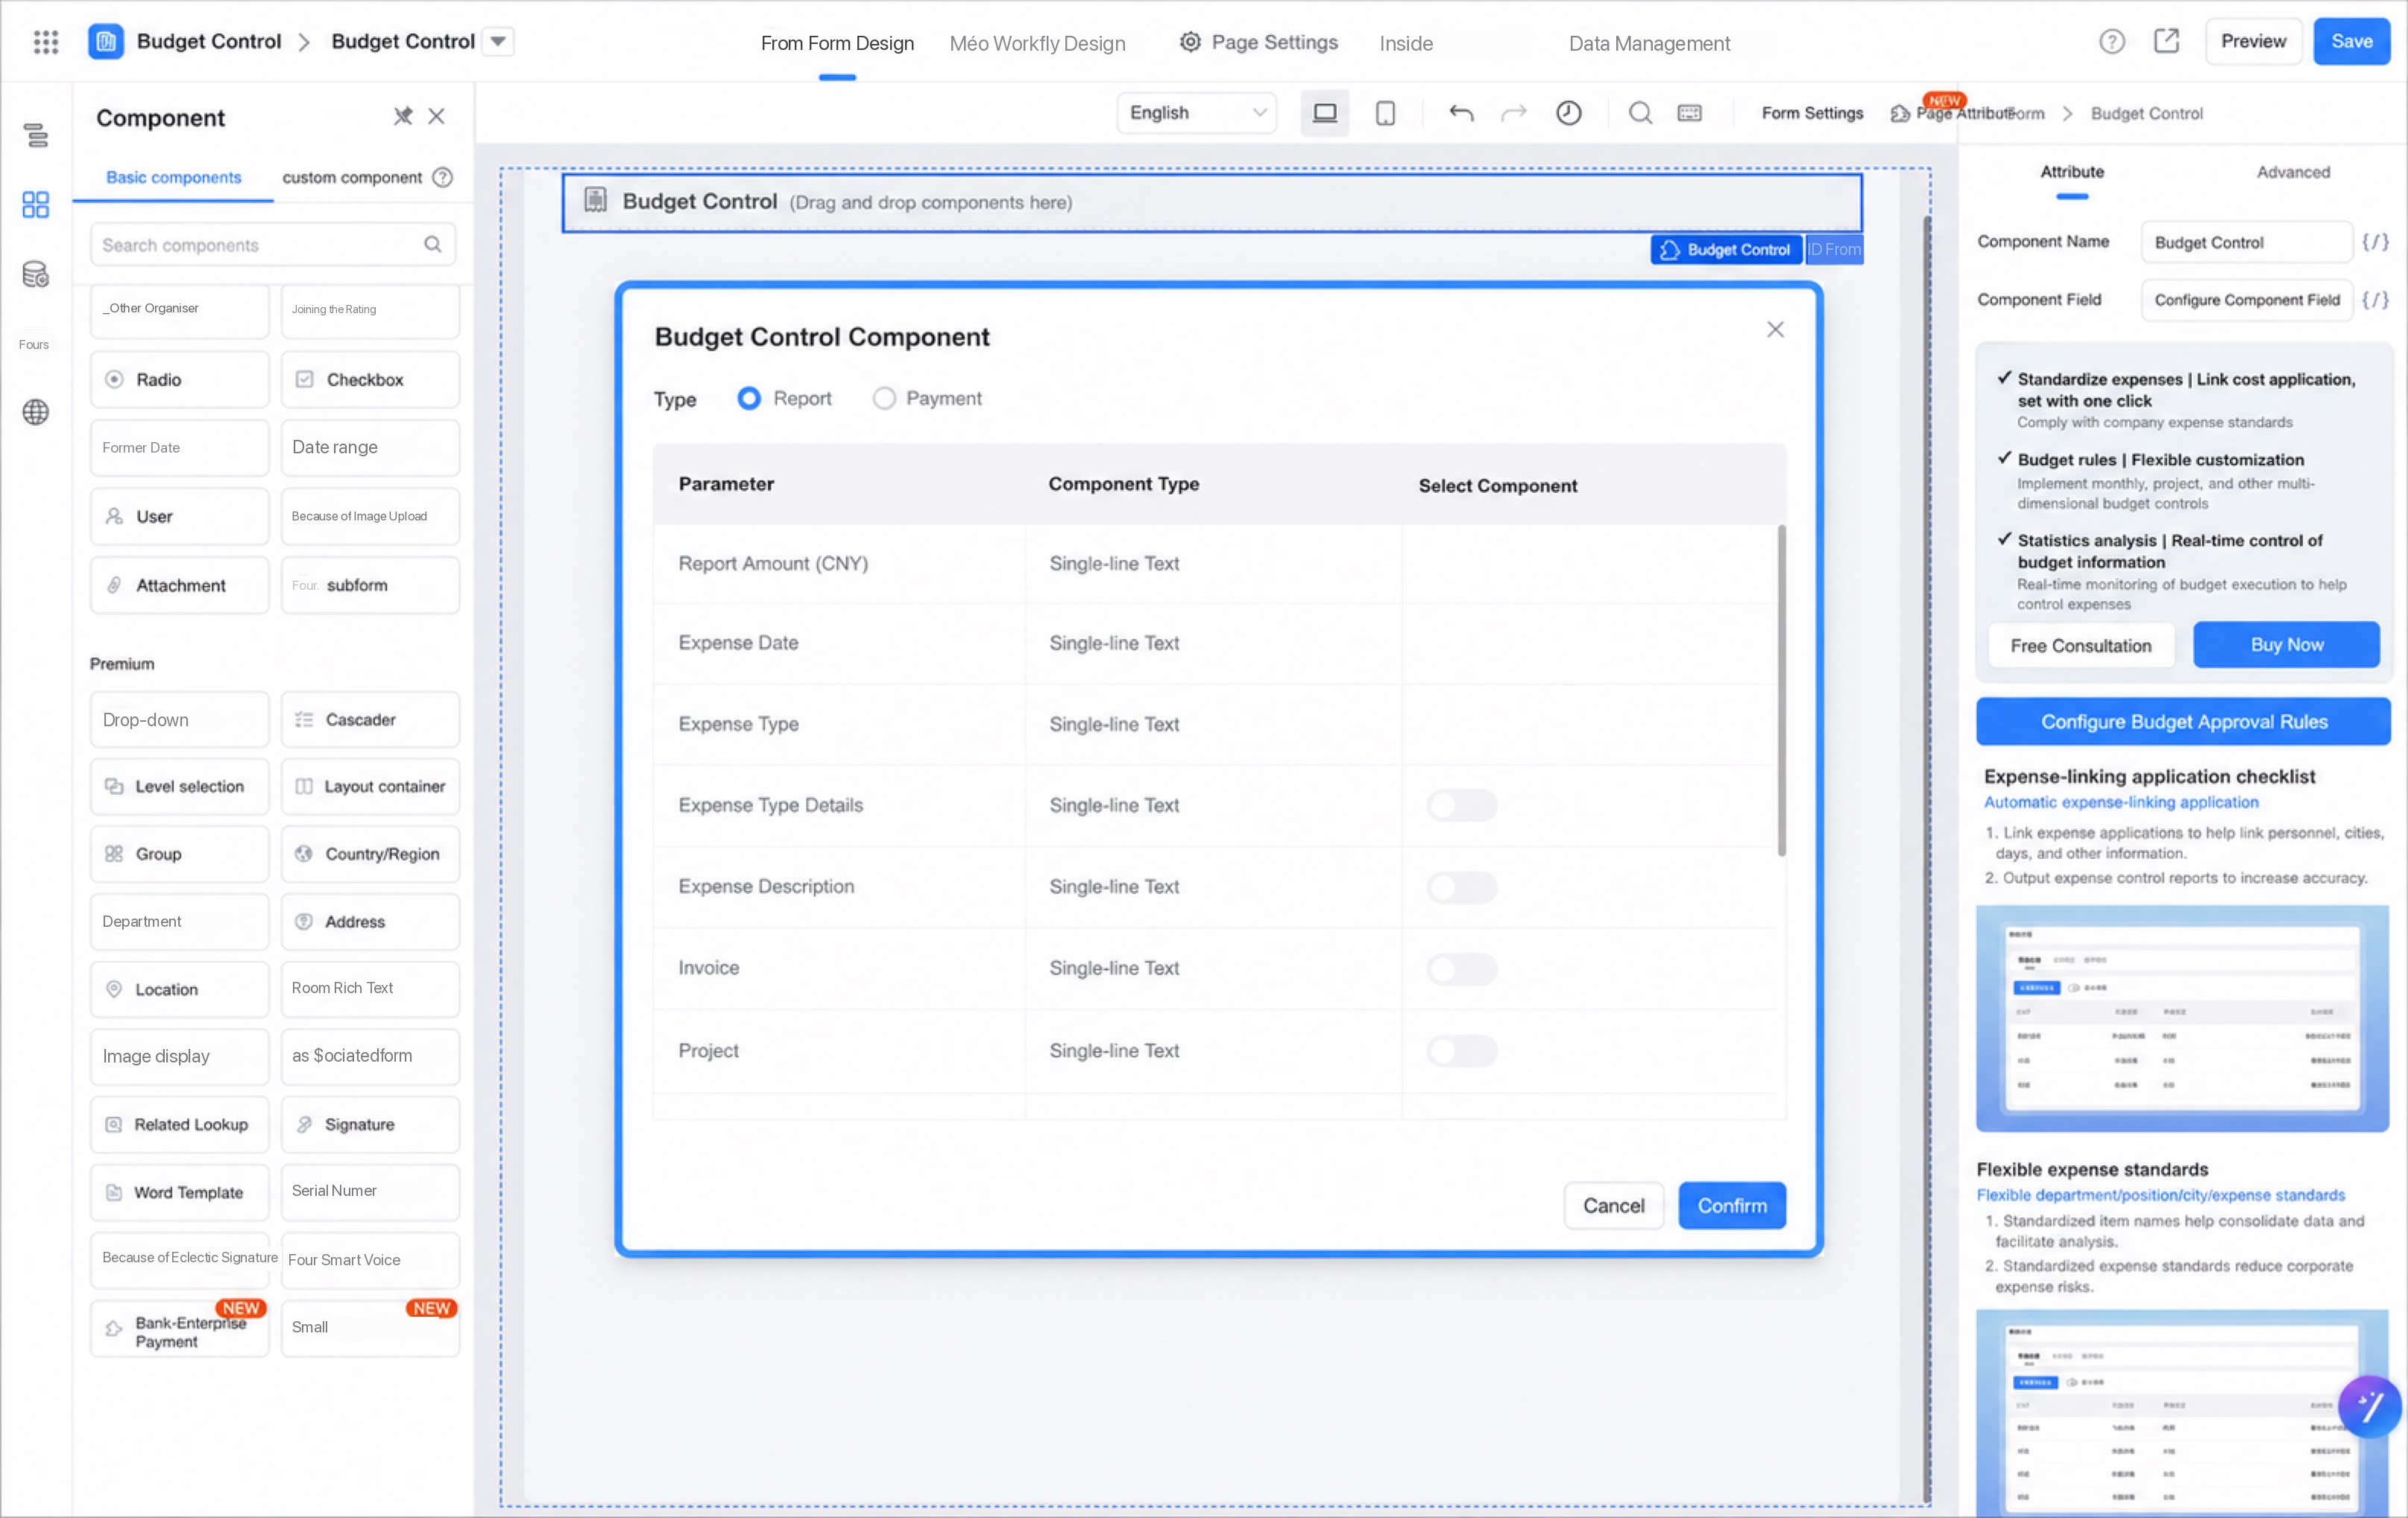
Expense control type | Configuration items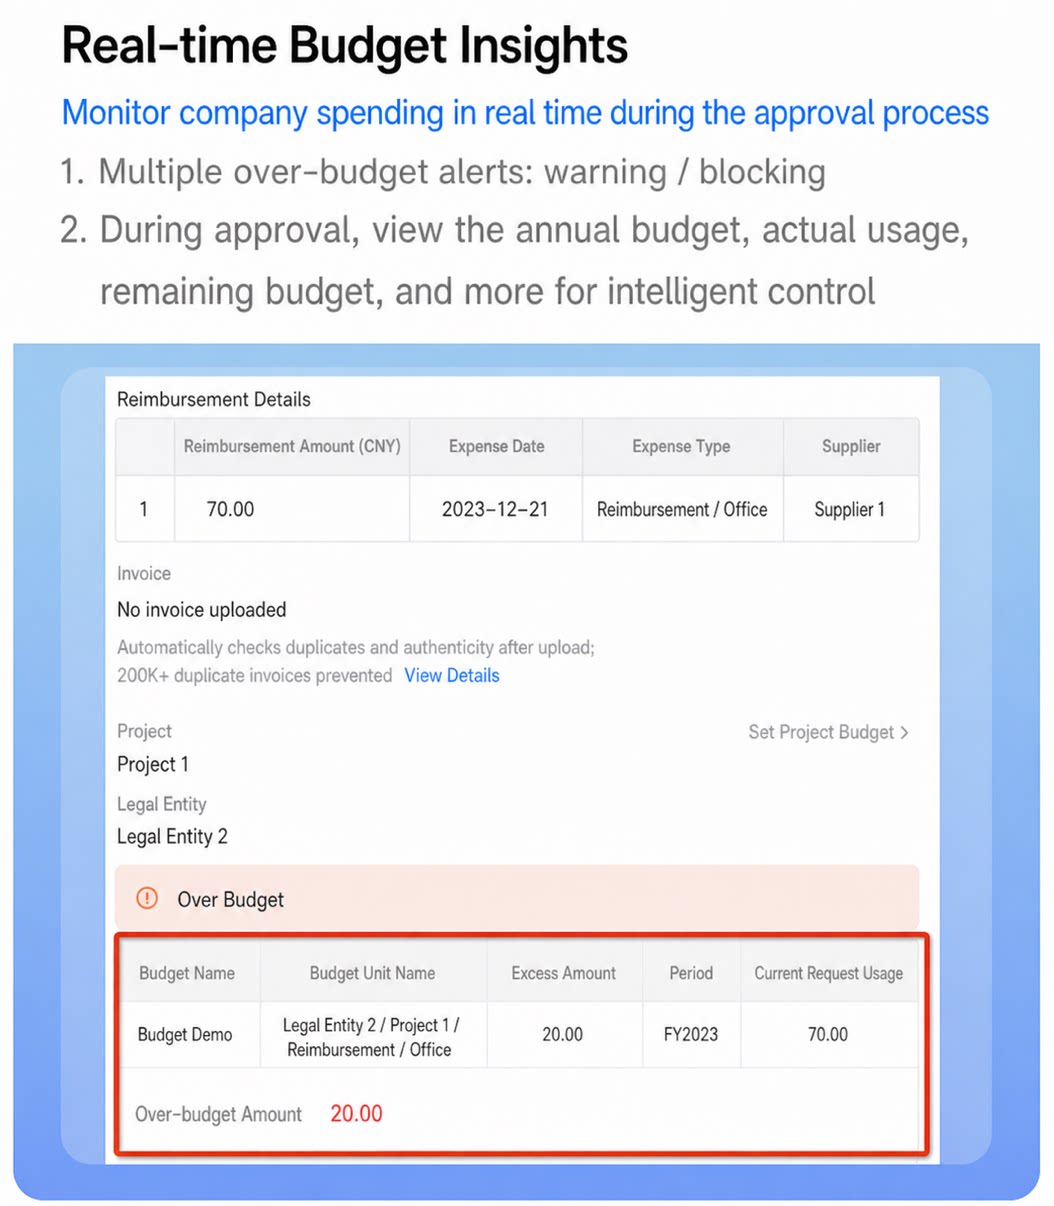 |
|---|---|
| Reimbursement | • Reimbursement amount (CNY) • Expense date • Expense category • Expense category details • Expense description • Invoice • Project • Customer • Supplier • Product • Owner • Owning department • Detail ID |
| Payment | • Payment amount (CNY) • Expenditure category • Payment description • Invoice • Owner • Owning department • Project • Customer • Supplier • Product • Detail ID |
- After configuration, click Save.
Preview
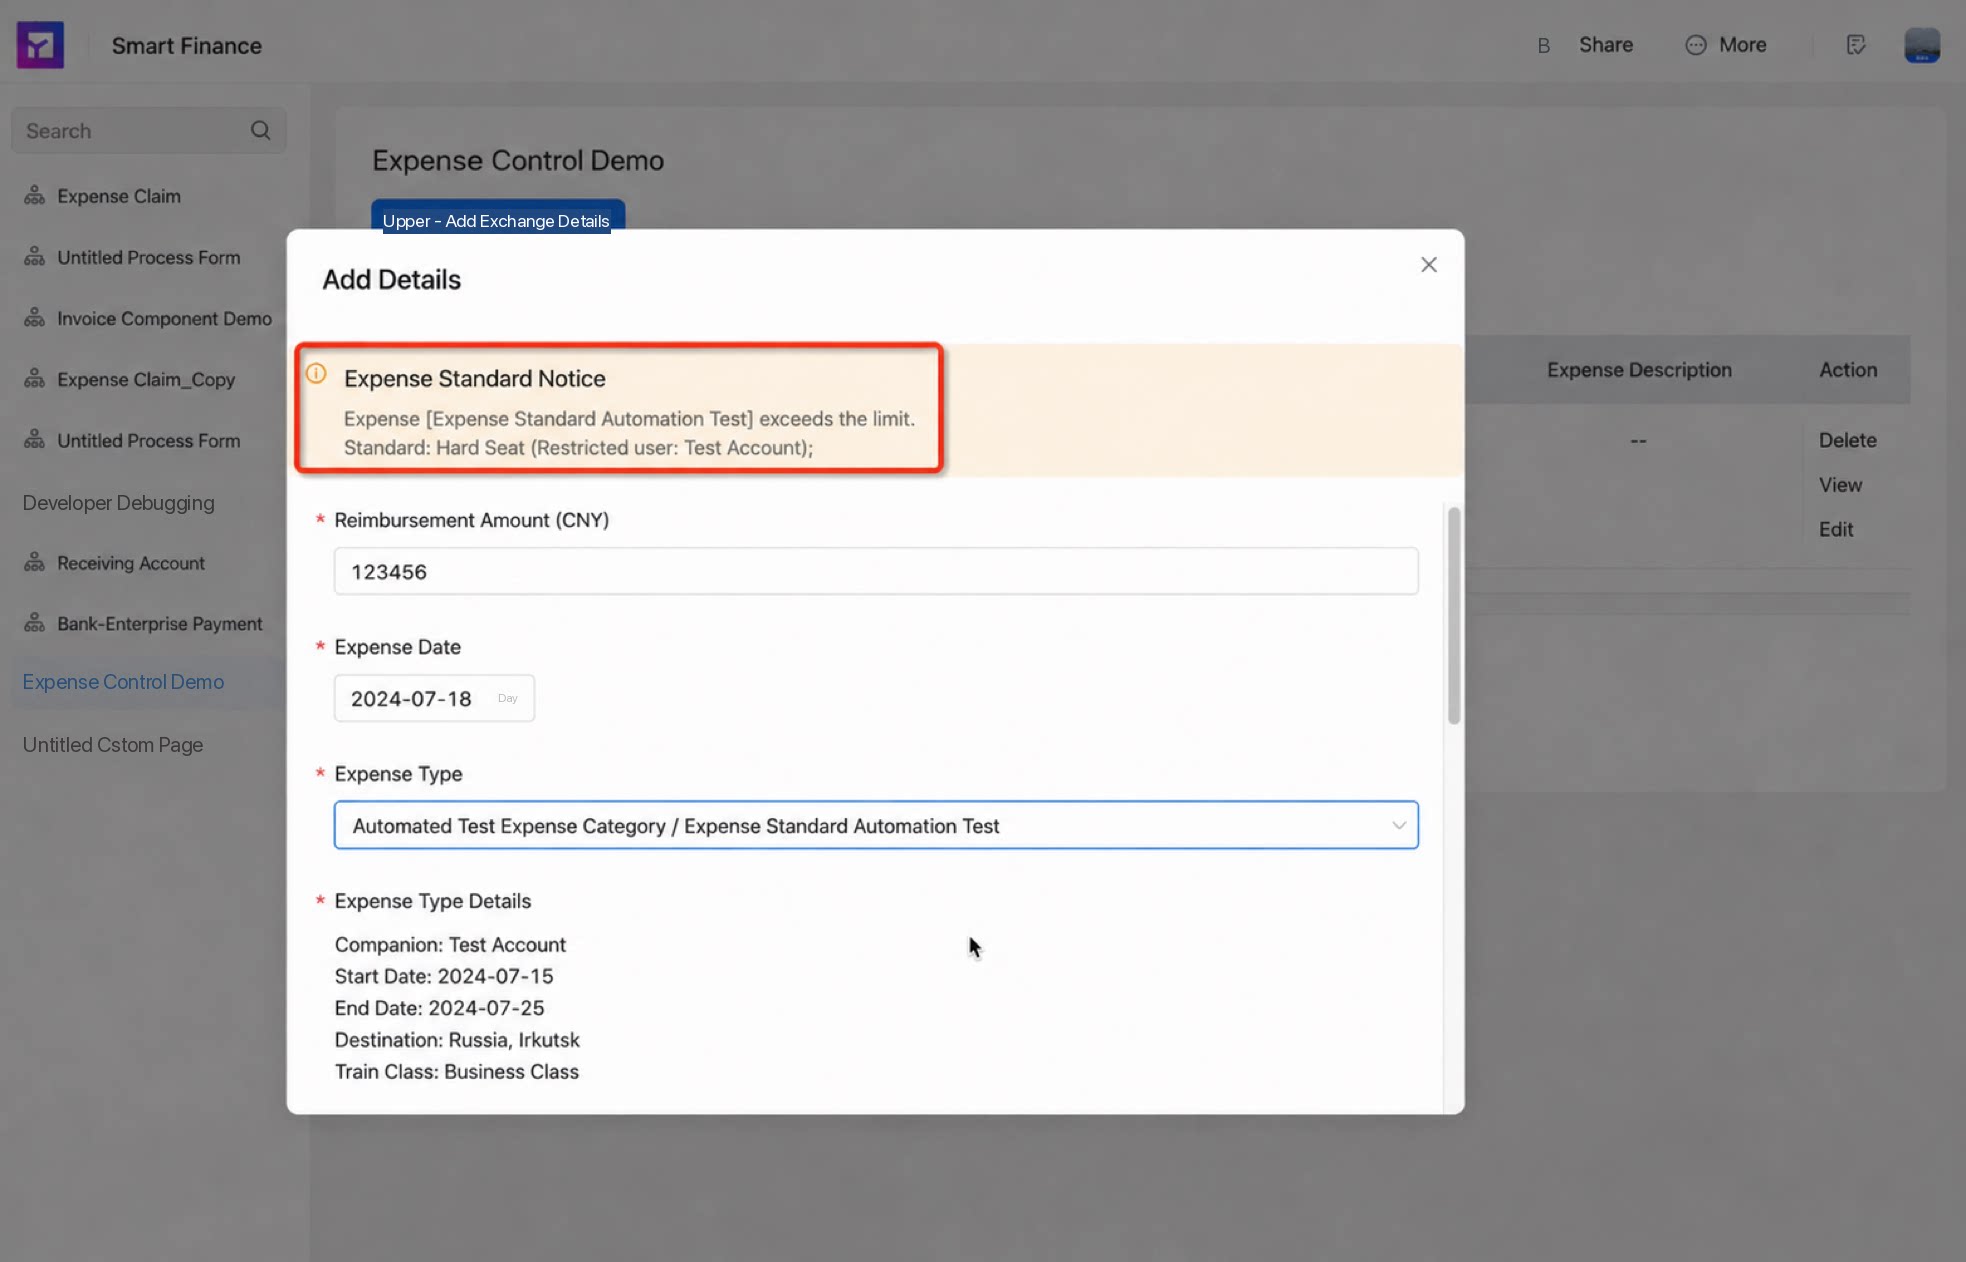
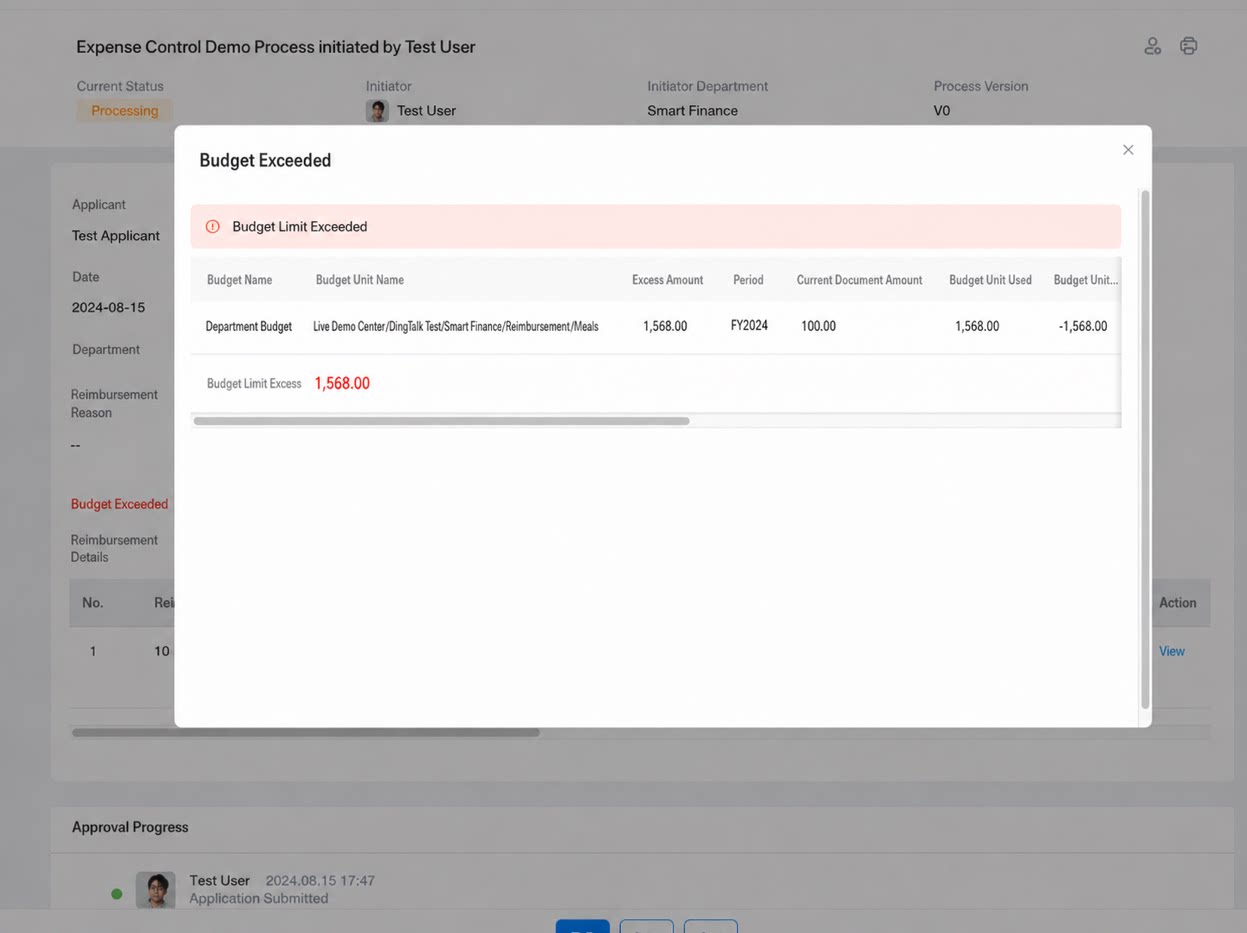
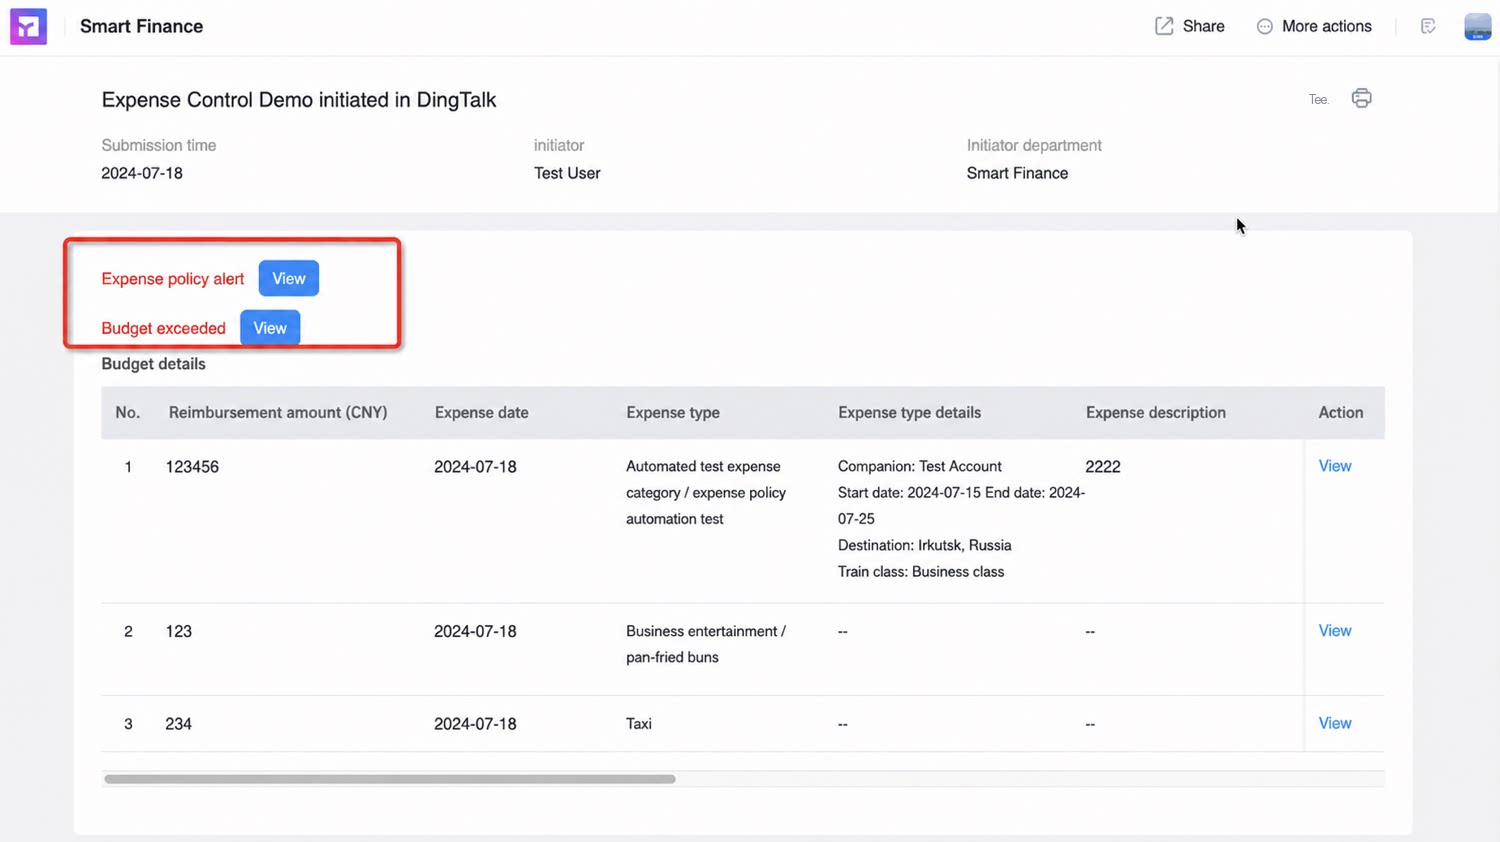
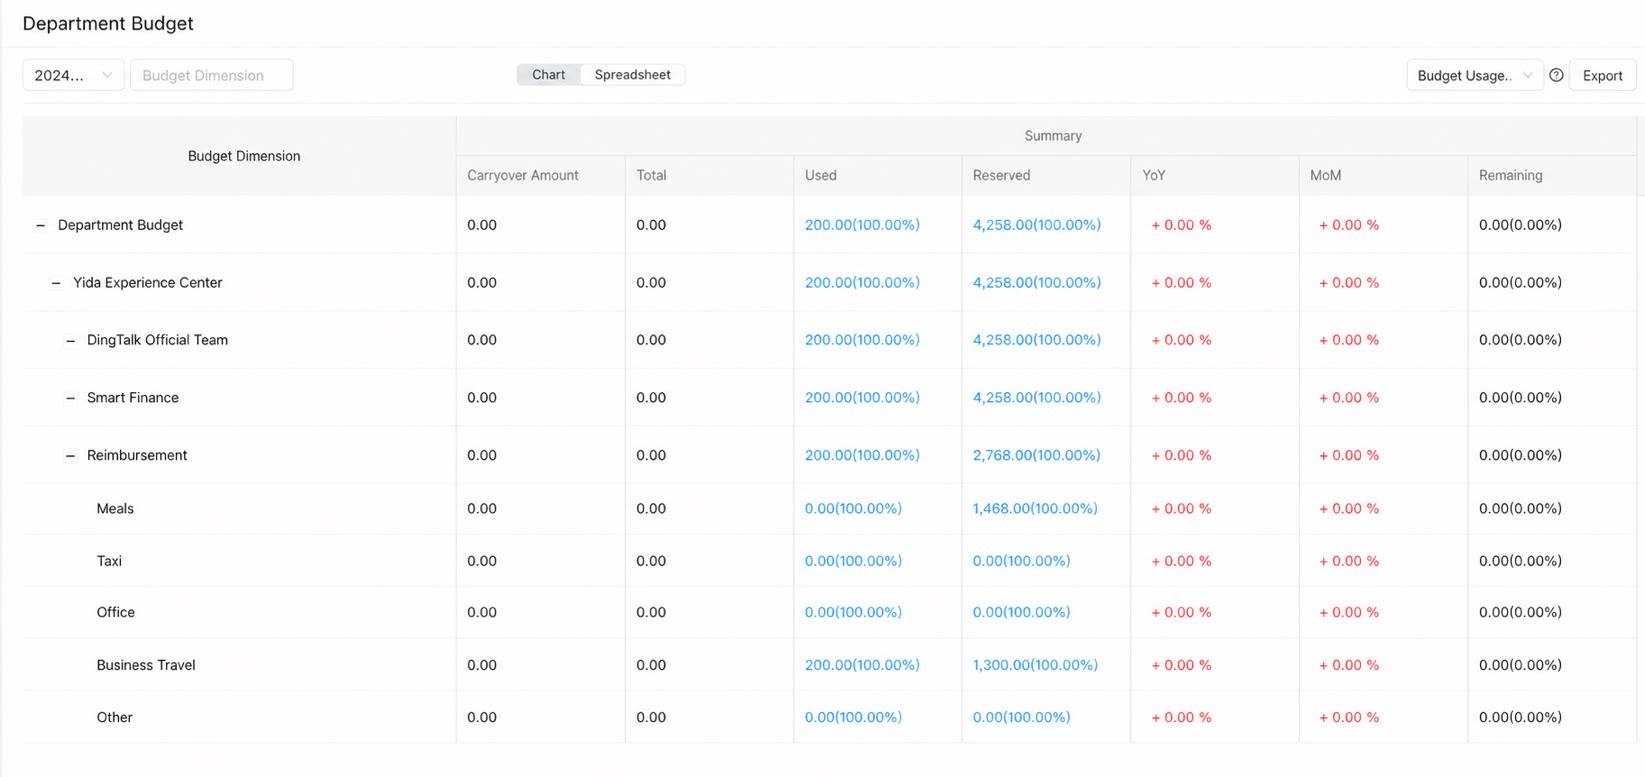
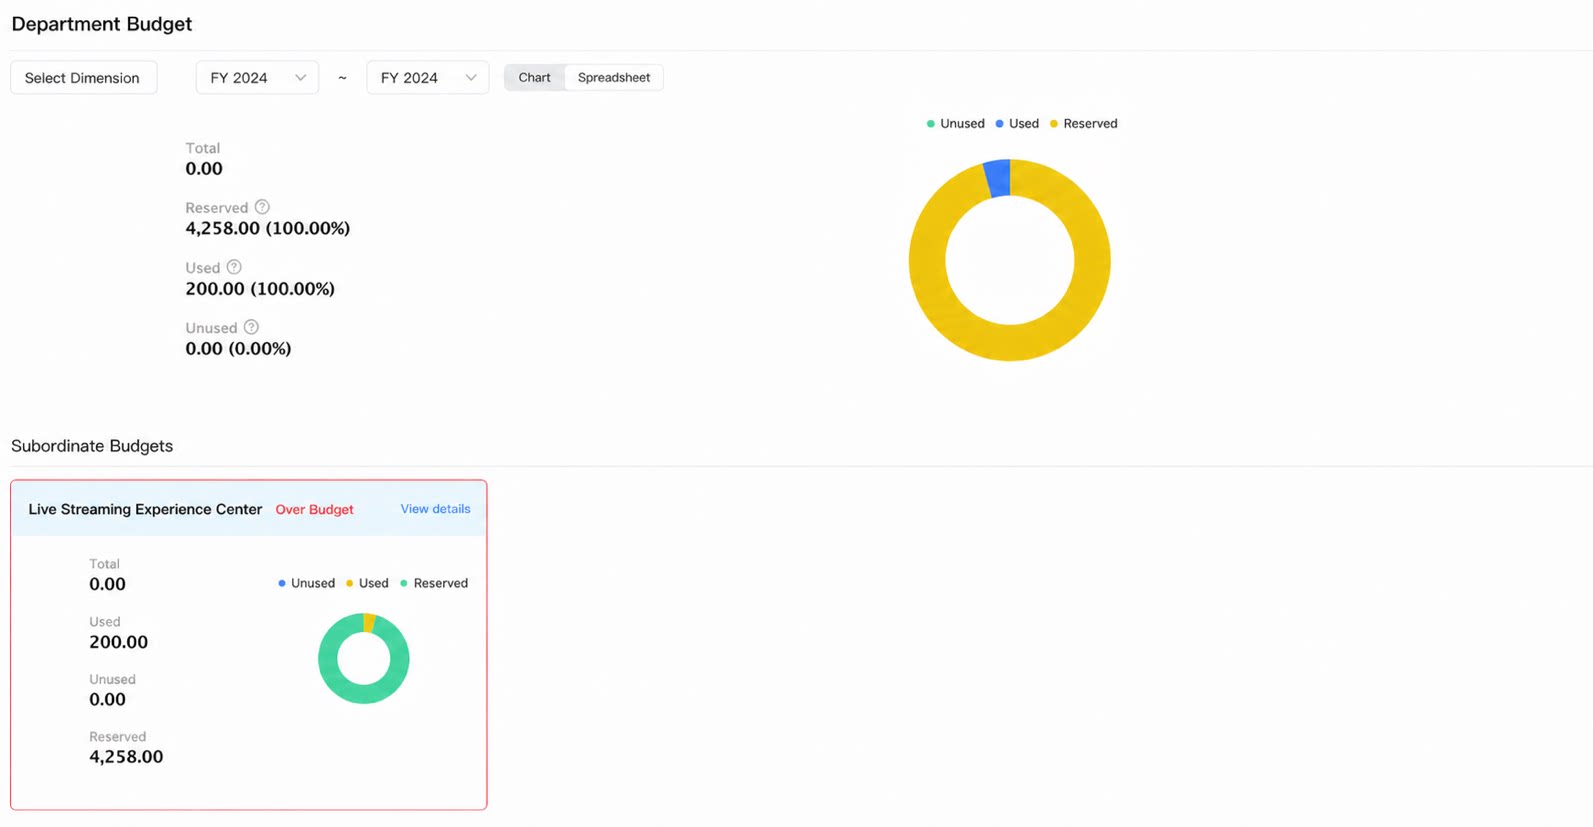
FAQ
Q: When the form is opened in a browser, why can’t I upload an invoice directly after clicking Add invoice? A: The Budget control component does not currently support adding invoices in browser-based forms. A prompt appears, allowing you to open the form in the DingTalk client to submit it. From the client, you can add invoices normally and use all subsequent features. Q: Is the billed user count based on actual component users or all users on the platform? If it is based on actual users, can I control which specific users are counted? A: The Budget control component is billed based on actual users. Once the free quota is used up, you can purchase additional entitlements. To manage component users, go to Smart Finance > Budget control > Authorized users.