Chats
Chats Calendar
 Meetings
 Contacts
 Mail
Mail Docs
Docs Drive
Drive AI Table
 AI Minutes
 Attendance
 Approval
 YiDA
YiDA Admin Console
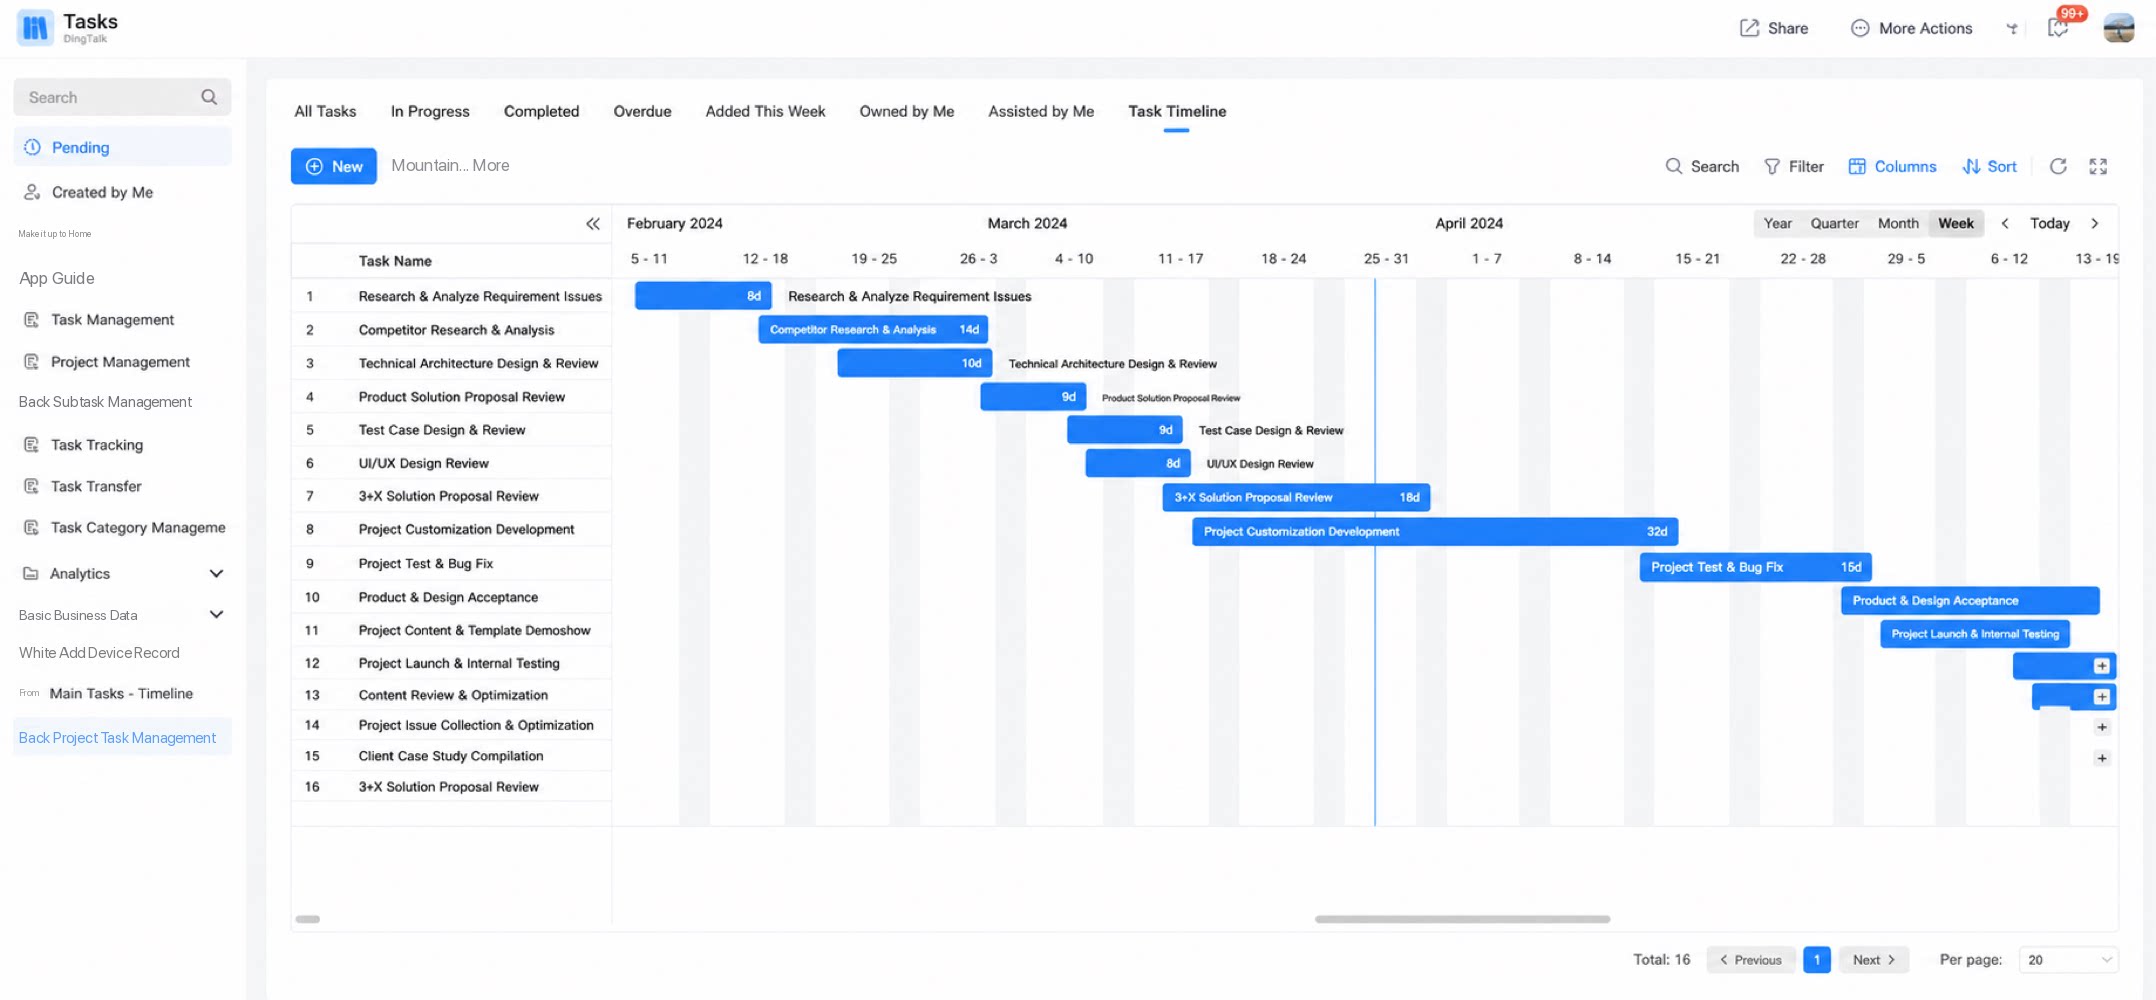
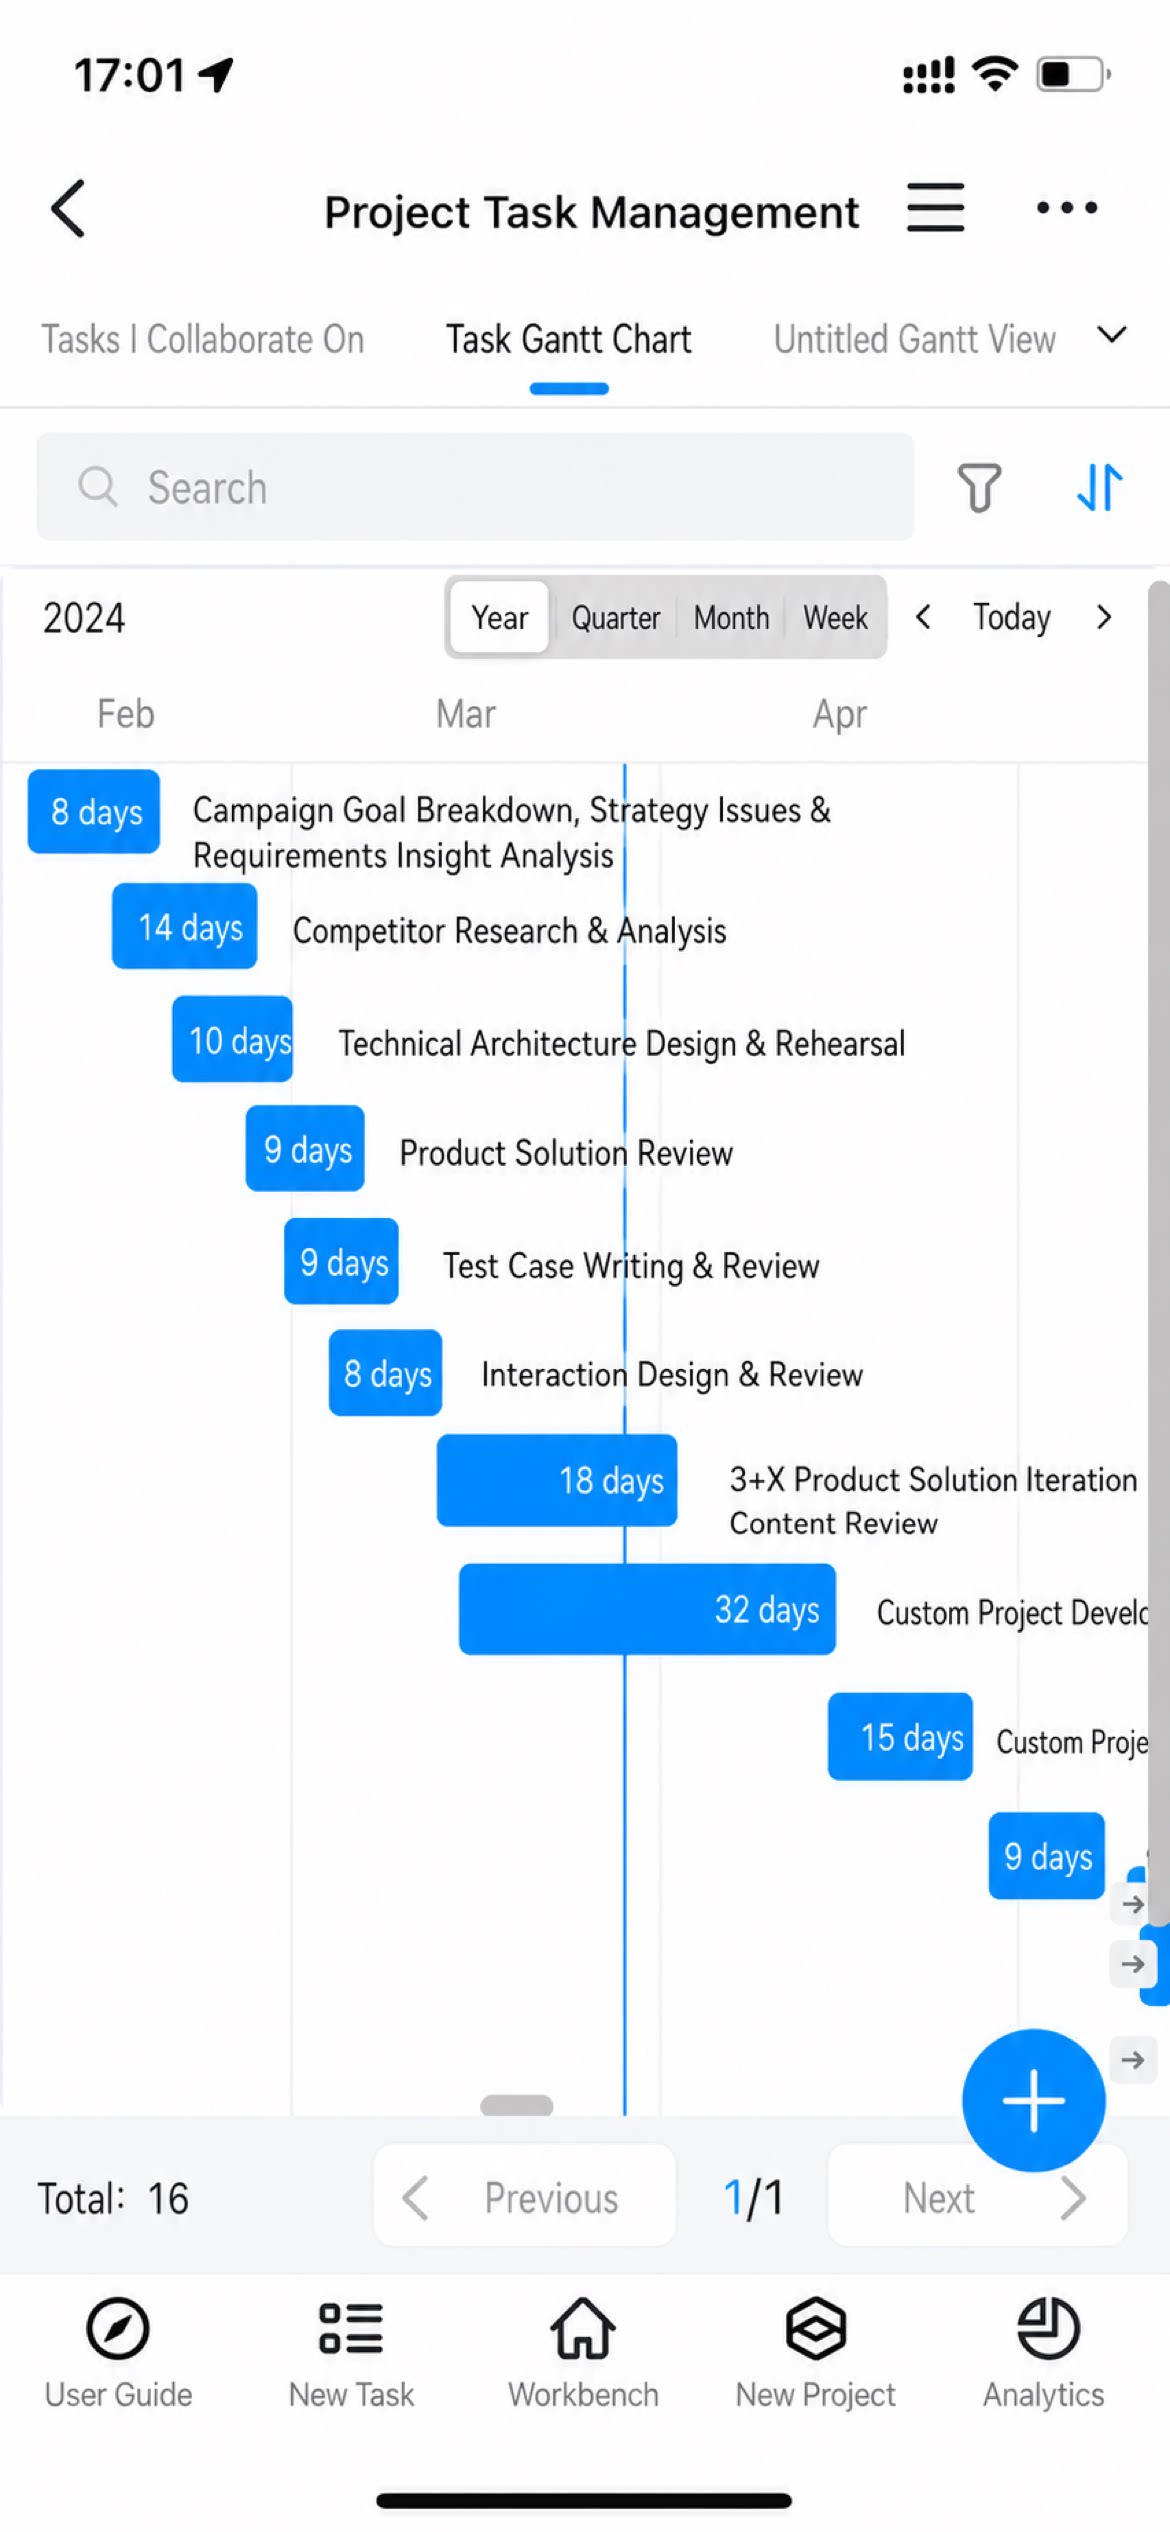
- The full list of tasks
- The start and end date of each task
- The duration of each task
- The sequence and any overlap between tasks
Use Cases
Suitable for project task tracking, production planning, engineering progress, scheduling, progress tracking, and appointment management.Procedure
1. Create a View
Path: Page management > Select a form from the page navigation menu > Generate a data management page > Create view > Create Timeline.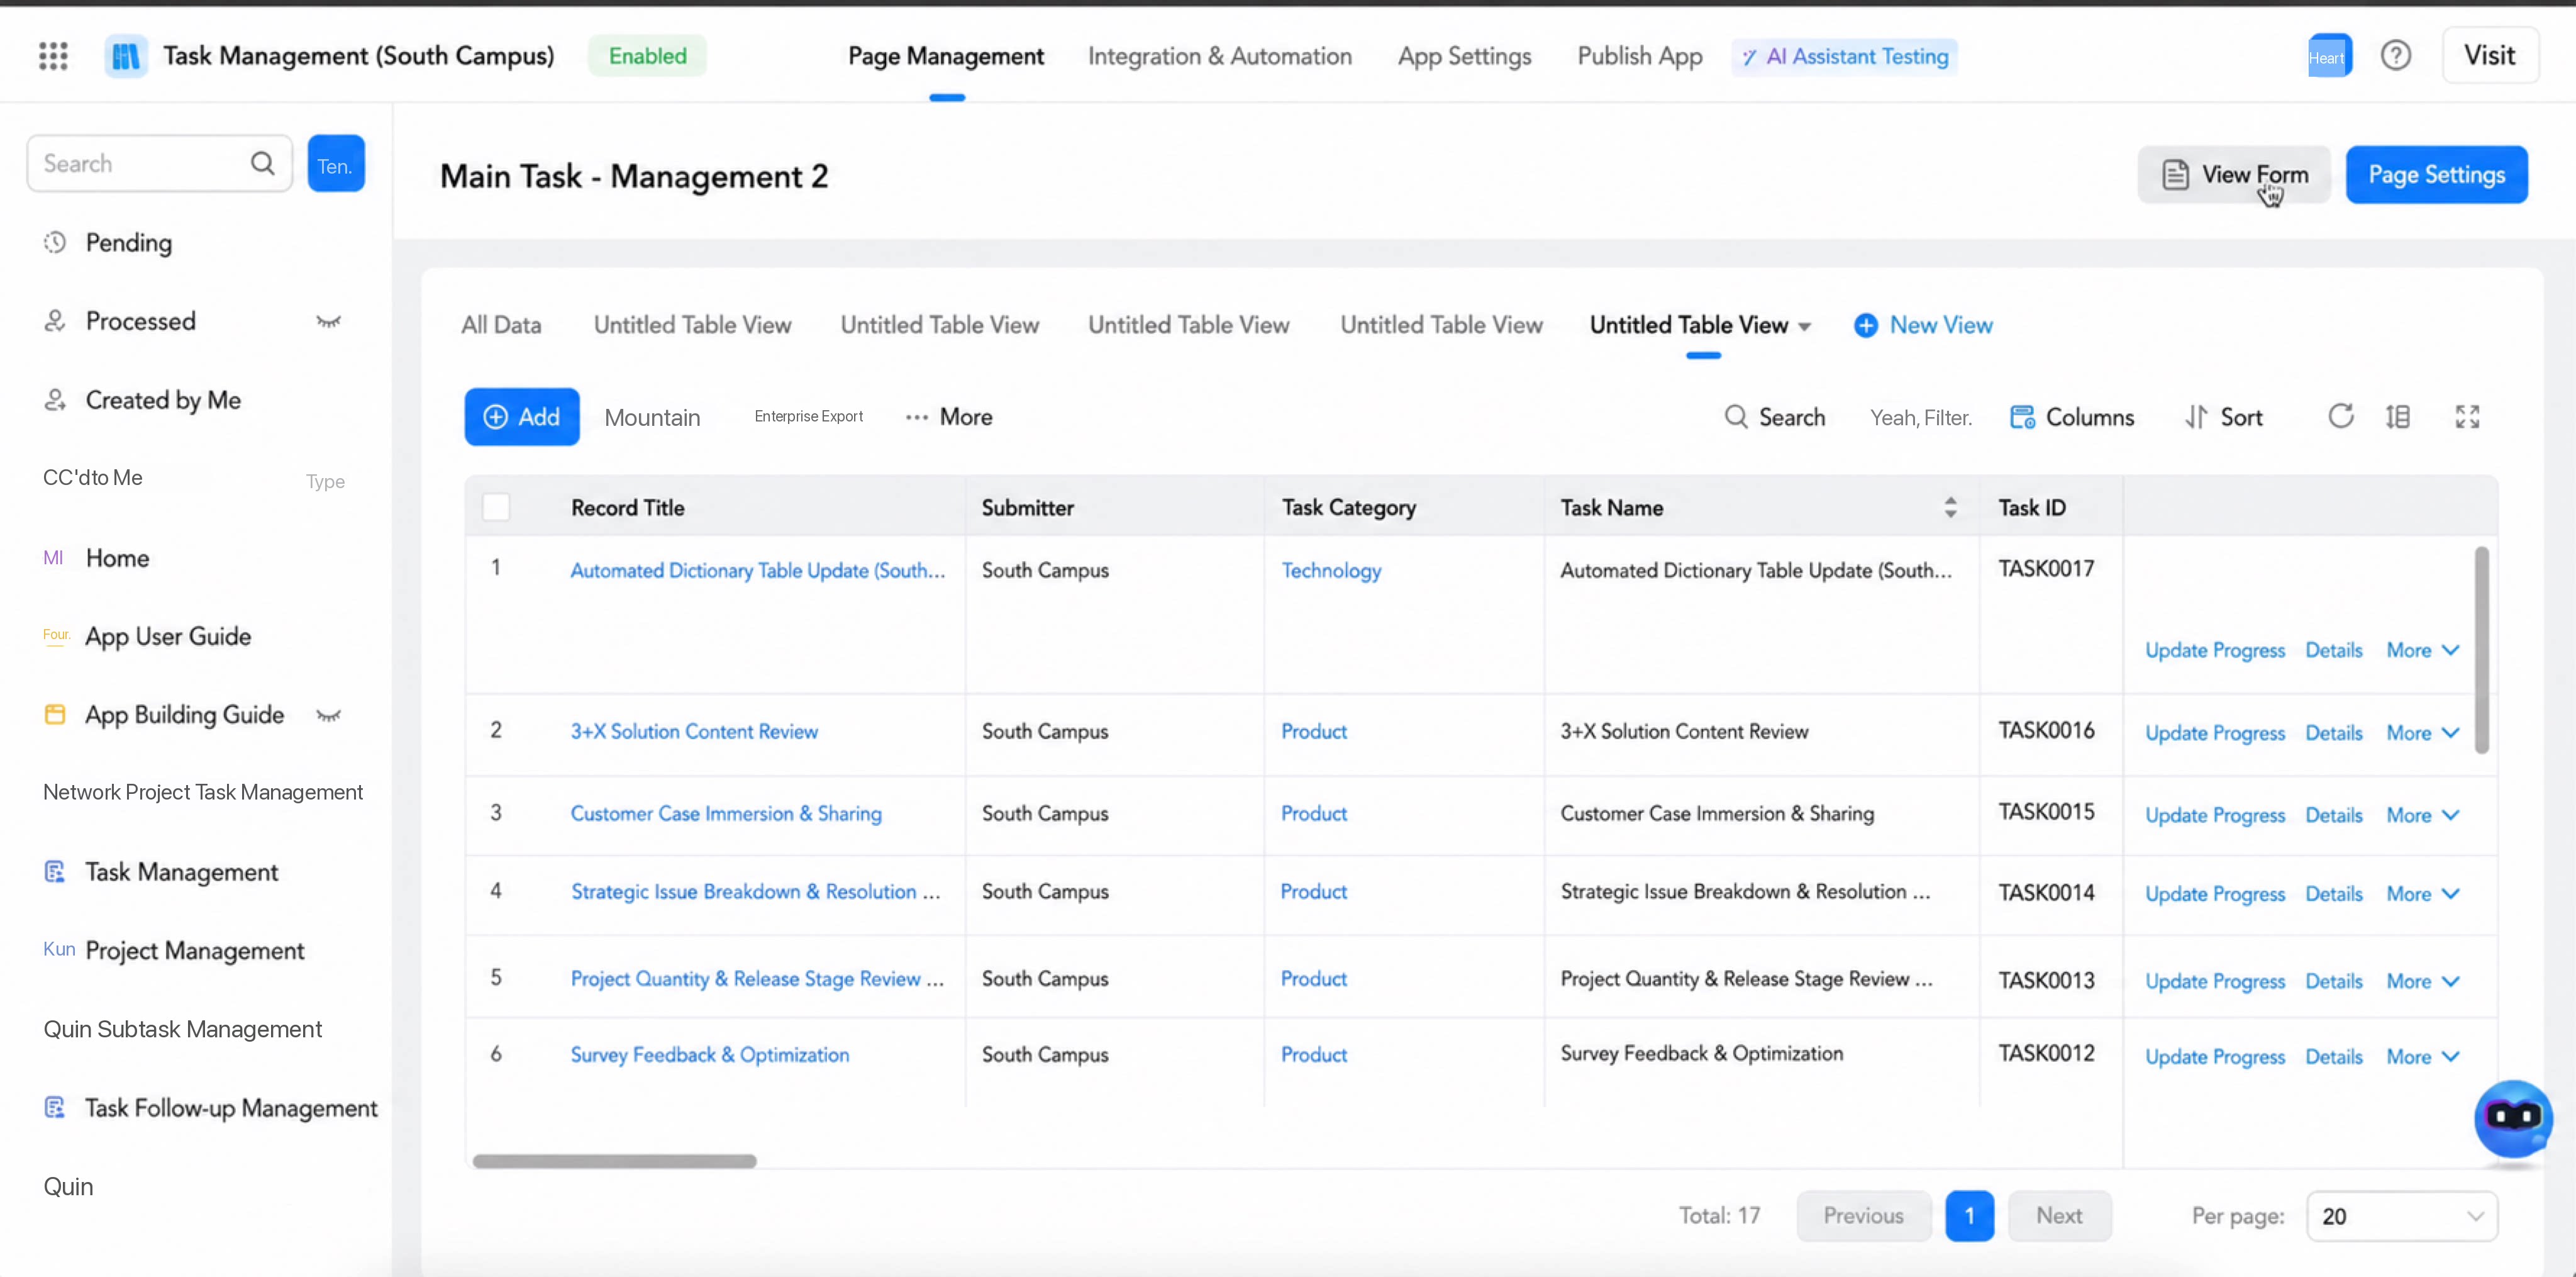
2. Configure the Time Range
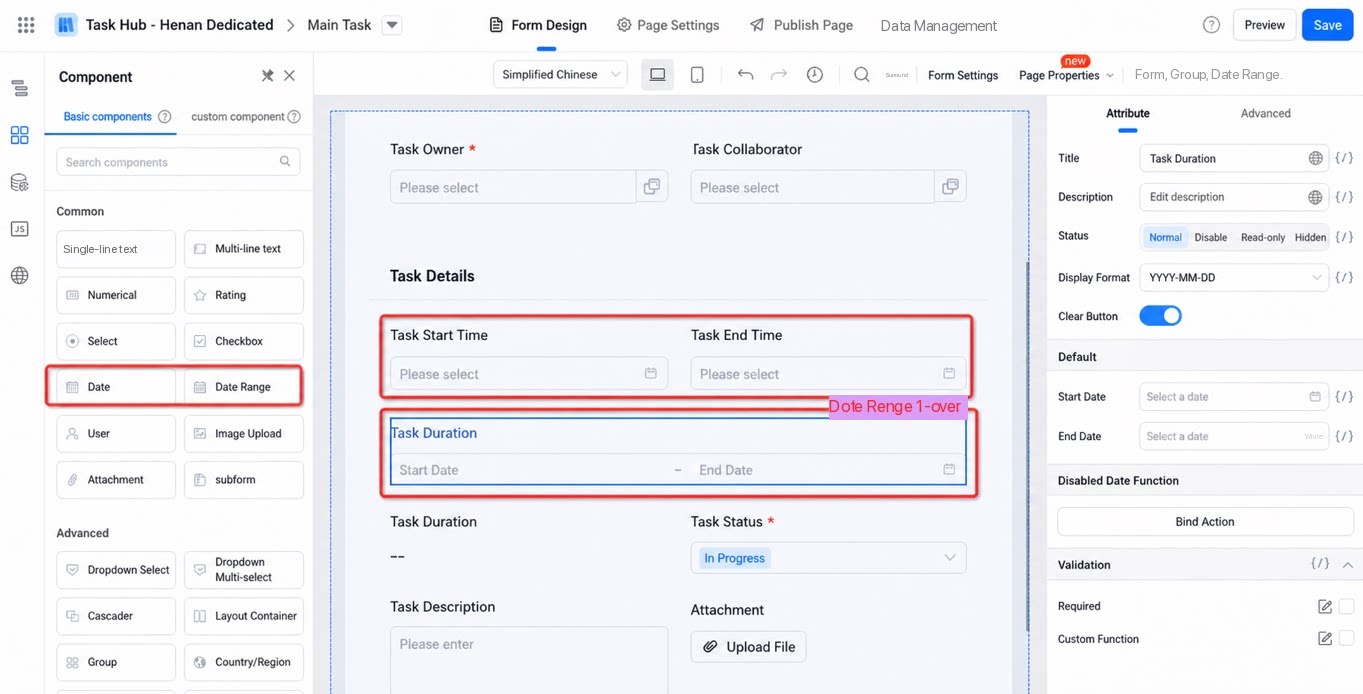
The time range defines the base Date fields of the Timeline, including the start and end date fields as well as the time scale. Records are displayed as bars based on these fields.- “Start Time” and “End Time” default to the “Created time” and “Modified time” of the data. You can also customize them by selecting a Date component or a Date range component from the main form. If a Date range component is selected, “Start Time” and “End Time” refer to the same field.
- The time scale supports the following options: by year, quarter, month, or week.
3. Data Filters and Field Visibility
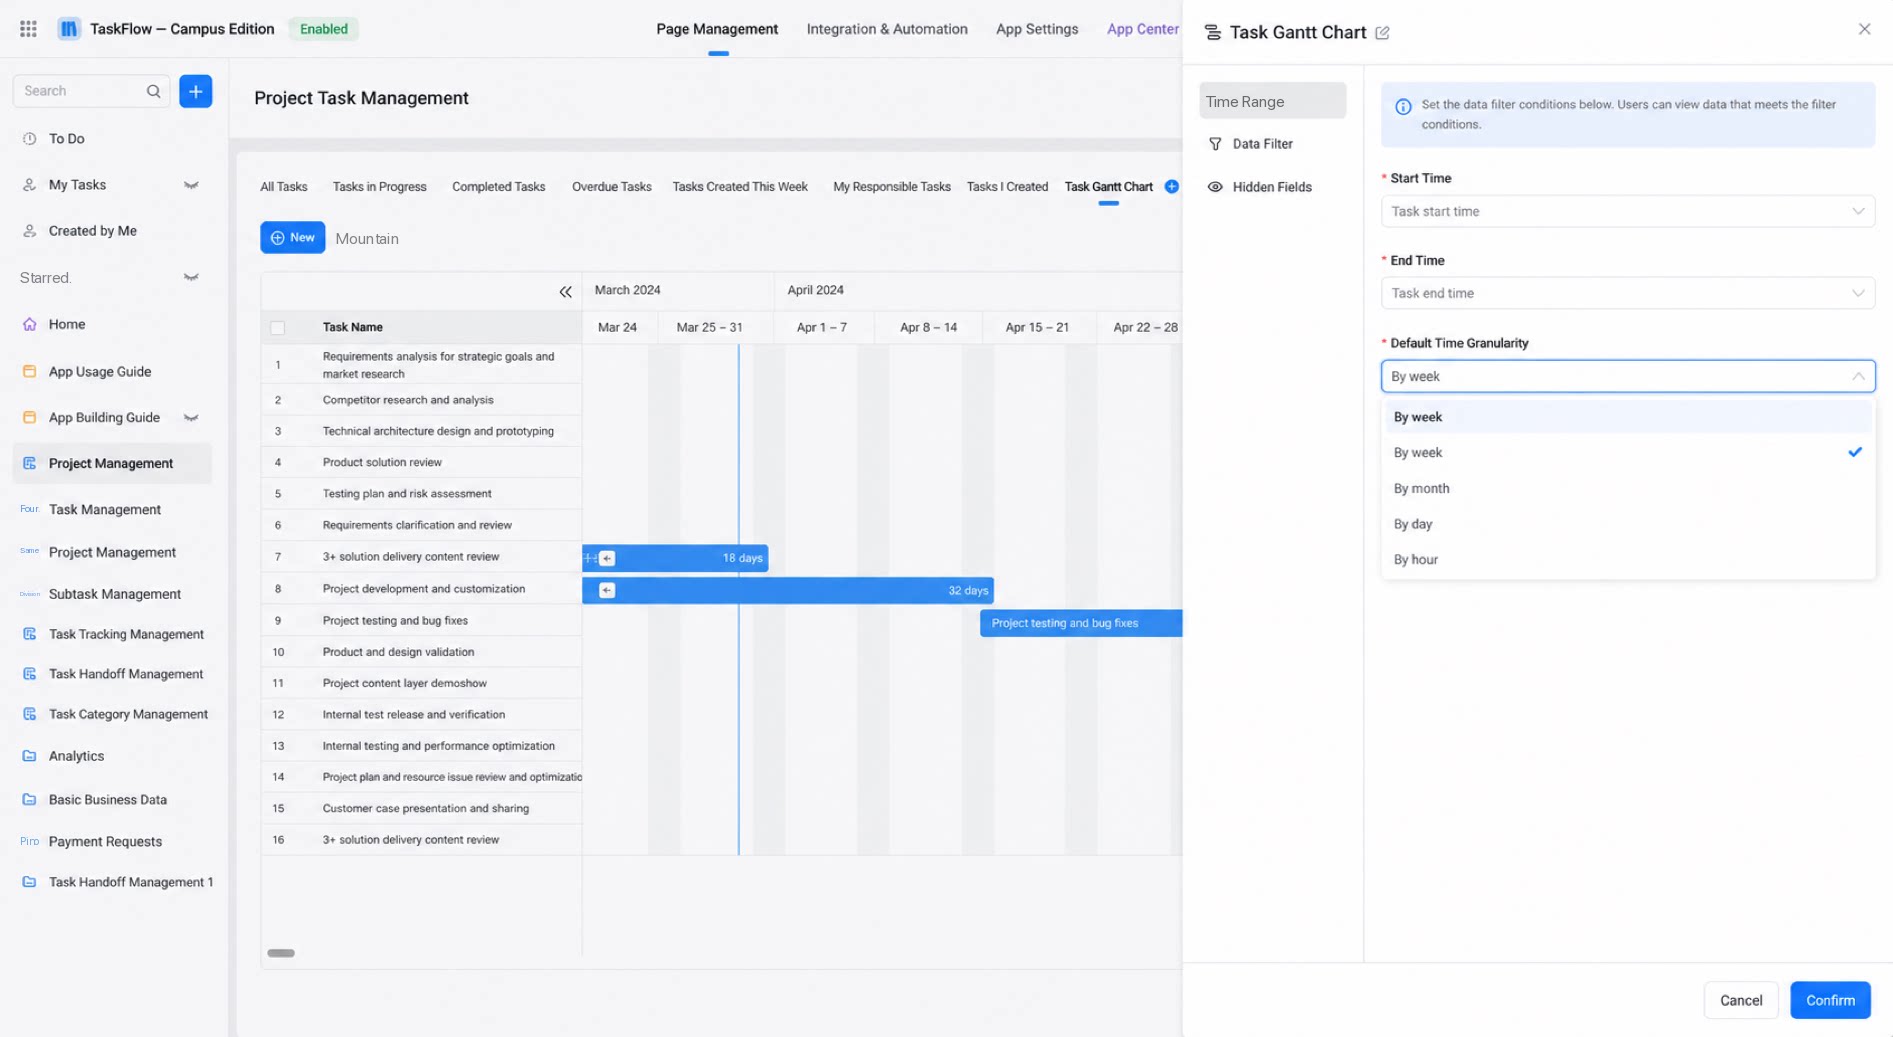
- Data filtering in the Timeline follows the same logic as in the Grid.
- Field visibility in the Timeline follows the same logic as in the Grid. Configure the Show fields for the list on the left.