Chats
Chats Calendar
 Meetings
 Contacts
 Mail
Mail Docs
Docs Drive
Drive AI Table
 AI Minutes
 Attendance
 Approval
 YiDA
YiDA Admin Console
Use Cases
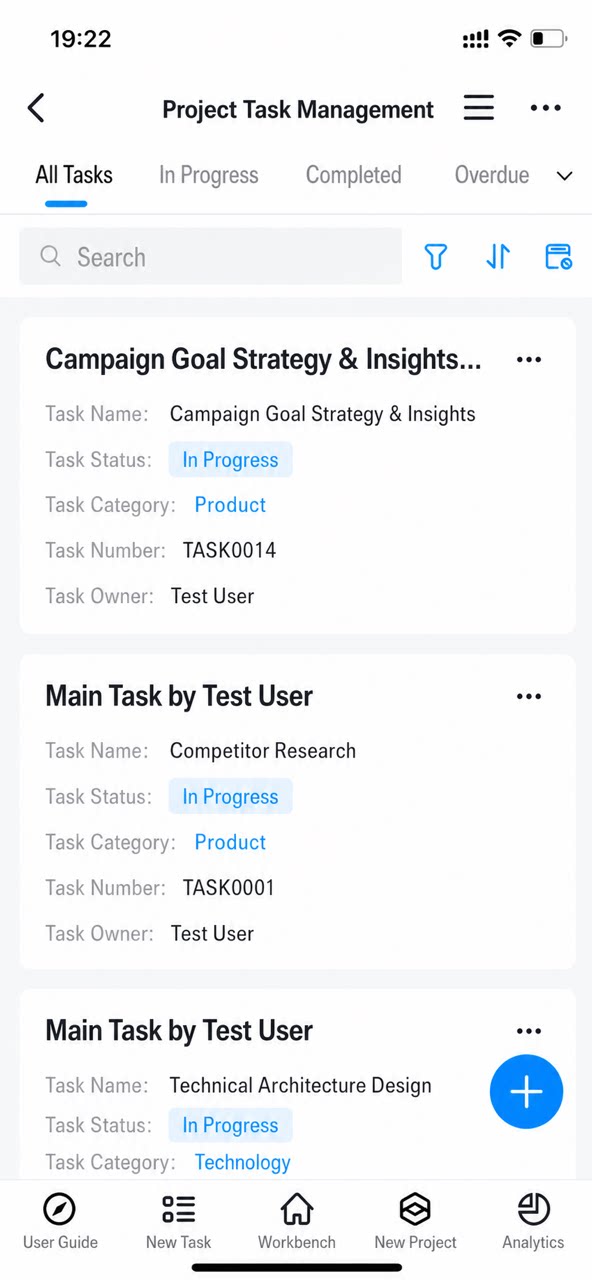
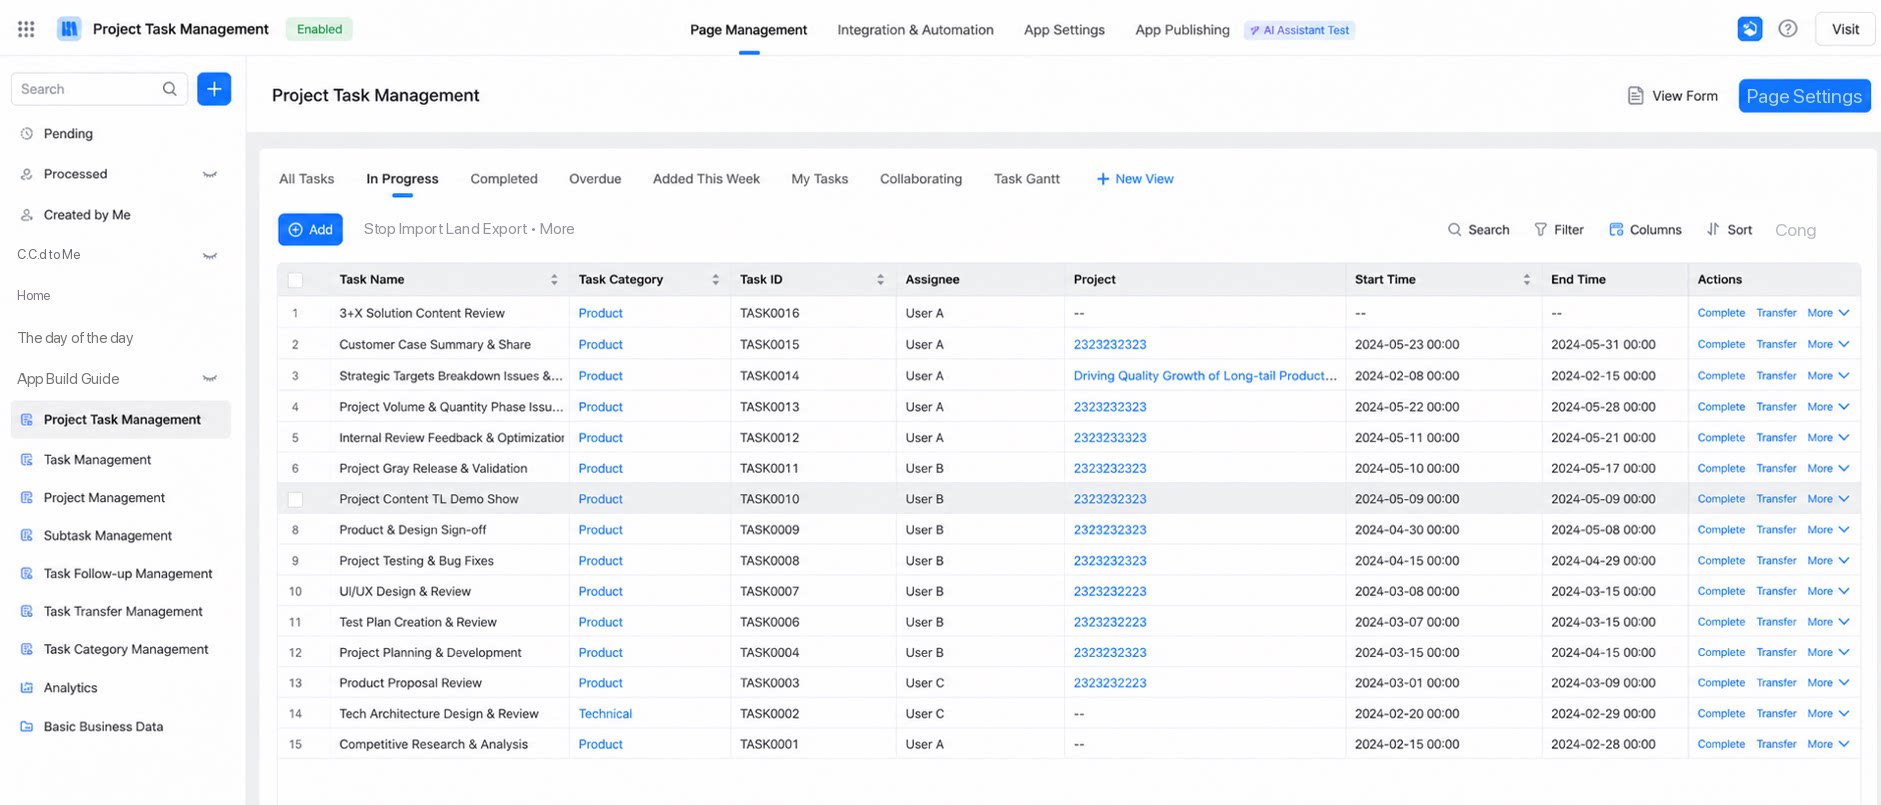
Steps
1. Create a View
Path: Page management > Select a form from the page navigation menu > Generate the data management page > Create view > Create grid- The generated data management page includes a default “All data” grid. Delete it or add new views to fit your business needs.
- The list supports adding custom buttons in the action column. If a button is configured with availability conditions, it appears for all records, but users who click it on records that don’t meet the conditions see a “No permission” message.
2. Set Data Filter Conditions
Path: Select the grid > Grid settings > Data filter conditions- Configure filter conditions for the view. Users only see records that match the filter conditions.
- Filter conditions support multiple tiers, AND/OR logic, and various operators. Click to view detailed operator descriptions.
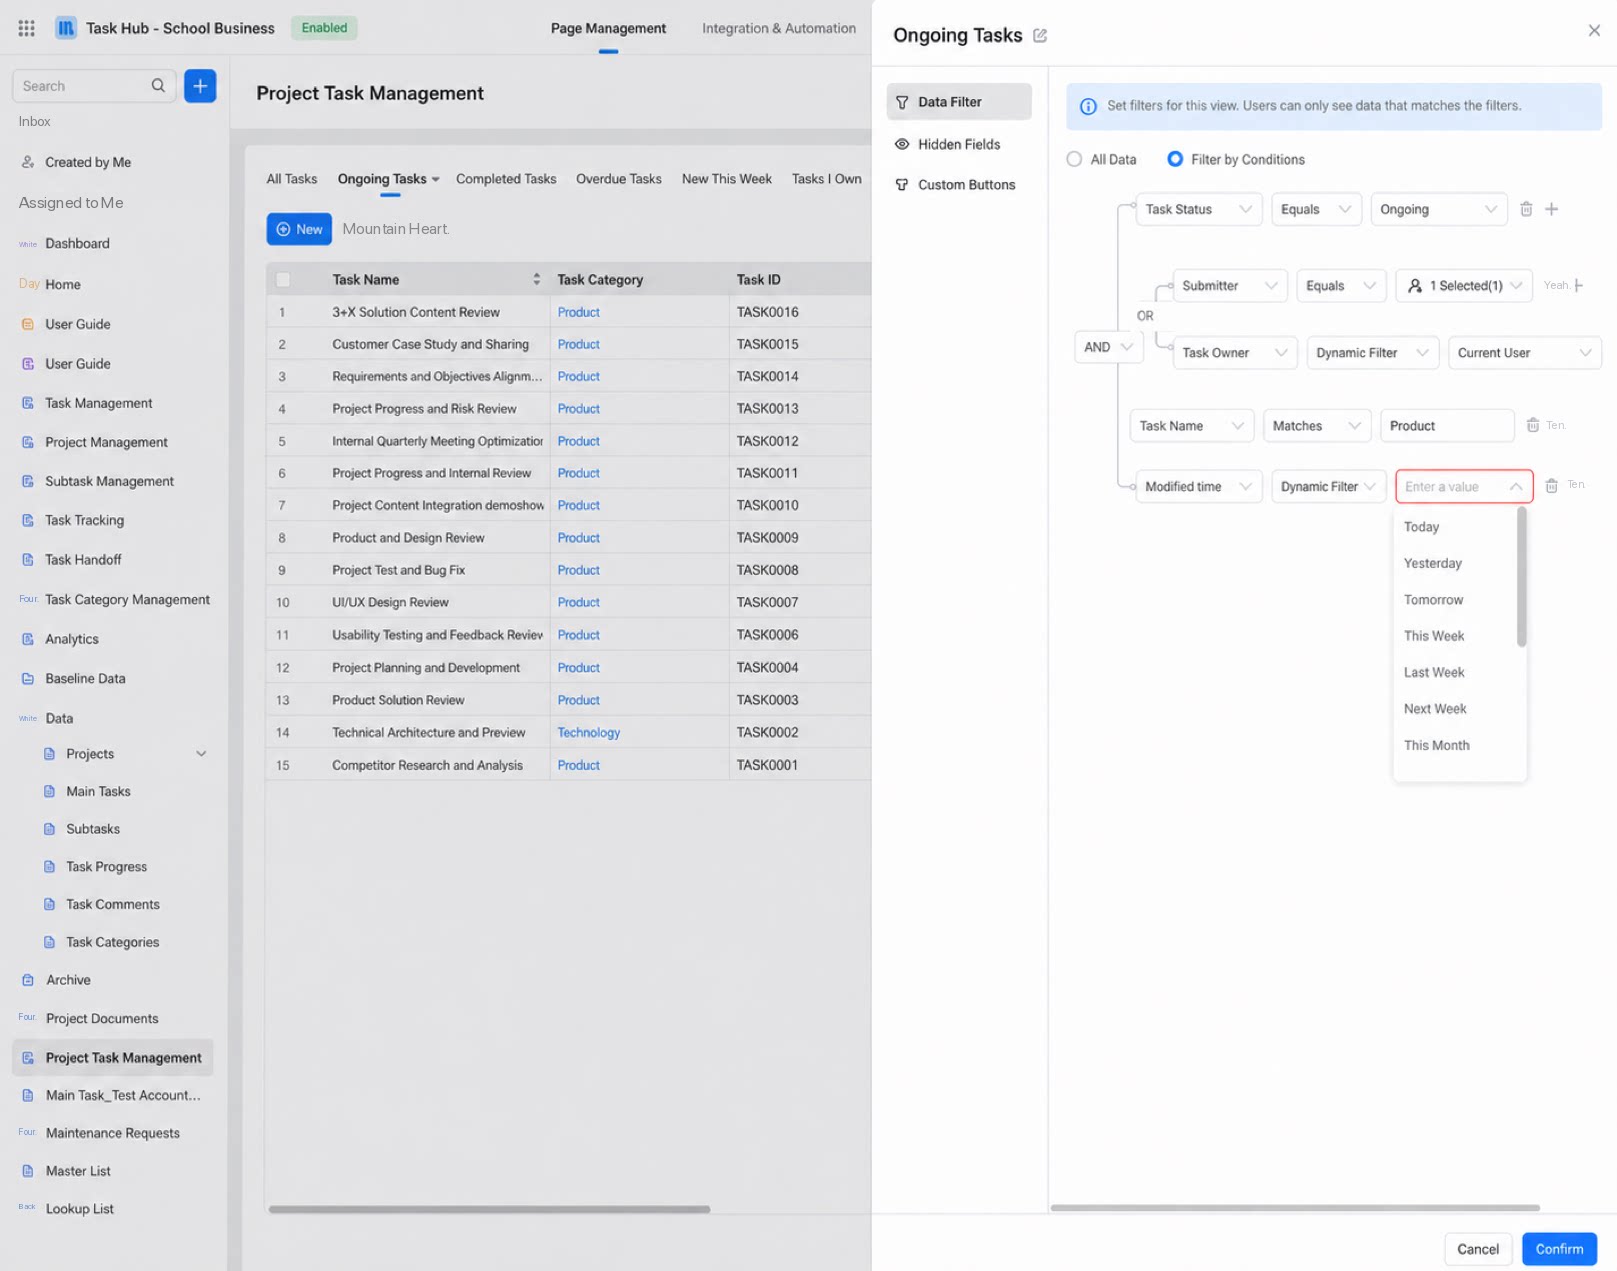
3. Configure the Fields Included in the View
Path: Select the grid > Grid settings > Field visibility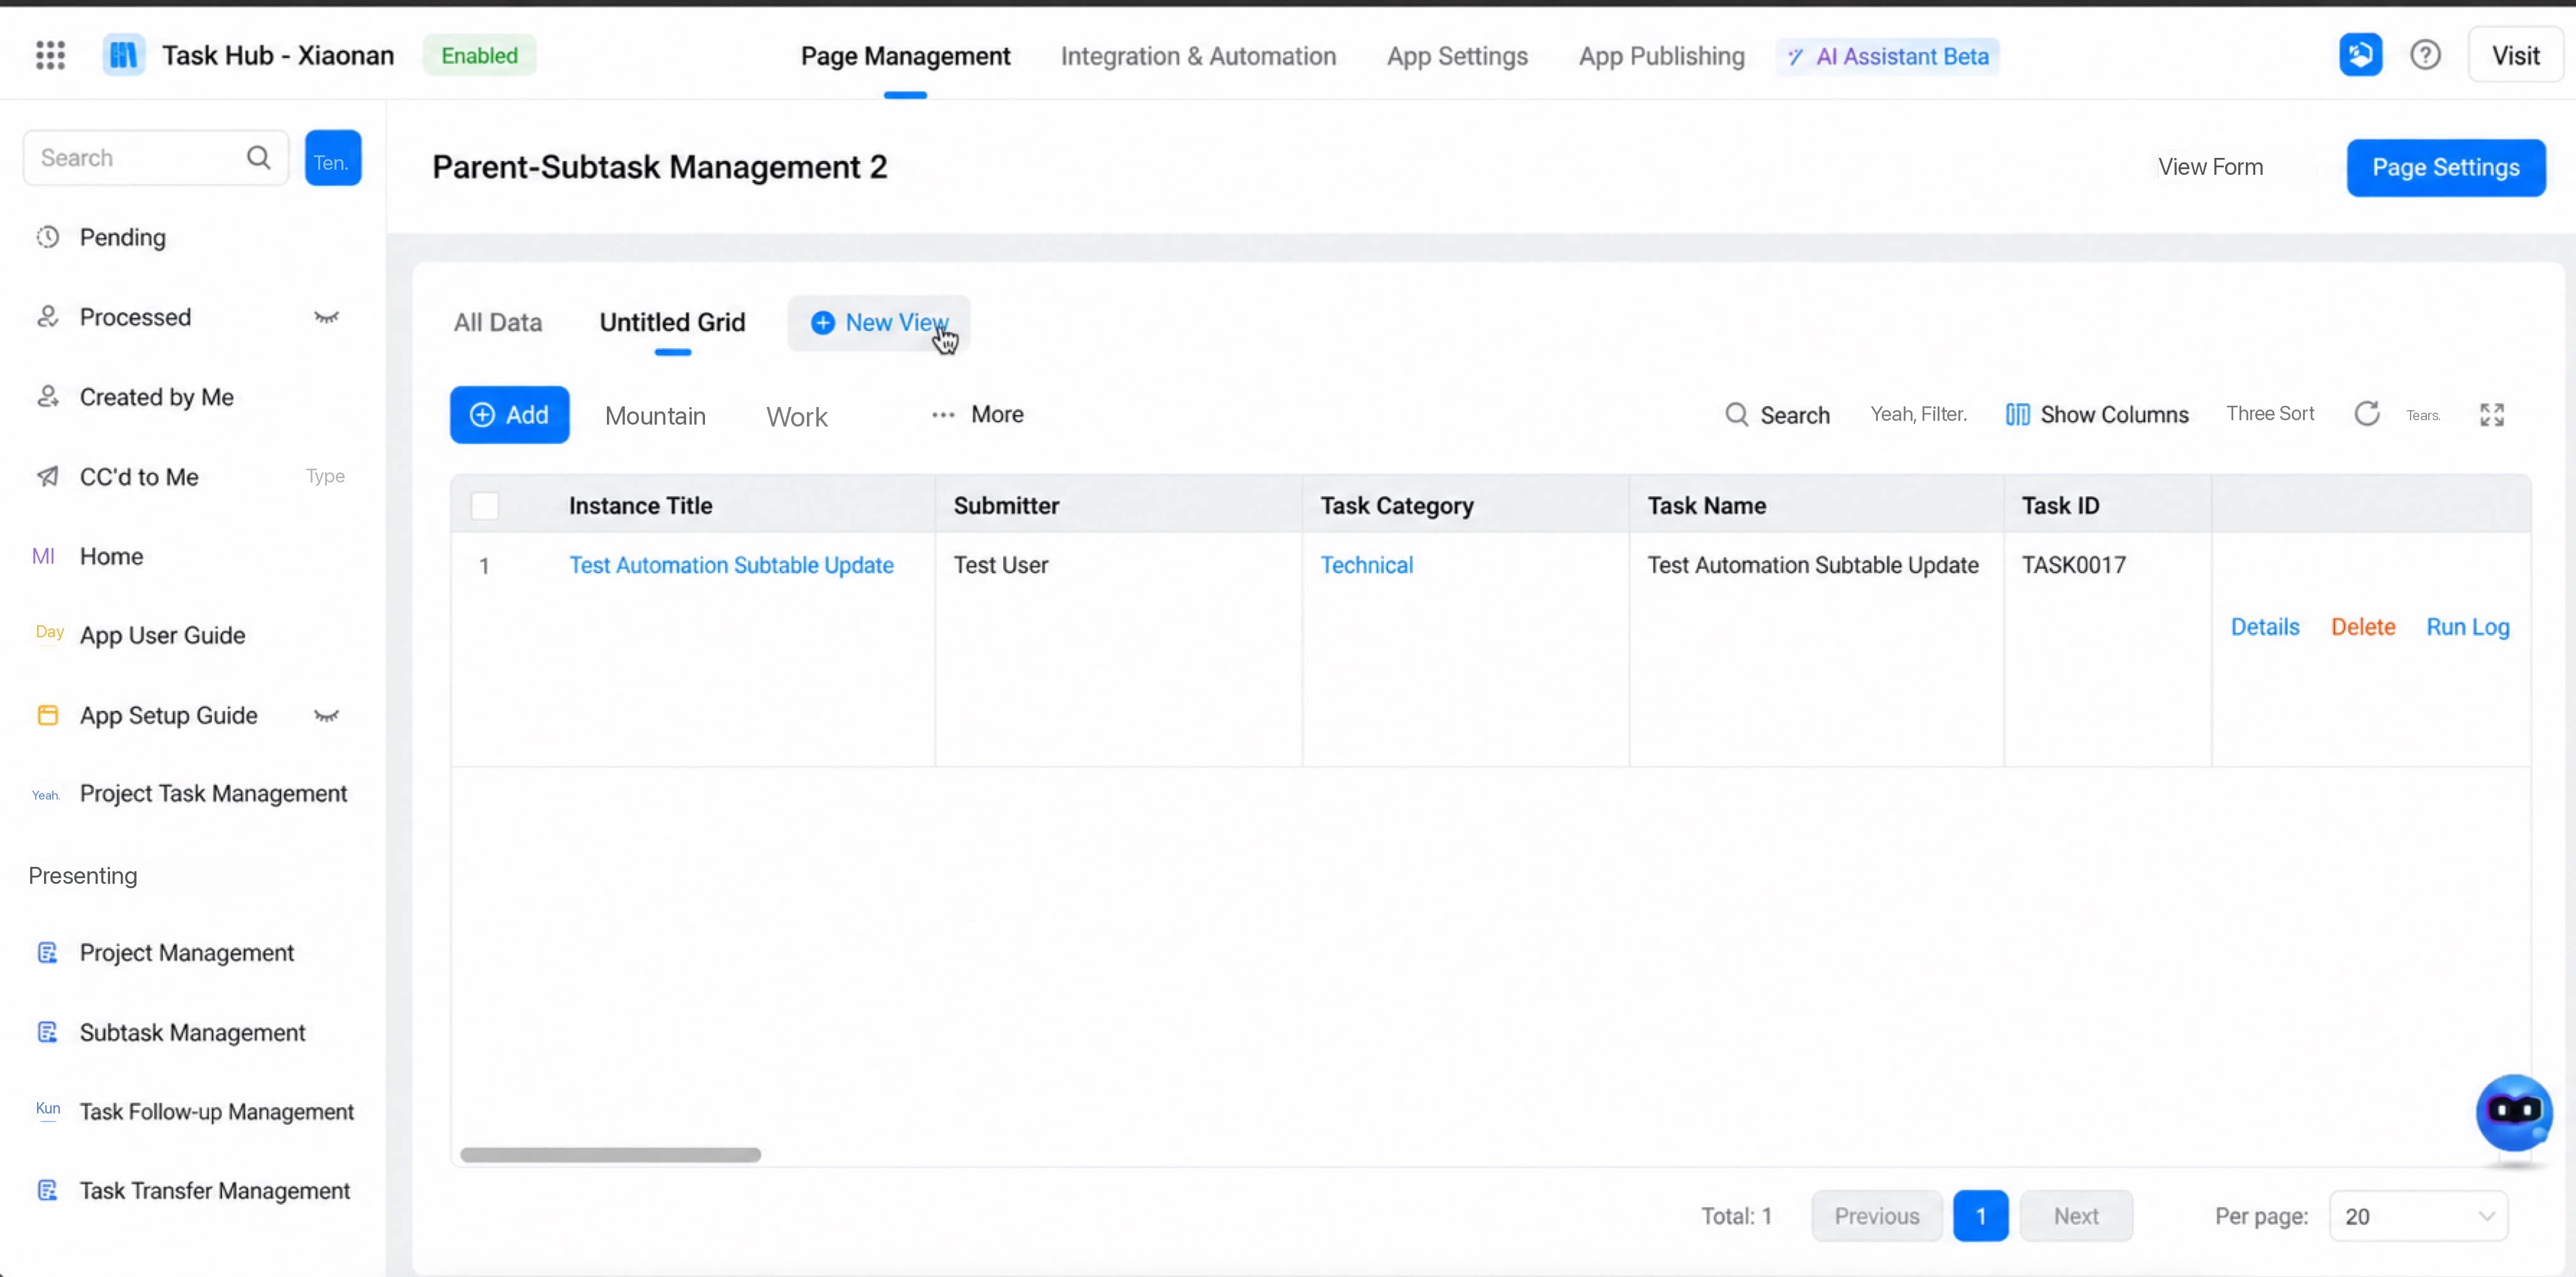 Set the fields to hide from users in this view. Hidden fields are invisible to all users in the grid and cannot be sorted or filtered on the user side.
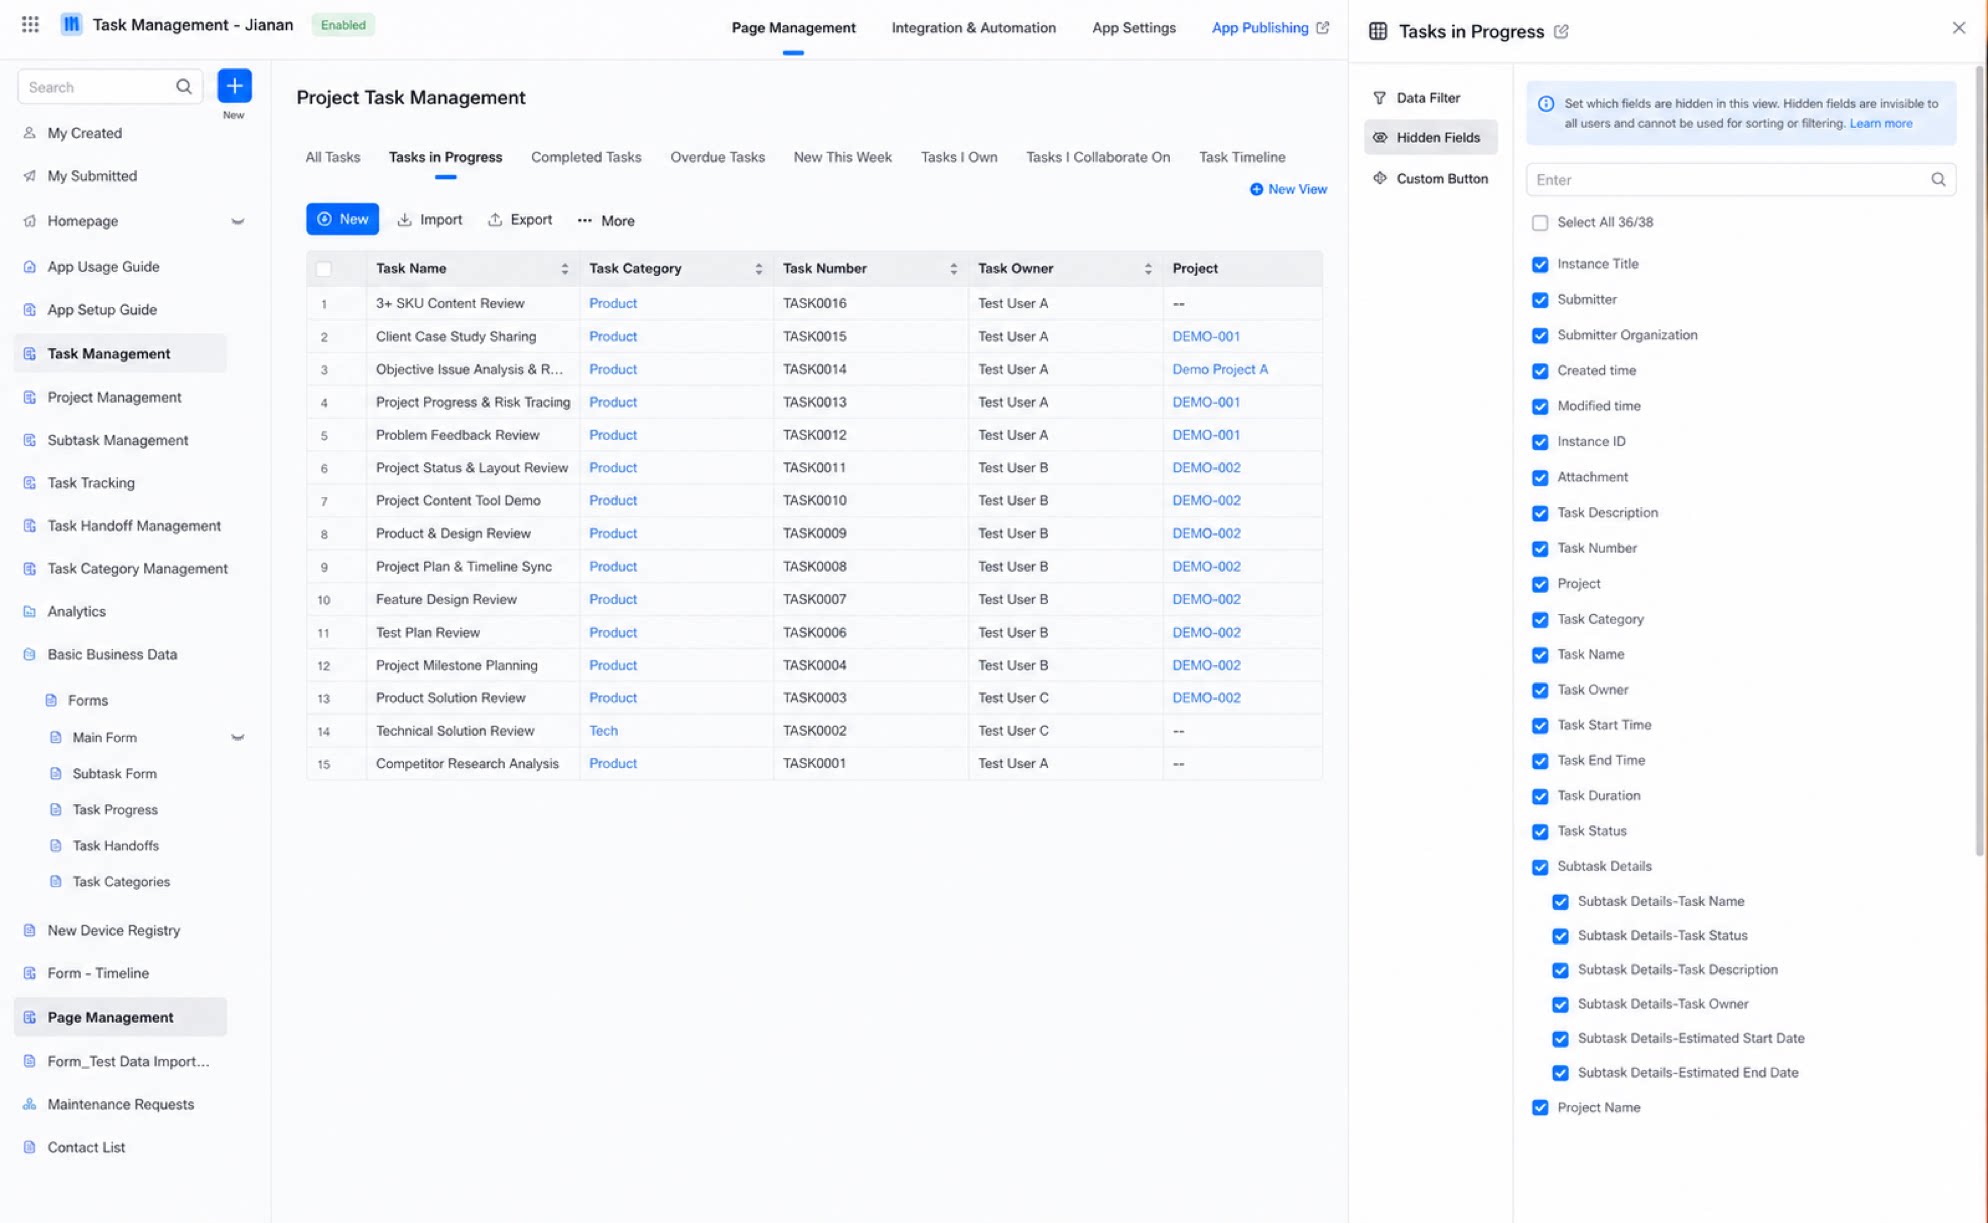
- Field visibility settings apply only to the view list. The source records page and the form filling page for a single record are not affected.
- Each user can only see the fields they have permission to view, and can further configure the Show field when viewing data, independent of the view settings.
4. Configure Custom Buttons
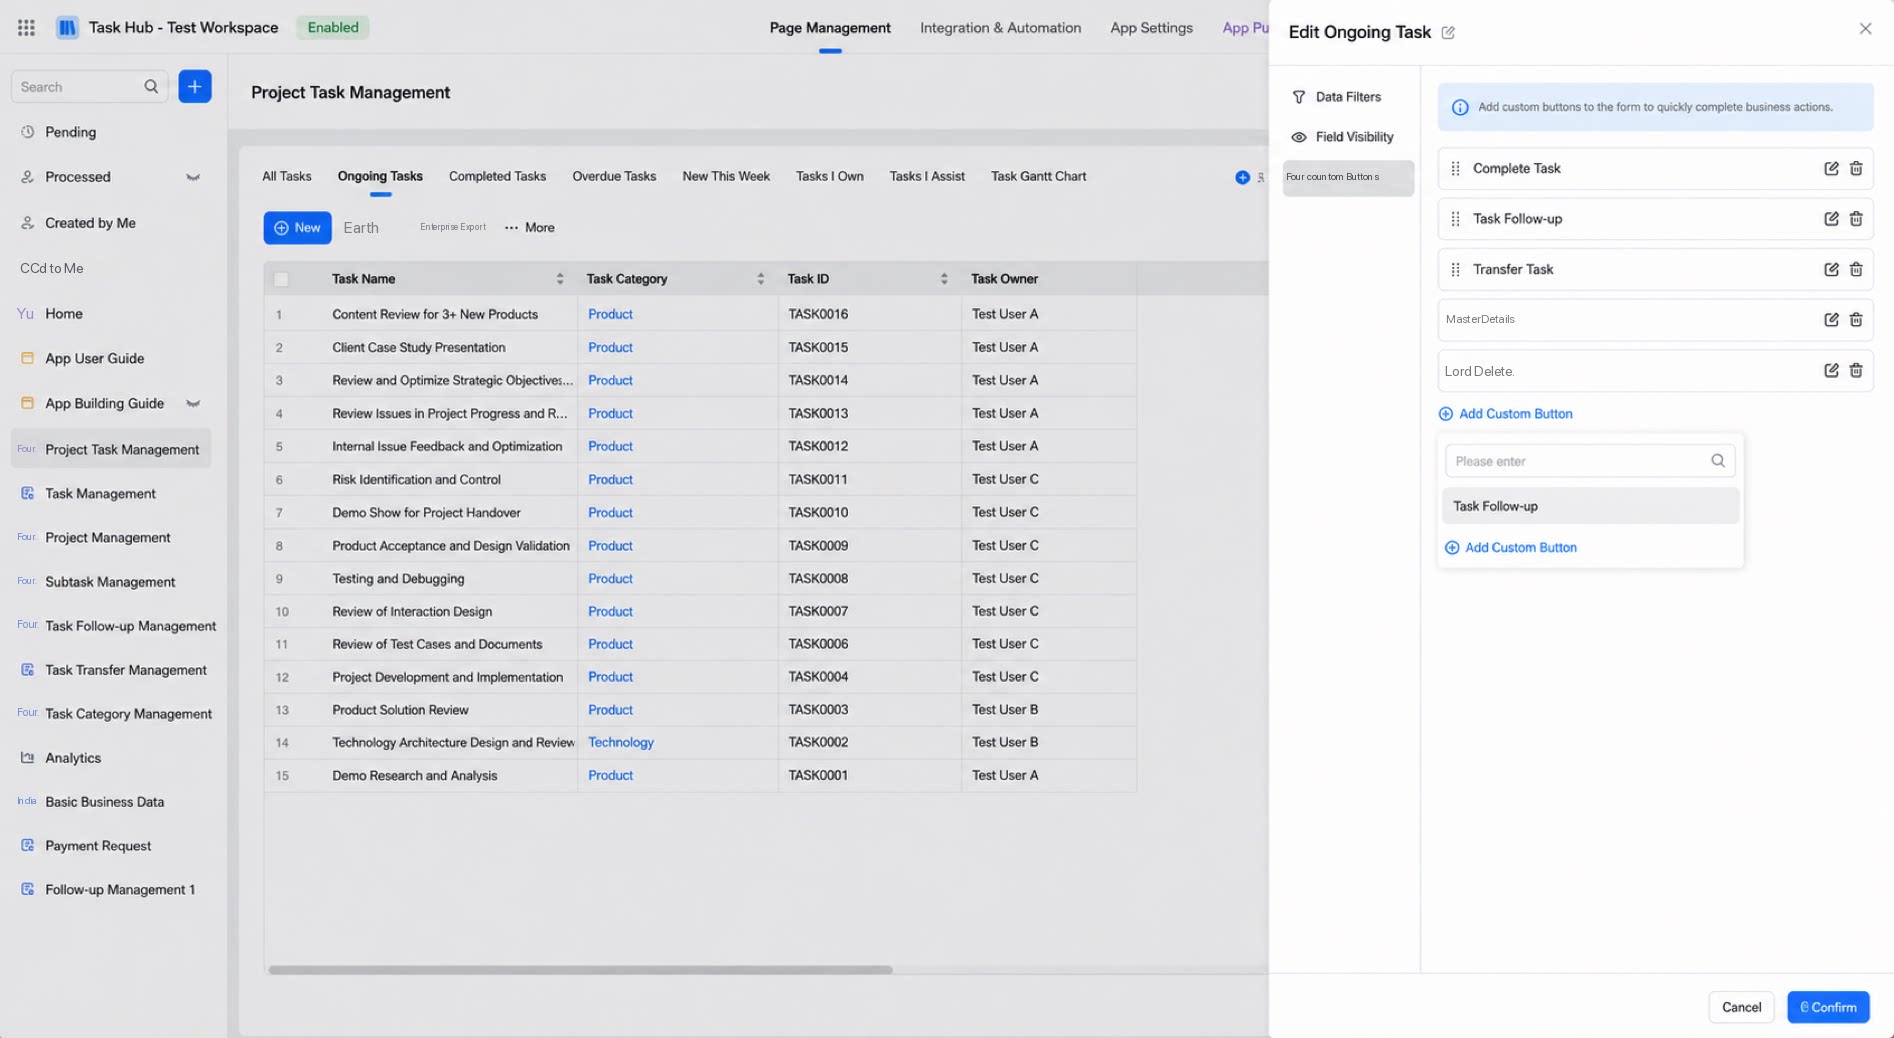
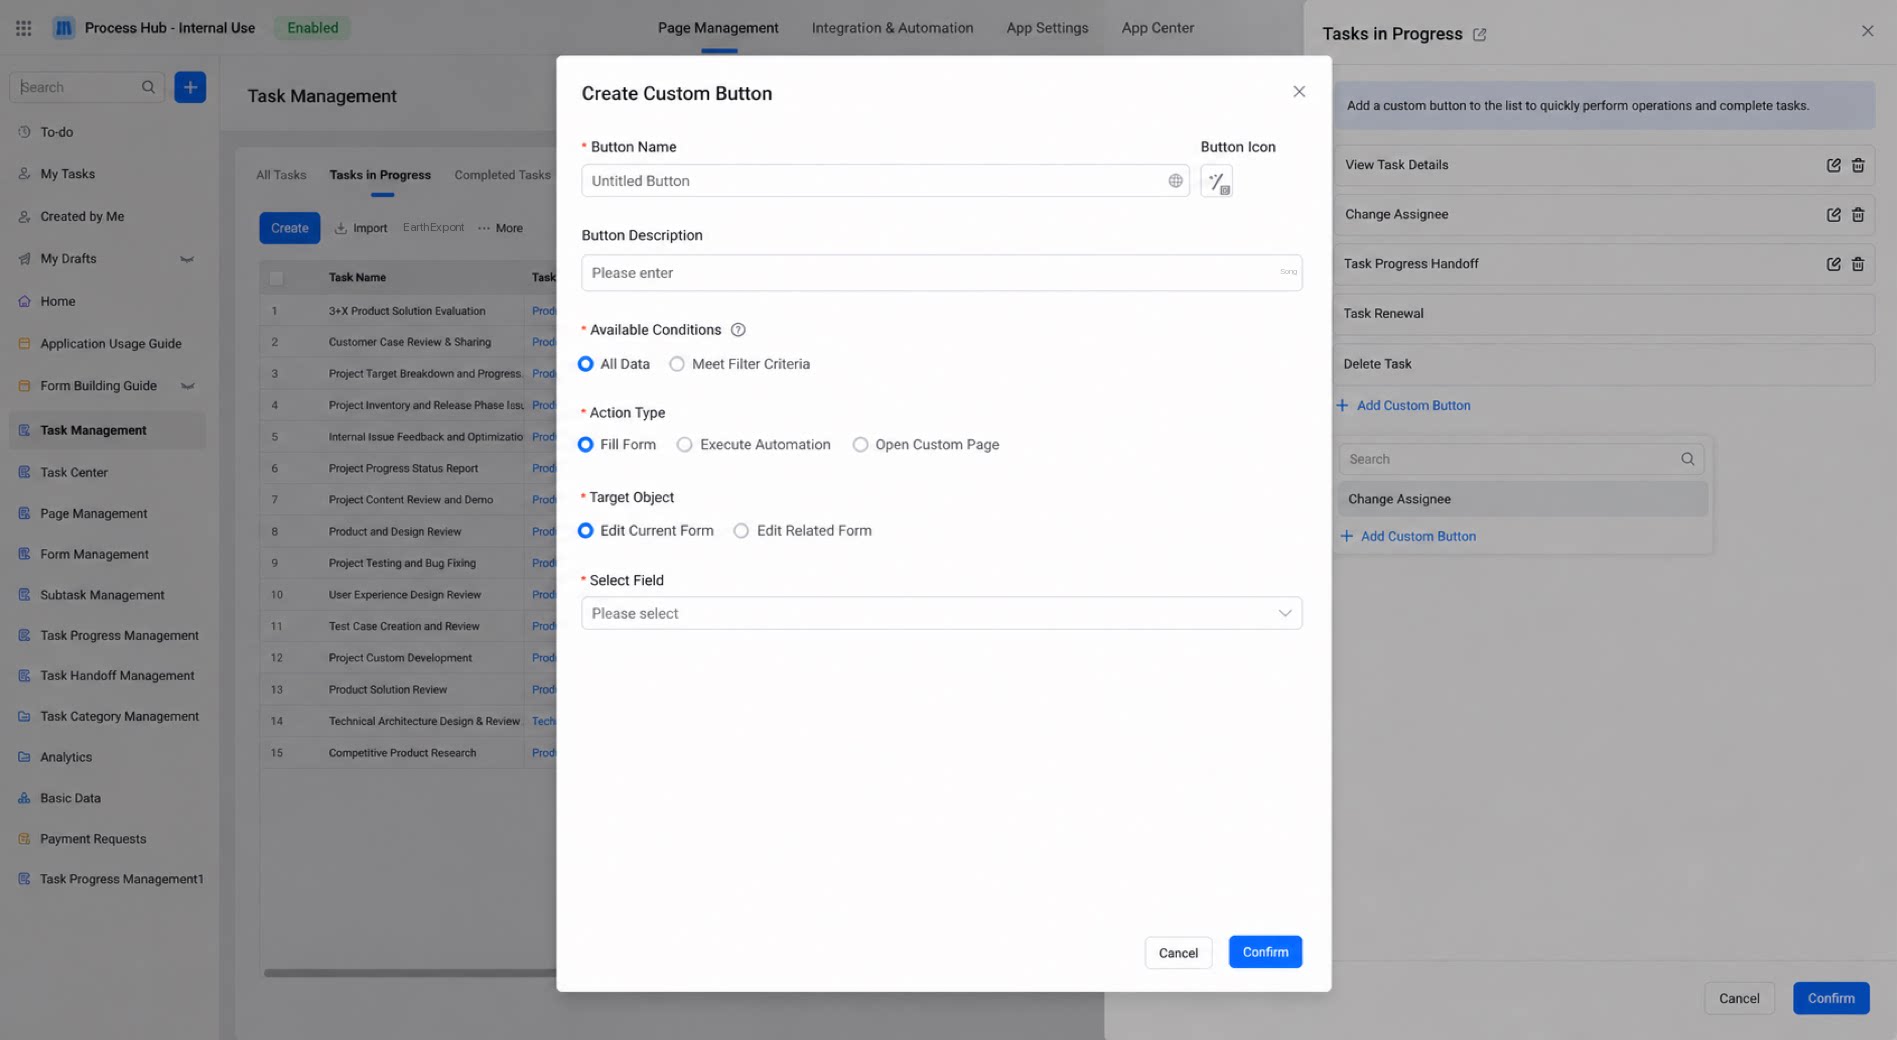
Add custom buttons defined in the form to the action column of the grid. You can either add existing buttons or create new ones. Detailed introduction to custom buttons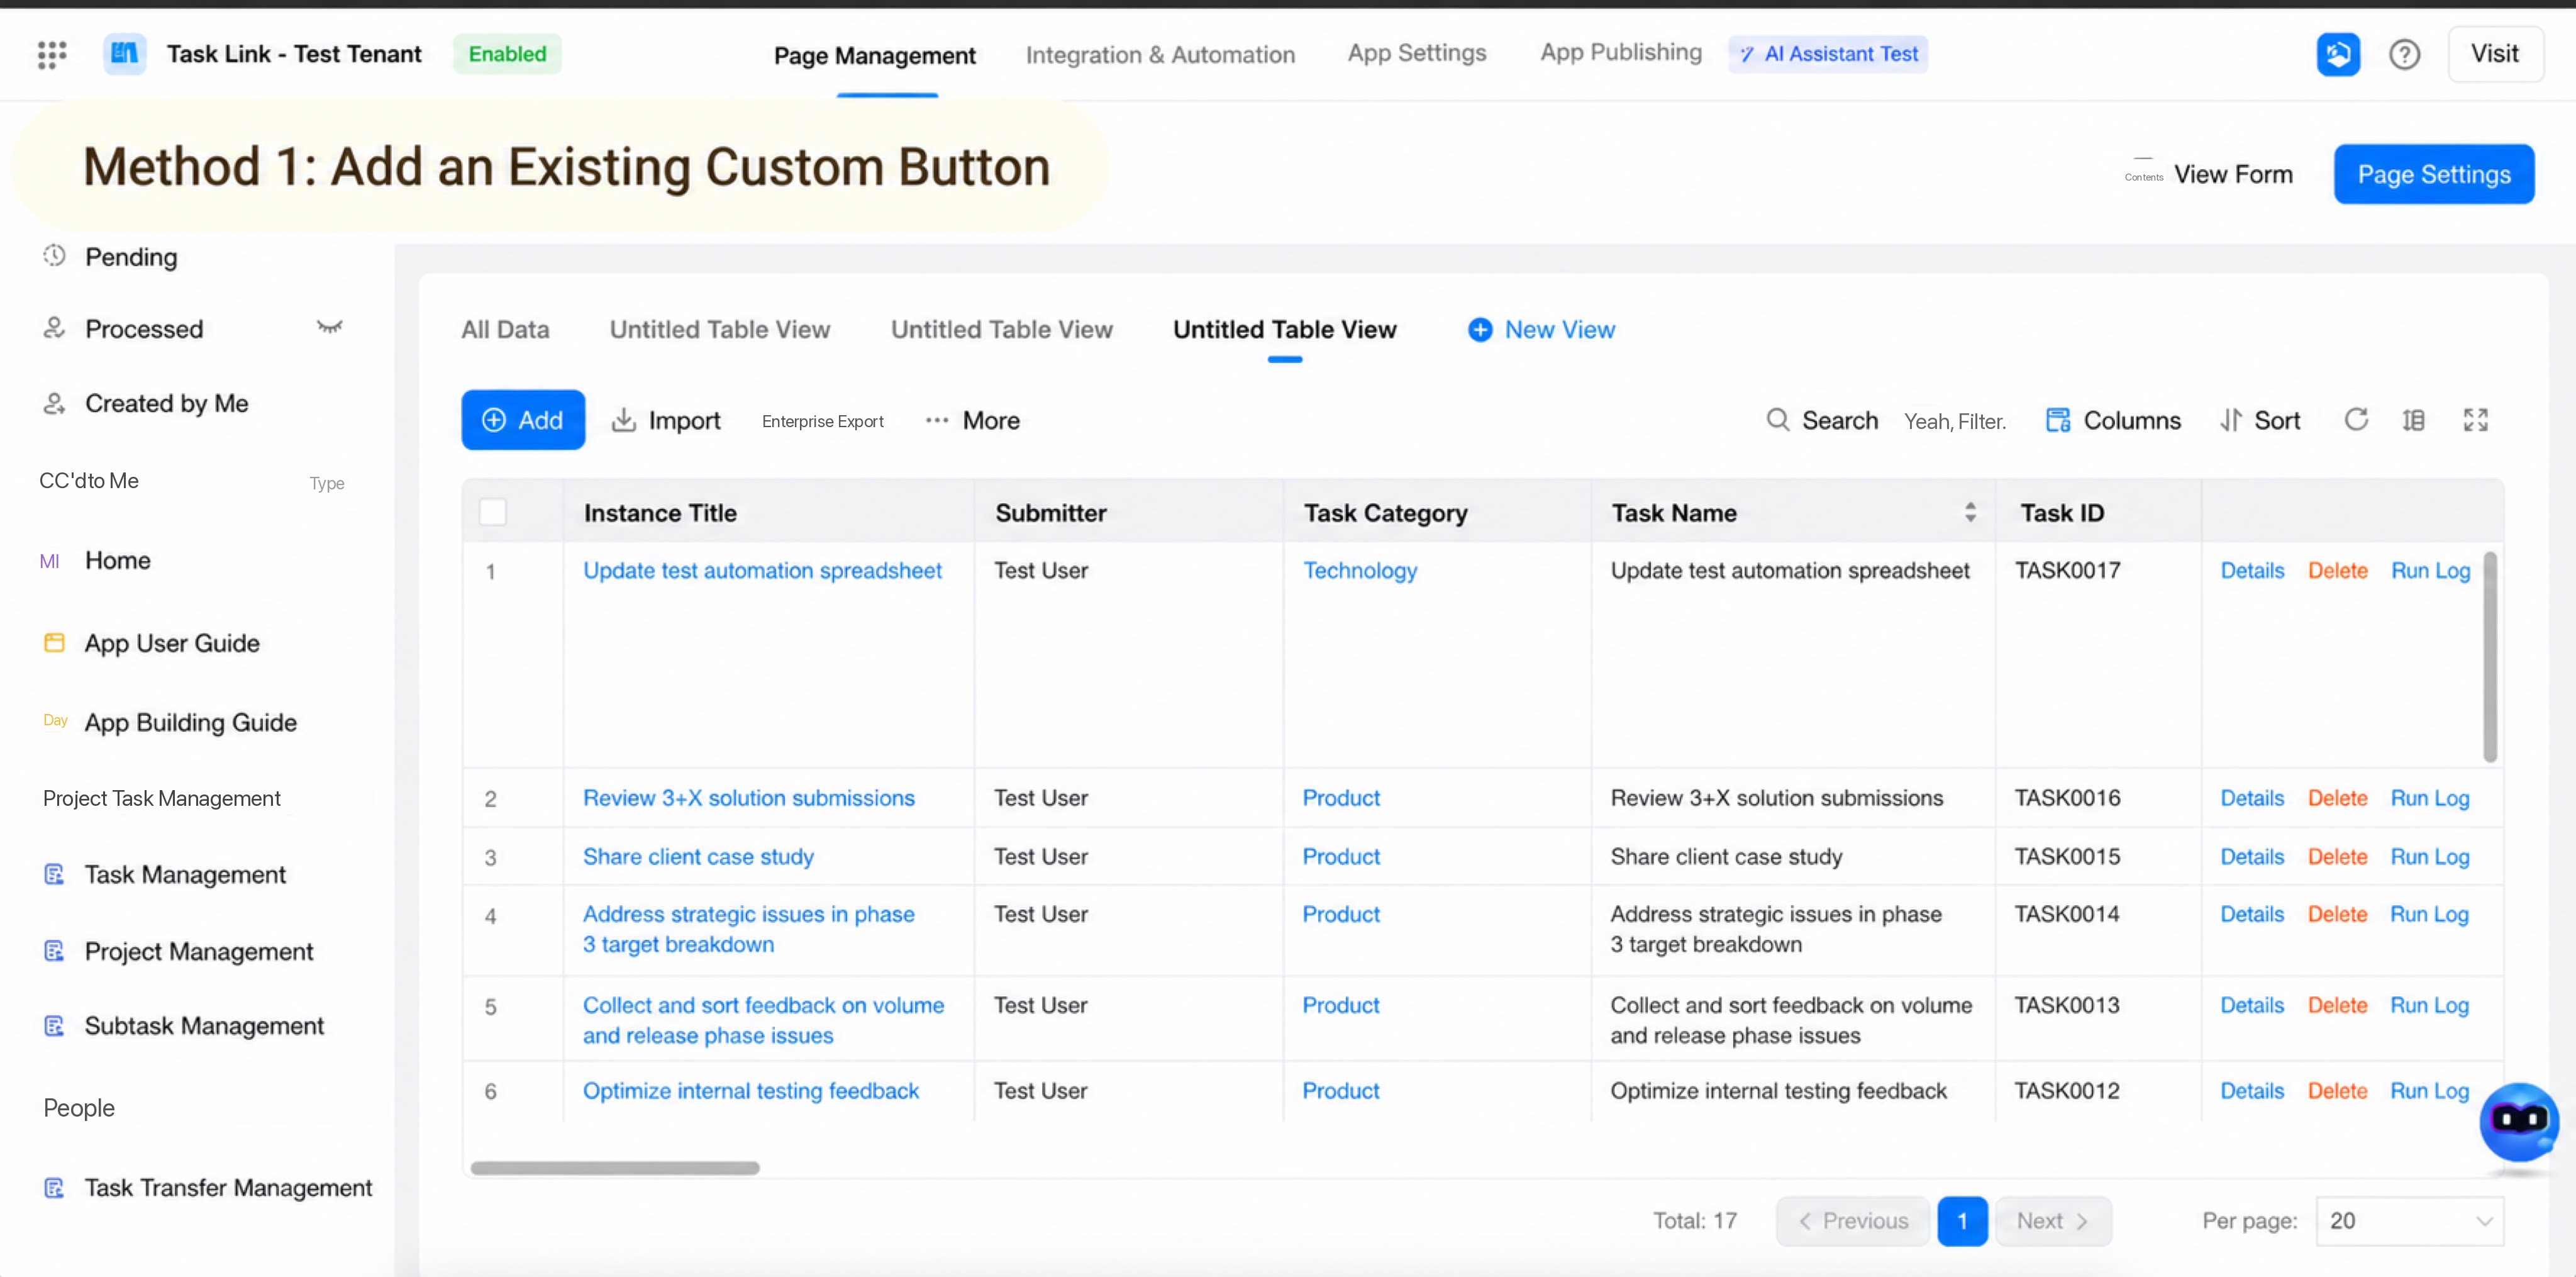
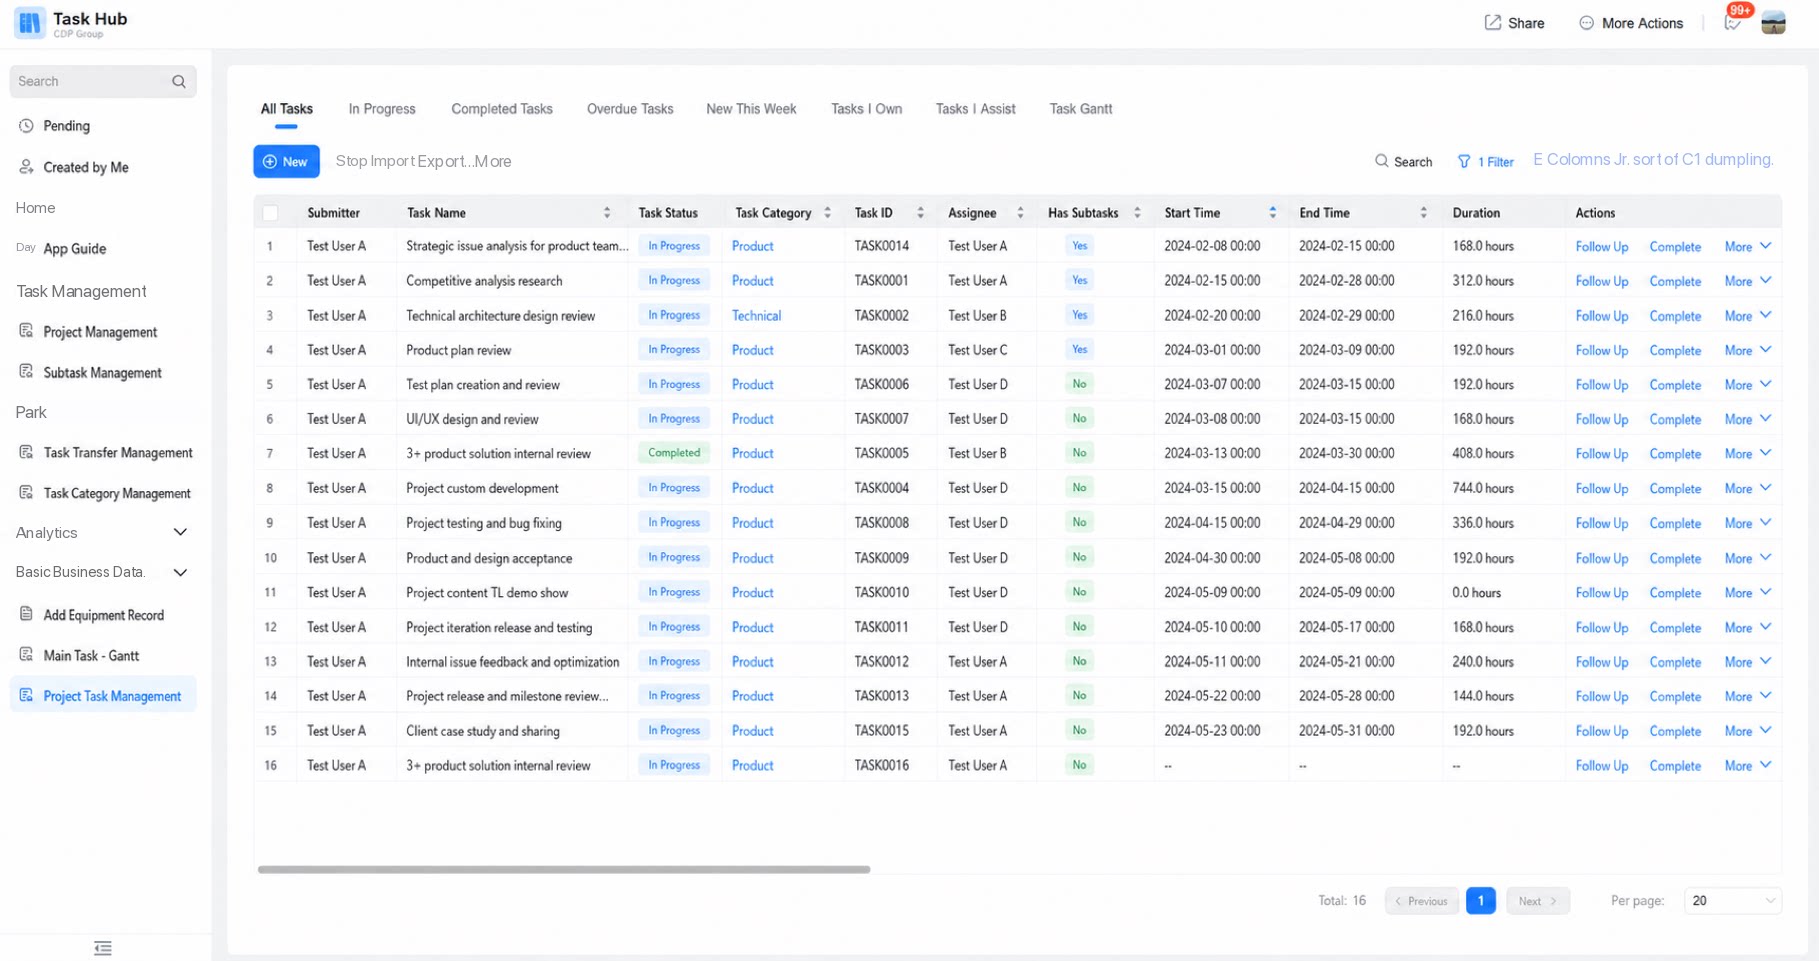
- Custom buttons displayed in the action column
- Add existing custom buttons to the action column
- Create a new custom button in the action column