Chats
Chats Calendar
 Meetings
 Contacts
 Mail
Mail Docs
Docs Drive
Drive AI Table
 AI Minutes
 Attendance
 Approval
 YiDA
YiDA Admin Console
If the official DingTalk connectors do not meet your needs but you urgently need to connect DingTalk apps, self-built systems, or third-party app systems, build a custom connector using YiDA Connector Factory.
Step 1: Create a Connector
1
Step 1
Sign in to the YiDA workbench as an admin.
2
Step 2
Click Platform management in the upper-right corner to open the platform management page. 
3
Step 3
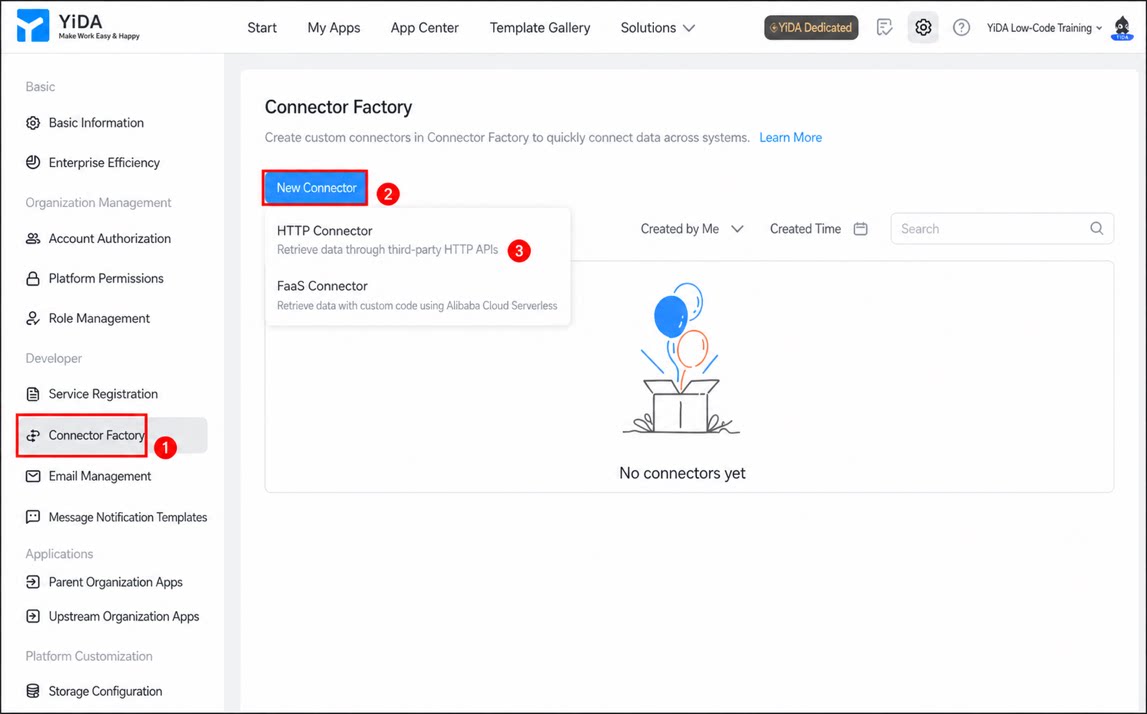
In the left-side menu, click Connector Factory, click Create connector, and then select HTTP Connector.
1
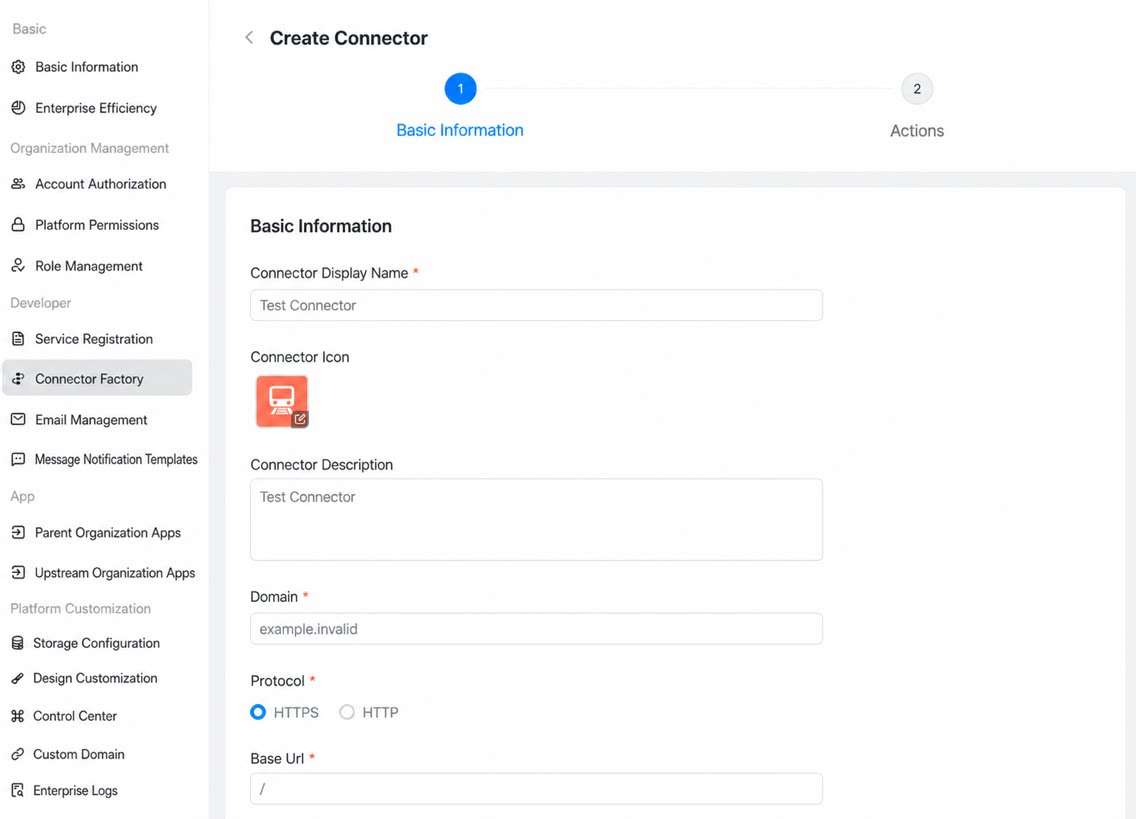
Configure the basic information of the connector as described below, and then click Next
2
Configure the authentication type as described below
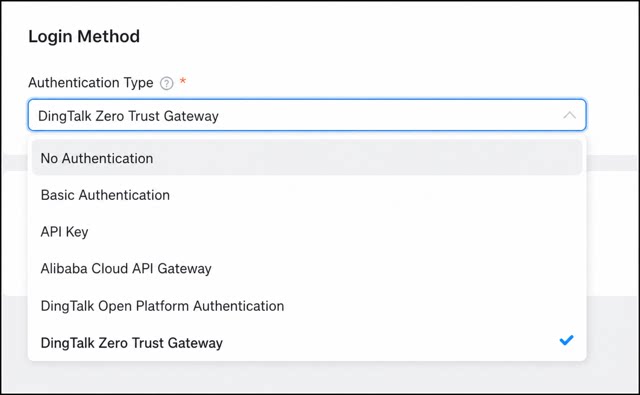
| Authentication type | Description |
|---|---|
| No authentication | No authentication means no verification information is required, and the API can be called directly. Typically used to access public APIs. |
| Basic authentication | Basic authentication relies on the Authorization request header of an HTTP request. The header contains the credential the server uses to verify the identity of the user agent. • Format: Authorization: Basic <ciphertext>.For example, add Authorization: Basic YWxhZGRpbjpvcGVuc2VzYW1l to the header, which is the Base64-encoded account and password.You only need to configure the prompt labels for the account and password so that users know what to enter when registering the authentication information. For example: • username label • password label |
| API key | Refers to the APIKey authentication method. The APIKey remains valid for a long period (keep it safe). The visitor creates a secret key in the target system, and developers can then use this credential to call public APIs that support this authentication type. • Parameter label: shown as a prompt when configuring authentication information. • Parameter name: the name of the apiKey required by the system. • Parameter location: choose to attach the authentication information to the query parameter or the header, based on the requirements of the target system. |
| Alibaba Cloud API Gateway | After the connector is created, add an authentication template. Once the App Code is entered in the template, you can call the corresponding Alibaba Cloud APIs. For more information, see Call an API by using App Code authentication. 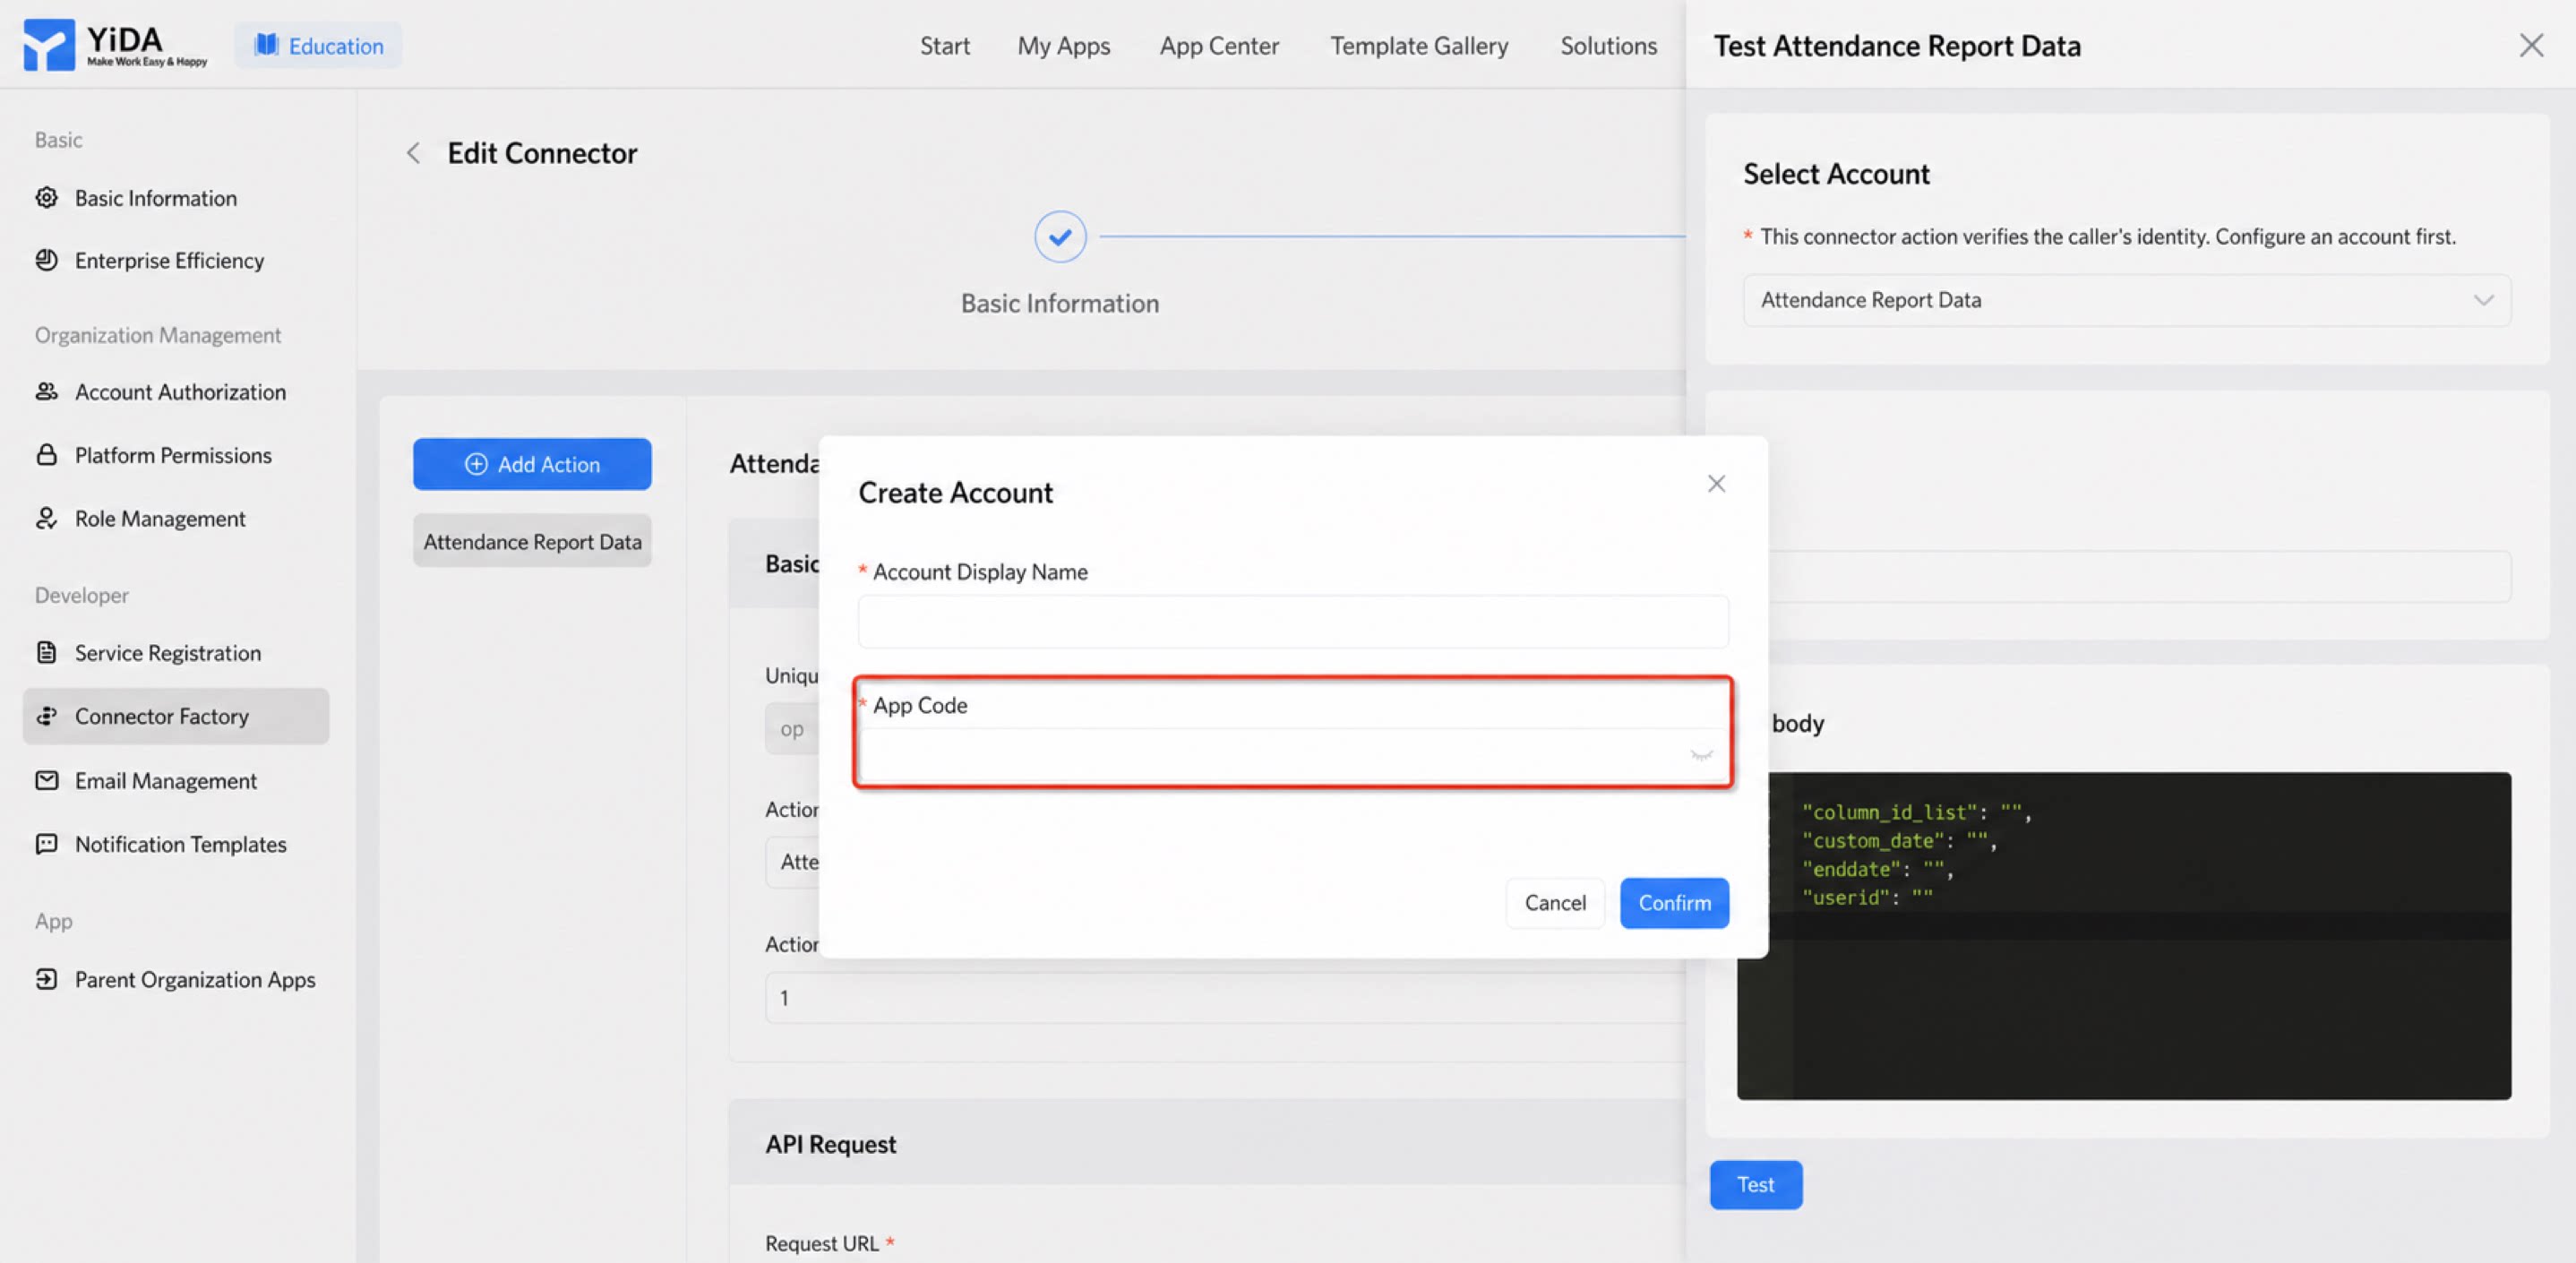 |
| DingTalk Open Platform authentication | After the connector is created, add an authentication template. Once App Key and App Secret are entered in the template, you can call DingTalk Open Platform APIs (including some YiDA APIs).After the authentication template is added, YiDA automatically generates the authentication parameter access_token and adds it to the x-acs-dingtalk-access-token parameter in the Header during the request. You do not need to generate it again.For more information, see DingTalk app development process. |
| DingTalk Zero Trust Gateway | For information about how to use the DingTalk Zero Trust Gateway, see DingTalk Open Platform - Zero Trust Gateway authentication. |
Step 2: Create an Execute Action
On the Execute Action page, click Create execute action, and then configure the action as described below.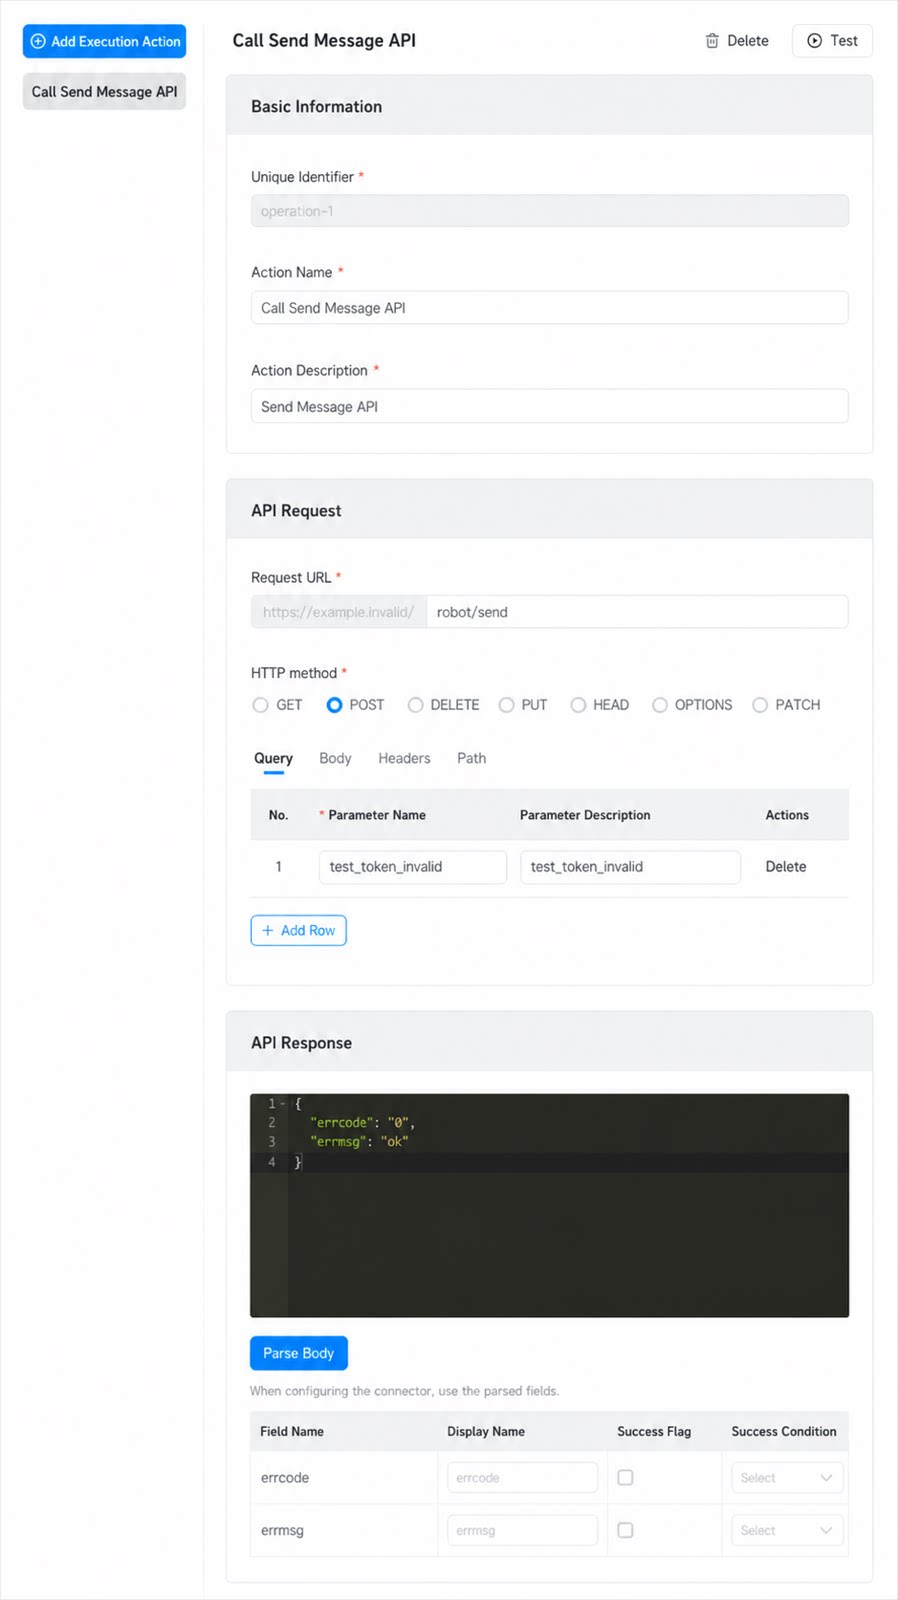
Step 3: Configure Authentication
All custom connectors require a corresponding request authentication scheme, even for “No authentication”.- Create an account
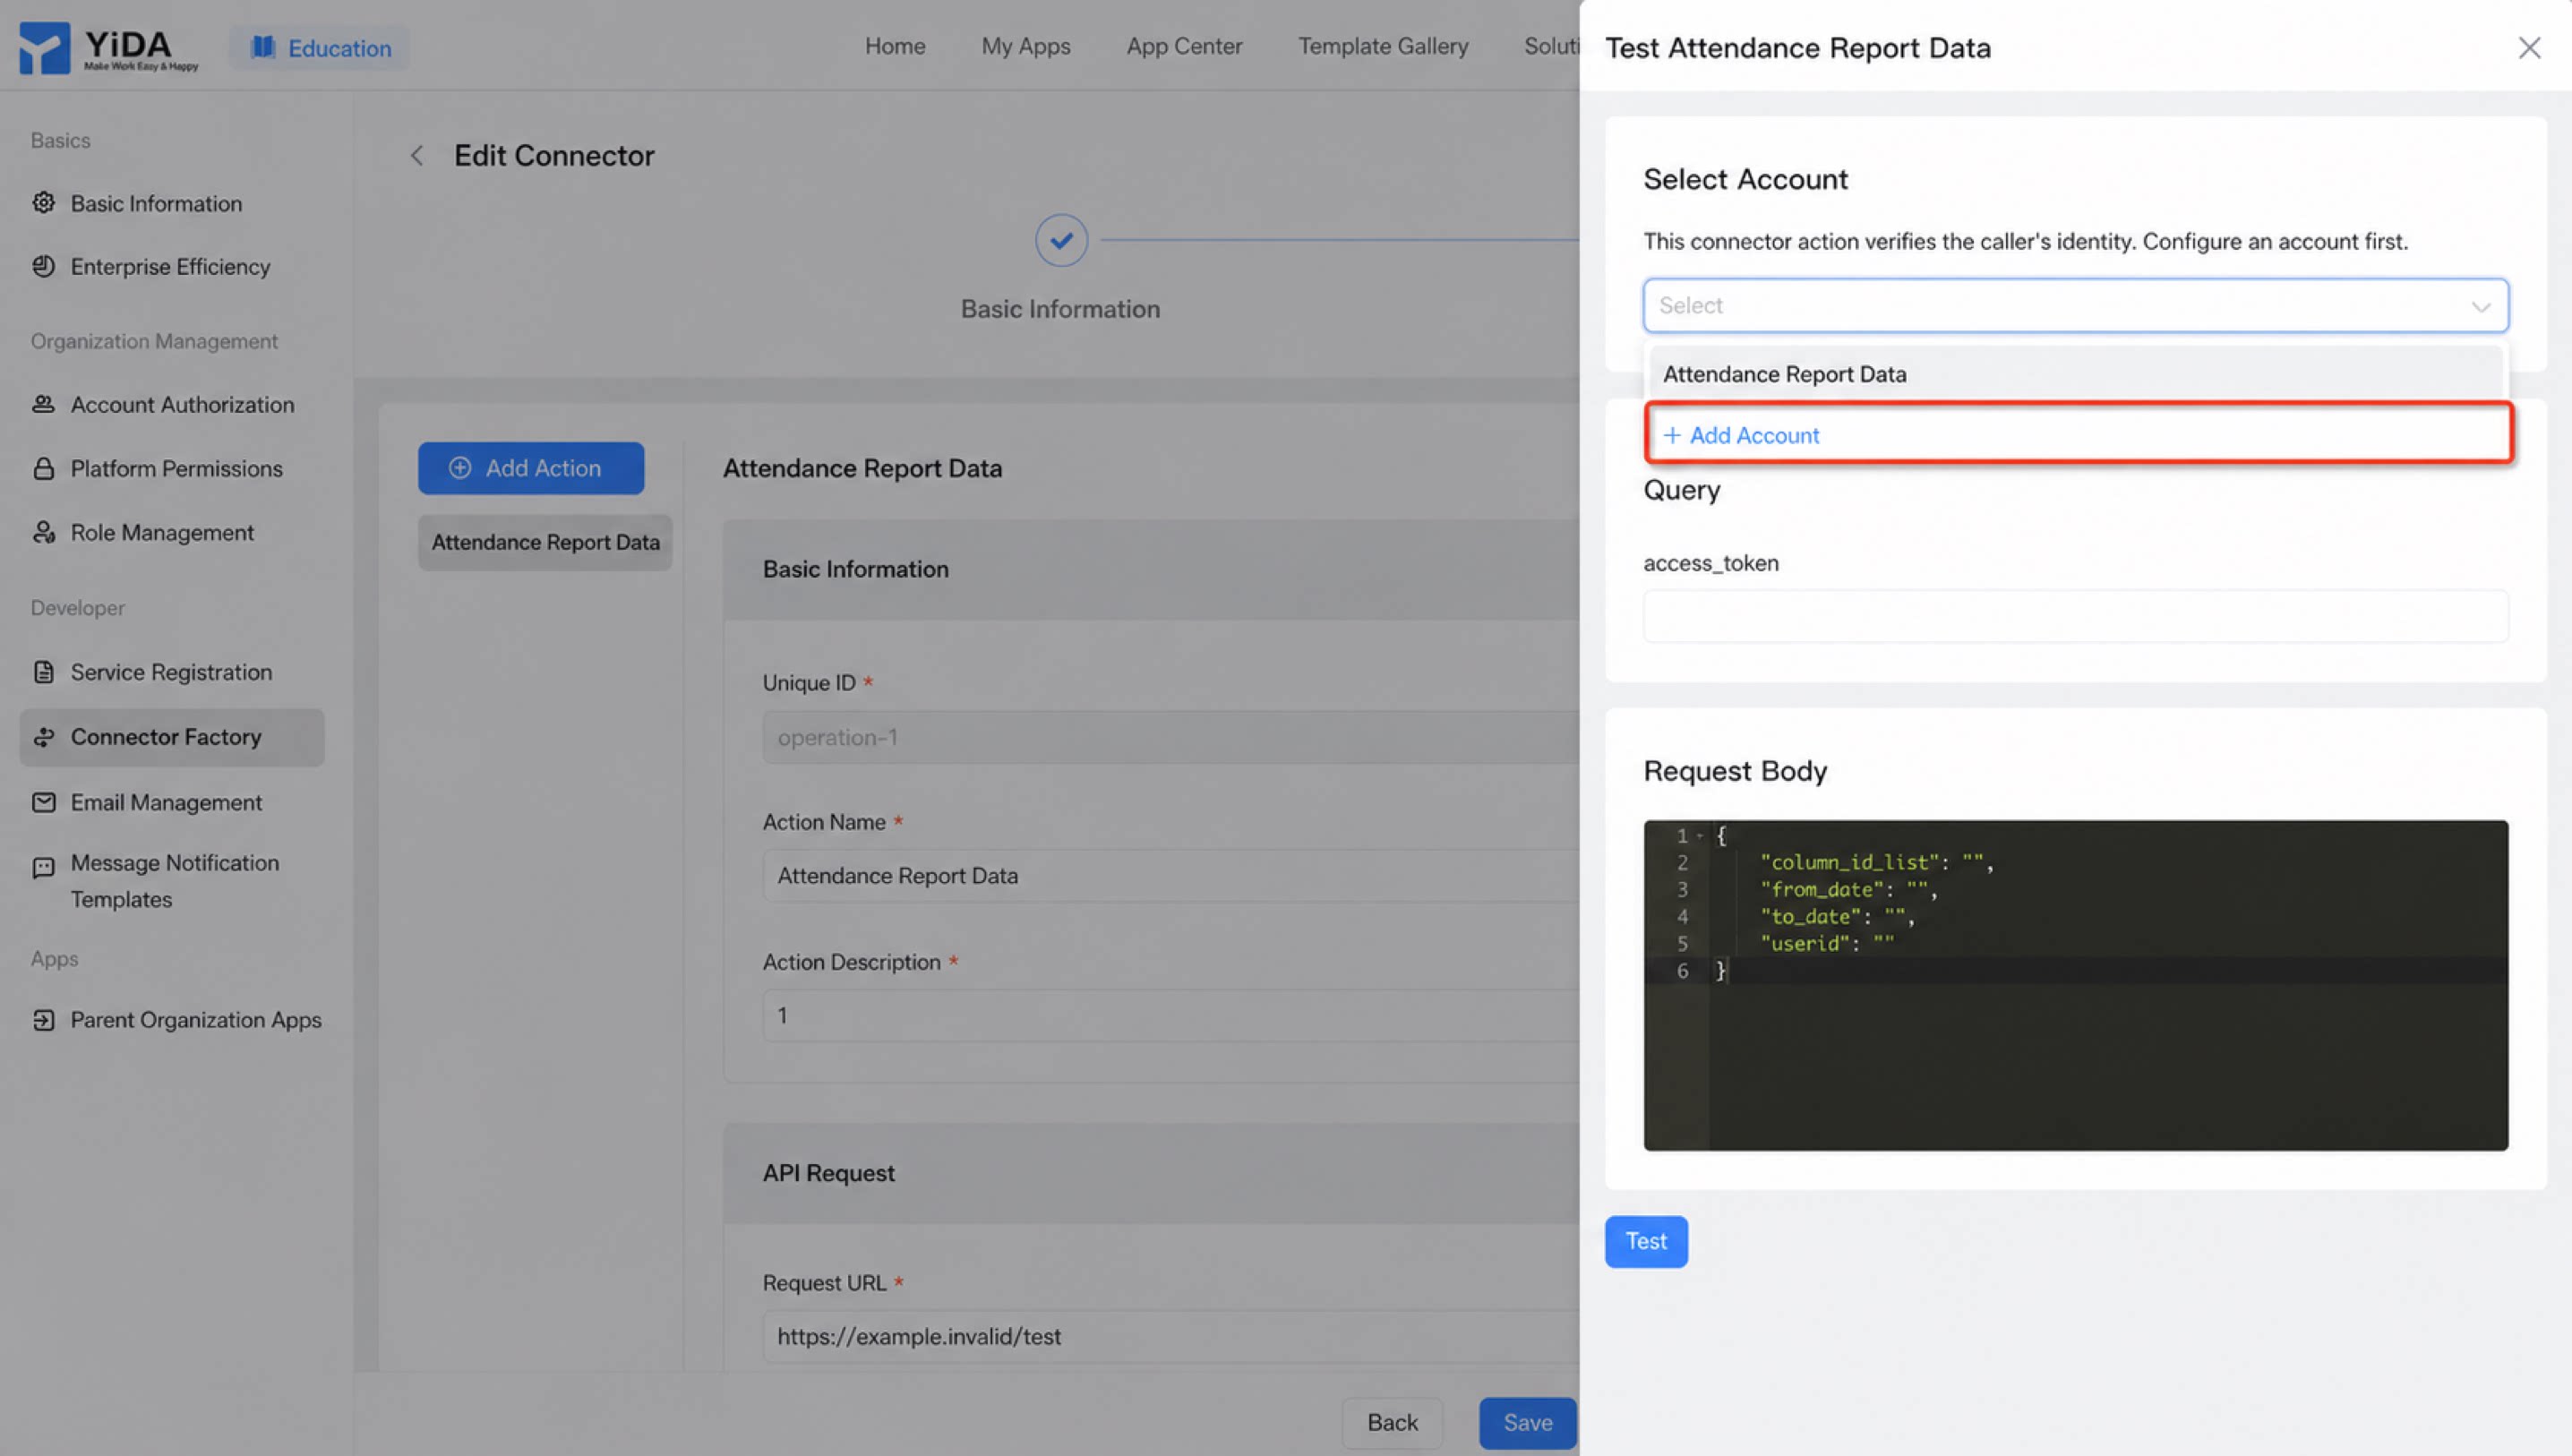
- Enter the account display name, App Key, App Secret, and other information, and then click Confirm.
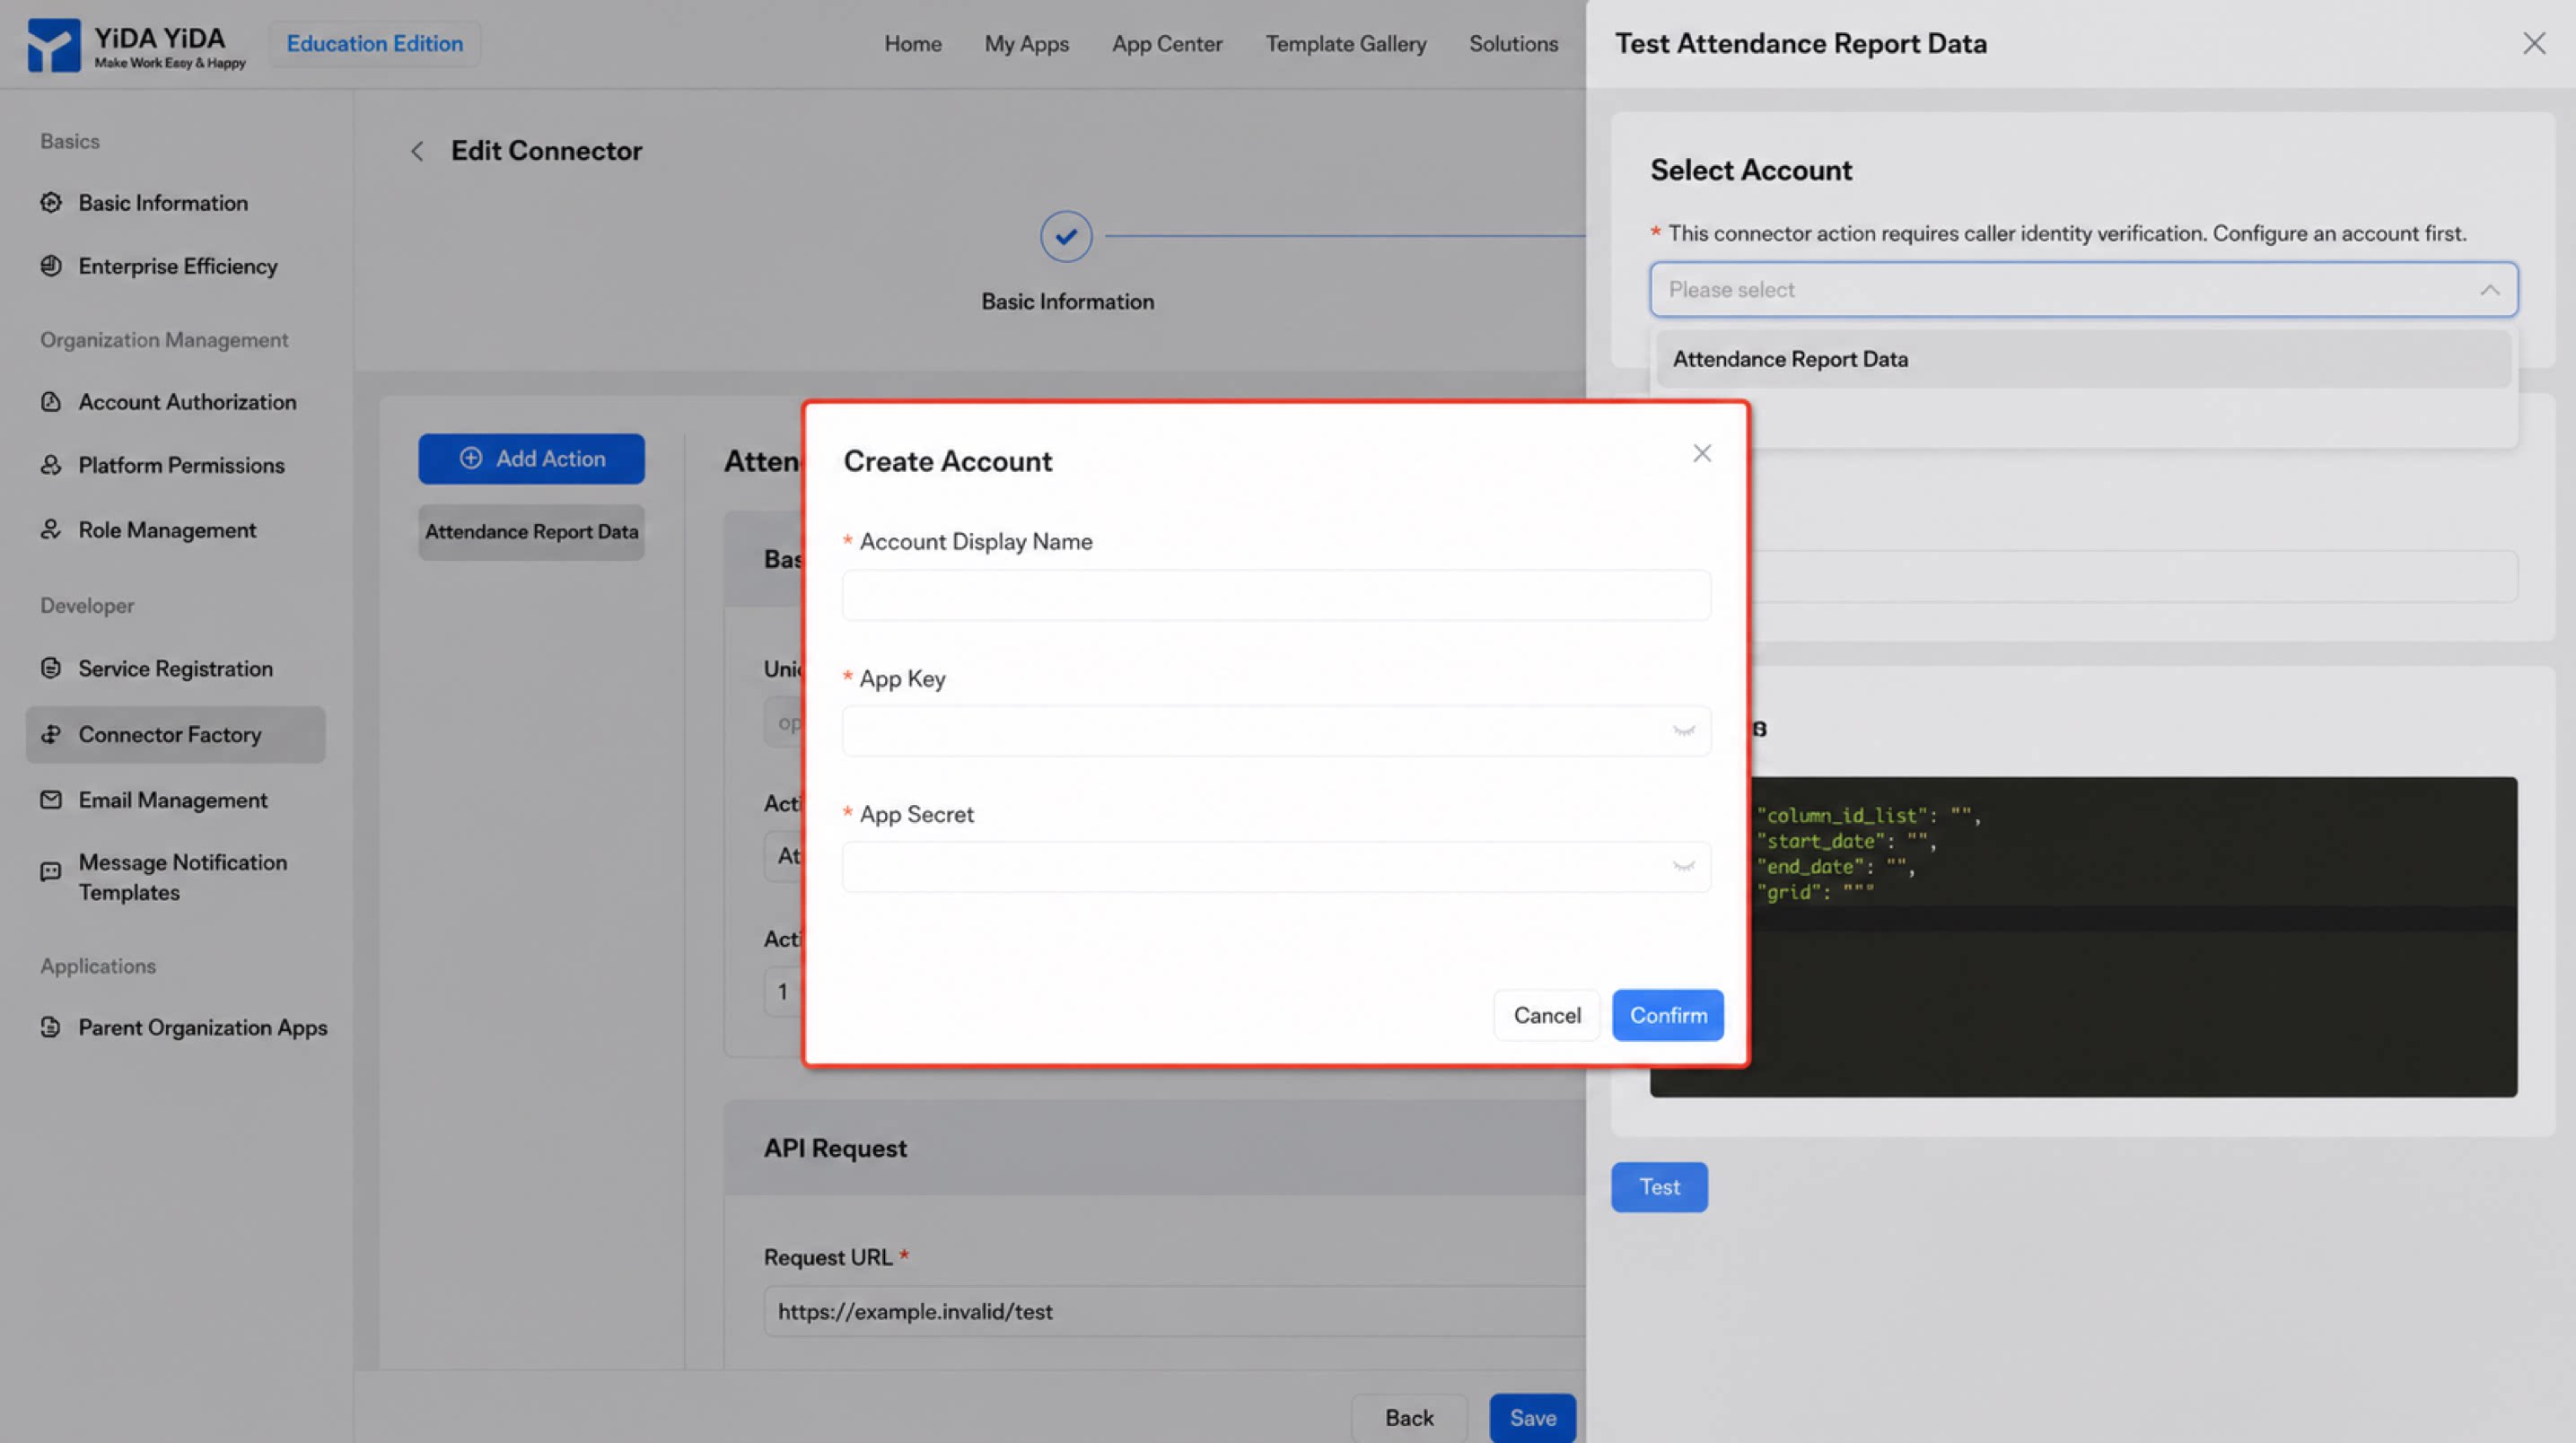
Step 4: Test the Connector
1
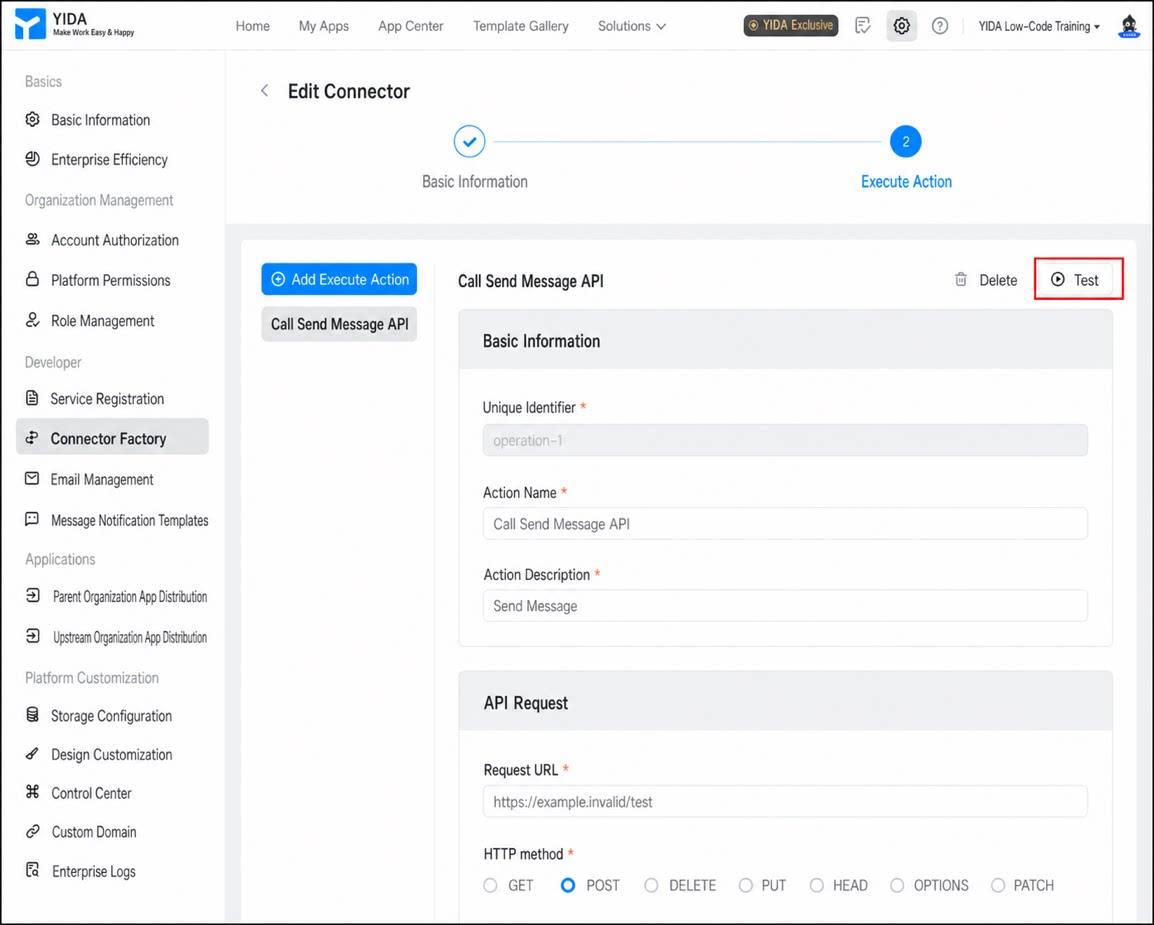
On the connector details page, click Test in the upper-right corner
2
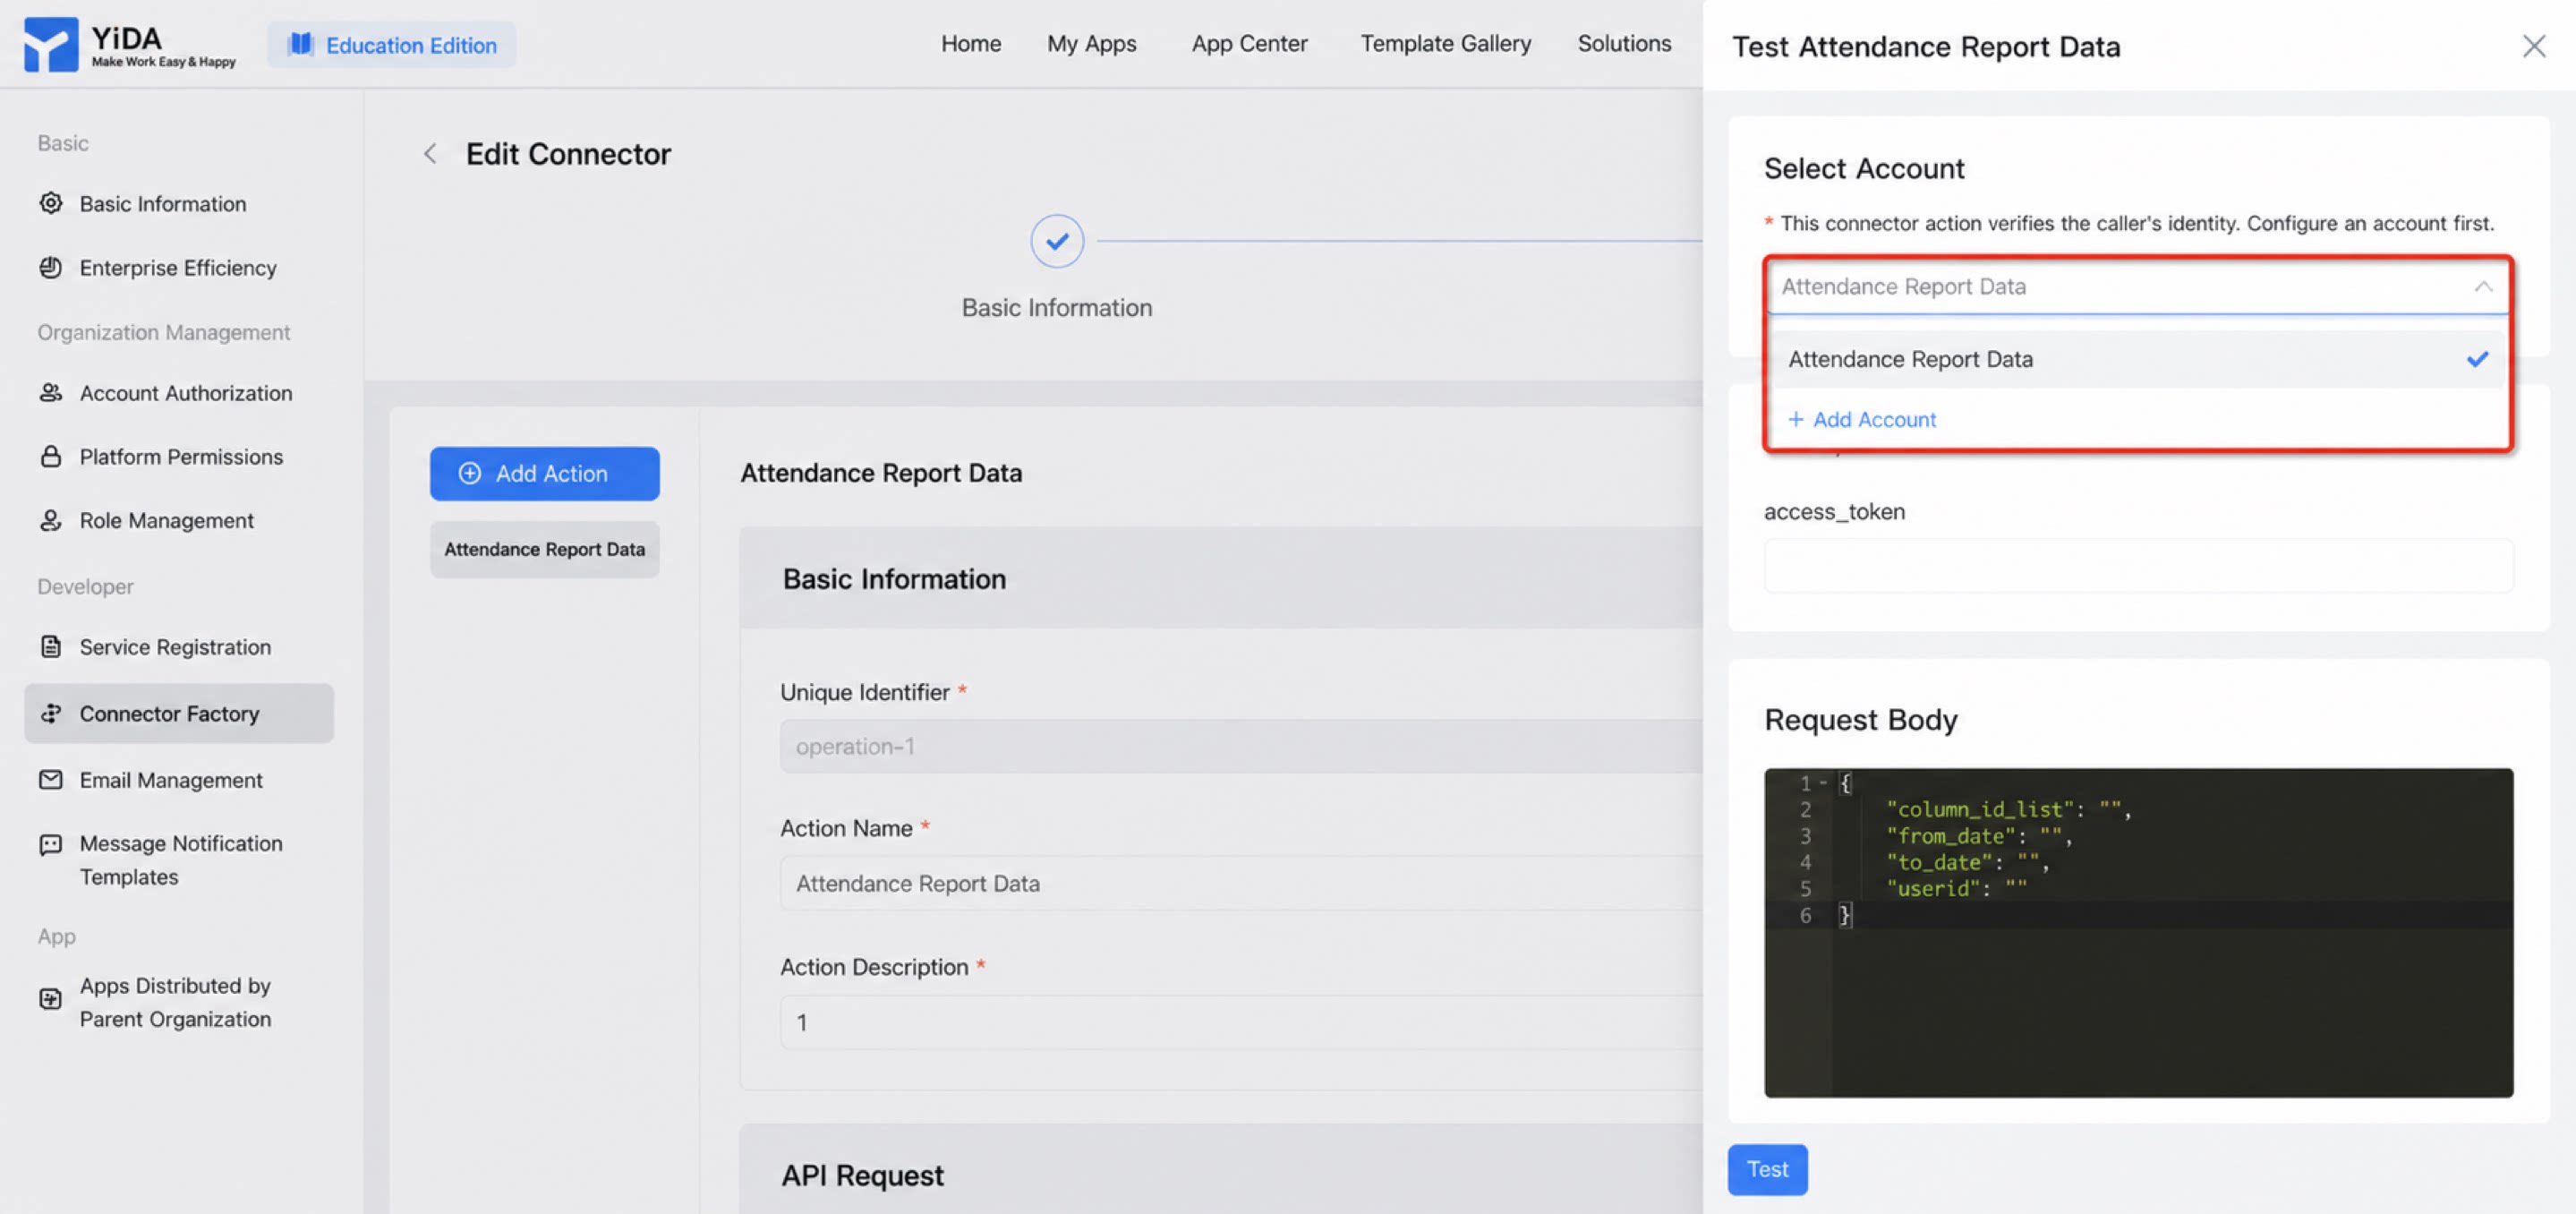
Select the authentication to use and configure the test parameters
3
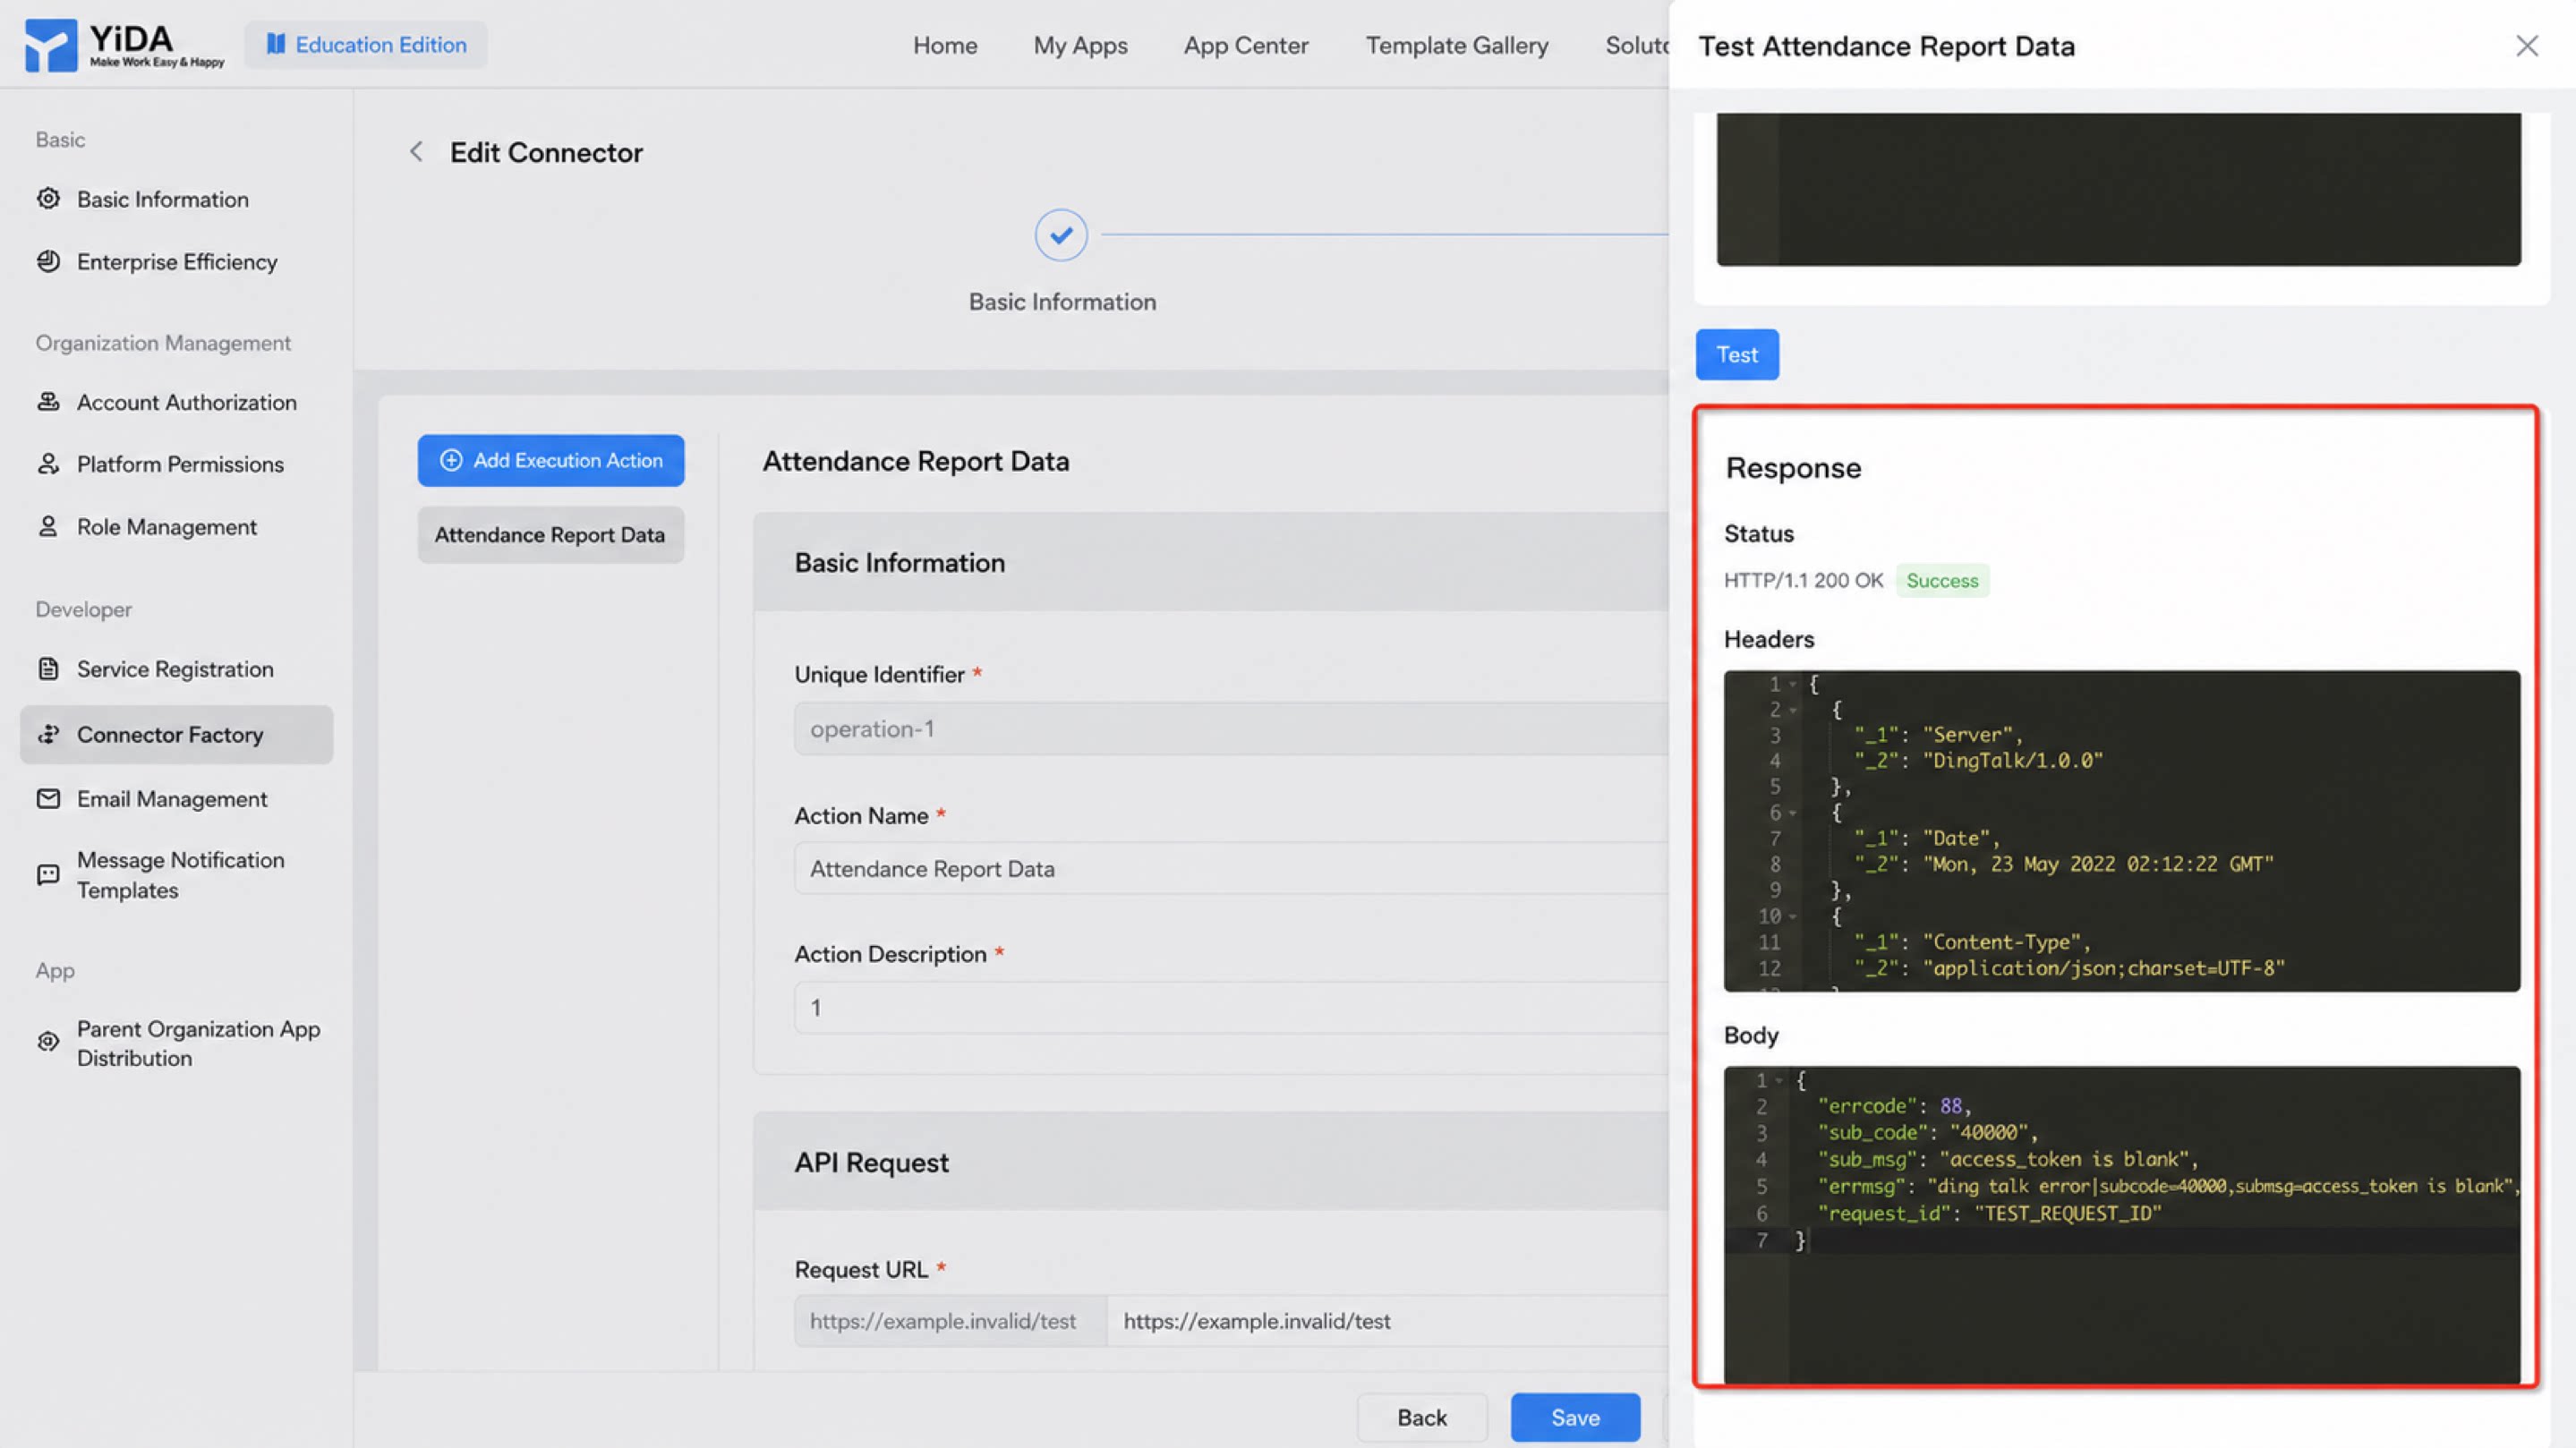
Click Test. When the expected result appears, the configuration is successful